How To Change The Color Of Your Nintendo Switch Joy-Cons
We may receive a commission on purchases made from links.
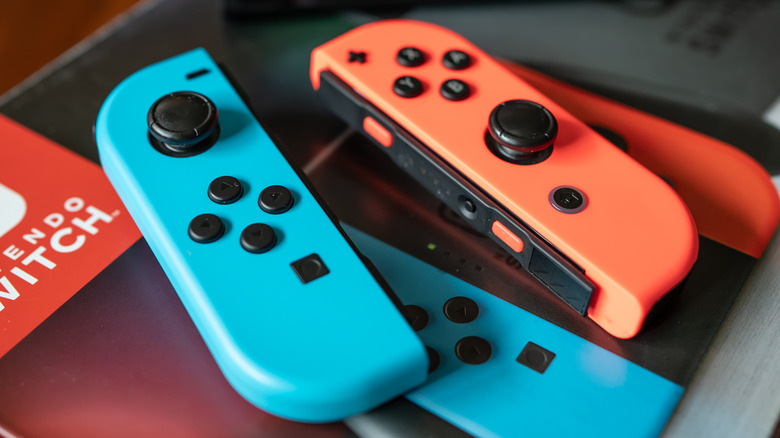
Nintendo offers two different types of controllers with its Switch handheld gaming console: the Pro Controller, which resembles the kind of controller you get with the Xbox and PlayStation, and the Joy-Cons, which are the colorful pair of gamepads that slide onto the sides of the Switch. If you own a Nintendo Switch or Switch OLED model, you already have a pair of Joy-Cons, as they ship with the console. With that said, you may have purchased the Switch as a bundle that included Joy-Cons in a color scheme you don't particularly like.
You could always just purchase a new set of Joy-Cons in the colors you like — purple and gold rather than blue and red, for example — but that would be a costly way to make what is otherwise a simple lateral move from one aesthetic to another. As a far more affordable alternative, you can simply change the color of the Joy-Con controllers you already own. How? By removing the colorful plastic shell on the gamepads and replacing it with a shell that has a different color.
Things to know before replacing a Nintendo Switch Joy-Con shell
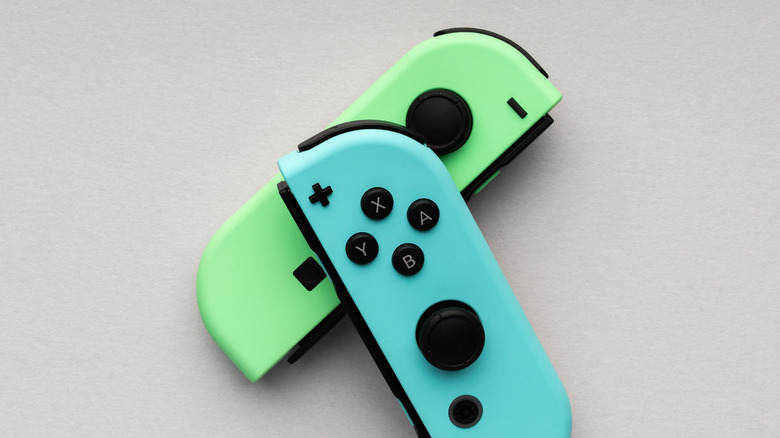
Because the shell on the Joy-Con controllers is made of plastic, you can find replacement shells in seemingly any color scheme from a huge number of third-party sellers. If you're not a fan of bright, saturated colors, for example, you can opt for something like the Cherry Blossom shell available on Amazon. If you're feeling nostalgic for the transparent controllers that were common during the Nintendo 64 era, meanwhile, there are third-party options for the Switch, including some transparent shells that even have old-school yellow, blue, red, and green buttons. Did your childhood start during an earlier period in Nintendo's history? There are SNES-themed Switch Joy-Con shells, too.
Whereas a set of Joy-Cons from Nintendo cost $79.99, replacement shells are very affordable at around $12 to $20, depending on the brand and design. The downside is that you'll need to be comfortable taking the shells off your current Joy-Cons and replacing them with new shells. According to iFixit, which provides a full guide on the replacement process, the DIY method has a "moderate" difficulty level. You'll need Tri-wing and Phillips screwdrivers, as well as a spudger to help remove the battery. Keep in mind that because the right Joy-Con features an IR sensor, the exact process of removing and replacing the shell varies slightly when compared to the left Joy-Con.
How to change the shell on a Nintendo Switch Joy-Con
If you don't have any experience with DIY tech projects, you'll want to consult with a full guide on how to replace the Switch controllers, and make sure to take precautions before starting, such as having a container to put the screws in and ensuring you have the proper tools. If you're experienced with DIY tech projects, you'll likely find the shell replacement process very simple.
- Remove the Tri-wing screws from the back of the Joy-Con shell.
- Remove the Phillips screws that connect the back piece of the shell to the rail.
- Set the back piece of the shell aside.
- Use the spudger to free the battery from the adhesive.
- Disconnect the battery cable from the Joy-Con board.
- Set the battery aside.
- Remove the remaining Phillips screws and disconnect the remaining cables.
- Remove the trigger button and unscrew the trigger sensor.
- Remove the AB/XY buttons from the original controller shell.
- Put the buttons in the new controller shell.
- Reverse the disassembly steps, replacing each component in the new shell.
iFixit advises DIYers to pay attention to how the antenna component in the Joy-Con is situated before disconnecting and removing it so that it can be put back into the correct spot in the new shell. The team also notes that if you can't find some of the buttons, they may simply be stuck to the motherboard. Make sure all cables are reconnected and that all of the screws are replaced so that none of the components can shift. There are separate guides for the left Joy-Con and the right Joy-Con for Switch owners who need additional help.