6 Settings You Need To Change On Your MacBook To Improve Battery Life
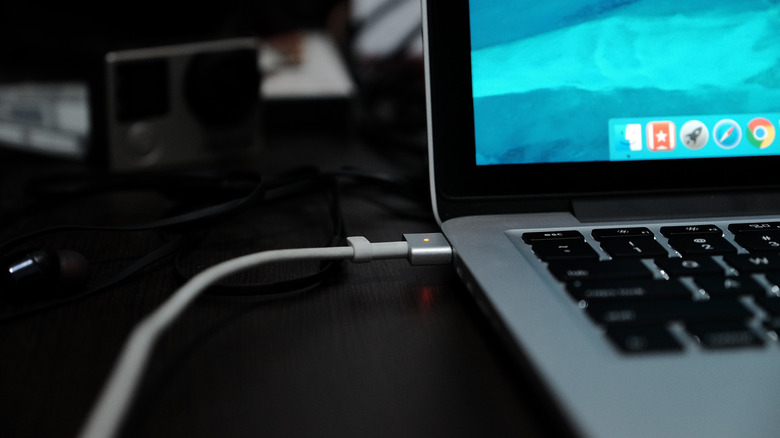
One of the most important factors that will affect your experience with your MacBook is its battery life. A dead laptop is literally useless, and one that runs out of charge too quickly is arguably just as useless, not to mention frustrating.
The latest generation of MacBooks powered by Apple's proprietary M1 and M2 processors have superior battery life than the earlier Intel-based models. So, if you own one of those, you probably already enjoy the significantly improved run time. Regardless, it's still useful to know how to extend your MacBook's battery life. If you own one of the older models, you could definitely use some pointers for improving your MacBook's battery life.
MacBooks are powered by lithium-ion batteries, which progressively deteriorate the more they're recharged. In other words, the more often you recharge your MacBook's battery, the quicker its ages, which is why it's a good idea to regularly check your MacBook's battery health. It's an inevitable end, but it's one you can delay with a few easy changes to the way you use your MacBook. The following easy tweaks can save you the hassle of carrying your charger around, and also prolong your MacBook battery health since you'll increase the time between charge cycles.
Lower your screen brightness
A bright screen is one of the MacBook's biggest energy drains. By simply lowering your screen's brightness and making sure it stays dim, you can significantly extend your battery life.
To dim your screen:
-
Use the dedicated decrease brightness button on the top row of your keyboard. Typically, there are two buttons with sun icons. The smaller sun is the one that reduces brightness. You might also try the F1 key if your keyboard doesn't have these icons.
-
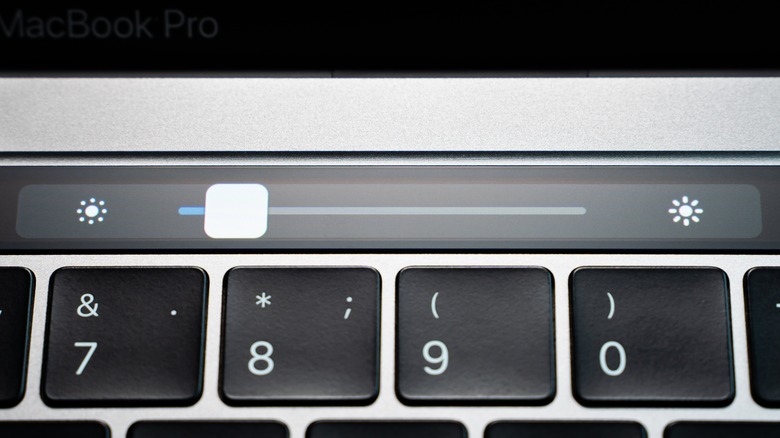
If you're using a MacBook with a Touch Bar, tap the sun icon and adjust your screen's brightness with the slider that appears. You can also expand the control strip and find the button there.
-
Alternatively, head to Apple Menu > System Preferences > Display, then drag the brightness slider to the left.
Many MacBooks also feature an auto-brightness setting that automatically adjusts screen brightness based on your lighting conditions and helps maximize your battery life. But, as you might expect, this setting will save less power than when you manually set your screen brightness to the lowest levels. It might not even make much difference if you frequently use your MacBook in places with low light.
To enable or disable the auto-brightness feature, open Apple Menu > System Preferences > Display, then toggle the Automatically adjust brightness option (via Apple).
Turn off the keyboard backlight

The keyboard backlight is a blessing when working in a dark environment, but it's unnecessary in a well-lit room. If you rarely work in the dark, you should turn it off completely to conserve the charge on your MacBook. If you do work in dark rooms, then consider the following tips.
One option is to lower your keyboard brightness levels. You can do this manually or automatically. You can also set your keyboard backlights to turn off after a period of inactivity.
To manually adjust keyboard backlighting:
-
Use the dedicated backlight brightness buttons on the top row of your keyboard. Not all MacBooks or keyboards have these, but they typically look like a line with light rays above. The smaller one decreases the keyboard backlight brightness. If you turn the brightness all the way down, the backlight turns off entirely. On some external keyboards, this may be the F5 or F6 key.
-
If you're using a MacBook with a Touch Bar, expand the control strip, then tap the decrease backlight brightness button.
To automatically adjust keyboard backlighting:
-
Go to Apple Menu > System Preferences > Keyboard. Then check the Adjust keyboard brightness in low light box.
To automatically turn off your keyboard backlight after a period of inactivity:
-
Go to Apple Menu > System Preferences > Keyboard. Check Turn keyboard backlight off after [X secs] of inactivity, then select a preferred interval (via Apple).
Customize your battery settings
MacBooks have a built-in energy saver that you can customize to maximize your battery life. This feature was called Energy Saver in older MacBook versions, and it's still available under the battery settings in more recent macOS versions.
The feature kicks in when you're running on battery power, and it helps to extend your MacBook's battery life by dimming the display or turning it off completely when your computer is idle.
To customize your battery settings (these instructions may vary depending on the version of macOS you're using):
- Go to Apple Menu > System Preferences > Battery. (On some macOS versions, you may need to click Battery again.)
- Look for an option that says Turn display off after and drag the slider to select how long you'd like the MacBook to be idle before the display is turned off.
- Optionally check the Slightly dim display while on battery power, Optimize video streaming while on battery power, and Low power mode boxes.
If your MacBook has an option labeled something like Enable Power Nap while on battery power, you can uncheck that box, too. The purpose of the Power Nap is to check for updates, such as new emails, calendar events, and so on, while your laptop is sleeping. This feature drains your MacBook's power, and turning it off will extend your battery life (via Apple).
Update your macOS regularly
According to Apple, "software updates often include advanced energy-saving technologies," so keeping macOS up-to-date is another way to improve your battery life. To update macOS, go to Apple Menu > System Settings > Software Update. If an update is available, it will appear here.
You can also make a few tweaks to automate the process of updating macOS from this screen. If you enable Check for updates, your MacBook will automatically check for operating system updates and security updates regularly and notify you when they're available. You might also want to check the Download new updates when available box if you want your MacBook to automatically download new updates as soon as they're released.
It's a good idea to fully back up your MacBook before installing updates so that you don't lose any data, so you may want to use these options with caution. New updates are often very large files and can take a long time to download and install (as was the case when the macOS Big Sur upgrade was released), so it might be worth waiting a few days for that reason alone. macOS updates can also sometimes be unstable, buggy, or downright incompatible and it's not uncommon for Apple to release last-minute patches shortly after a macOS update. The point? It's important to keep up with macOS updates, but it may be wise to do that manually rather than automatically.
Disable Turbo Boost
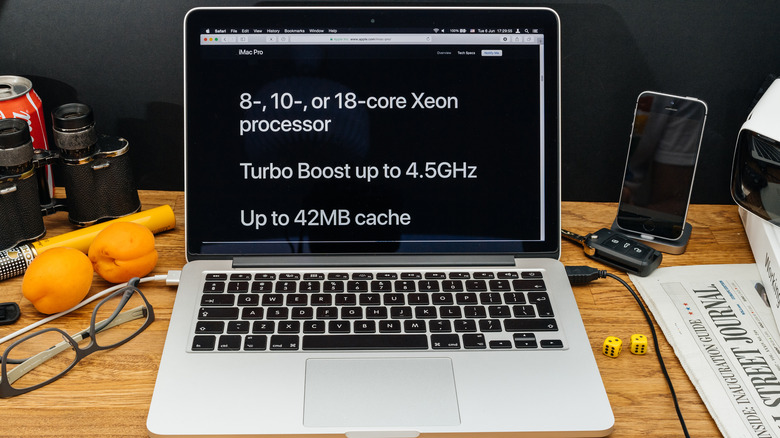
Turbo Boost is a feature common in high-end Intel processors. When running activities with high processor demands, macOS automatically turns on Turbo Boost to increase performance. When your computer is running low-effort tasks, macOS disables Turbo Boost. It's a handy feature in theory, but it can be a major energy drain.
To check if your MacBook model supports the Turbo Boost feature, follow these steps:
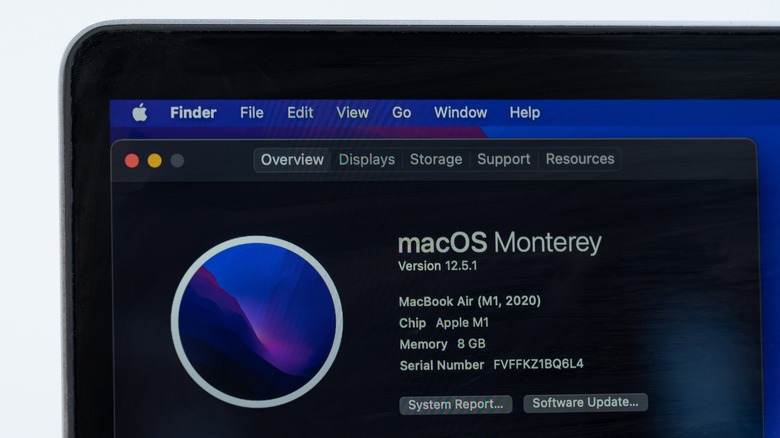
- Go to Apple Menu > About This Mac.
- In the Overview tab, you'll find the full model name of your MacBook. Copy this information to your clipboard (Command + C) and paste it into your search engine's search bar, then add the phrase "technical specs" and hit search.
- In the search results, select the link that takes you to the Apple Support website. This is typically the top result.
- On the Apple Support website, scroll down and check the Processor section. If the technical specifications do not mention Turbo Boost (for example, newer M1 and M2 MacBooks don't have it), your MacBook probably doesn't support the feature. If you find Turbo Boost in the technical specs of your MacBook, you should consider disabling it to conserve your battery.
Turning off this feature can extend your battery life by up to 25%, according to an experiment by iOS developer Marco Arment. Disabling Turbo Boost is tricky if you're doing it on your own, though, so you might try an app like Turbo Boost Switcher.
Quit unused and energy-intensive apps
Every app you leave running contributes to depleting your MacBook's run time, so another energy-saving hack is to quit any apps that you're not using. You can see which apps are still open from the Dock — their icons will have glowing dots underneath. Right-click the icon and select Quit to close the app if you're no longer using it.
You can also check exactly how much energy each open app is consuming to help you decide to quit or even uninstall any apps that are killing your battery. To view the energy impact of open apps:
- Open Spotlight Search (command + space bar), then type "Activity Monitor" in the search box.
- Click on the Energy tab, and you'll see all open apps and details of their power consumption. Especially useful is the column showing the energy used in the last 12 hours, which can help you spot the worst battery drainers. Click on any app in the list and click the circled X at the top of the window to quit it entirely.
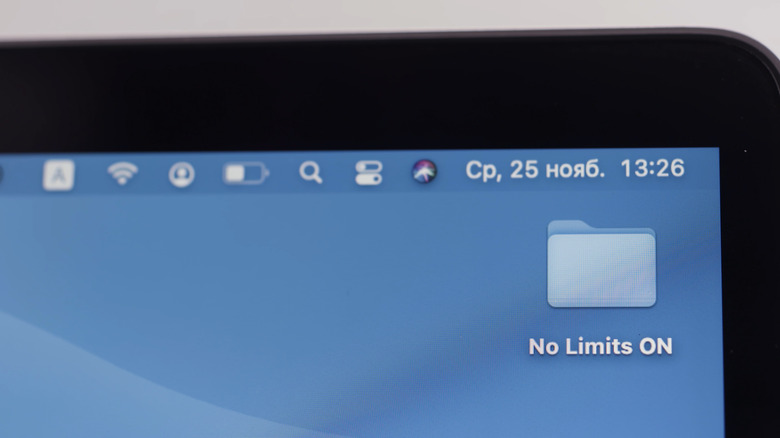
Expect a significant boost in your battery life if you follow these tips, whether your MacBook is new or old. If your battery health has significantly deteriorated (find out by clicking the battery icon in the menu bar), you might need to get a battery replacement.