Illuminating the Night and Keeping Rocks At Bay In My Project Can-Am Maverick X3
I see the light!

We may earn revenue from the products available on this page and participate in affiliate programs. Learn more ›
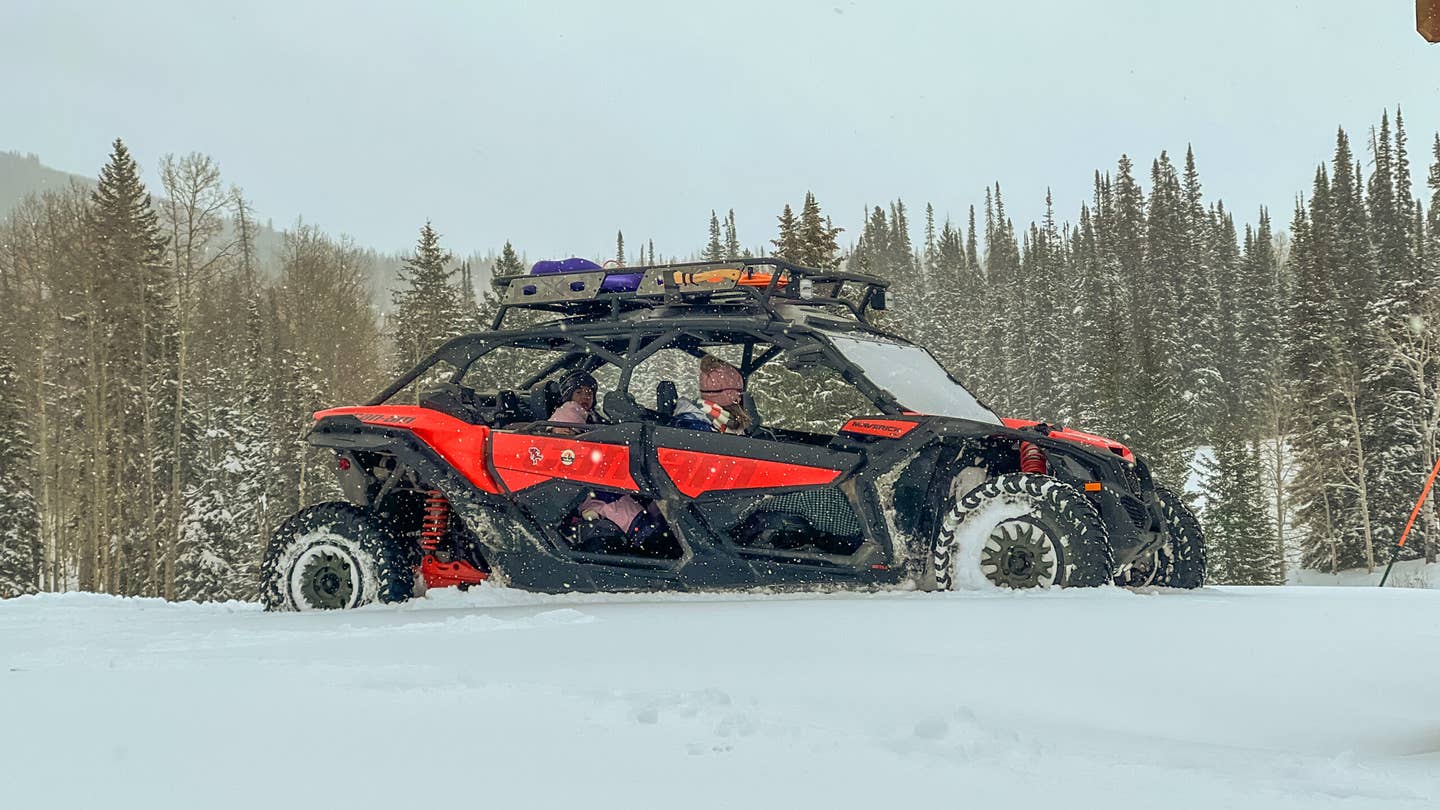
My Can-Am Maverick X3 Max project’s aim has been to make it more usable for my family with roofs, racks, tires, and even a fifth seat rounding out the list. But something I’ve been meaning to get to has been making it more usable at night.
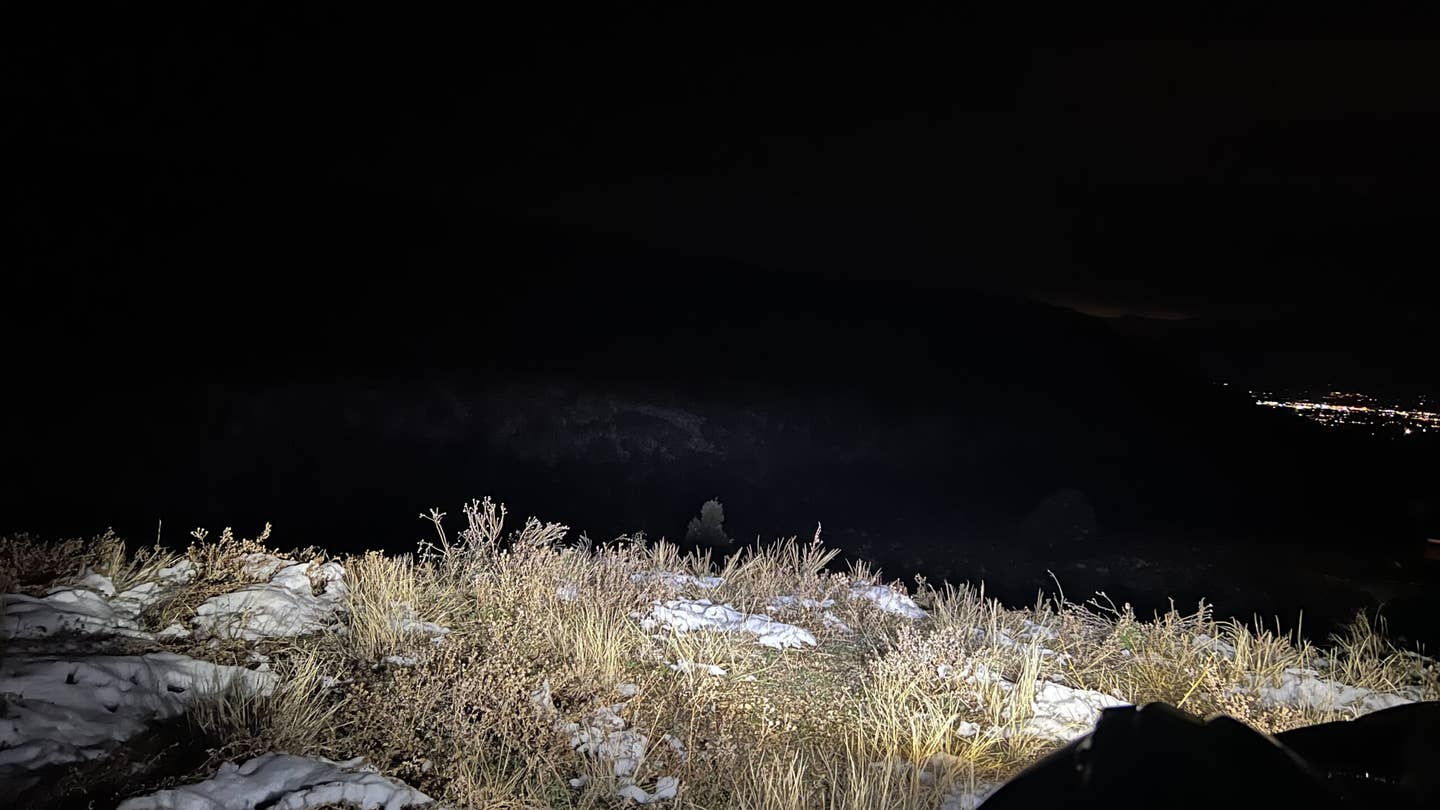
My family and I love star gazing. And where we live in Utah, there’s little light pollution to interfere with the heavens above. It is, however, still present. To find perfect darkness and the entirety of the Milky Way, you need to head into the lightless wilderness. But that presents a problem for the Can-Am’s stock headlights.
By no means are they bad, but they can’t cope with the complete and utter inky blackness and animal-filled Bureau of Land Management land. More lights were needed.
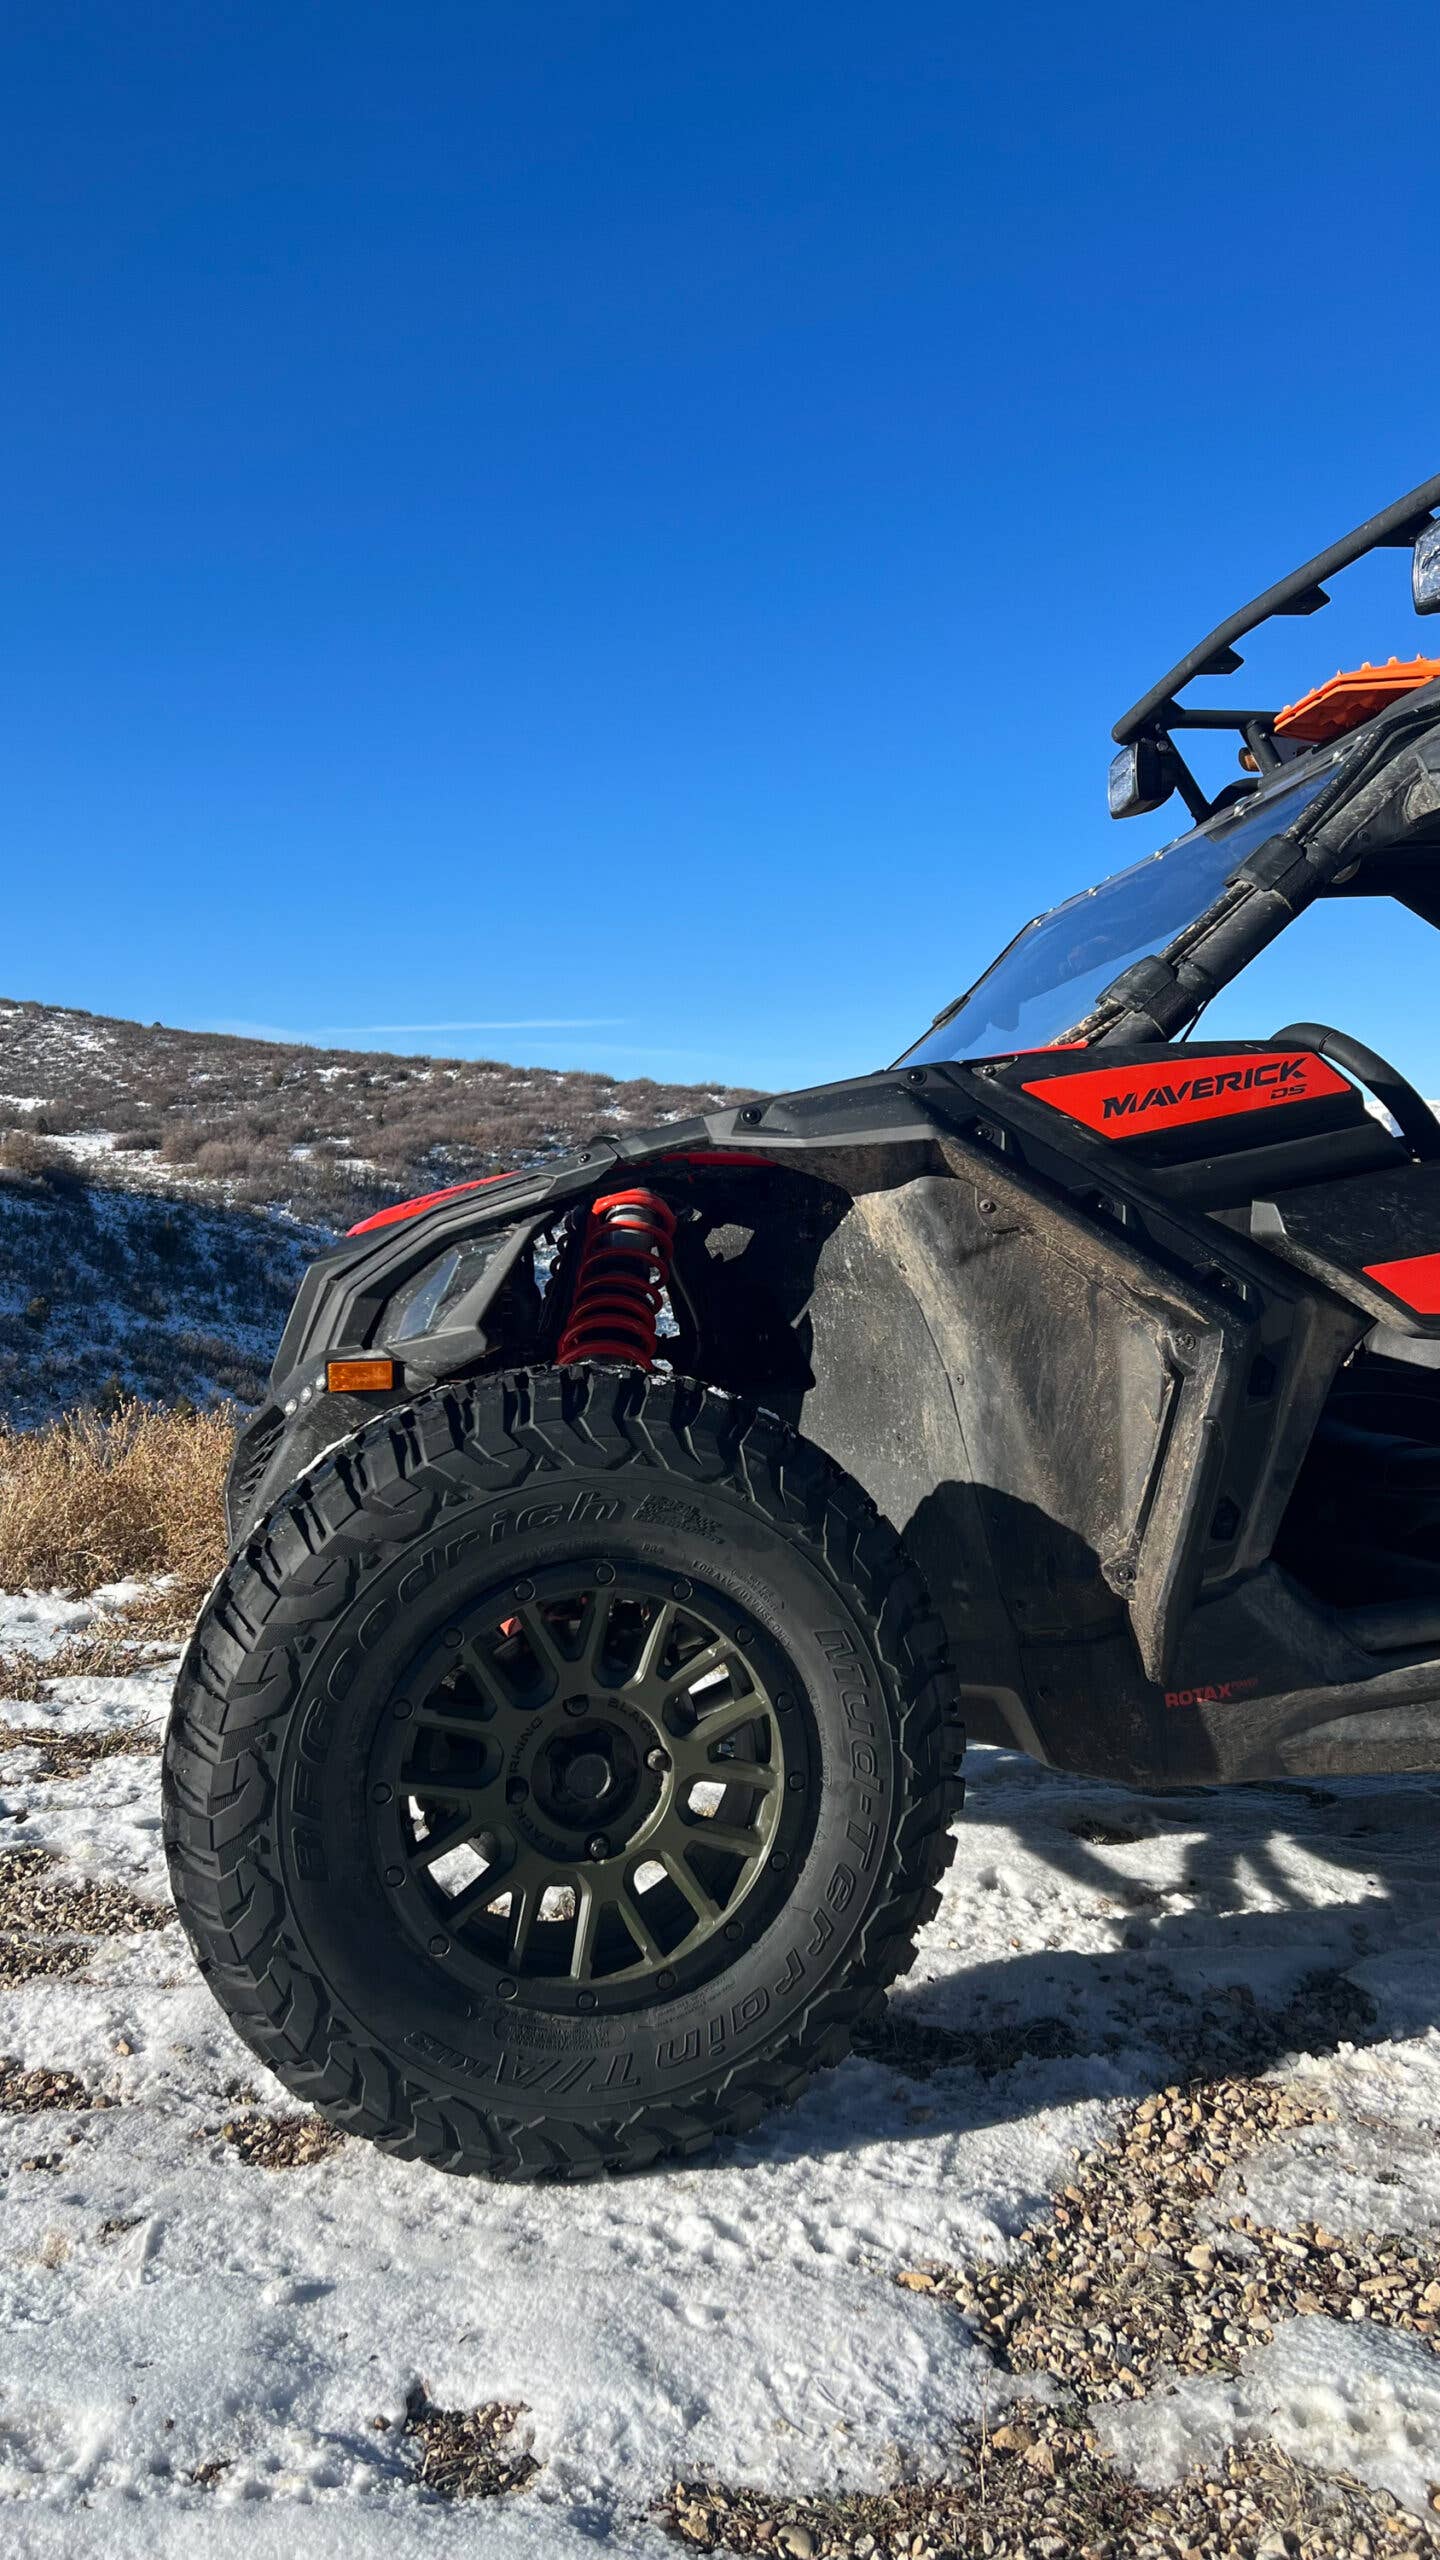
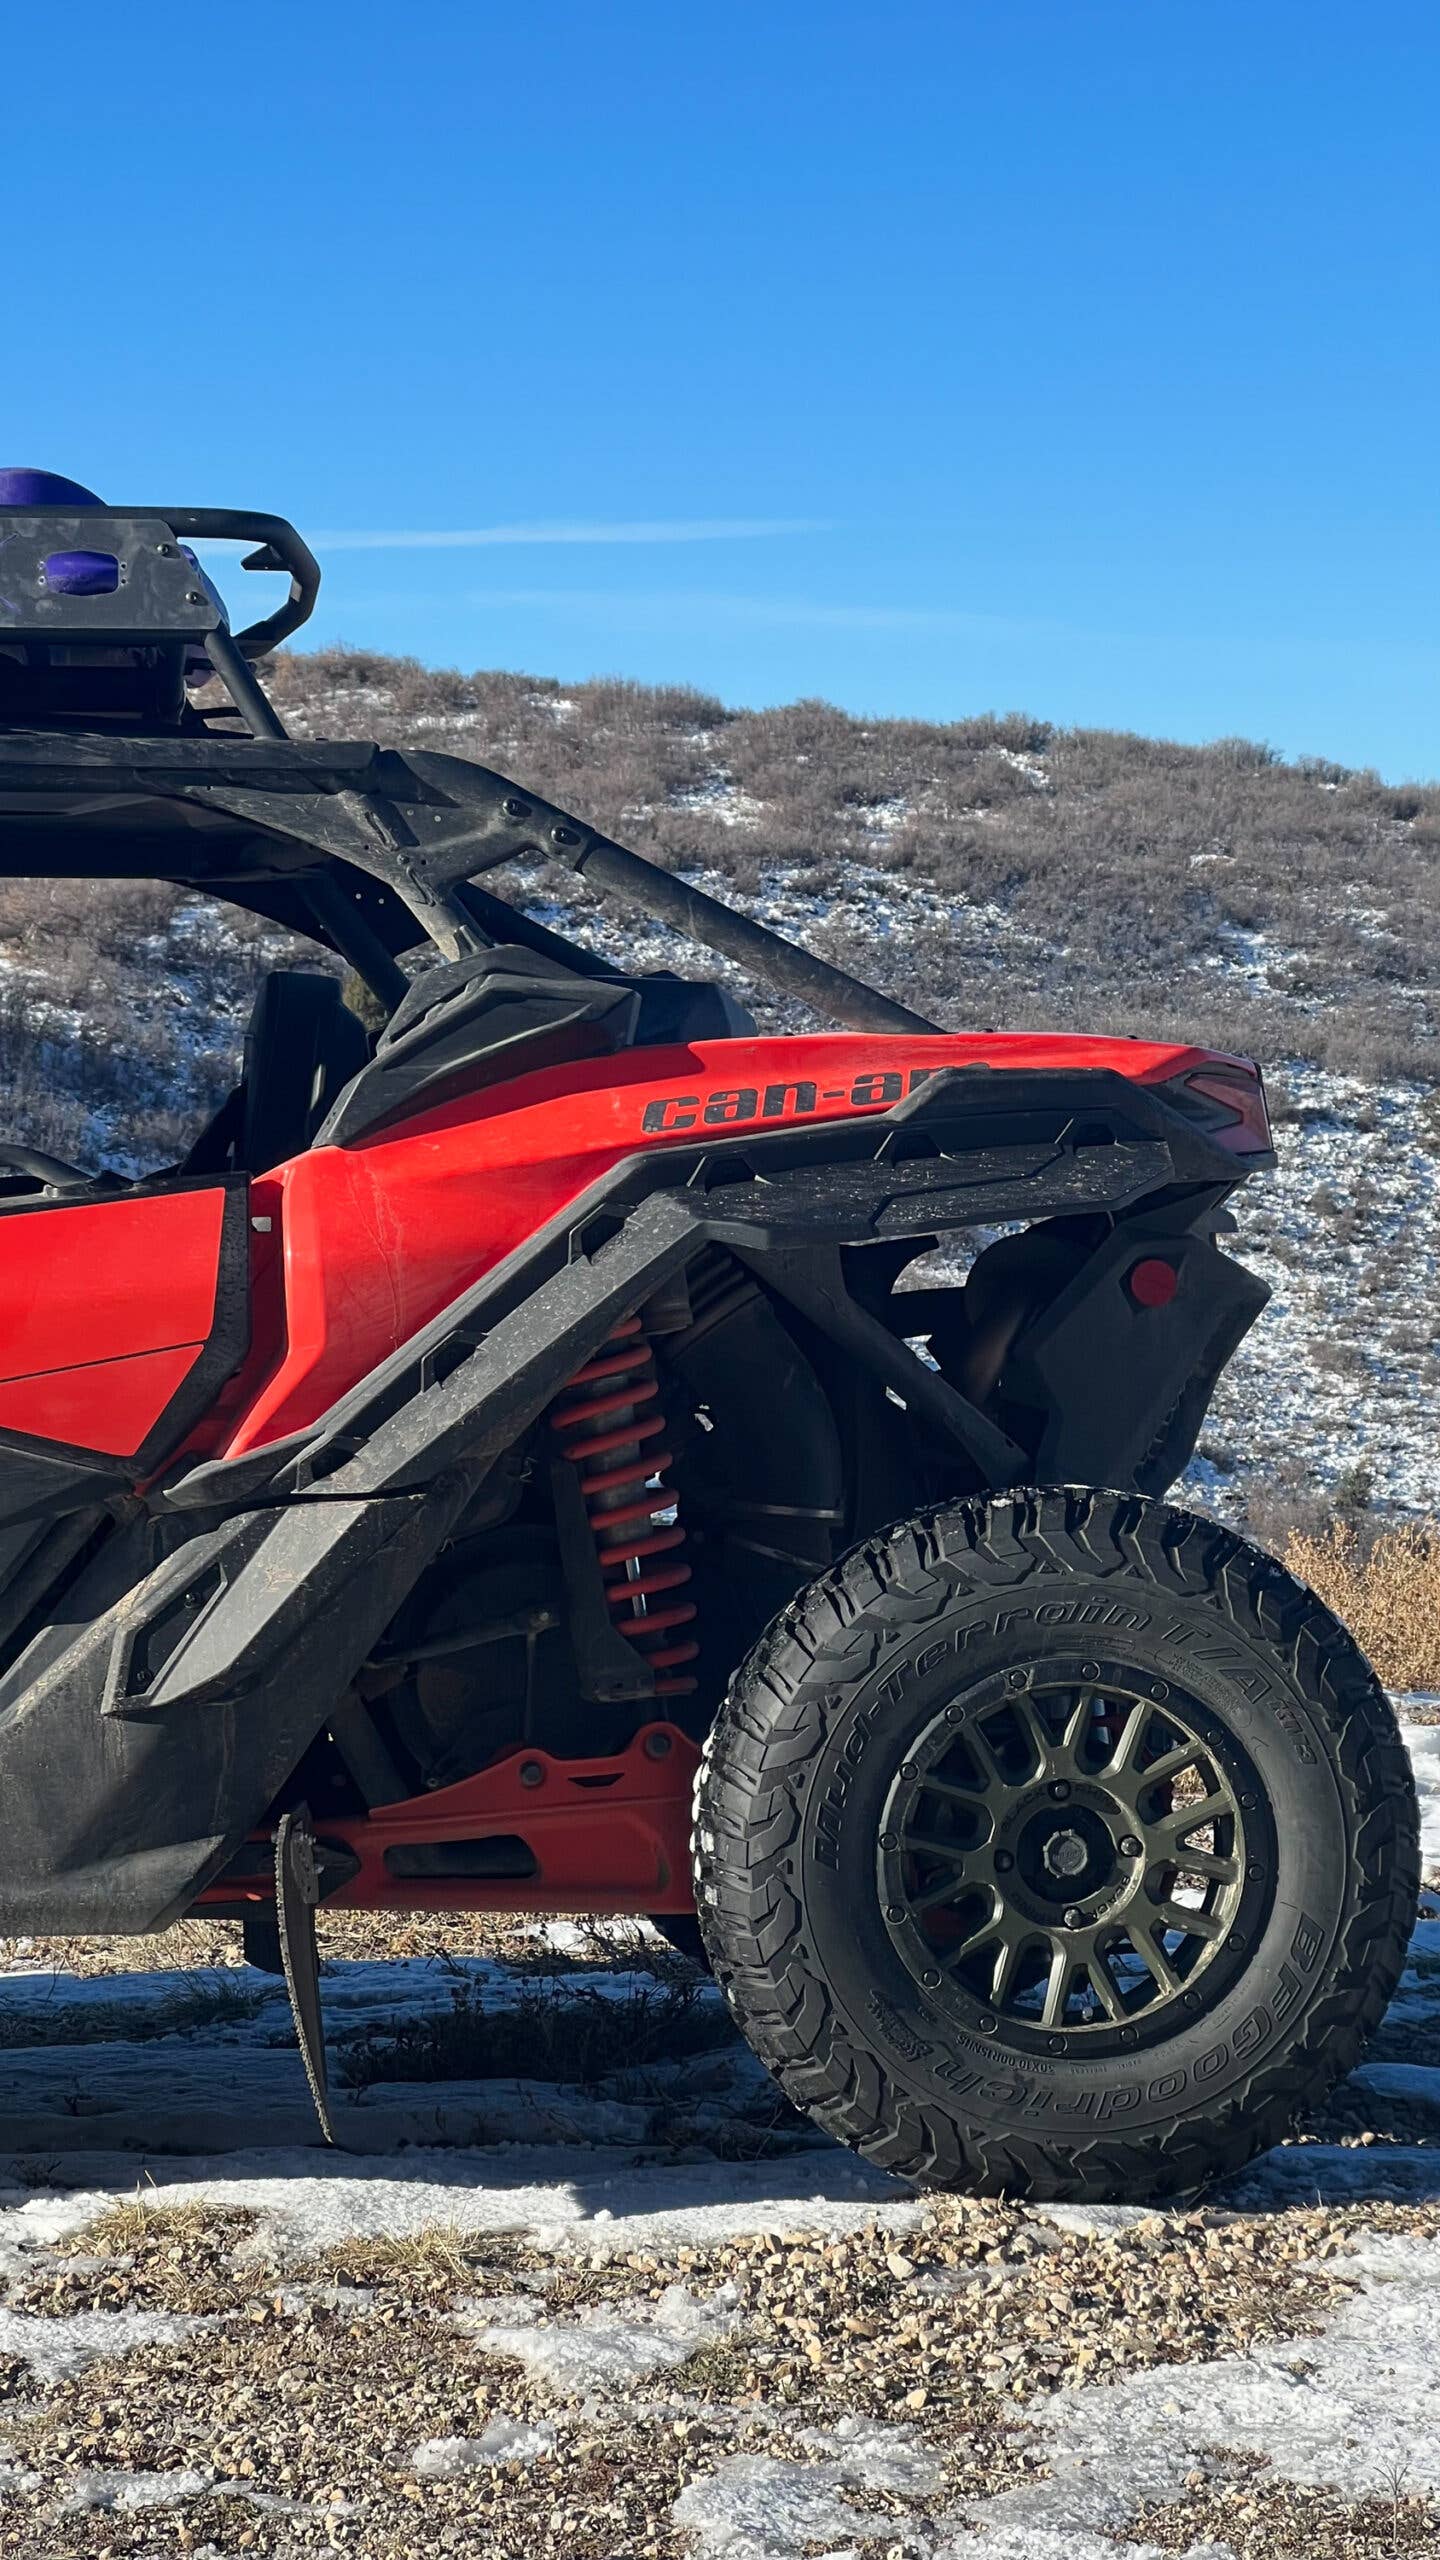
What’s more, after installing the new wheels and tires, I found that the BFGoodrich KM3s tend to pick up rocks and huck them into the cabin. So I ordered fender flares off an (checks notes) Amazon company. What have I gotten myself into?
Let’s talk illumination.
Let There Be Blinding Light
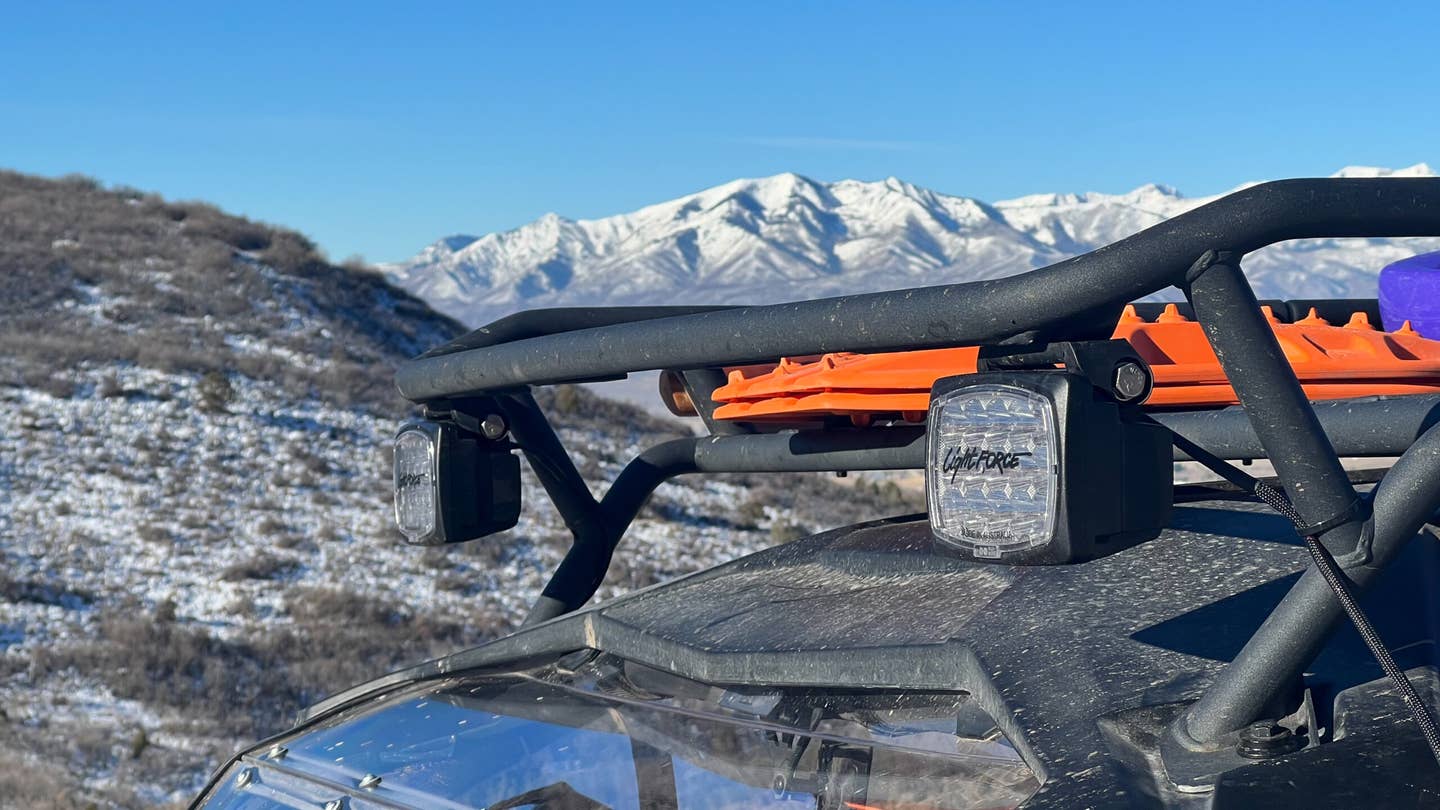
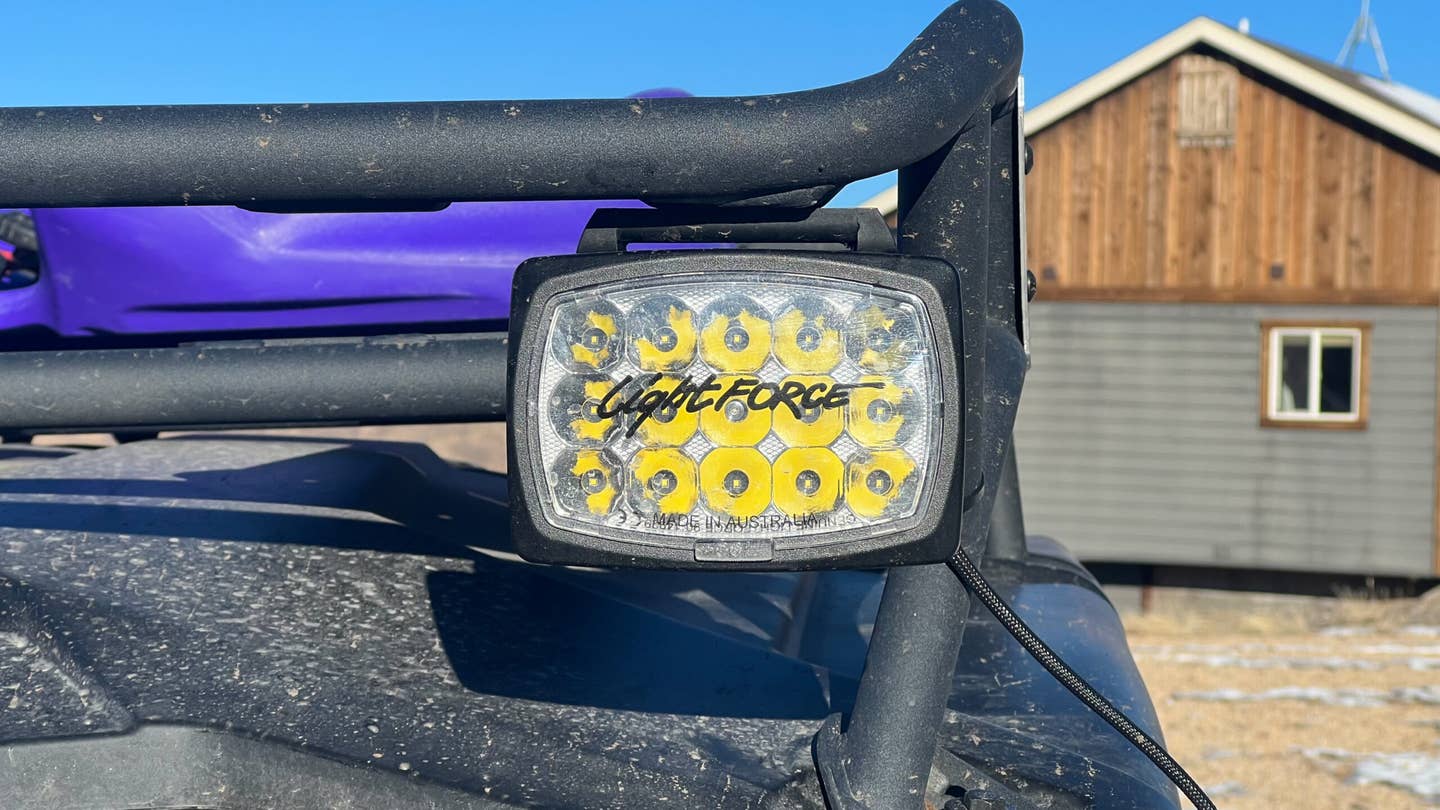
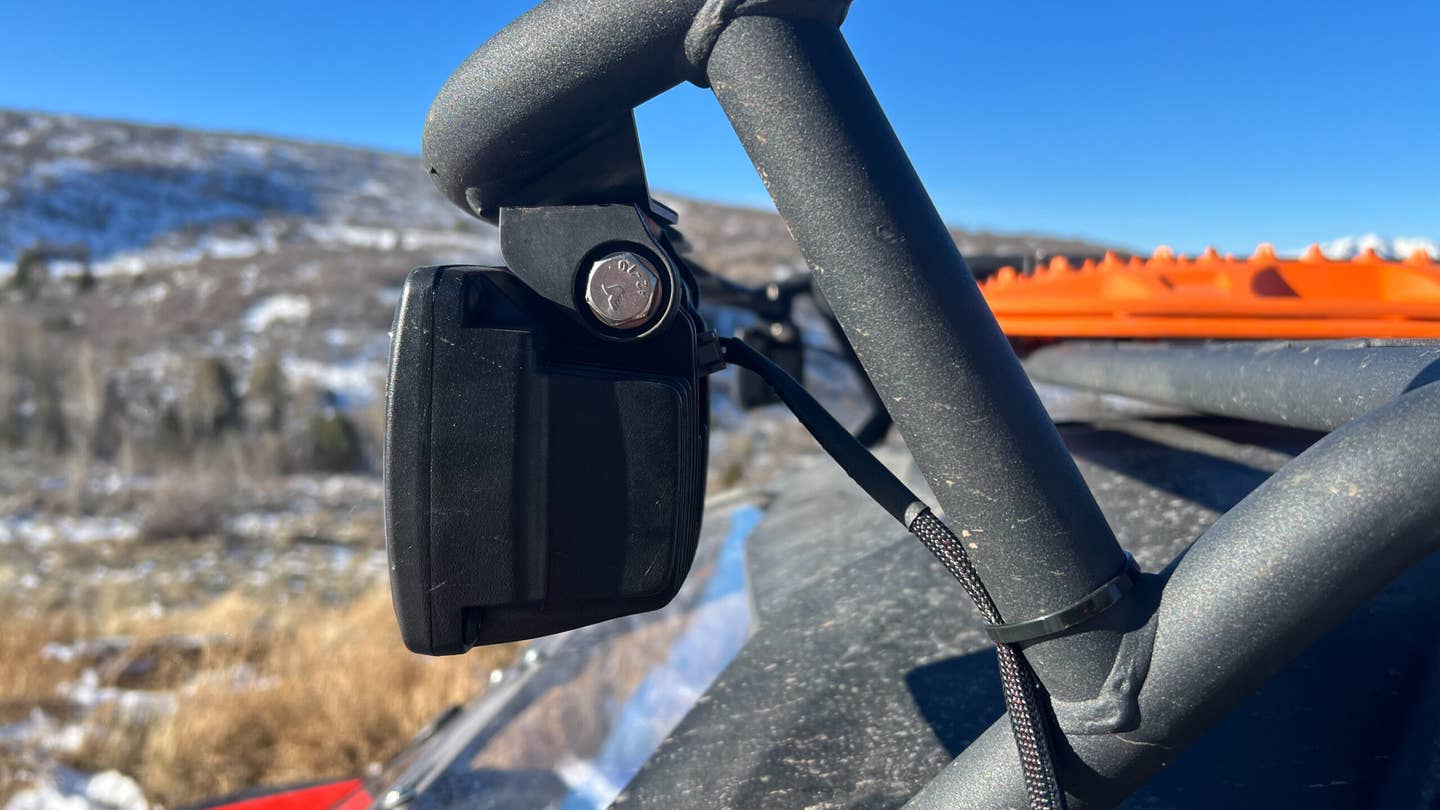
I’ve had a set of Lightforce Striker LED lights for a while now. But until last month, they’d been sitting on a shelf collecting dust. Mostly because I didn’t have a mounting bracket for them. That changed with the addition of the Can-Am’s roof rack, which came pre-set up for accessory lights. They sat for slightly longer as I struggled wiring the lights.
Can-Am makes the whole process pretty easy as there are accessory power posts in the transmission tunnel. Accessing the posts only requires removal of the passenger seat and two panels. I got really good at this by the end, but that’s getting ahead of myself.
Once you’ve accessed the panel, there are three posts: positive, negative, and accessory positive, which ensures your new accessory can only be turned on if the machine is on. That protects your battery. All you should have to do is run the lights’ power to the accessory positive and negative and you’re done. But that wasn’t the case.
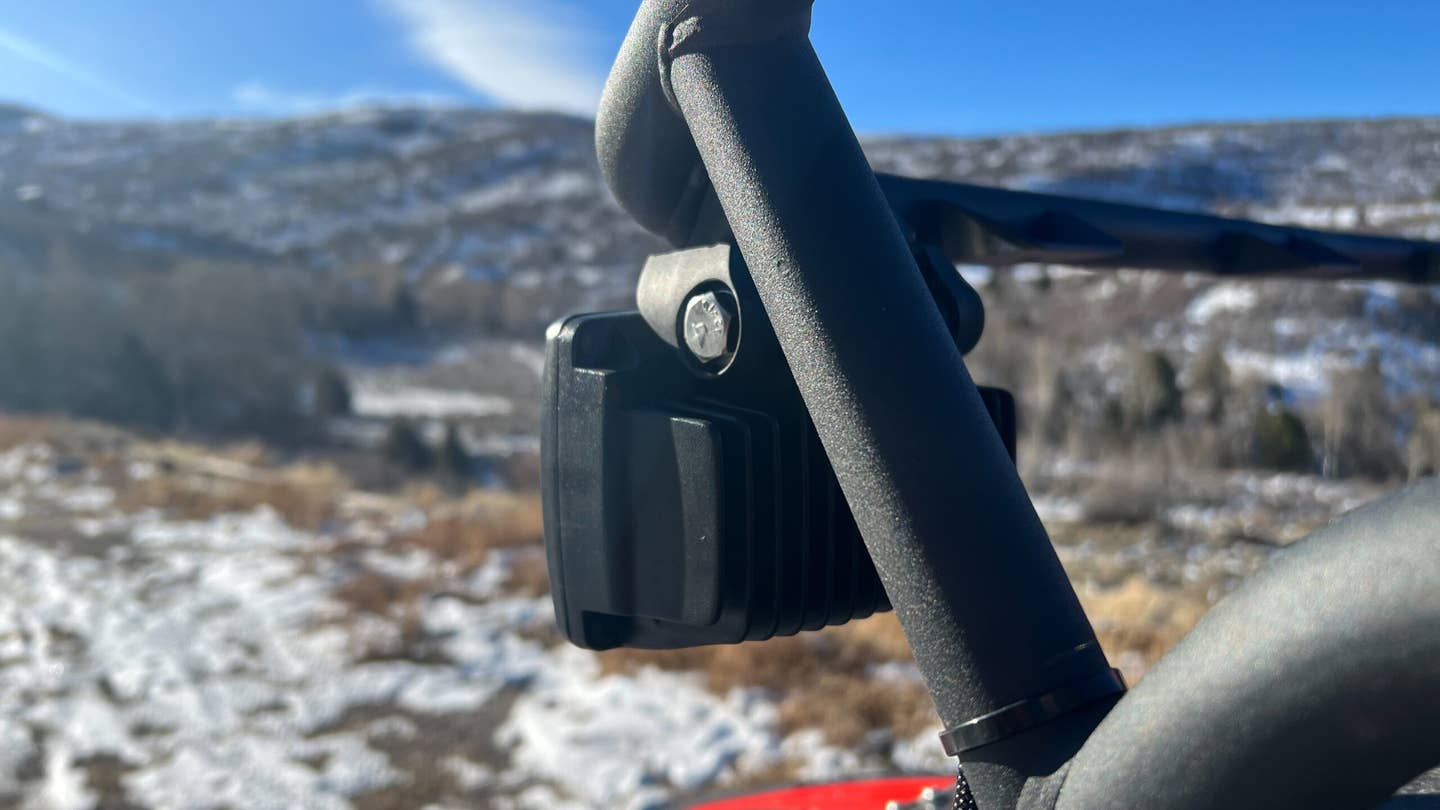
See, these Strikers are actually designed for cars, trucks, and SUVs and have a connection designed to plug into the headlight dongle. This completes the circuit and lets you control them using the car’s brights. The Can-Am doesn’t have the same dongle and being not a super fantastic electrical engineer, I was concerned I’d burn everything to the ground. I pulled the passenger compartment apart at least seven times until I finally gave up and asked for help.
With the help of a colleague, I got hooked up with someone who installs accessory lights for a living. I was told all I needed to do was cut the power lines going to the headlight dongle, attach some electrical posts, and then route them to the power supply, completing the circuit. I got off the phone and by the end of the day, the lights worked. Here’s your reminder to ask for help.
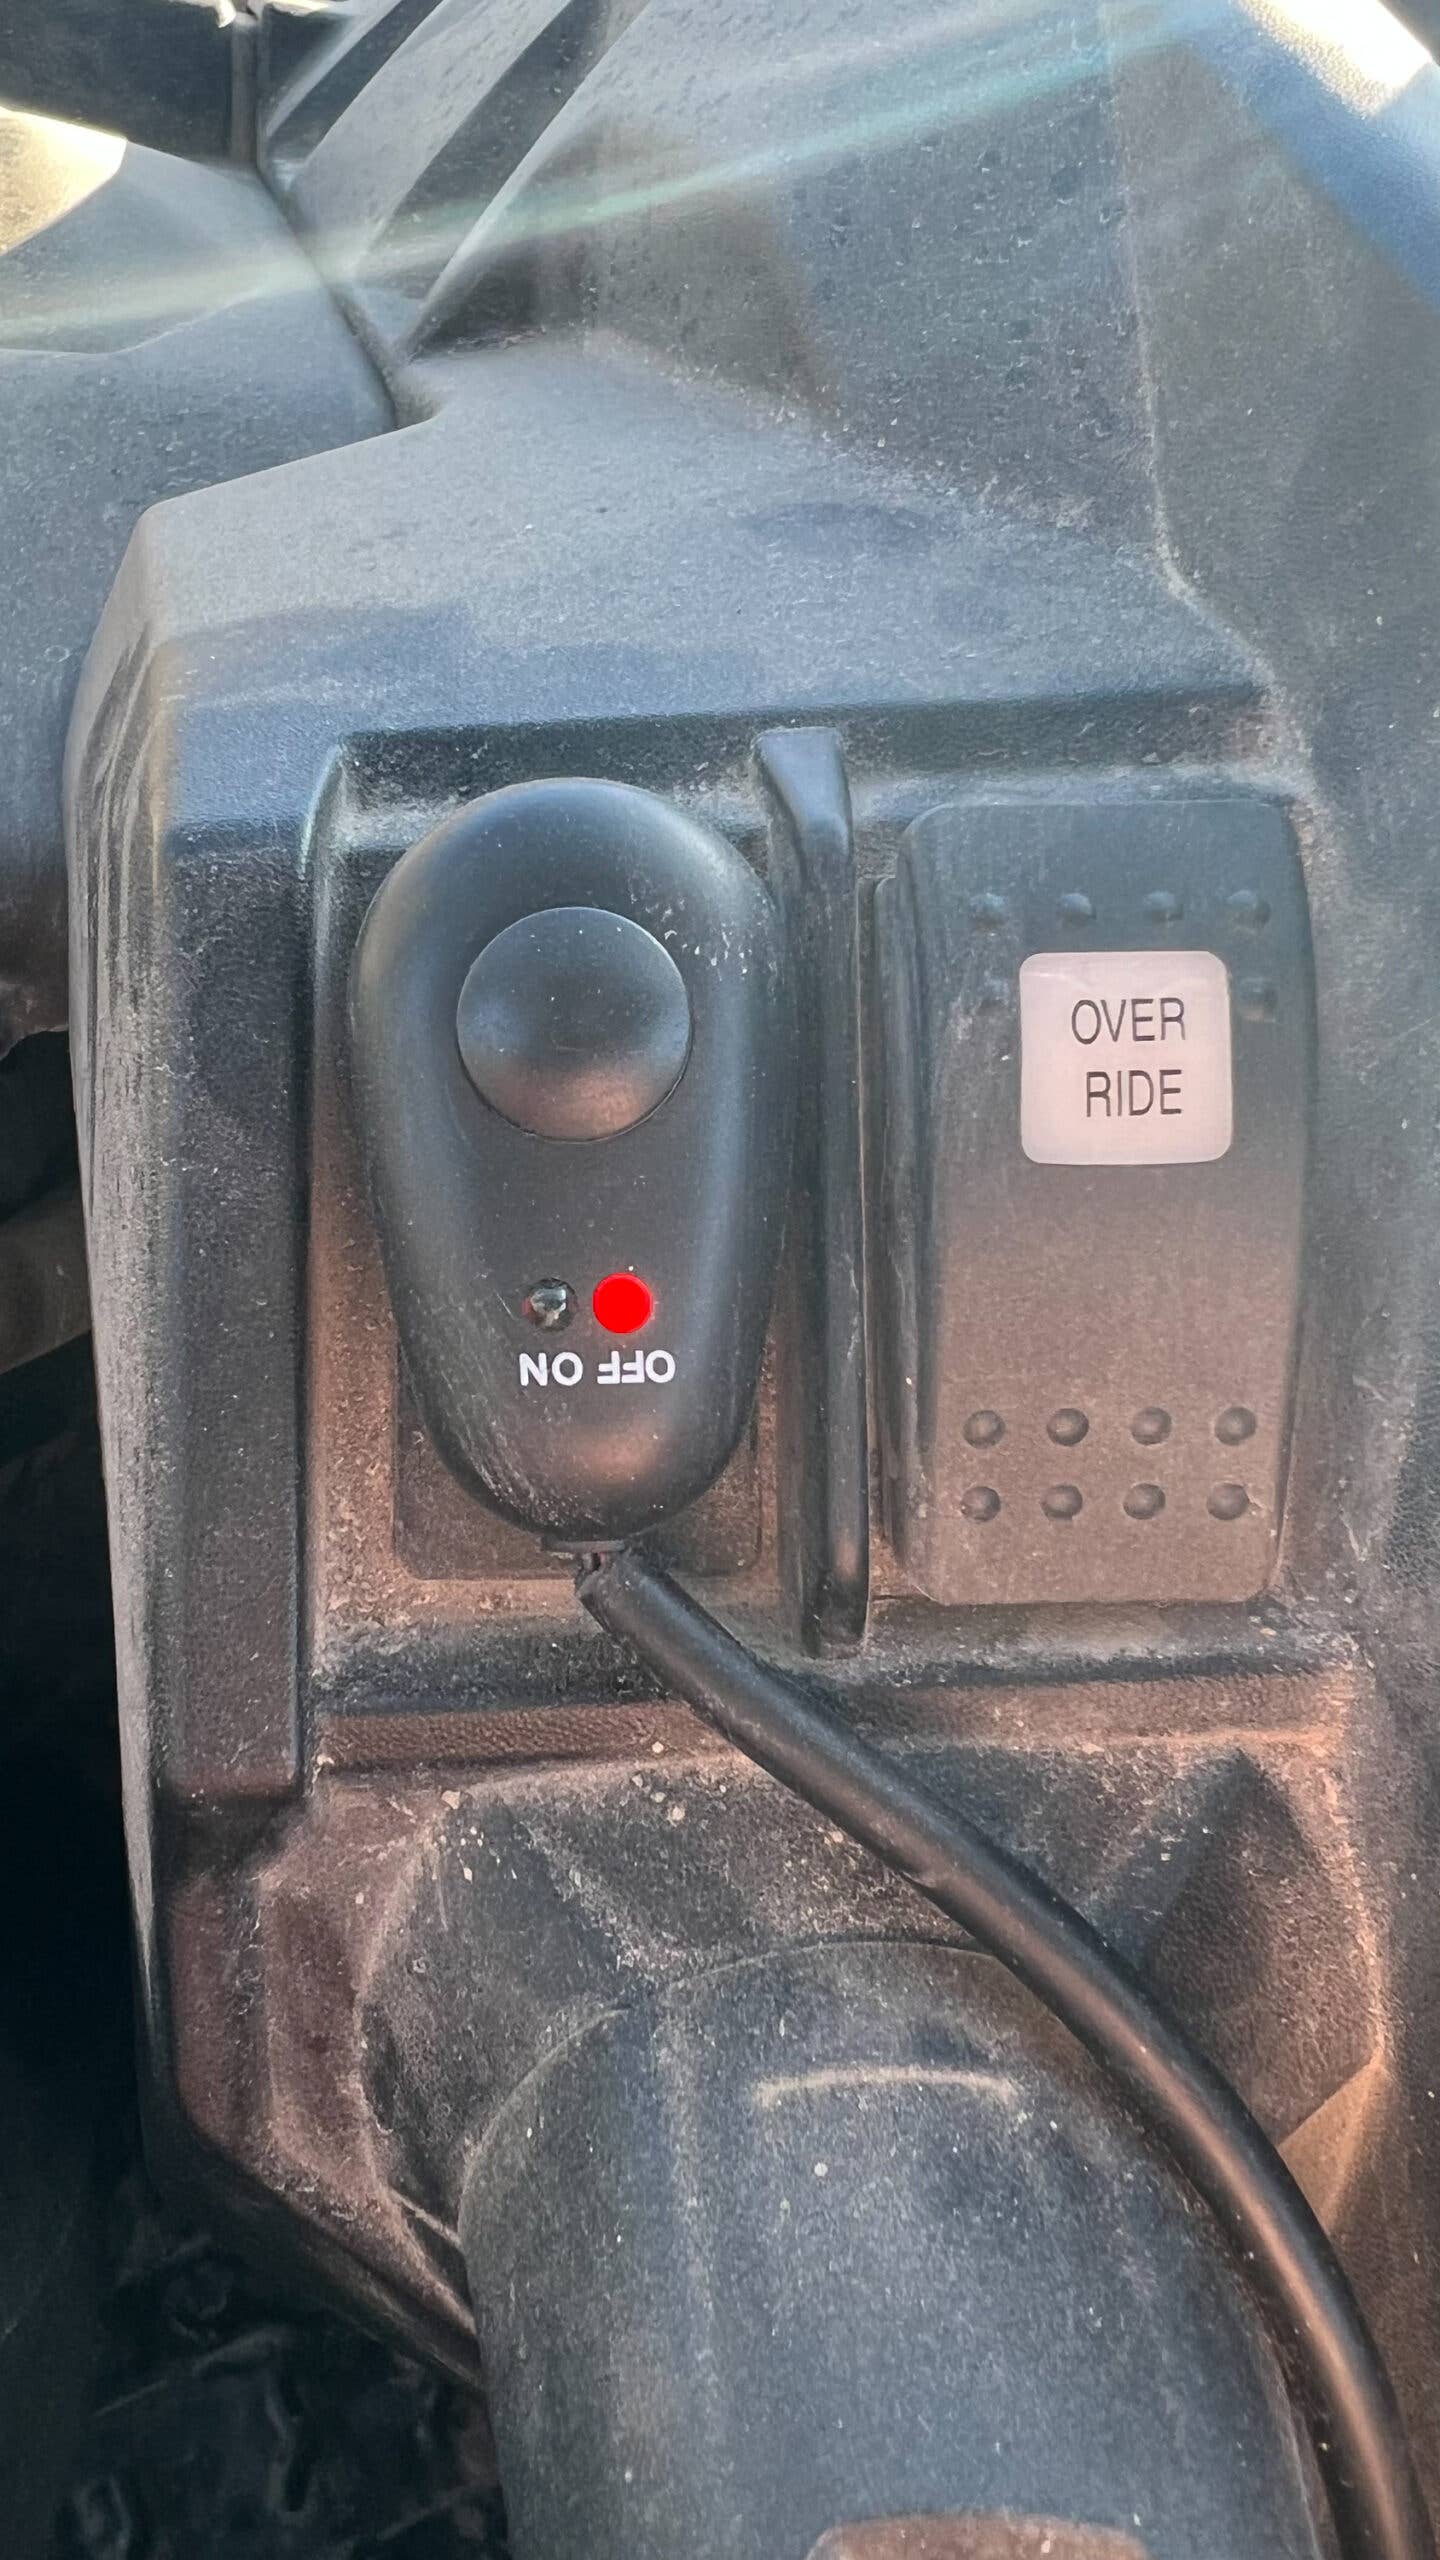
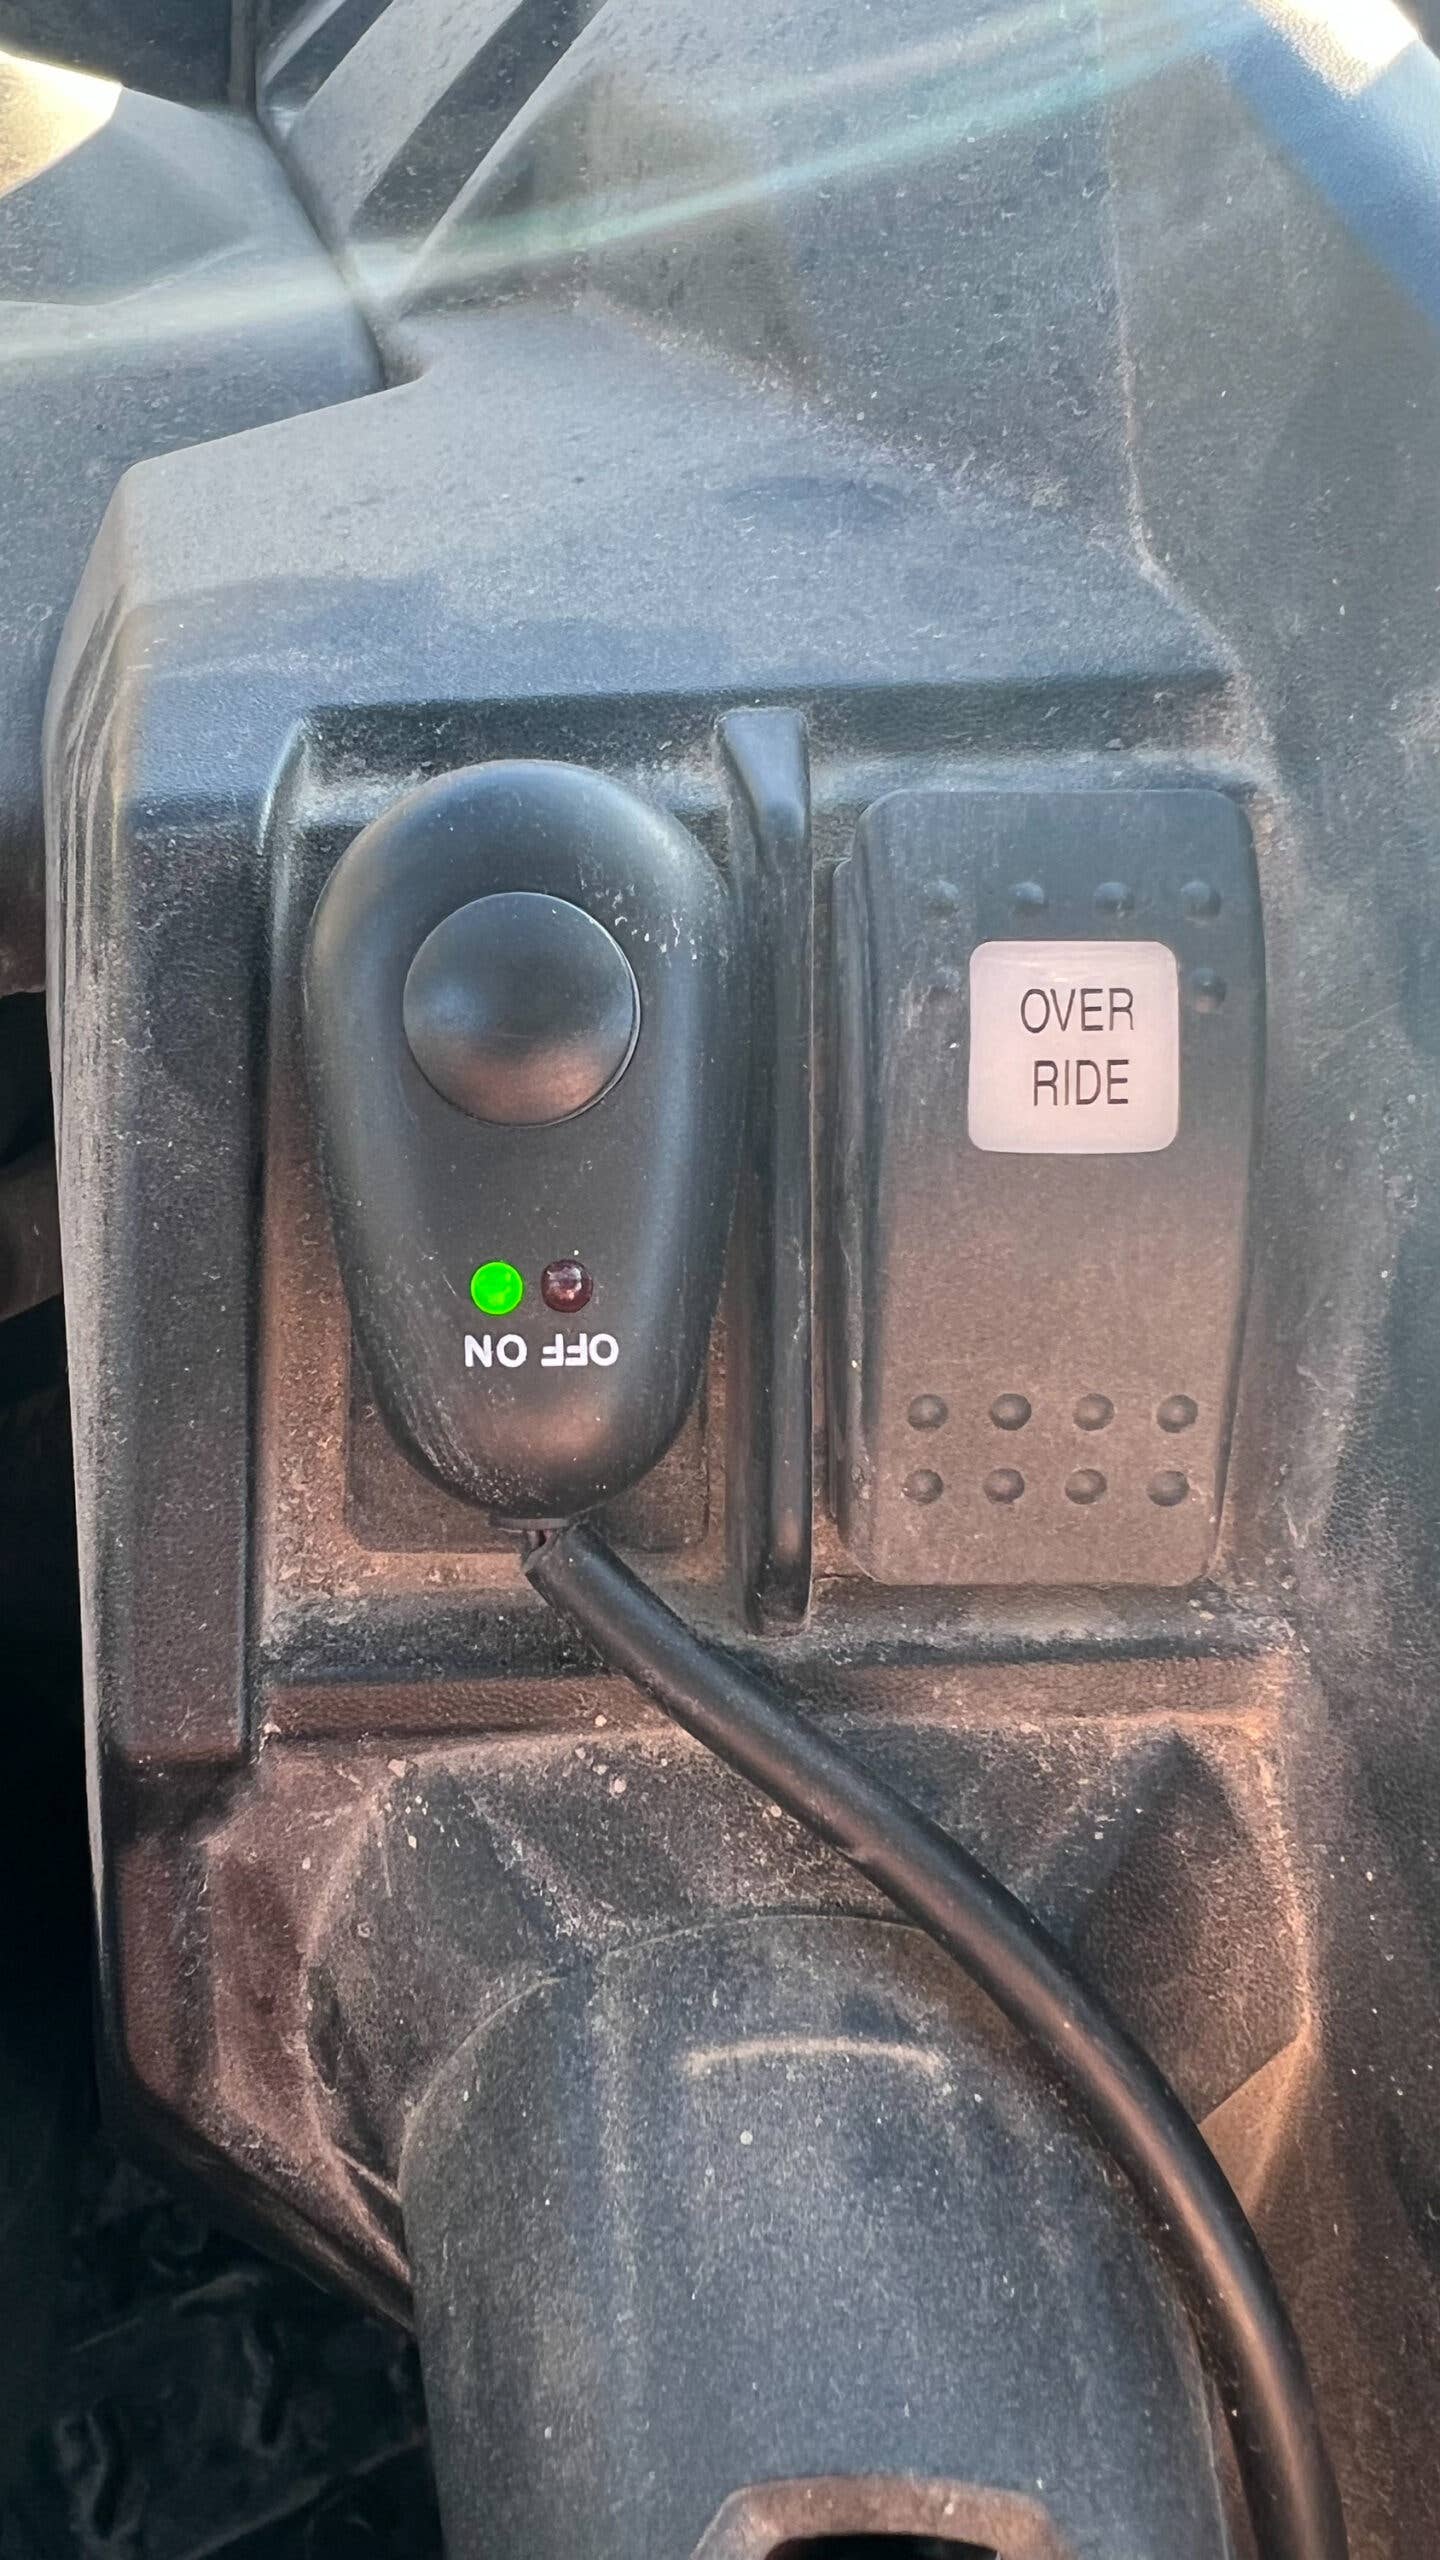

Finishing up the installation took a bit of routing, and I removed even more panels to hide all the electrical lines, but the end result is excellent. The lights mounted super easily and everything, including the switch activating the lights, works. It might not look factory, but it looks killer and the Strikers have a ton of up, down, and side to side adjustability.
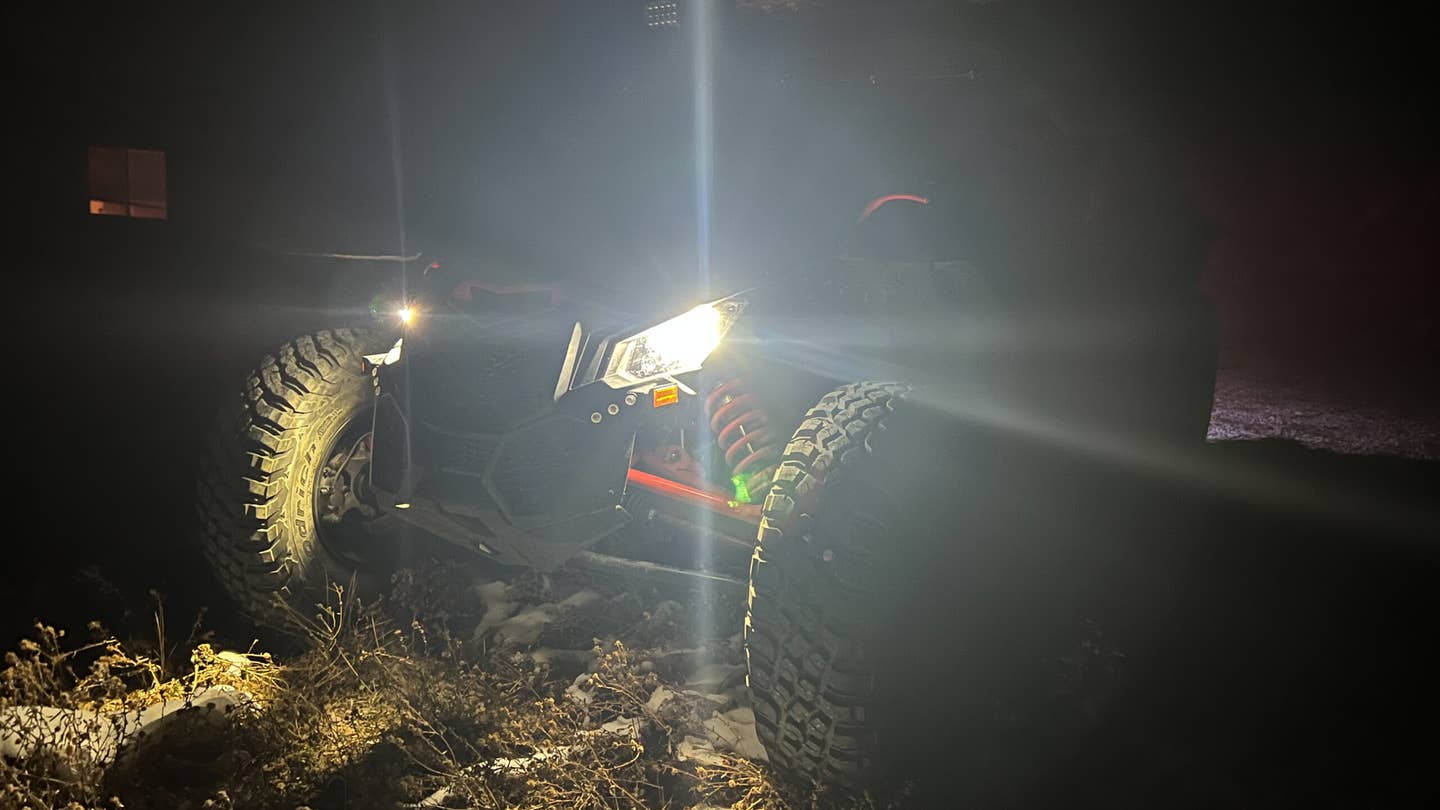
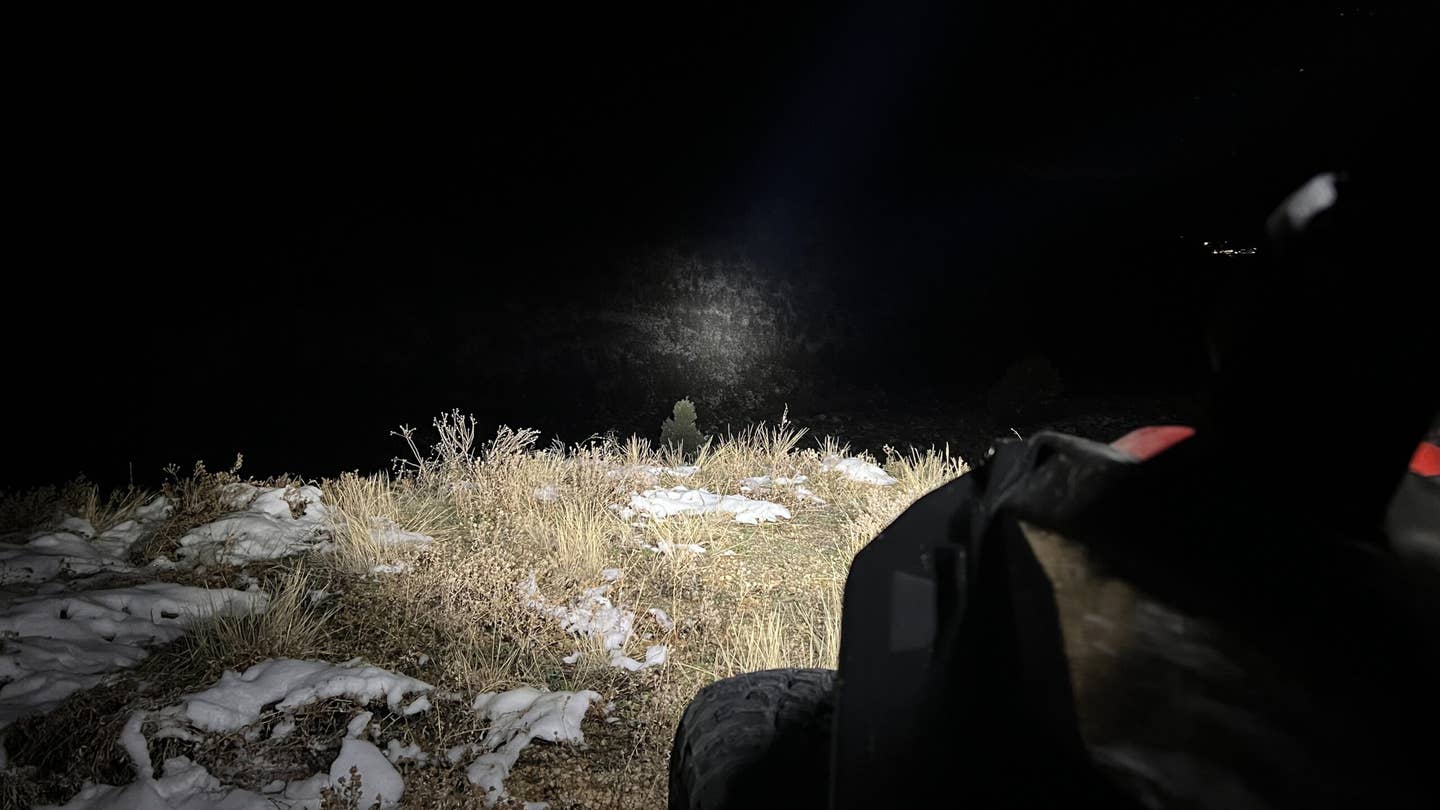
I tested them that night and was blown away by how much light they throw being the fairly small units they are.
It’s about 400 yards between my backyard and the mountain’s rise across the valley behind my home. The stock lights barely shed enough light to reach half distance. The Lightforce Strikers illuminate a large patch on the rise. And they could go further.
The weekend after I’d installed them, we took the Can-Am into the backcountry and went stargazing. These lights make the entire trip that much easier and are worth their $450 price of admission. I can’t wait until next spring when the snow’s gone to really get some use out of them.

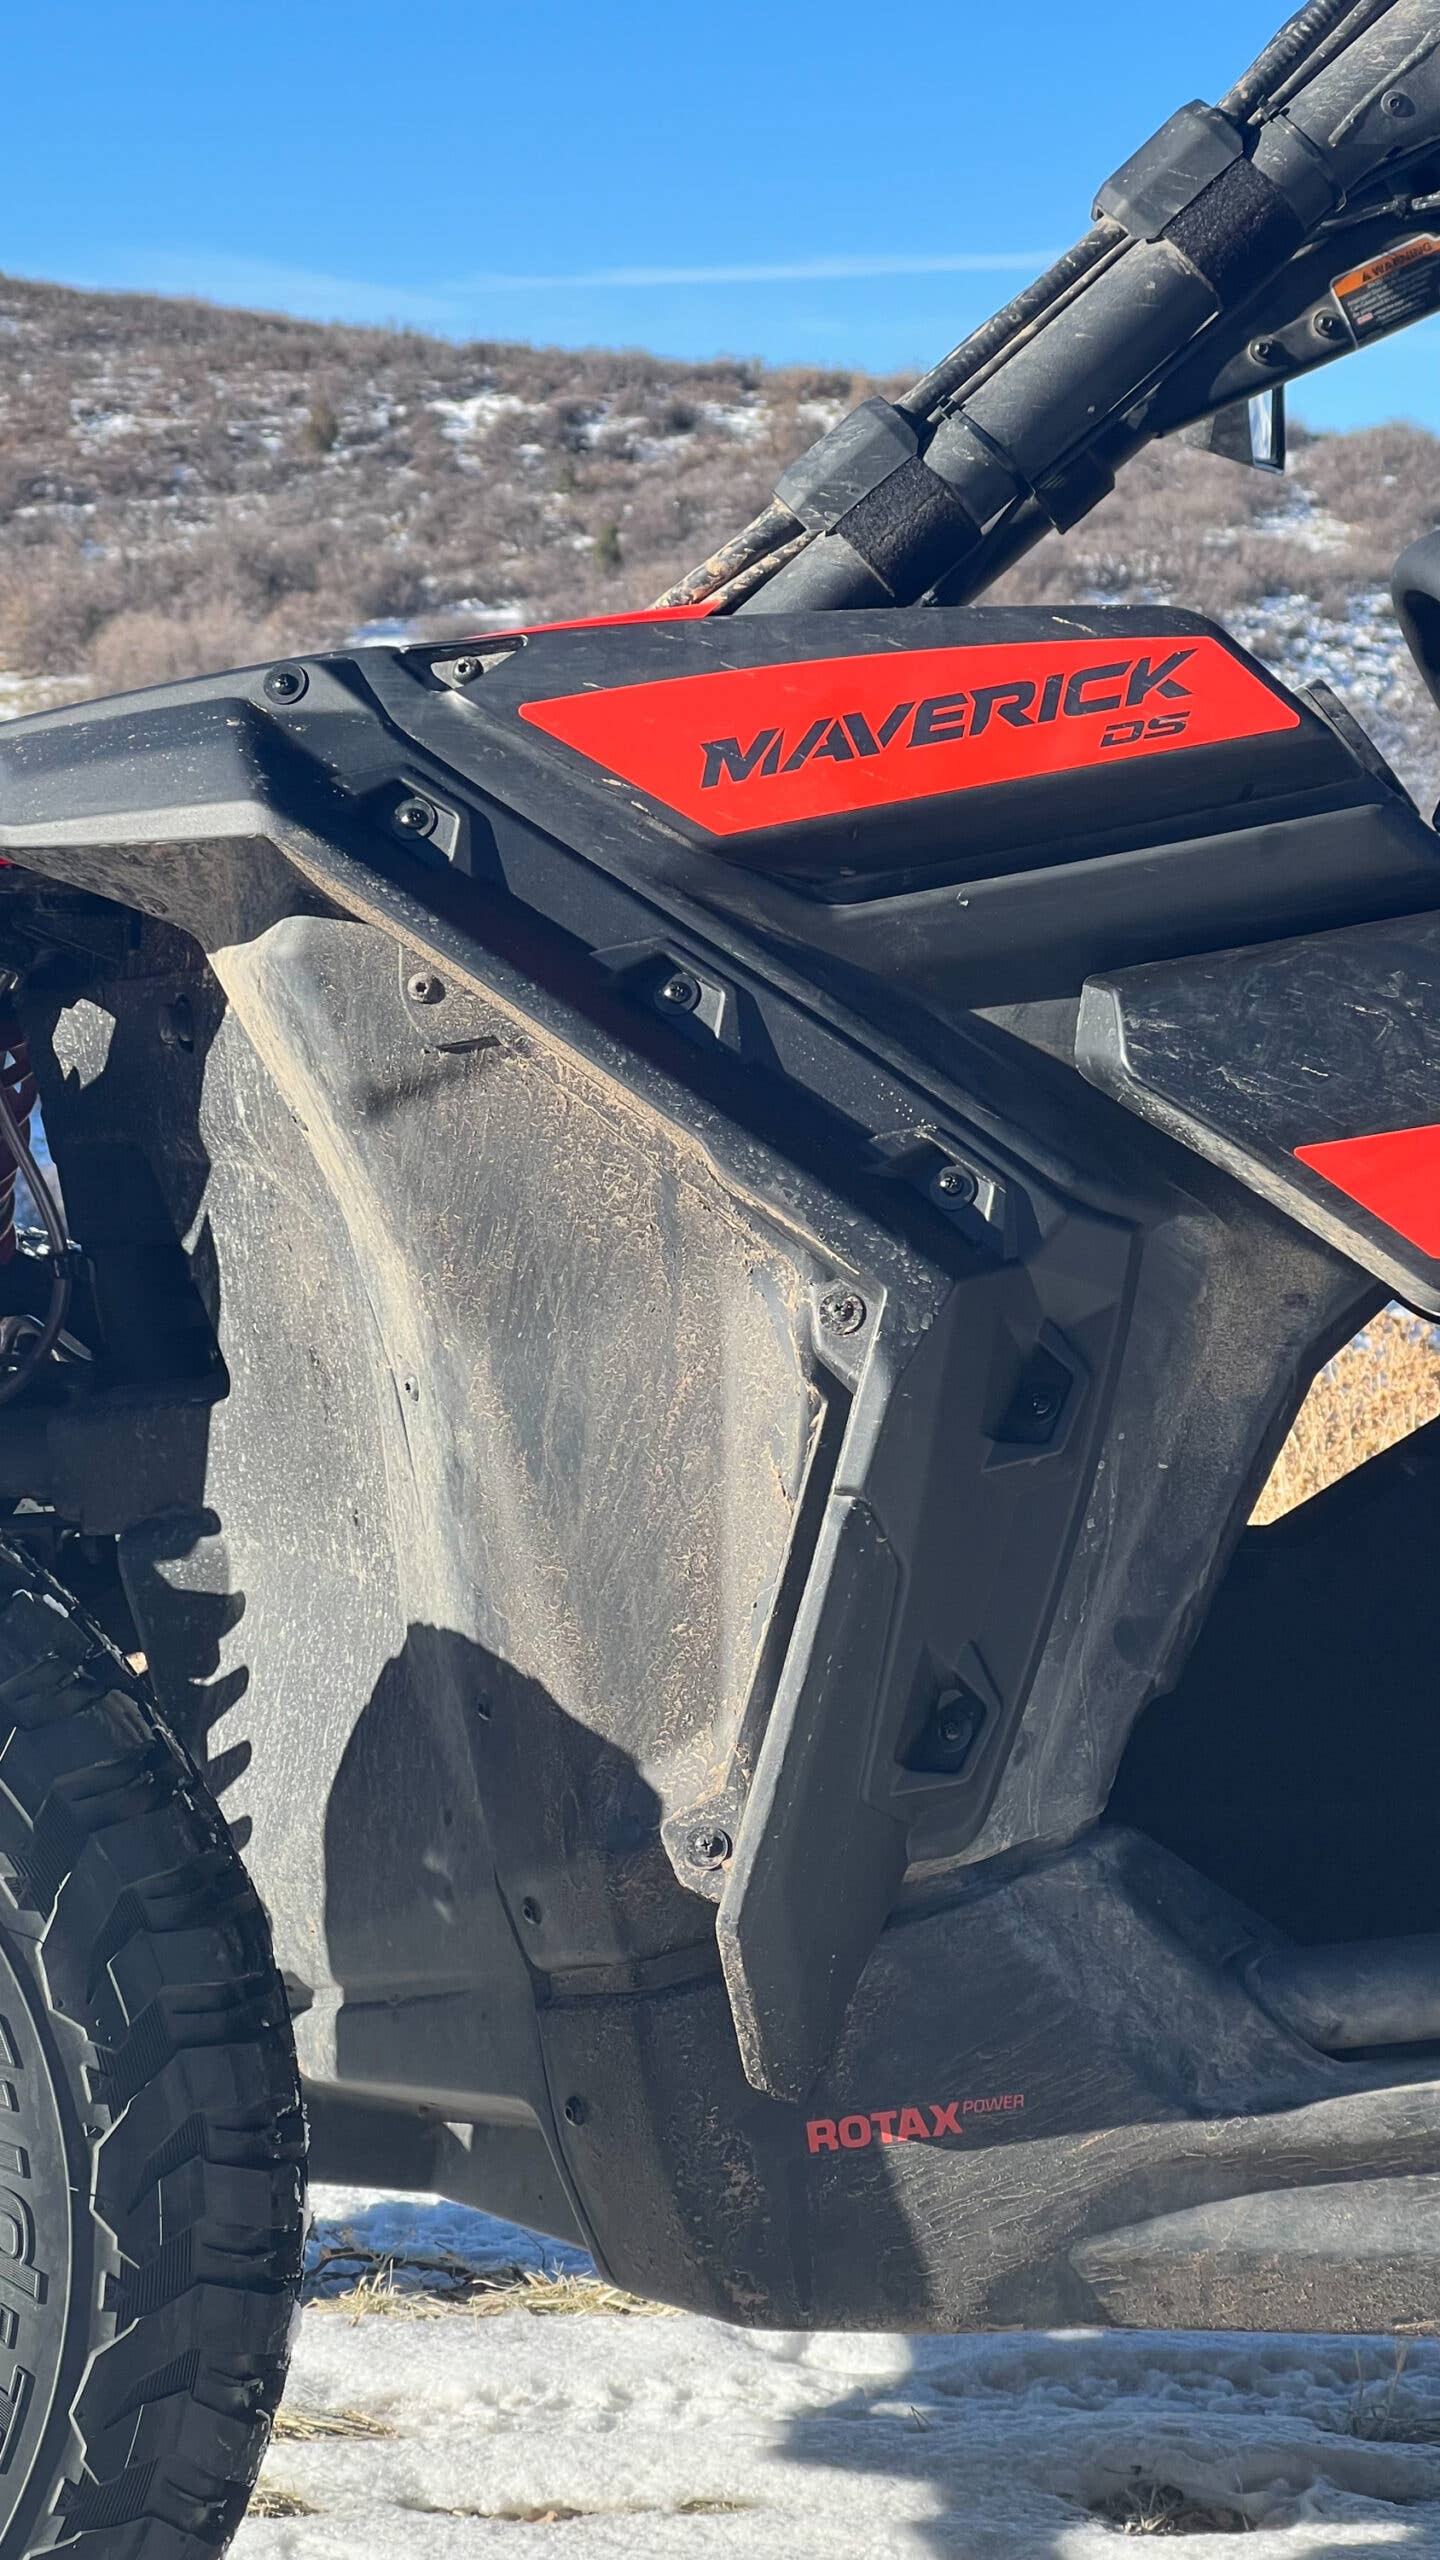
Screw-On Fender Flares FTW
I don’t smoke a pack of cigarettes a day anymore, but I’m basically Nakai-san now. At least that’s what I told myself after I’d finished adding the Can-Am’s new fender flares.
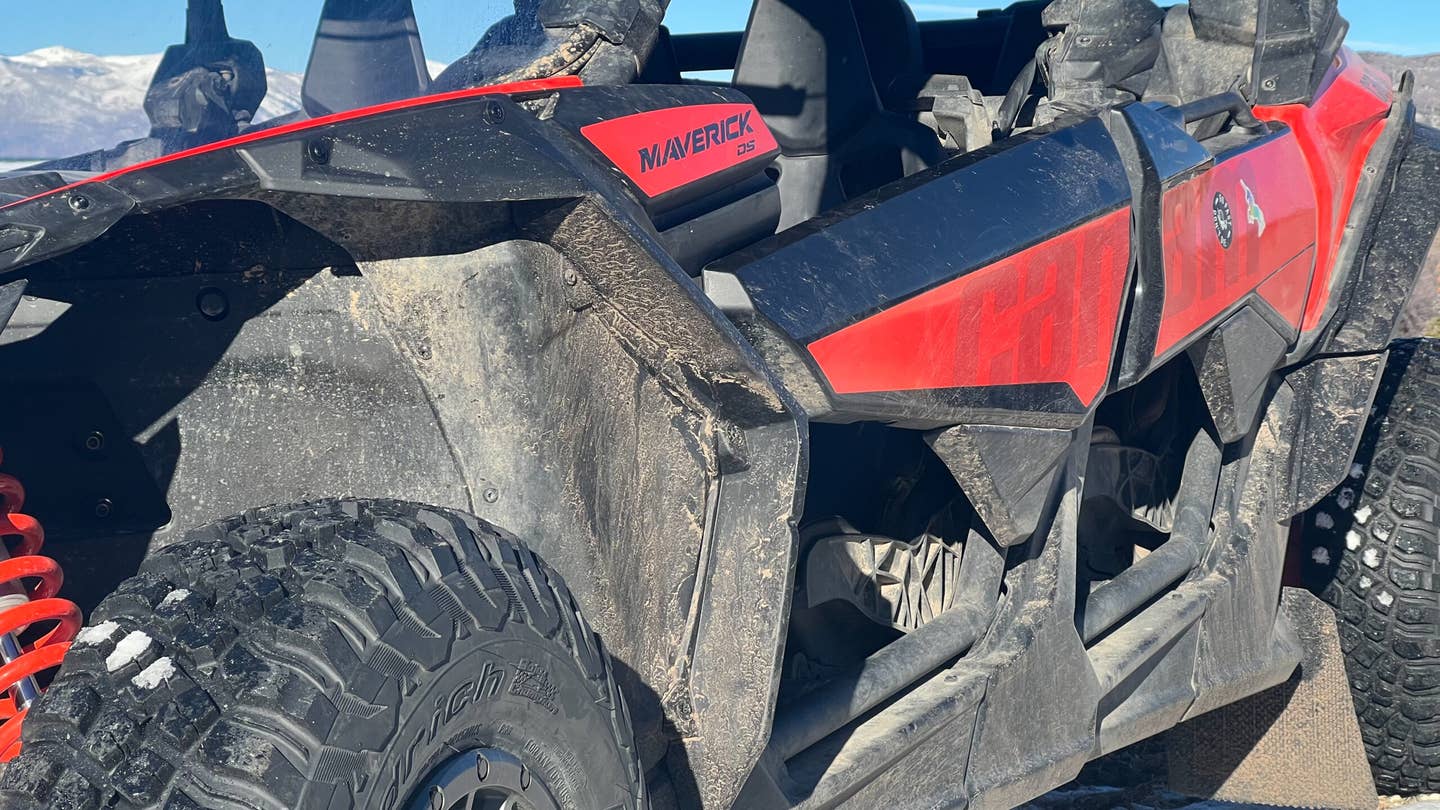
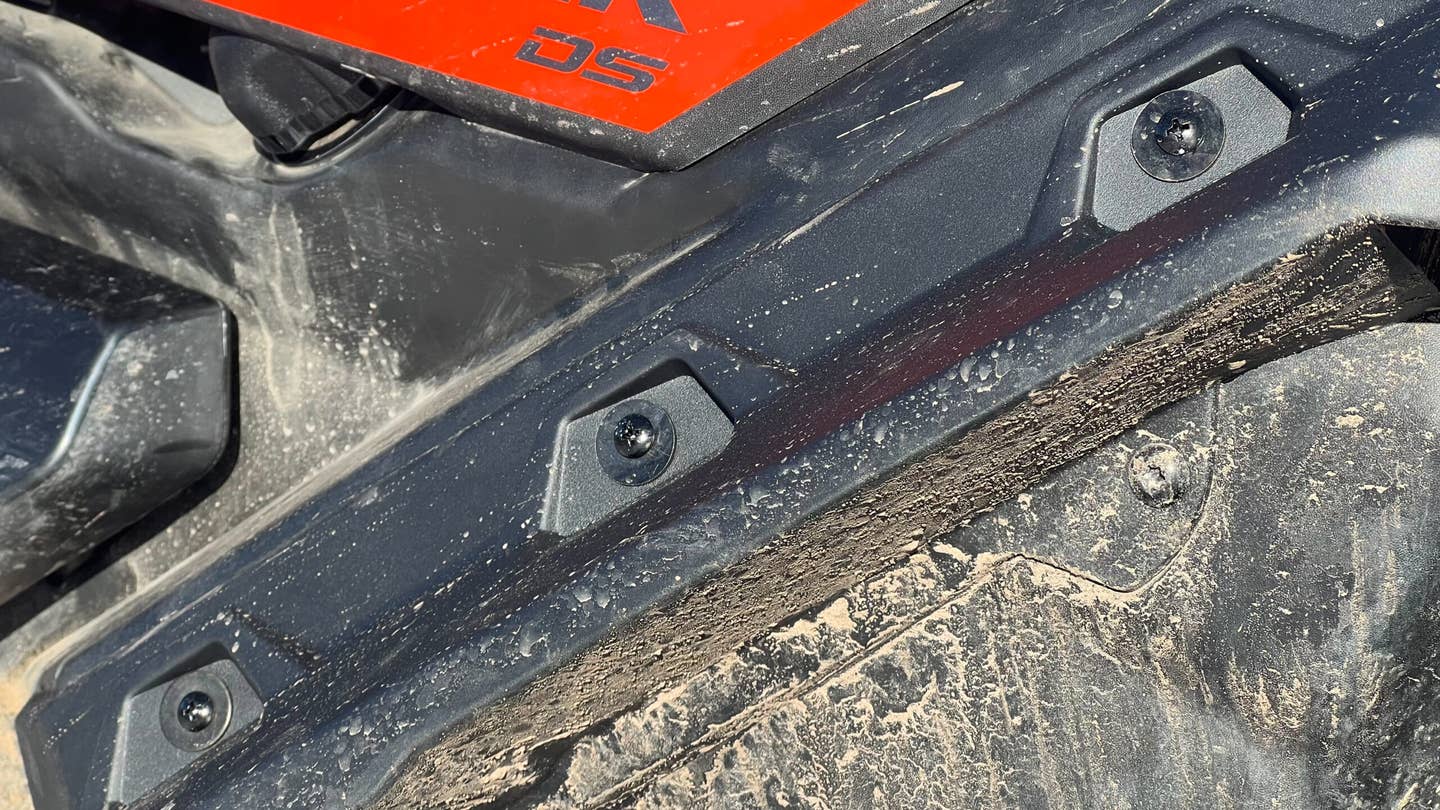
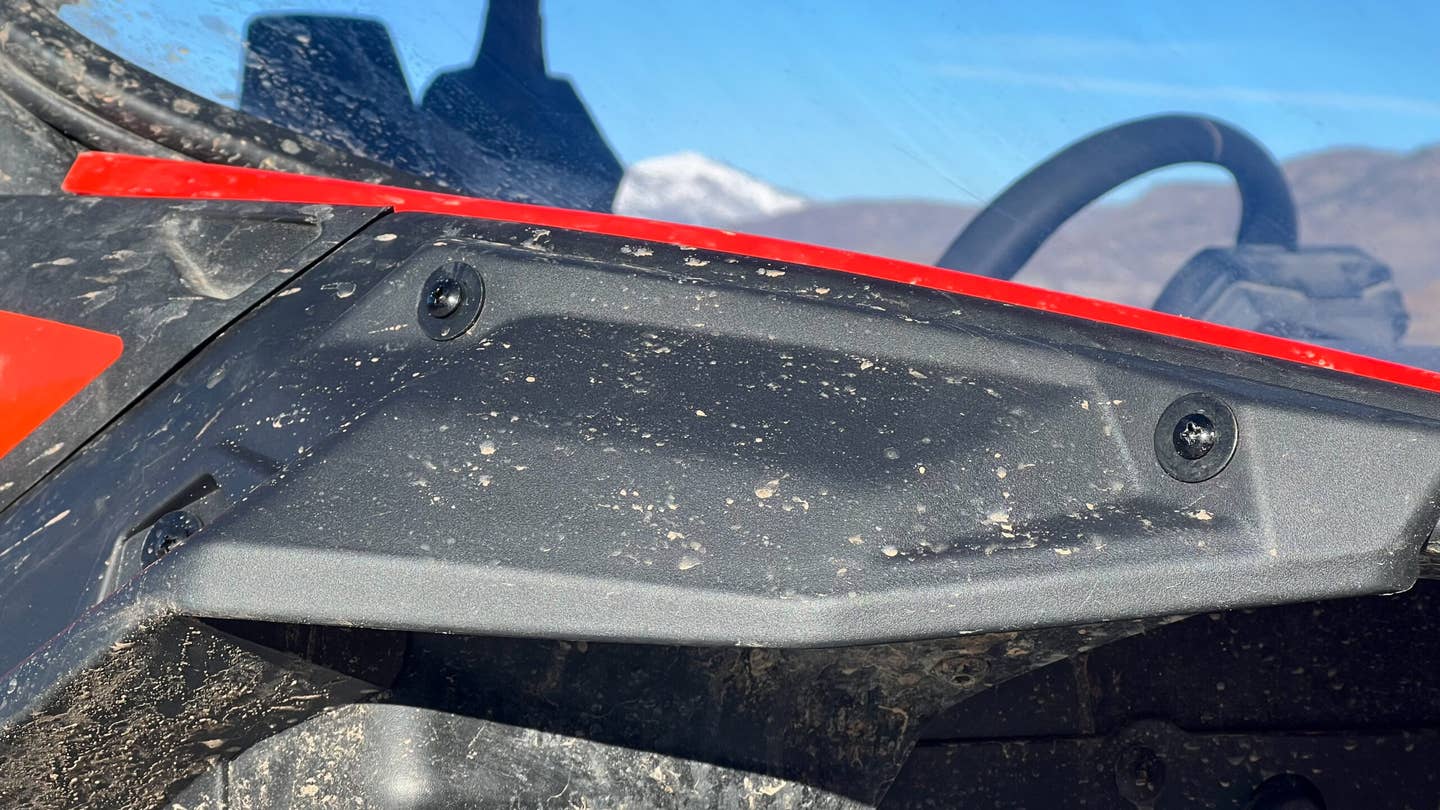
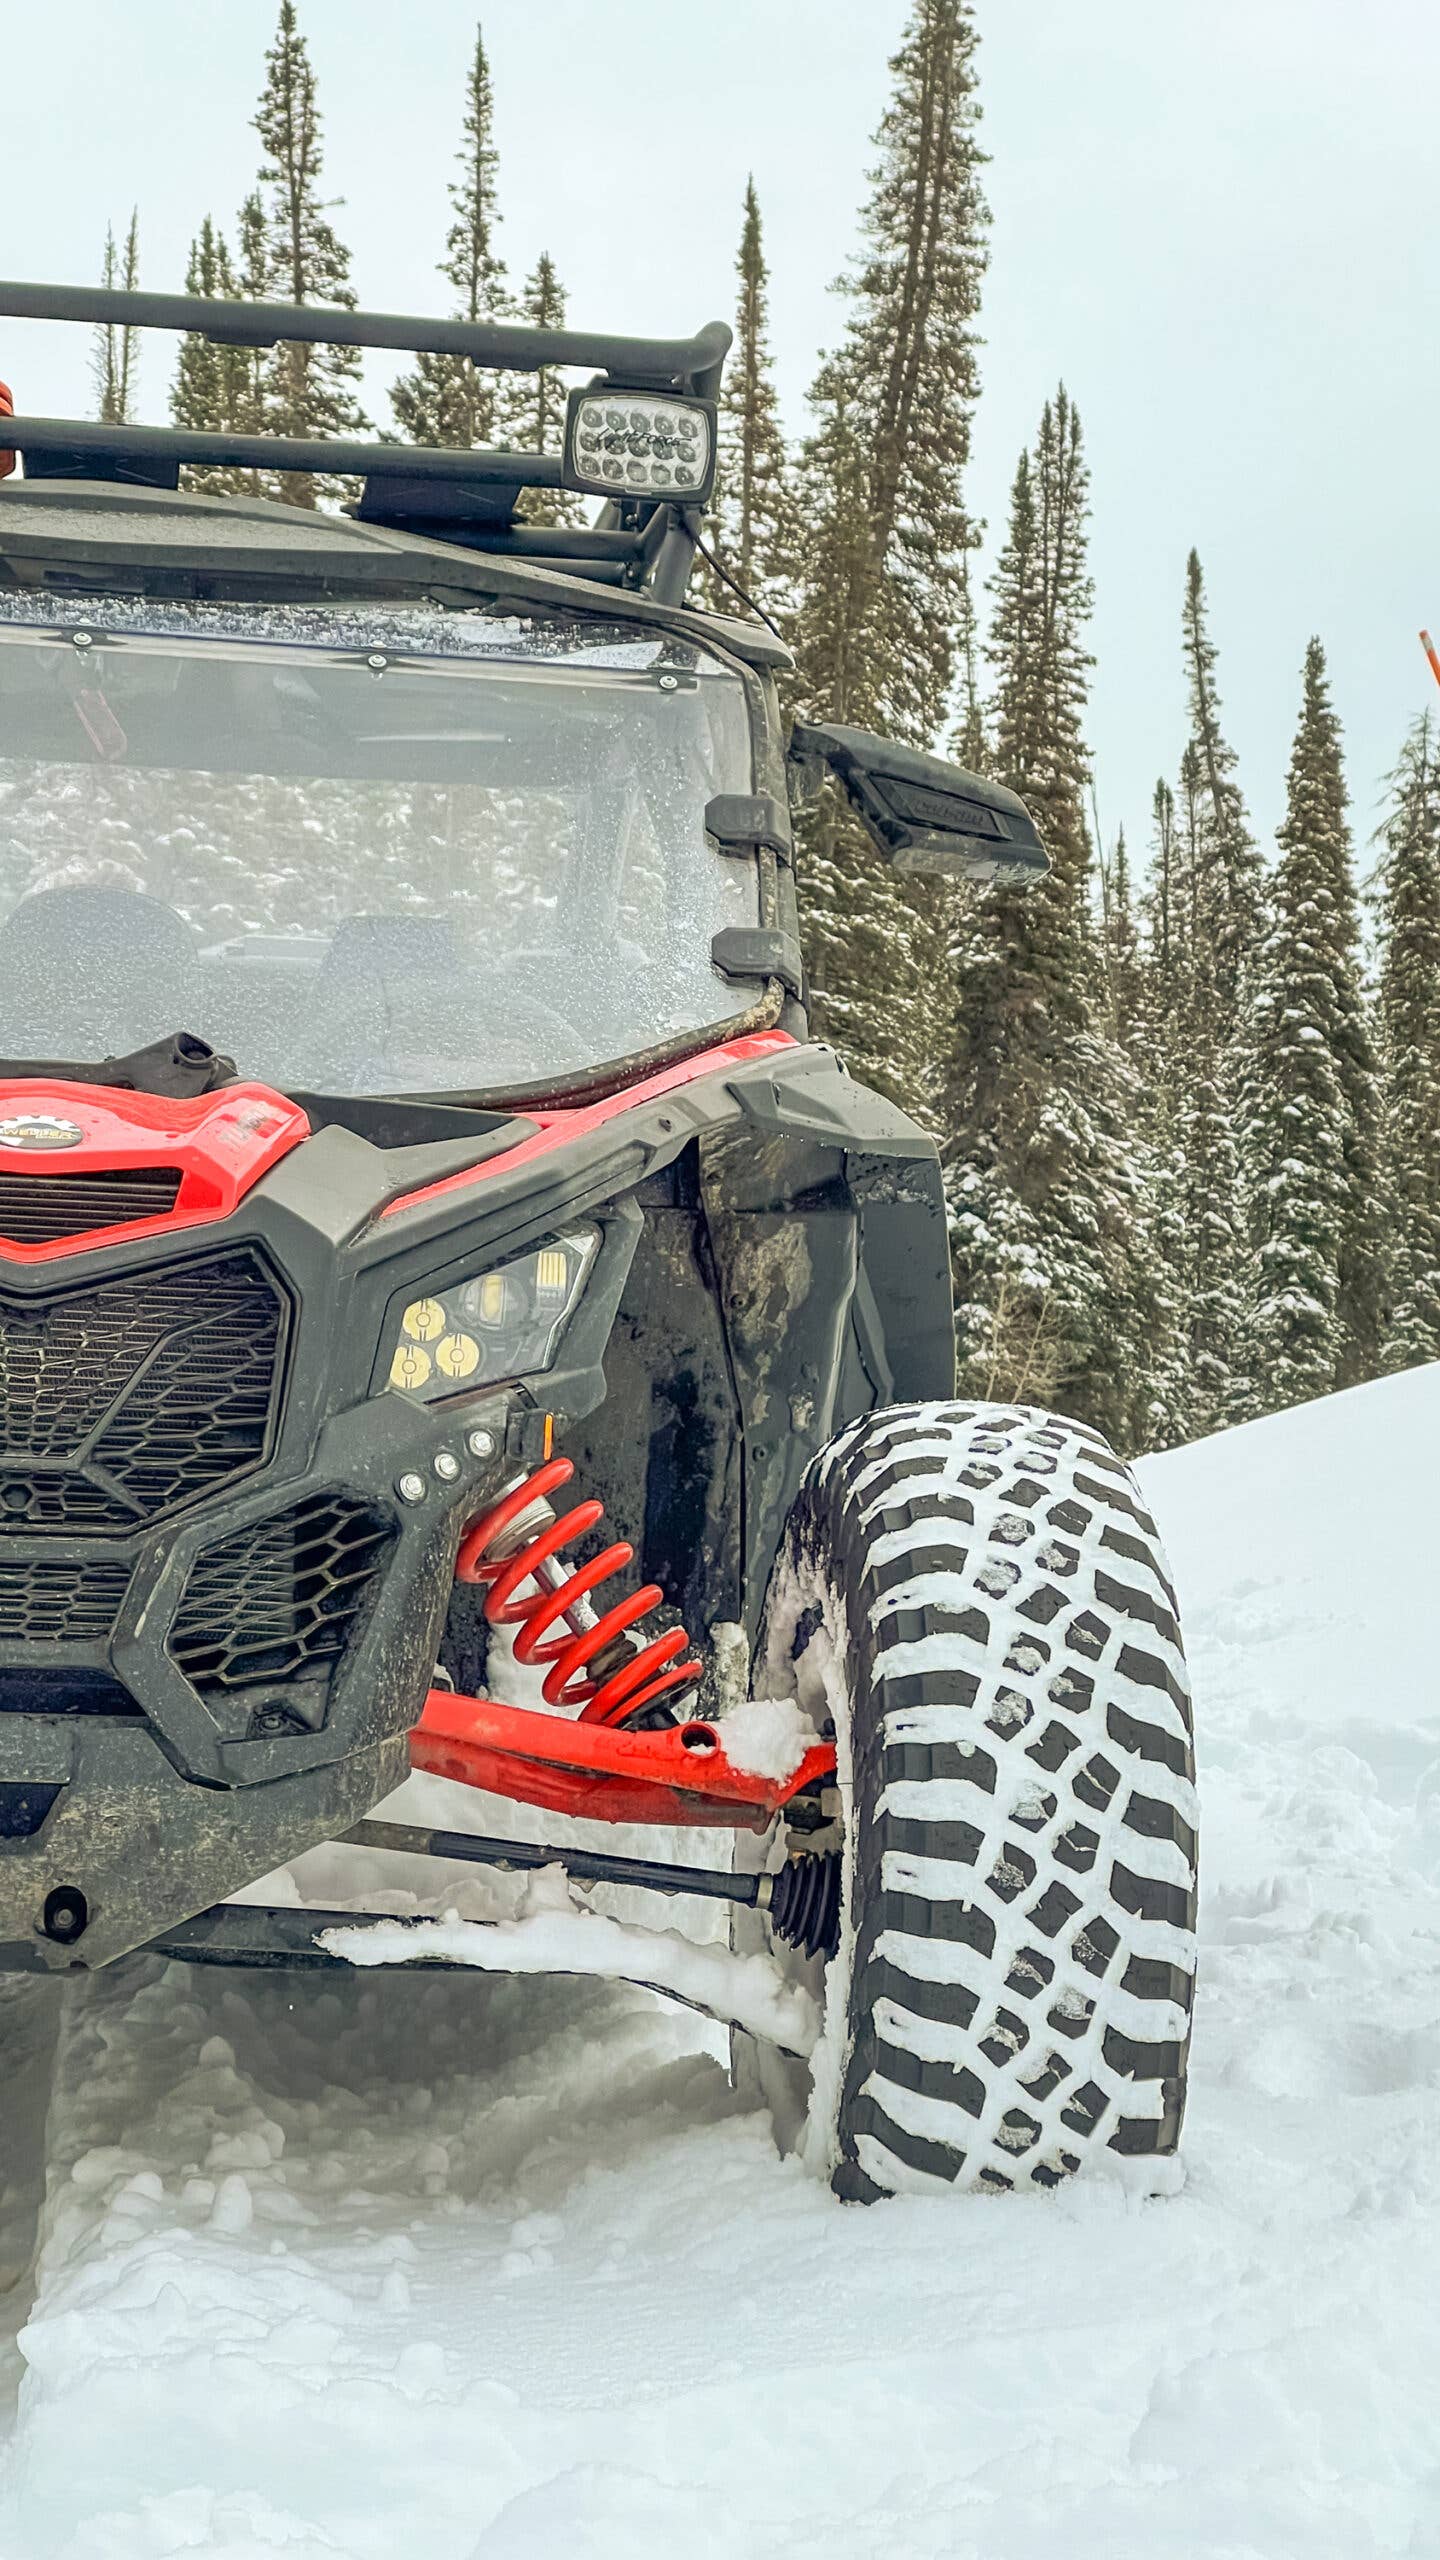
The kit is from Kemimoto, which is a very Amazon company if you catch my drift. But the comments, ratings, and everything I’d read on Maverick Forums said it works pretty well. As I said above, the new BFG KM3 tires not only widen the wheelbase, but grab and fling rocks with greater aplomb compared to the old Maxxis Bighorn 2.0s. Better bite on gravel is great, sure, but they have way better bite on gravel. That meant the kids were ducking hurled rocks in the back seats.
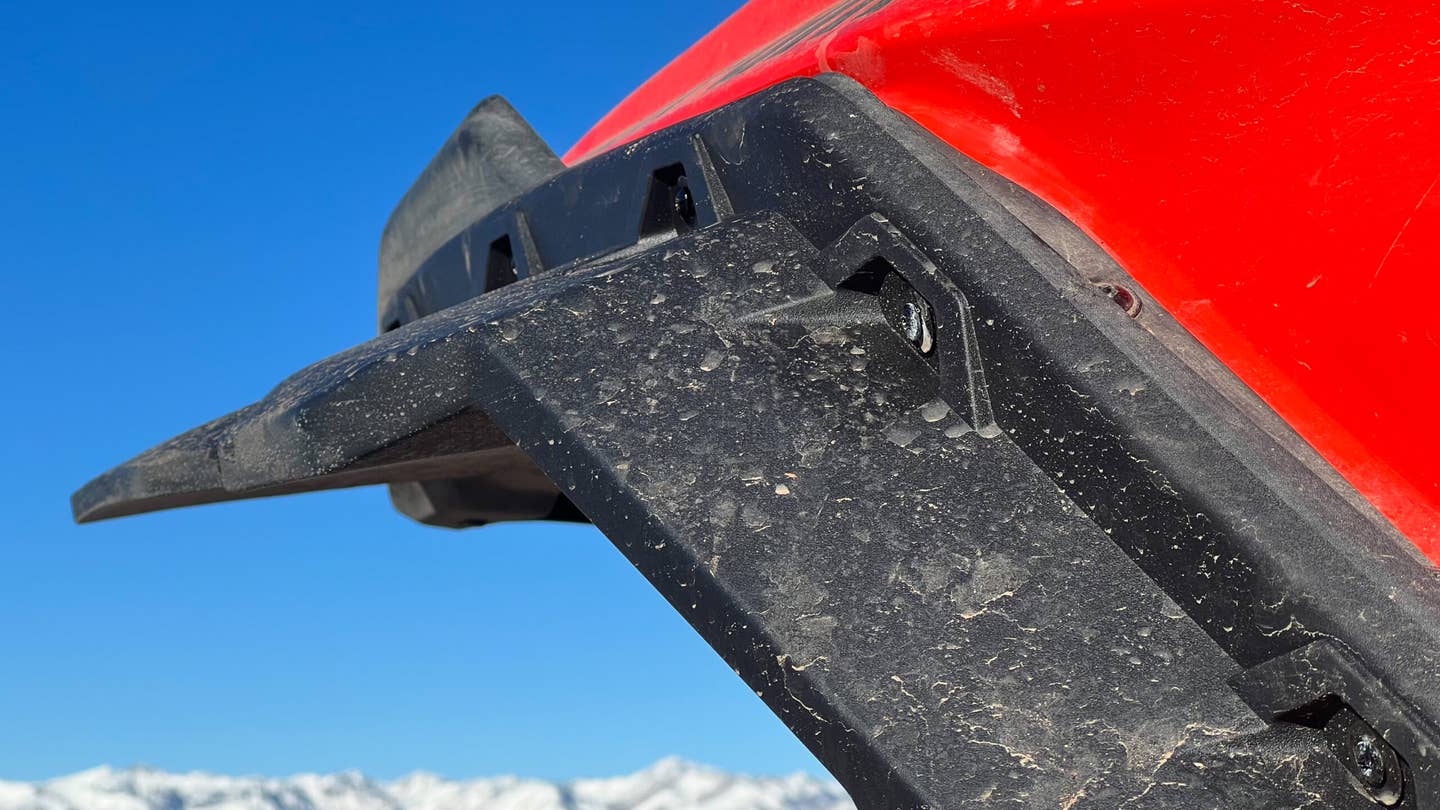
Kemimoto’s kit included fender flares for both the front (1-piece) and back (2-piece) which are attached to the Can-Am via screws. Not bolts. Not tape. Screws. It’s do or die with this kit and gave me RWB vibes.
What’s different from what Nakai-san does, however, is that the Can-Am actually has prescribed points where screw-on fender flares go. They’re not noticeable unless you’re looking for them, but on each fender, there are small divots meant for aligning the flares perfectly.
Once I’d found the guides, I went about screwing them into the stock fender plastic. Most of the screws went into without issue, but a few required putting my entire body’s weight into grabbing the plastic behind it. Slightly taller screws in certain sections would be preferable.
The whole process took me about 30 minutes and, thankfully, I didn’t start chain smoking again.
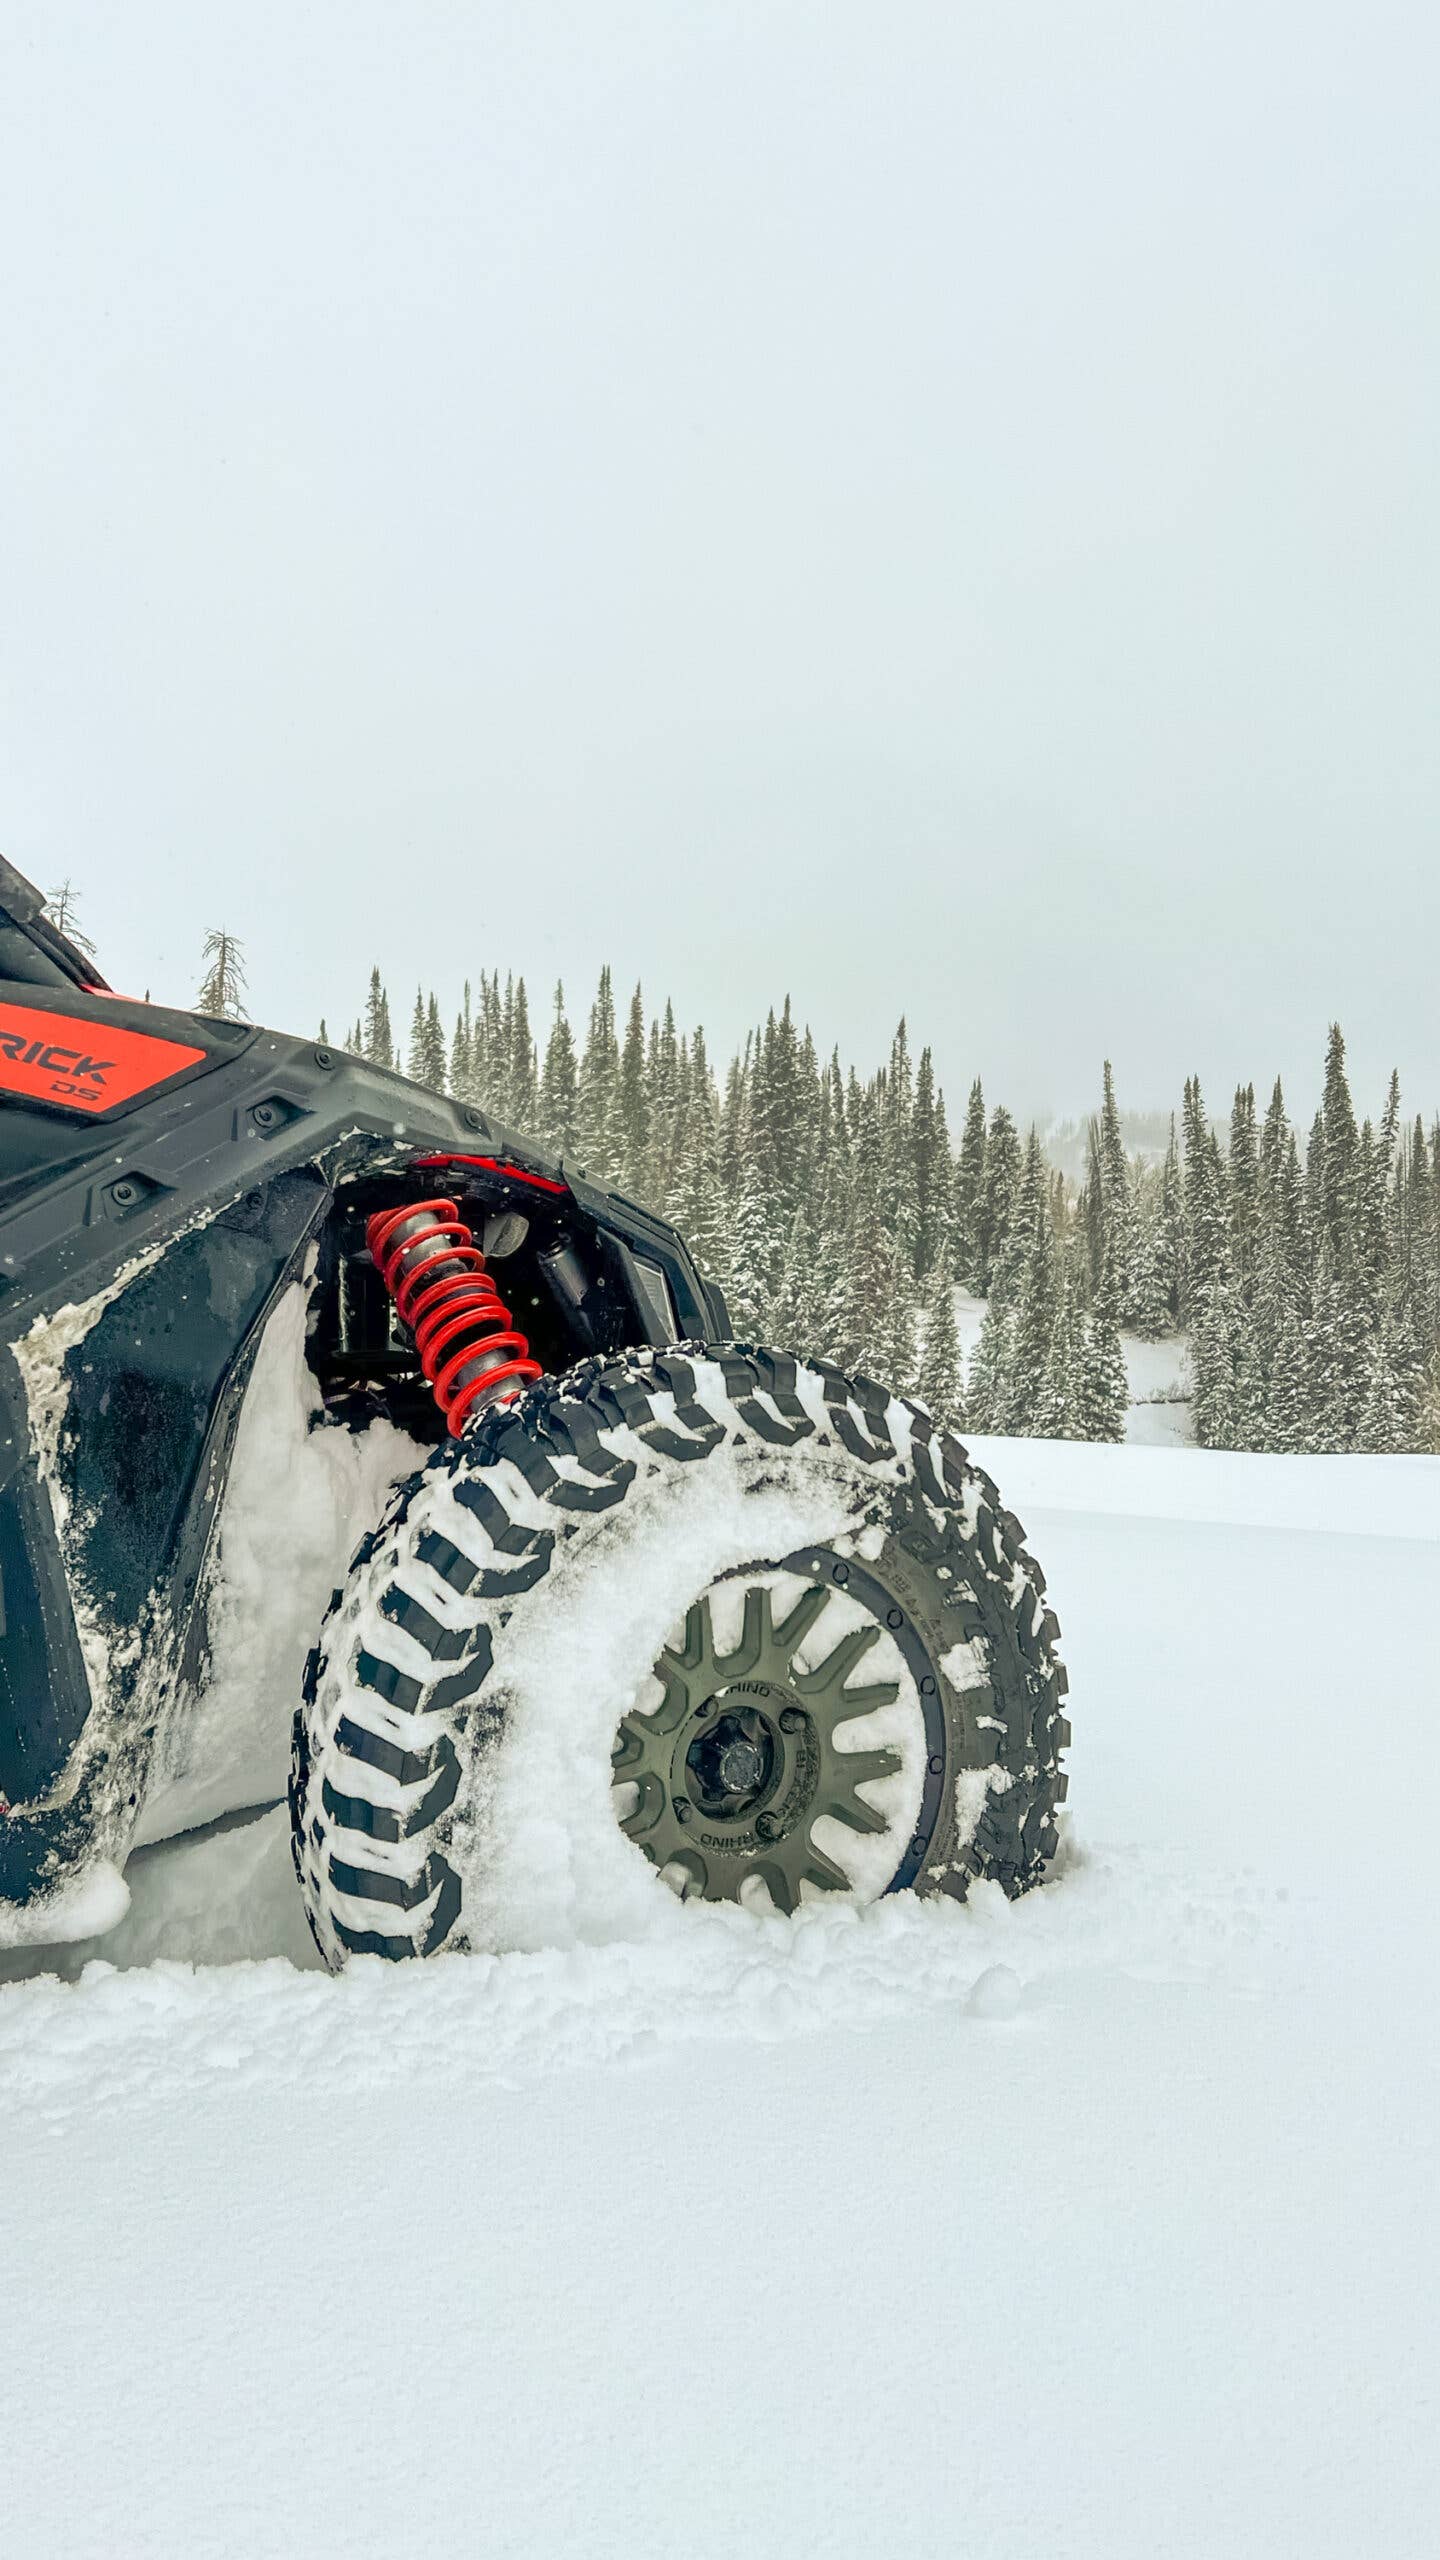
I’ve already put about 100 miles on the Can-Am since the flares went on. I’ve run through gravel, as well as 16-inches of deep snow. Both were kept at bay. As far as the longevity of the flares, while they are ABS plastic, I’m gonna have to put more miles on the Can-Am before I have an opinion. But as of right now, $200 for the kits seems like a bargain compared to other $500 and up kits.
Winter Isn’t Coming, It’s Here
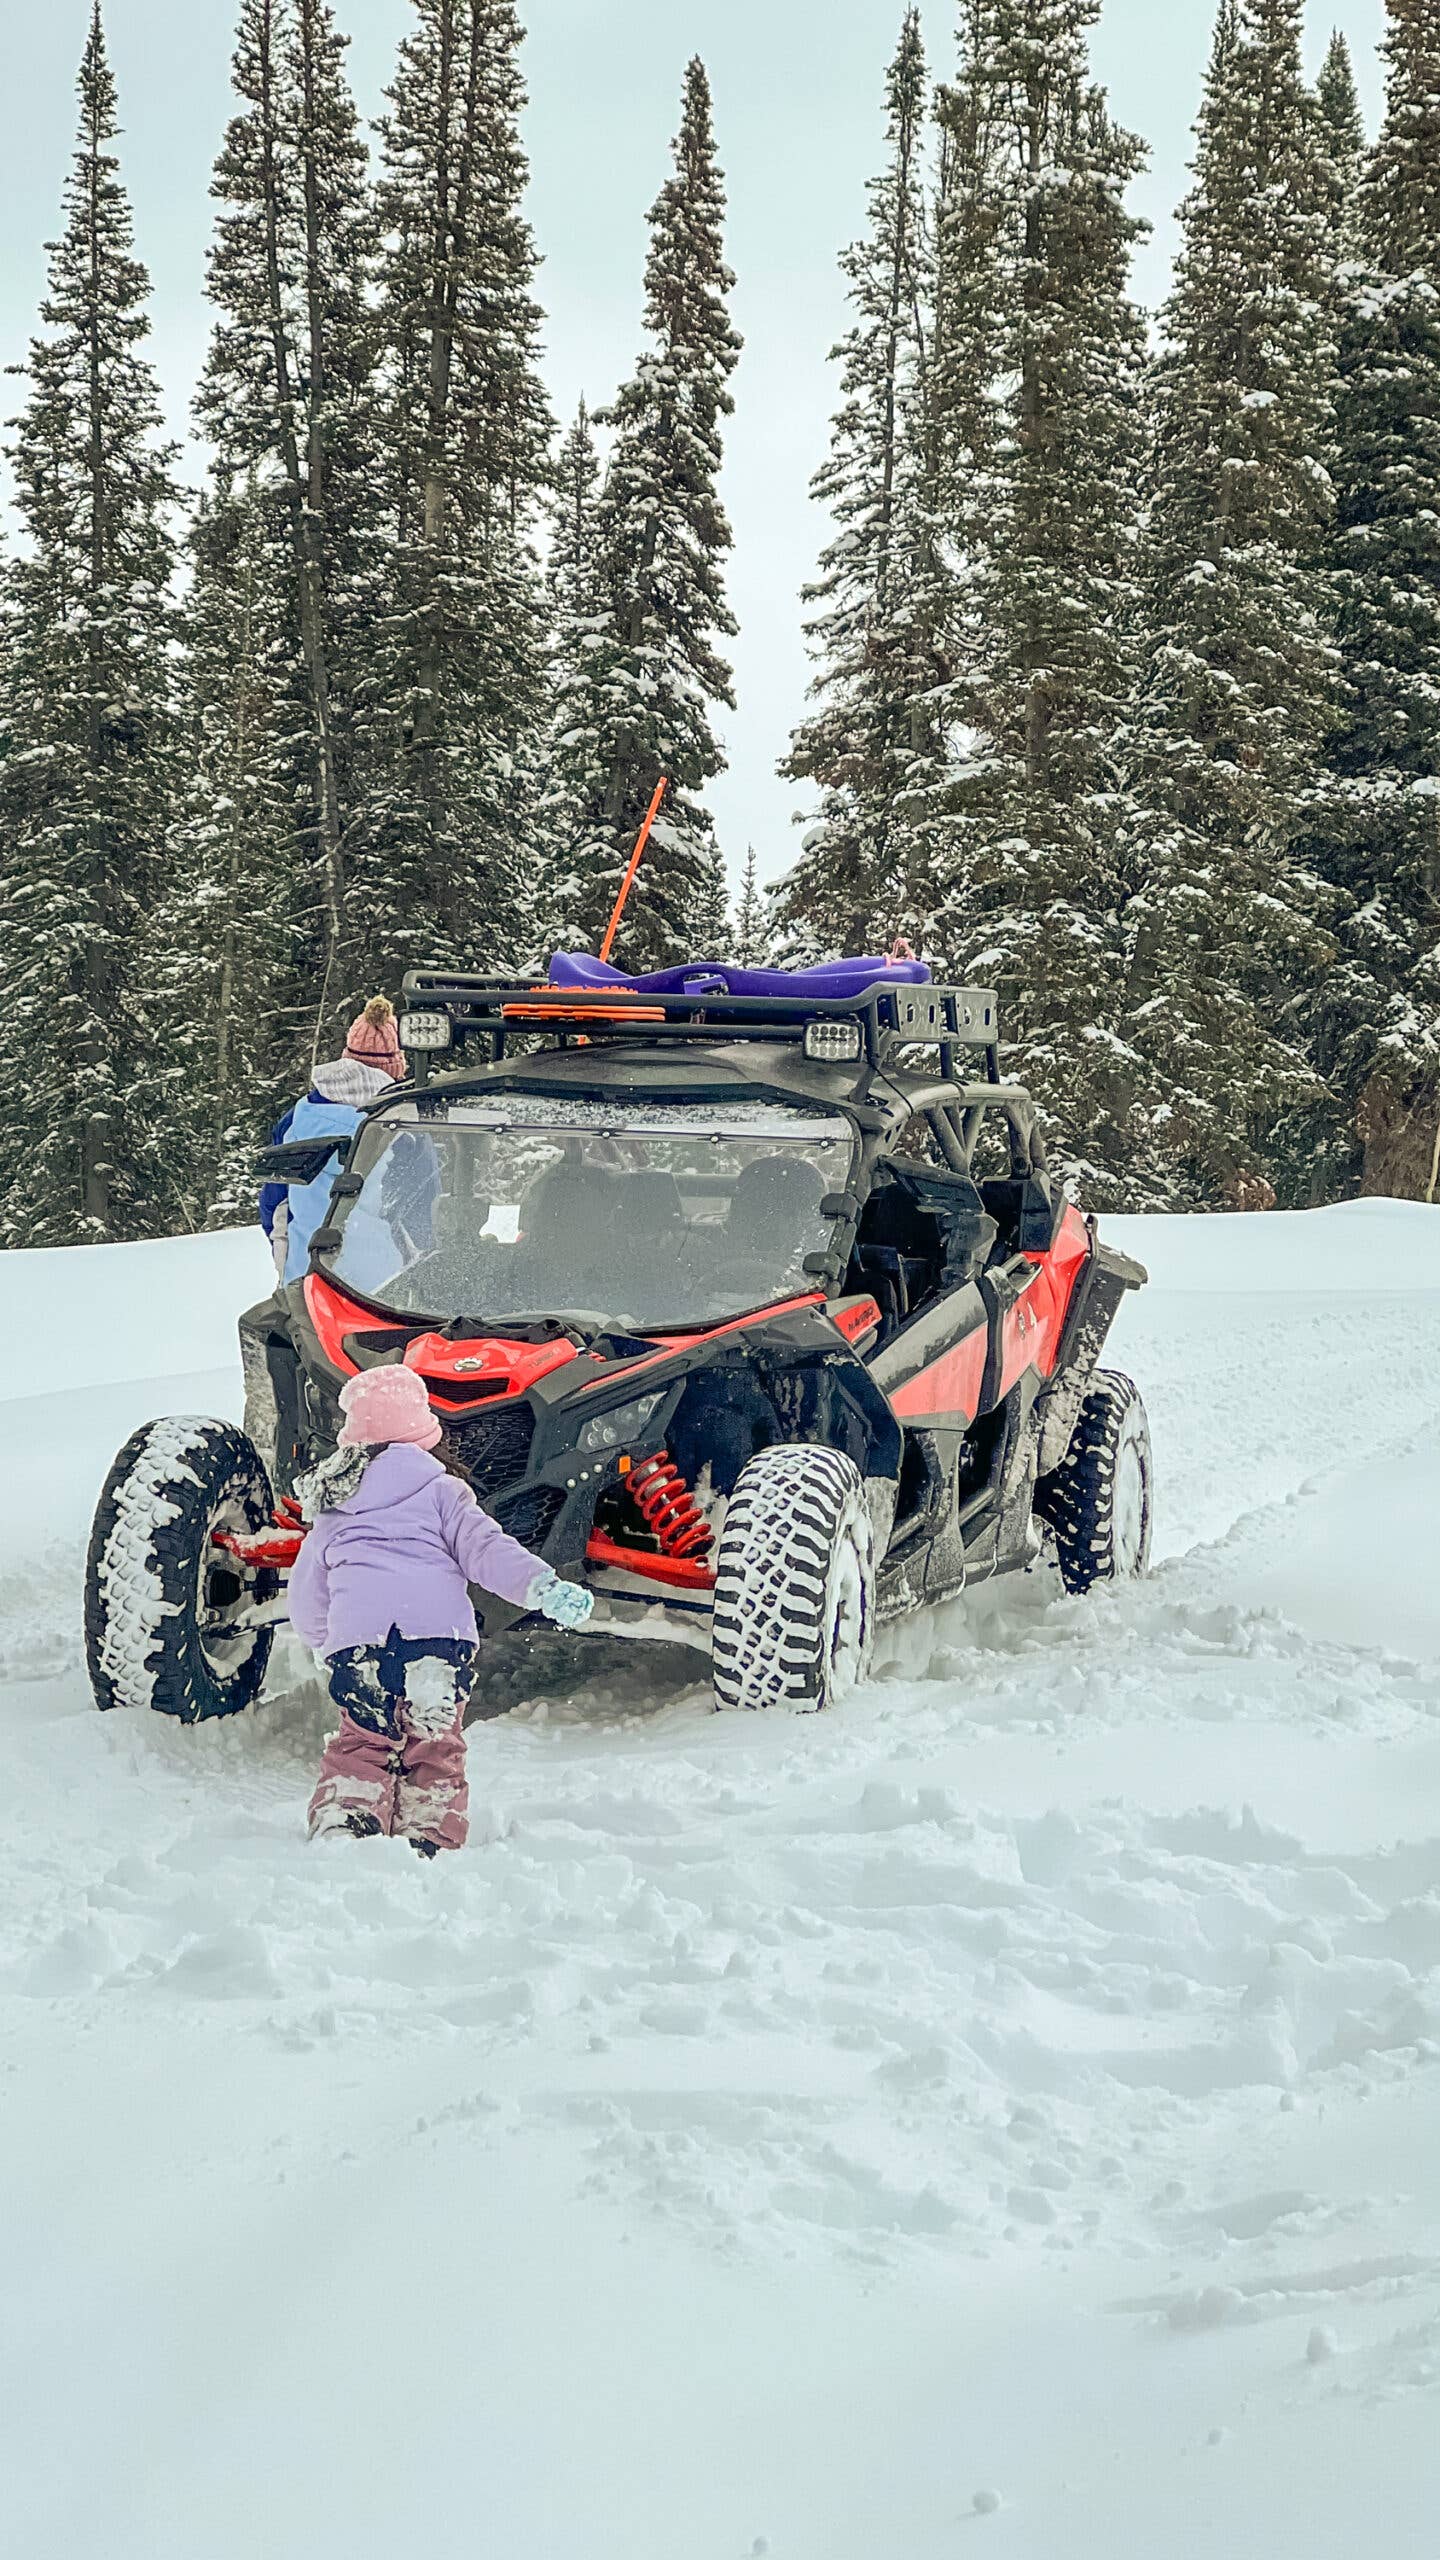
Winter has arrived, but that doesn’t mean you’ll stop hearing about my Can-Am. Unlike other owners, we use ours all year and already went out in the snow with it. Snowboarding and sledding are both on the table. Maybe even attaching a tow-rope behind it...
I’ve already tested the BFG tires in snow, but I’d like to see how they continue to do, along with using the Can-Am to get trapped vehicles out of the snow in our neighborhood. I did this last year when we got our Volvo XC90 stuck in our yard.
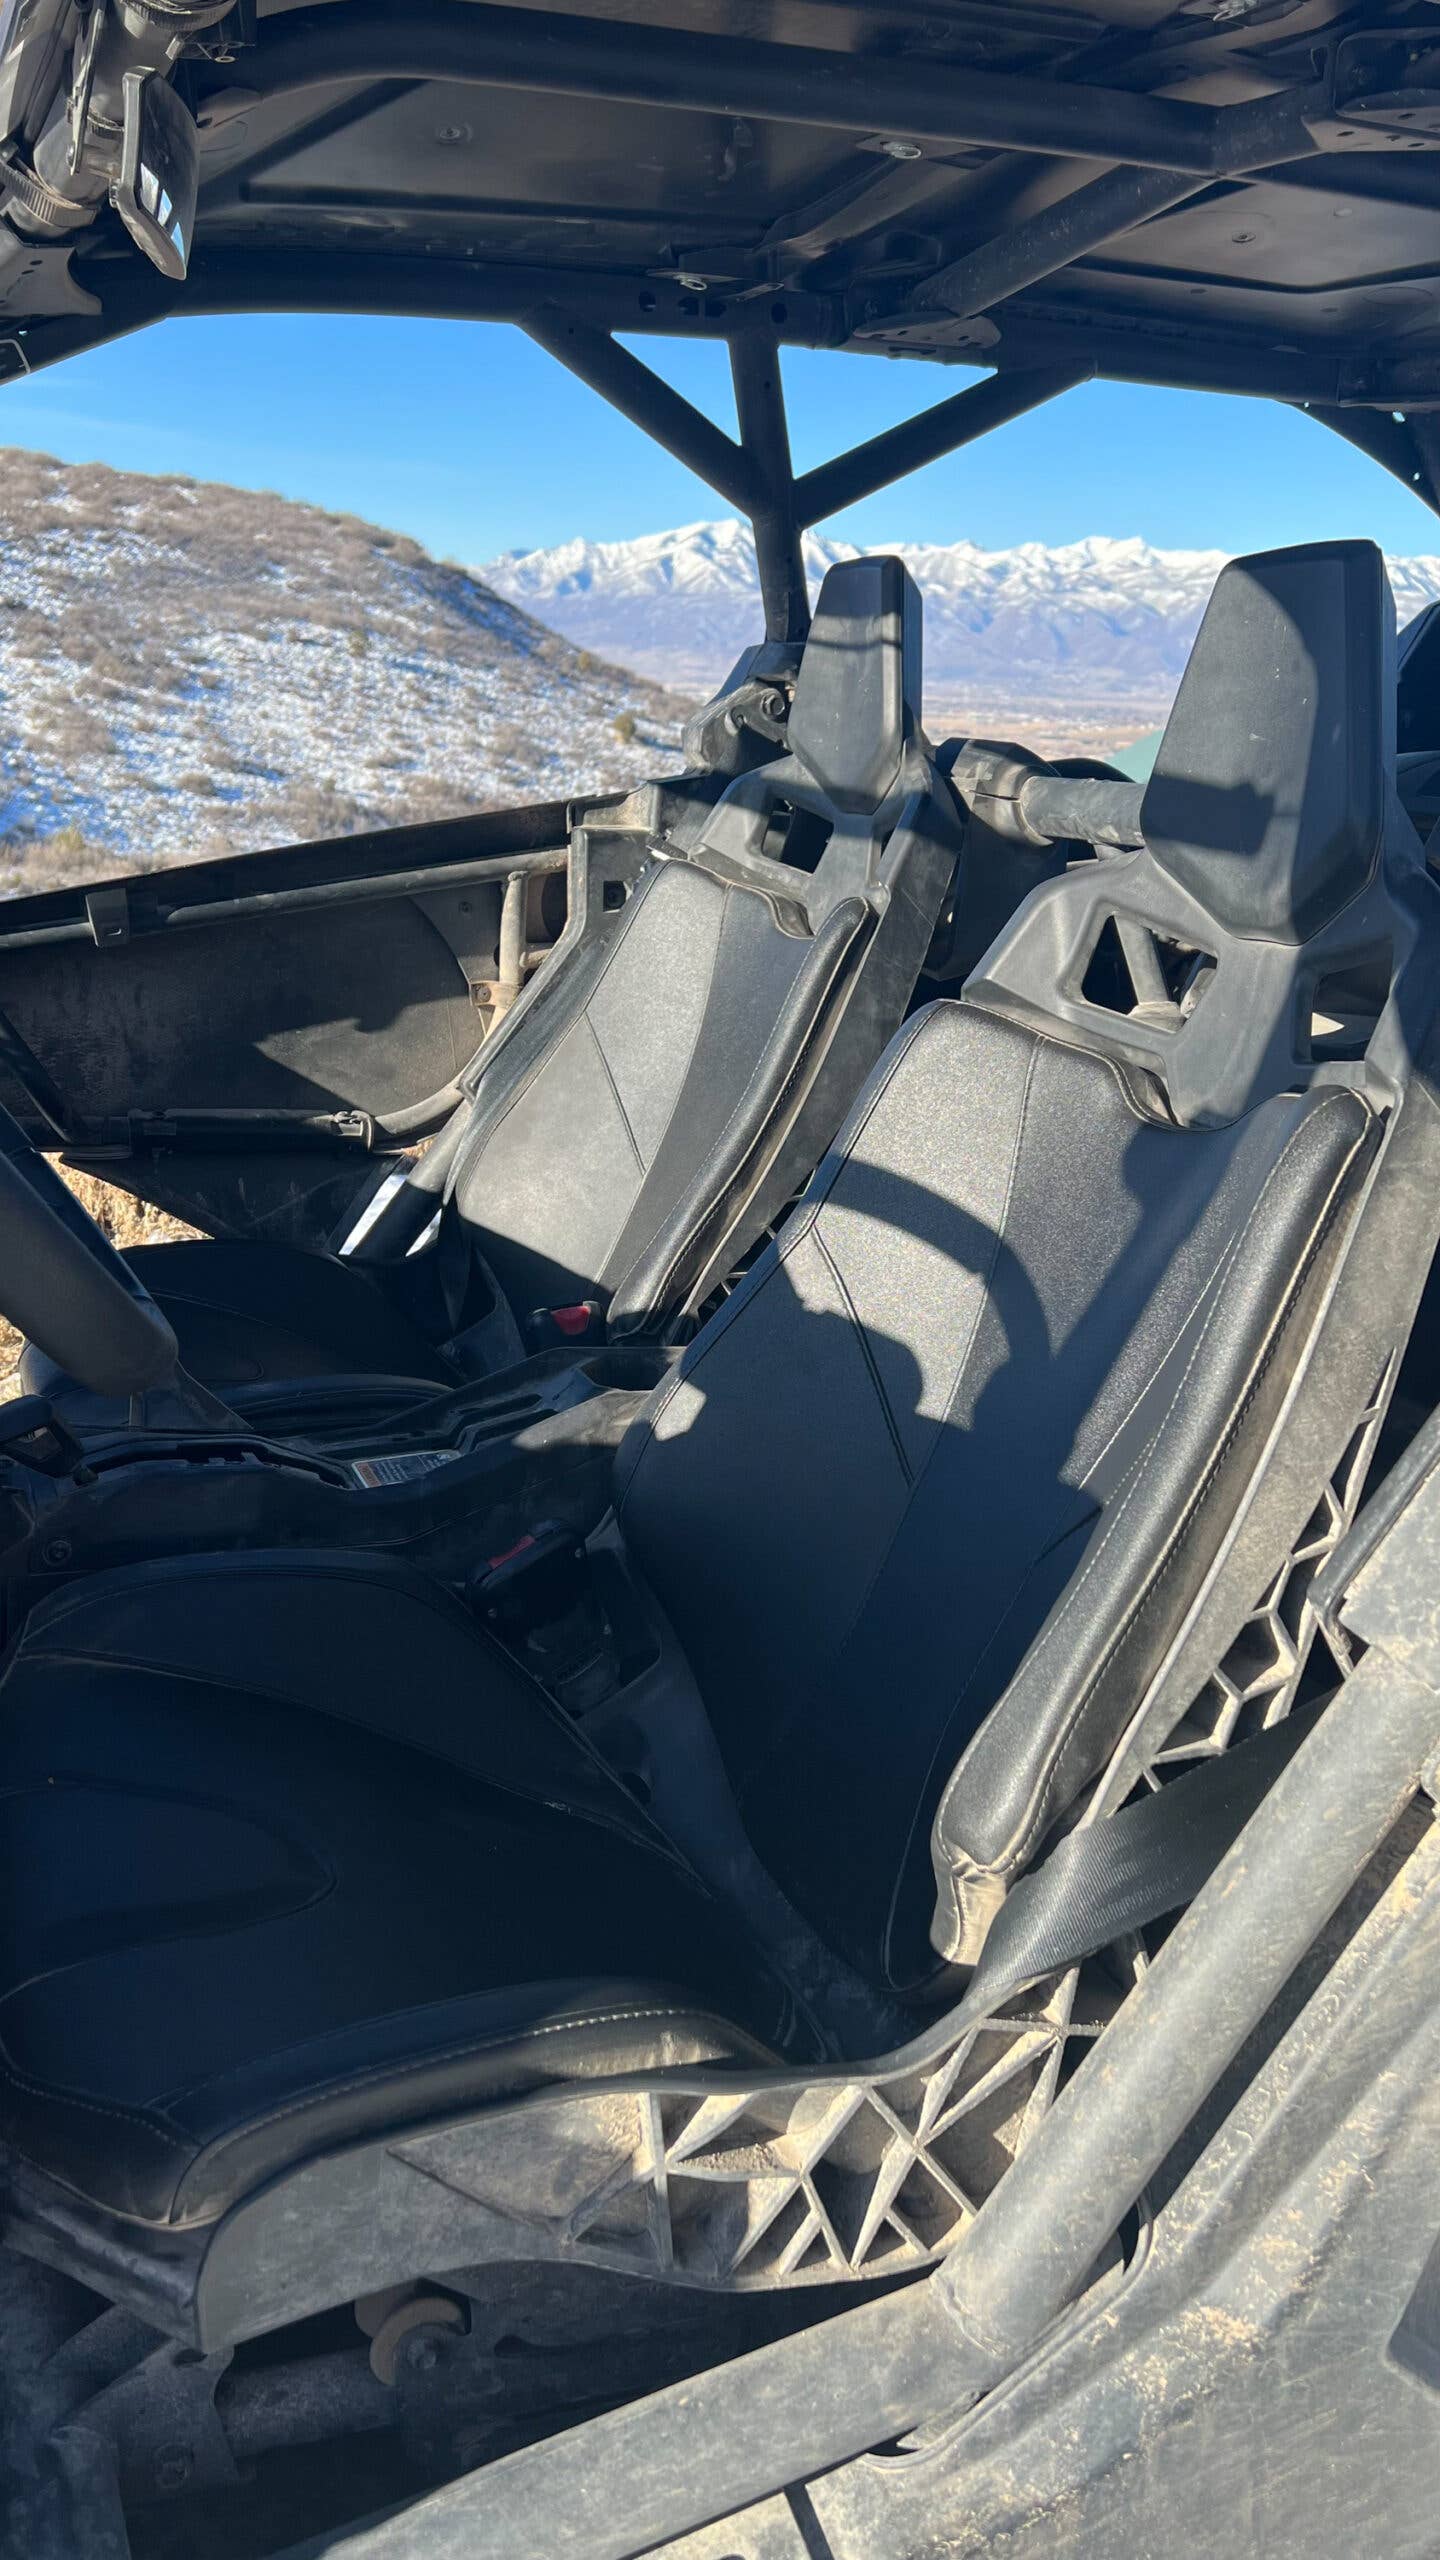
What’s next for additions? I’m not sure. I made a lot of alterations this year and the sort of adventuring I’m aiming for can’t be done until next spring. So off-roady mods might have to wait until then. One thing I have been pondering is if I can replace the front bucket seats with something that fits my 6’4” frame a little better, instead of ending at my neck.
Others have swapped out their seats, but the vast majority swap them for basic off-road seats that end at the same place. I'd like more support, and just removing the padding isn't an option, so I've been eyeing car sports seats. How hard can swapping car-specific sport buckets be? I'm not sure, but Weller Racing partnered with Sparco to make a seat bracket for Sparco sport seats, so maybe that’s my next project?