
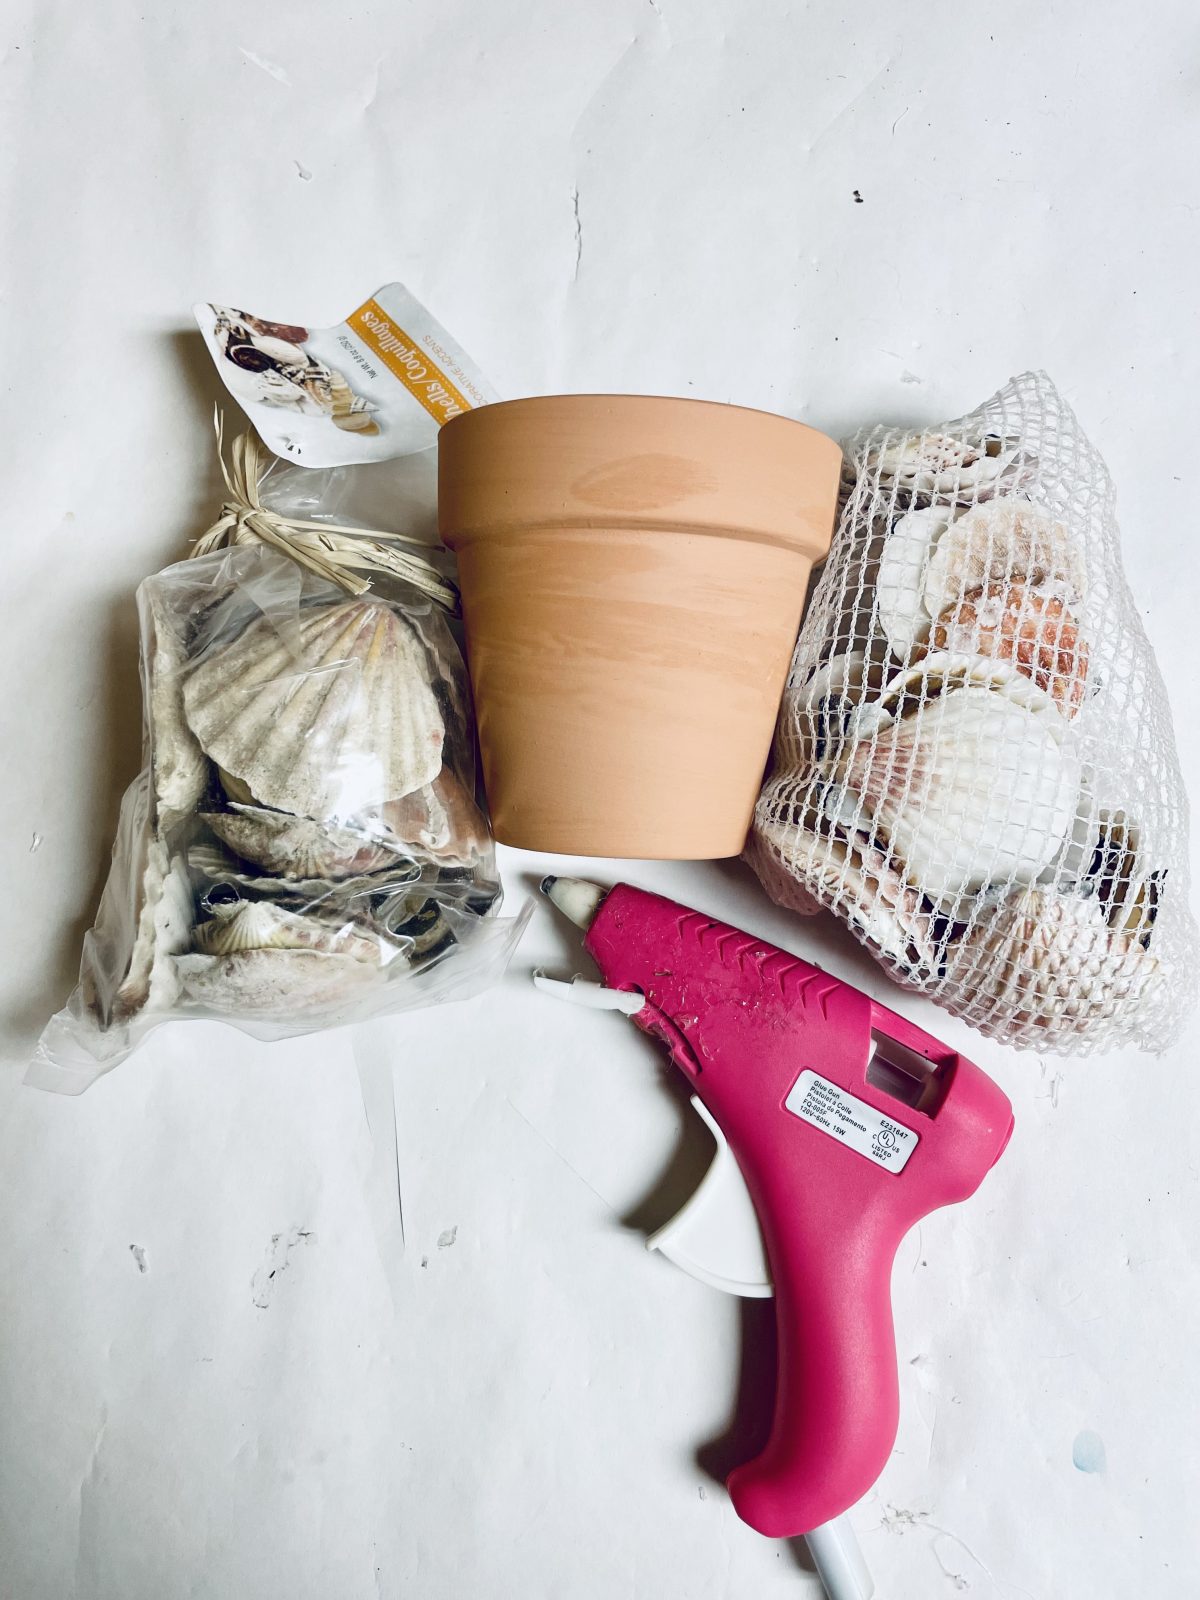
What you need
Medium Size Terra Cotta Pot (I got mine from Dollar Tree in a 2 pack)
Hot Glue Gun/ Glue Sticks
Dollar Tree Sea Shells, or if you take a trip to the beach grab them
Instructions
Welcome to our tutorial on how to make a Dollar Tree Beach Shell Nautical Planter! This DIY craft project is perfect for adding a touch of coastal charm to your home decor. This nautical-themed planter is made using items from the Dollar Tree, making it an easy and budget-friendly craft project that can be completed in a short amount of time.
This project is perfect for those who love coastal decor and want to add a personal touch to their home decor. The beach shell planter can be customized to match your home decor, and you can add any embellishments or decorations you like. The materials required for this project are inexpensive and can be easily found at your local Dollar Tree store.
Not only is this project easy to make, but it’s also budget-friendly and it’s perfect for those who want to create something unique and special for their home. The beach shell planter is a great way to add a touch of coastal charm to your home decor, and it’s also perfect for adding a nautical-themed touch to your home.
In this tutorial, you’ll learn how to create a beautiful and charming beach shell nautical planter using items from the Dollar Tree store. So, grab your materials and let’s get started on creating this budget-friendly and unique coastal-themed home decor.
 These planters are great to make for all ages, and you can create a full activity by going on an excursion to collect the shells from a beach. These shell pots can be made with craft glue if you are making them with children or in a group setting. You can use rubber bands to hold the shells in place whilst the glue dries.
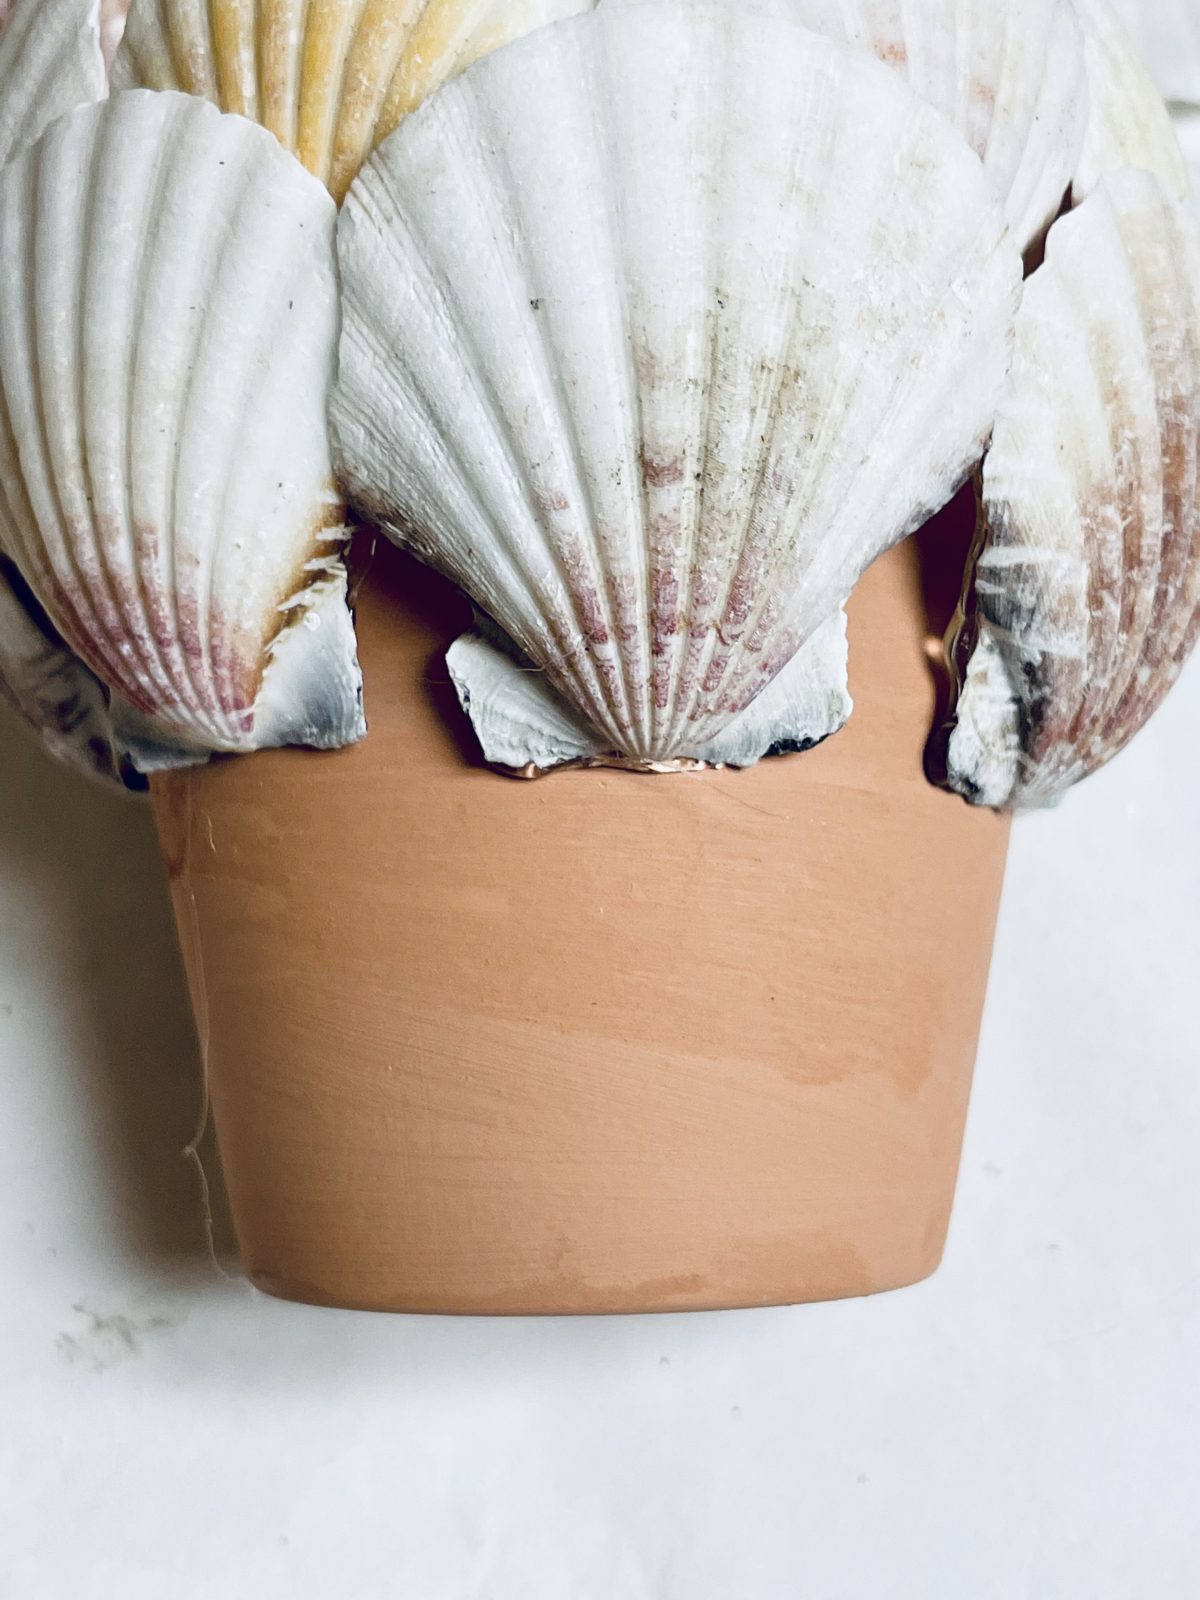
Start by adding a line of glue on the inside bottom section of the shell and press firmly on the top part of the terra cotta pot, Repeat this process all the way around the top part of the pot, allowing some of the shell to extend over the top part of the pot.
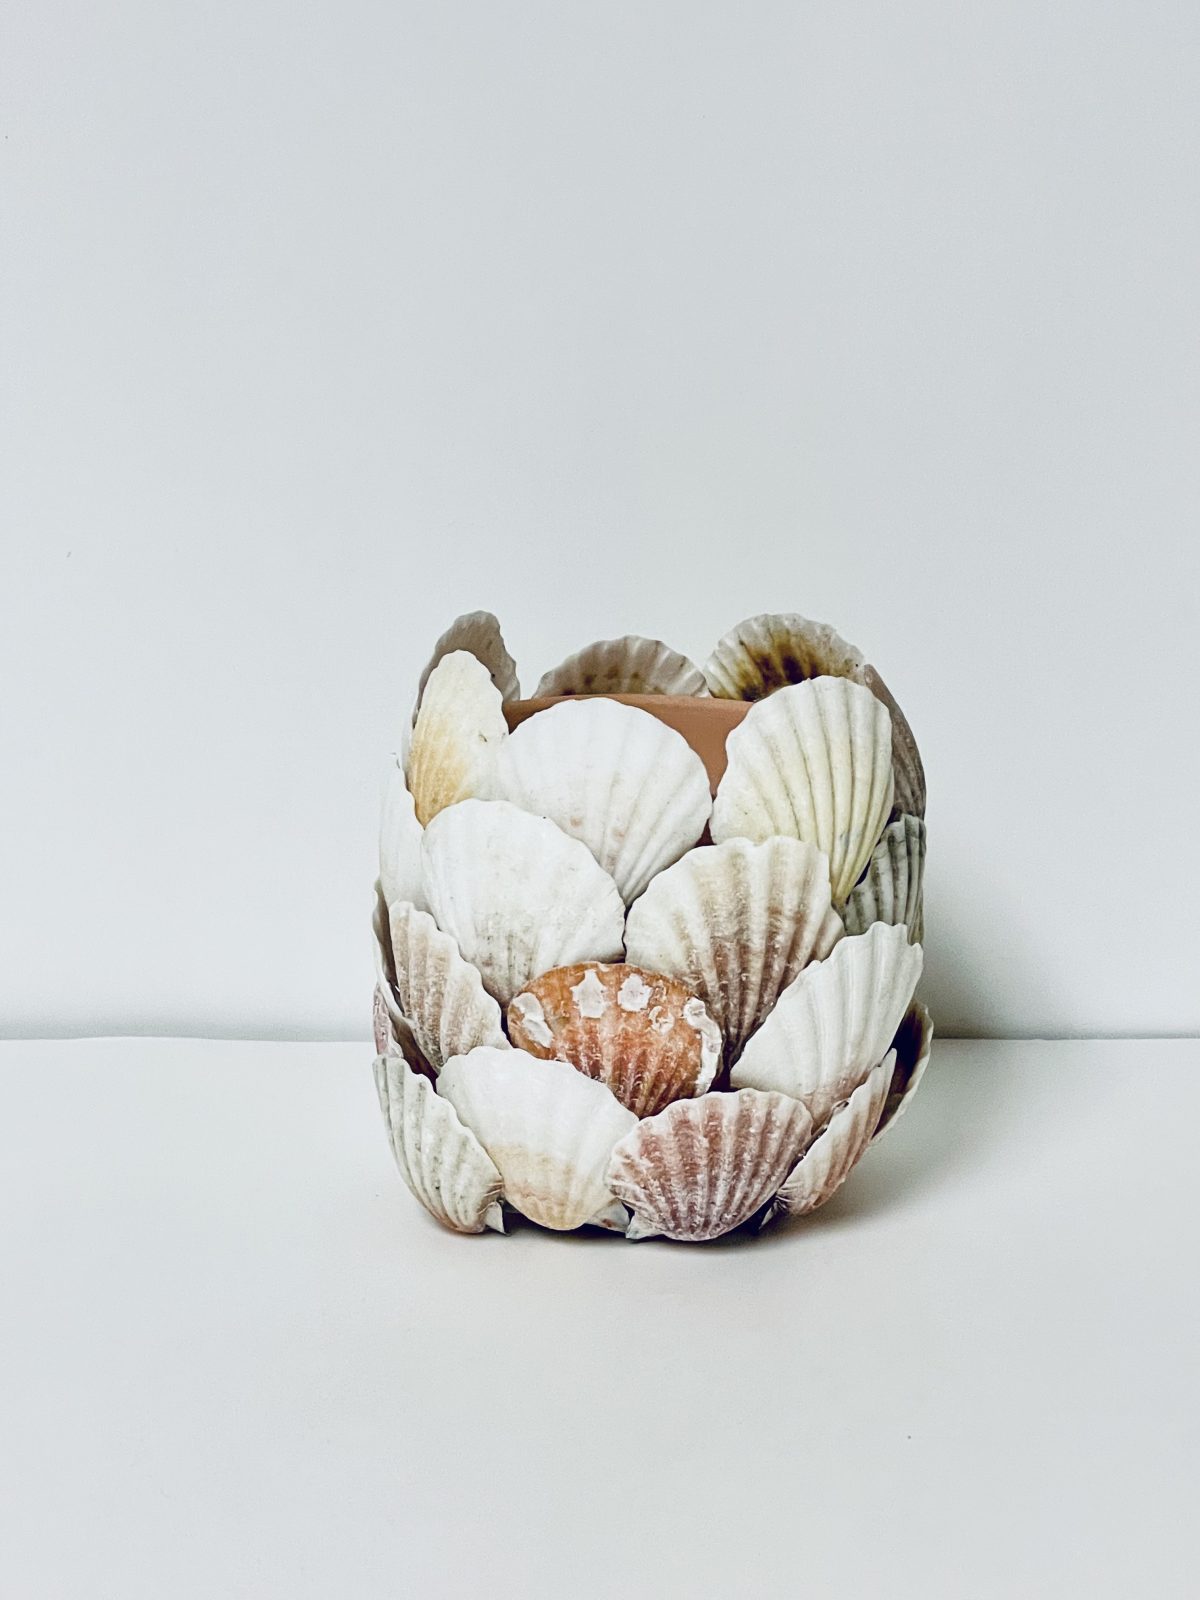
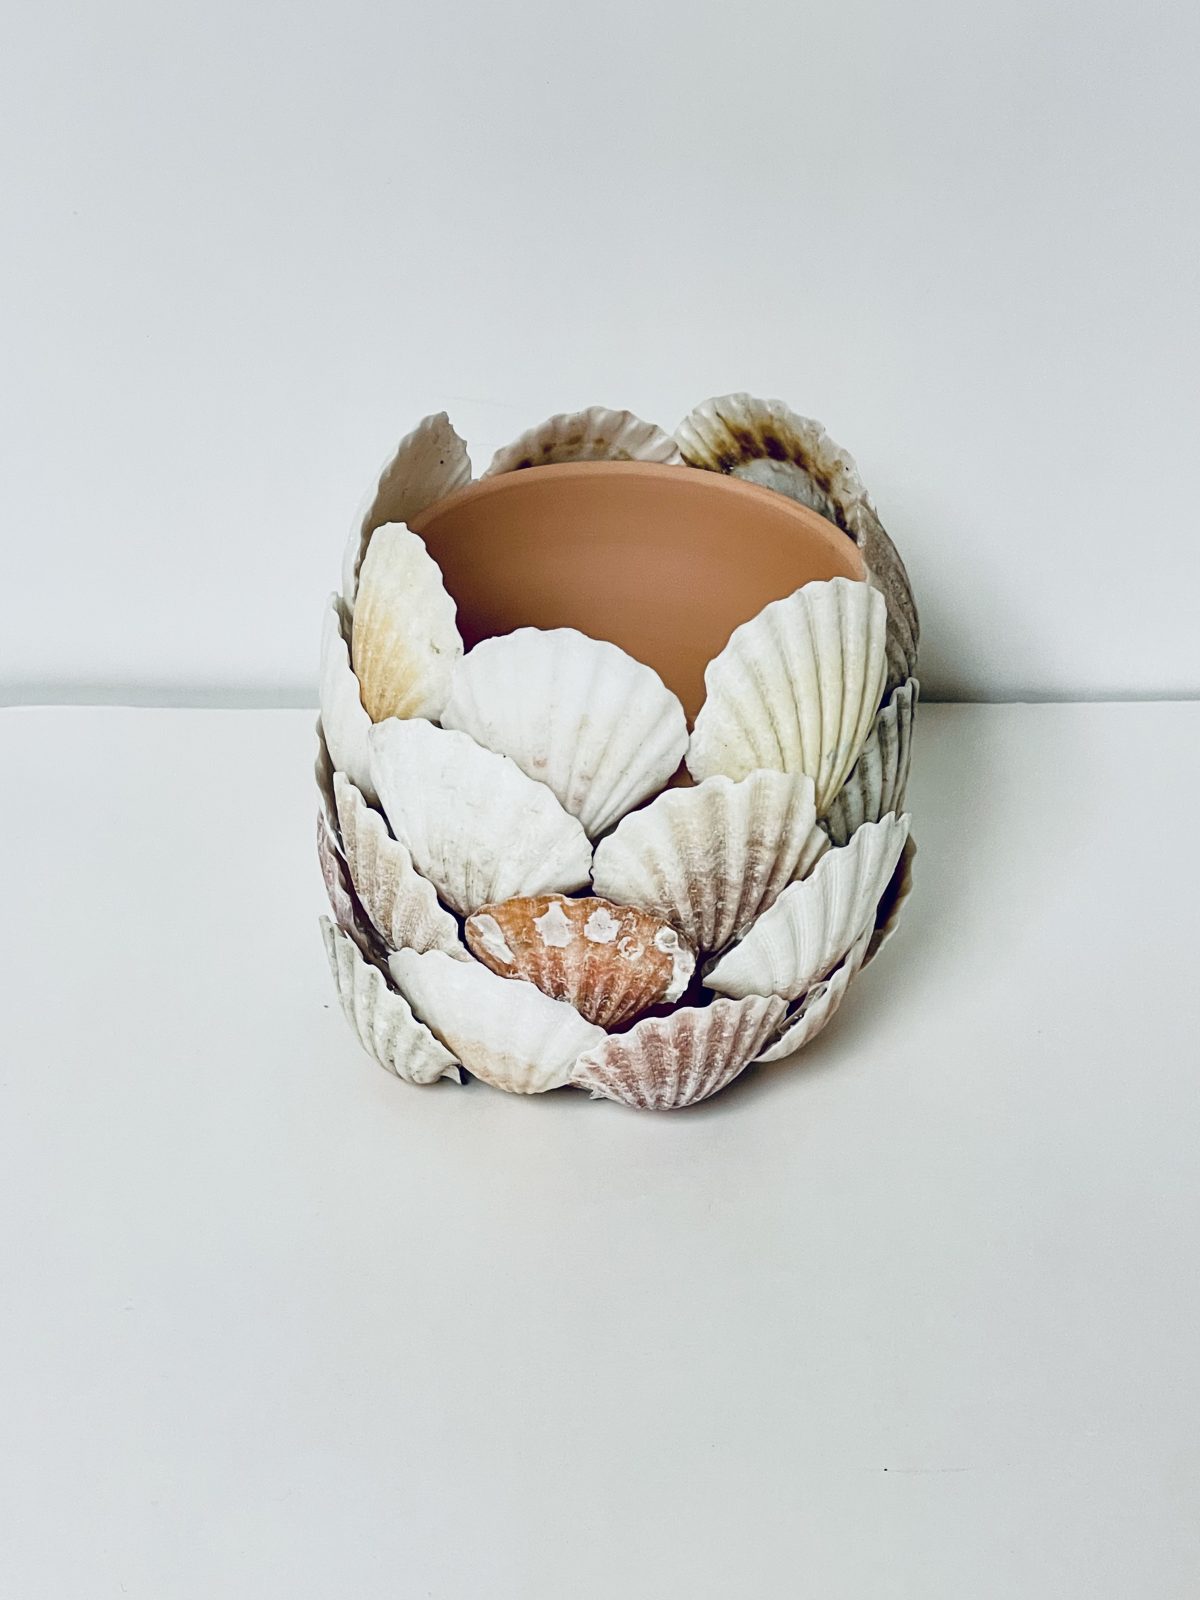
For the remaining layers of shells, Add the glue to the bottom and then the top part of the shells so that the shell adheres to the pot and then the shell that it is being layered on top of. Repeat this until the entire pot is covered.
.


What do you think of this project? Let us know!