How To Back Up Your Mac To iCloud

Thanks to Apple's iCloud, keeping an always up-to-date backup of your iPhone or iPad on Apple's servers is nearly effortless. Ditto for restoring an iOS device from an iCloud backup. If you're a Mac user, however, it may seem like you're stuck with just Time Machine, which only stores backups locally — on an external or network drive — rather than in the cloud. However, you can indeed use iCloud to back up some of your Mac's data — it's just that the process for doing so isn't as obvious in macOS.
Unlike iOS, which packs all of your iPhone or iPad data into a singular backup file, macOS lets you control which Mac data you want to store in iCloud. You can even choose to store some of that data entirely online to help free up space on your Mac's internal storage drive, much the way iOS lets you optimize your photo library or offload unused apps without deleting anything from your camera roll or home screen.
How to locate iCloud settings on a Mac
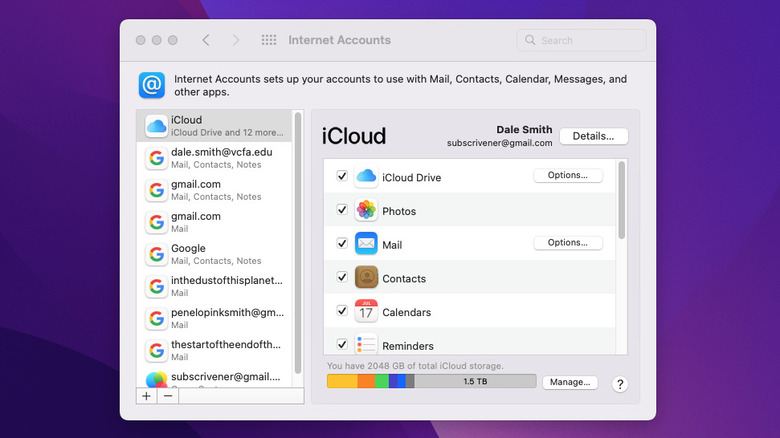
The settings for backing up Mac data to iCloud aren't very easy to find — they're not available under Time Machine settings, and there's no menu specifically labeled "backup" or "restore." To find your Mac's iCloud controls, open the Settings app, then click on Internet Accounts (that's where you'd go to add or delete an email address or choose which accounts you want to sync to your Mac). Once there, the very first account listed should be iCloud, which is where you'll click next.
Under iCloud settings, you'll find a whole litany of options for various Mac apps and features starting with iCloud Drive, which is where you'll find most of the settings you'll need to back up your Mac data to iCloud. Before you move on, however, take a gander at the rest of the settings on this page and decide whether you want all or some of the data associated with those apps and features to sync with iCloud (if your goal is to back up your Mac to iCloud as completely as possible, make sure all of the options are checked).
How to back up your Mac to iCloud
Now that you're in the iCloud settings window, you'll need to decide which data your Mac backs up to iCloud. Each Mac will have a different set of options under iCloud settings, depending on which apps are installed, but the first one listed is usually the Desktop & Documents folder. This is sort of your all-purpose backup solution — checking this box will sync everything you put in those two folders with iCloud, meaning all you have to do to back up a file is have that box checked and save the file in either of those locations.
Scrolling down the list, you'll see the Apple apps you use — Pages, GarageBand, etc. — as well as any third-party apps that integrate with iCloud. Checking the boxes next to individual apps saves any of the files you create in those apps to iCloud. That includes program files and game files that let you sync app status or game progress across multiple Apple devices.
There's one more place where you can view and make changes to the files your Mac backs up to iCloud; however, note that you can't change any settings from there. For a bird's-eye view of everything your Mac is set up to sync with iCloud, open a Finder window, then click on "iCloud Drive" under iCloud in the sidebar. Alternatively, you can navigate to "/Users/[username]/Library/Mobile Documents/com~apple~CloudDocs" (where [username] is the name of the profile you use to log in on your Mac).
iCloud is not a substitute for Time Machine, and that's a good thing
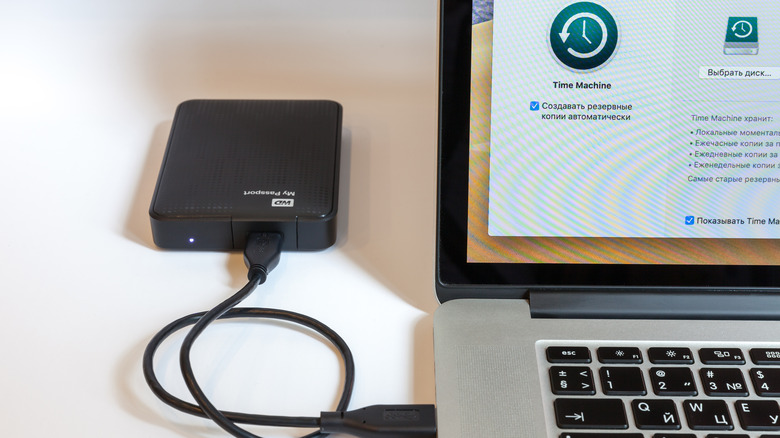
iCloud can come in clutch in a variety of situations. For example, you may not need to wrestle with Migration Assistant when setting up a new Mac if you've backed up all your important data to iCloud. However, there's a reason Apple still puts Time Machine on every Mac the company sells: Time Machine backs up your Mac's entire system, including all your apps and files. Not only that, but Time Machine also keeps a version history of every change you make to your Mac on an hourly and daily basis.
Depending on the sizes of both your Time Machine drive and your Mac's internal storage drive, your Time Machine history could stretch back days, months, or even years. Time Machine can be a real lifesaver, too, if the developer of an app you use stops publishing it since you can always just reinstall it from your Time Machine backup. You almost can't have too many backups of your important data, so there's not much reason not to take advantage of both Time Machine and iCloud when protecting the files on your Mac. And since both options handle backups differently than the other, you're not getting duplicate backups but rather a more expansive backup overall.
How much iCloud storage space do you need for backups?
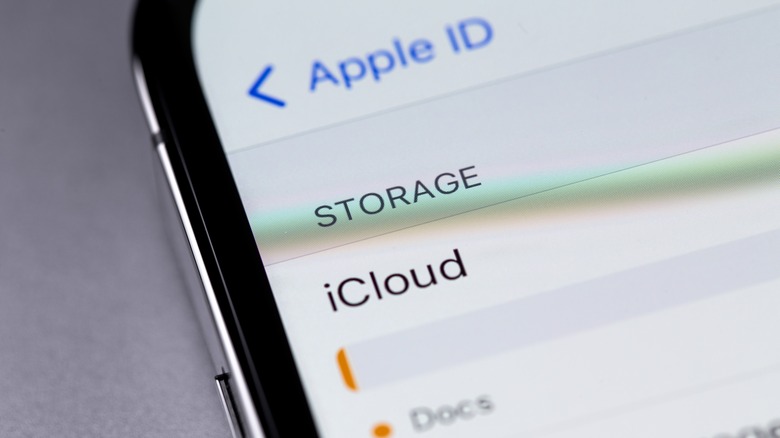
Because iCloud backups are (usually) smaller than Time Machine backups, you won't need much iCloud space to backup your files and data, particularly if you're only backing up a limited selection of content. With that said, it's possible you may still need to pay to expand your iCloud storage capacity a bit, especially if you're also using iCloud to back up a large number of videos and images from an iPhone and iPad.
Apple provides each of its users with 5GB of free iCloud storage space by default. If you need more, you'll need to sign up for one of Apple's iCloud+ plans. If you're located in the U.S., the plans start at 50GB for $0.99 per month, and also include a 200GB plan for $2.99 per month and 2TB for $9.99 per month. There are some other benefits that come with iCloud+, including access to Apple's beta iCloud Private Relay feature, Hide My Email, and a custom email domain, among other things (the exact features depend on which plan you choose).