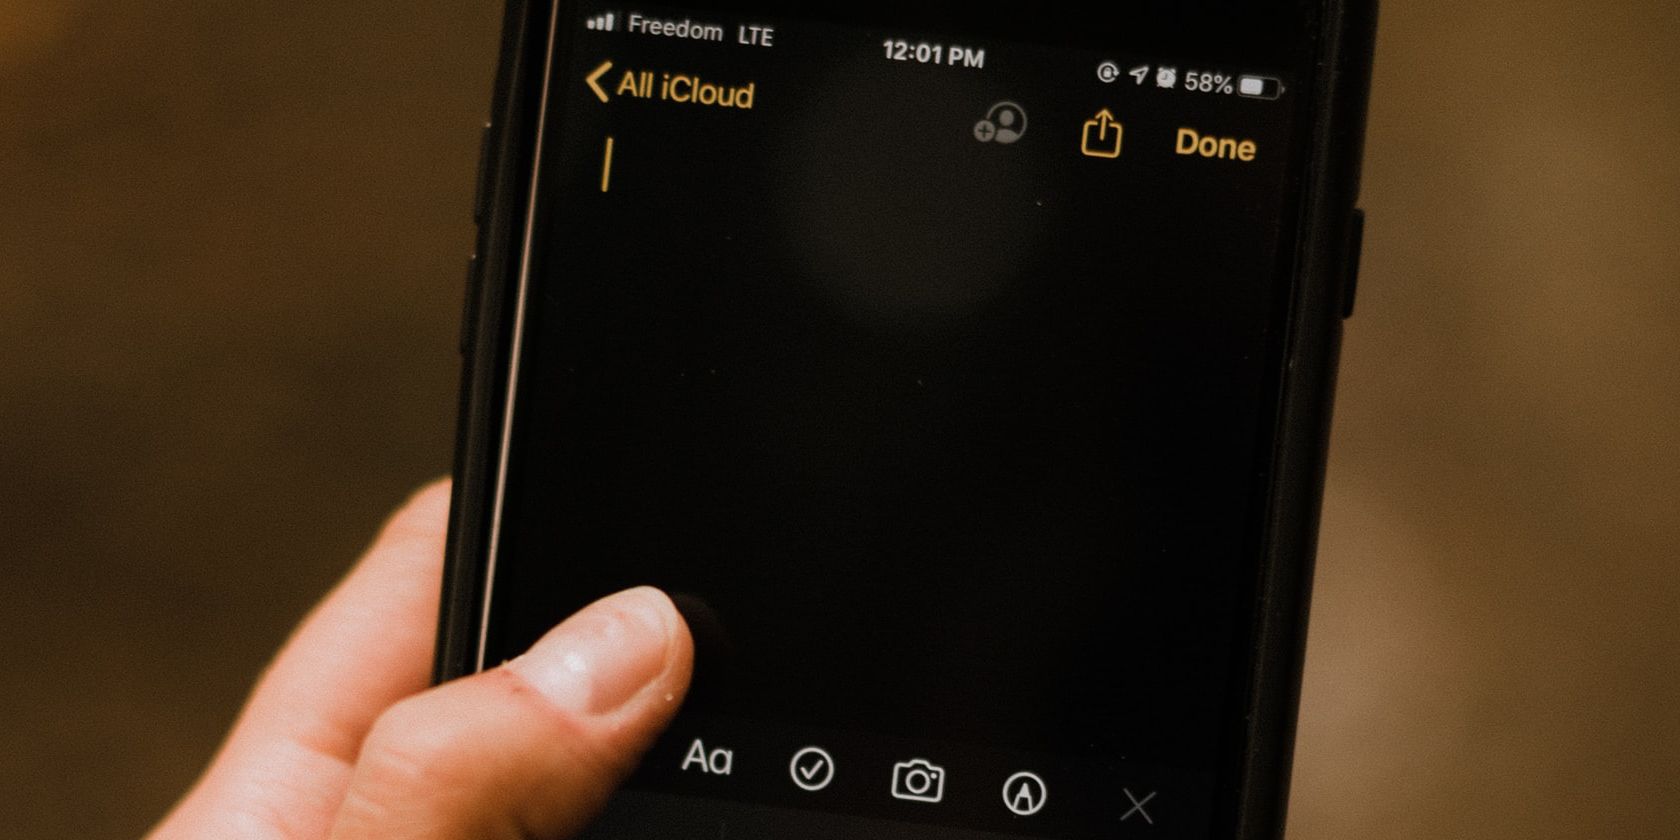
There are certain notes you might save to your iPhone in the Notes app that you don’t want falling into the wrong hands. For example, you may have notes relating to your finances, passwords, or grand ideas.
Luckily, you can lock these private notes from inside the Apple Notes app using a password, Face ID, or Touch ID. And it’s super simple to do.
How to Create an Apple Notes Password
Before you start, you’ll want to check to see what version of iOS is installed on your iPhone. You’ll want the latest version to be able to use the Lock feature properly.
It’s also important to note that the Lock feature only works on notes saved to your iPhone or synced over iCloud. It won’t lock notes that are synced via Gmail, for example.
First, you’ll need to create an Apple Notes password. The easiest way to do this is inside the Apple Notes app. Follow these steps:
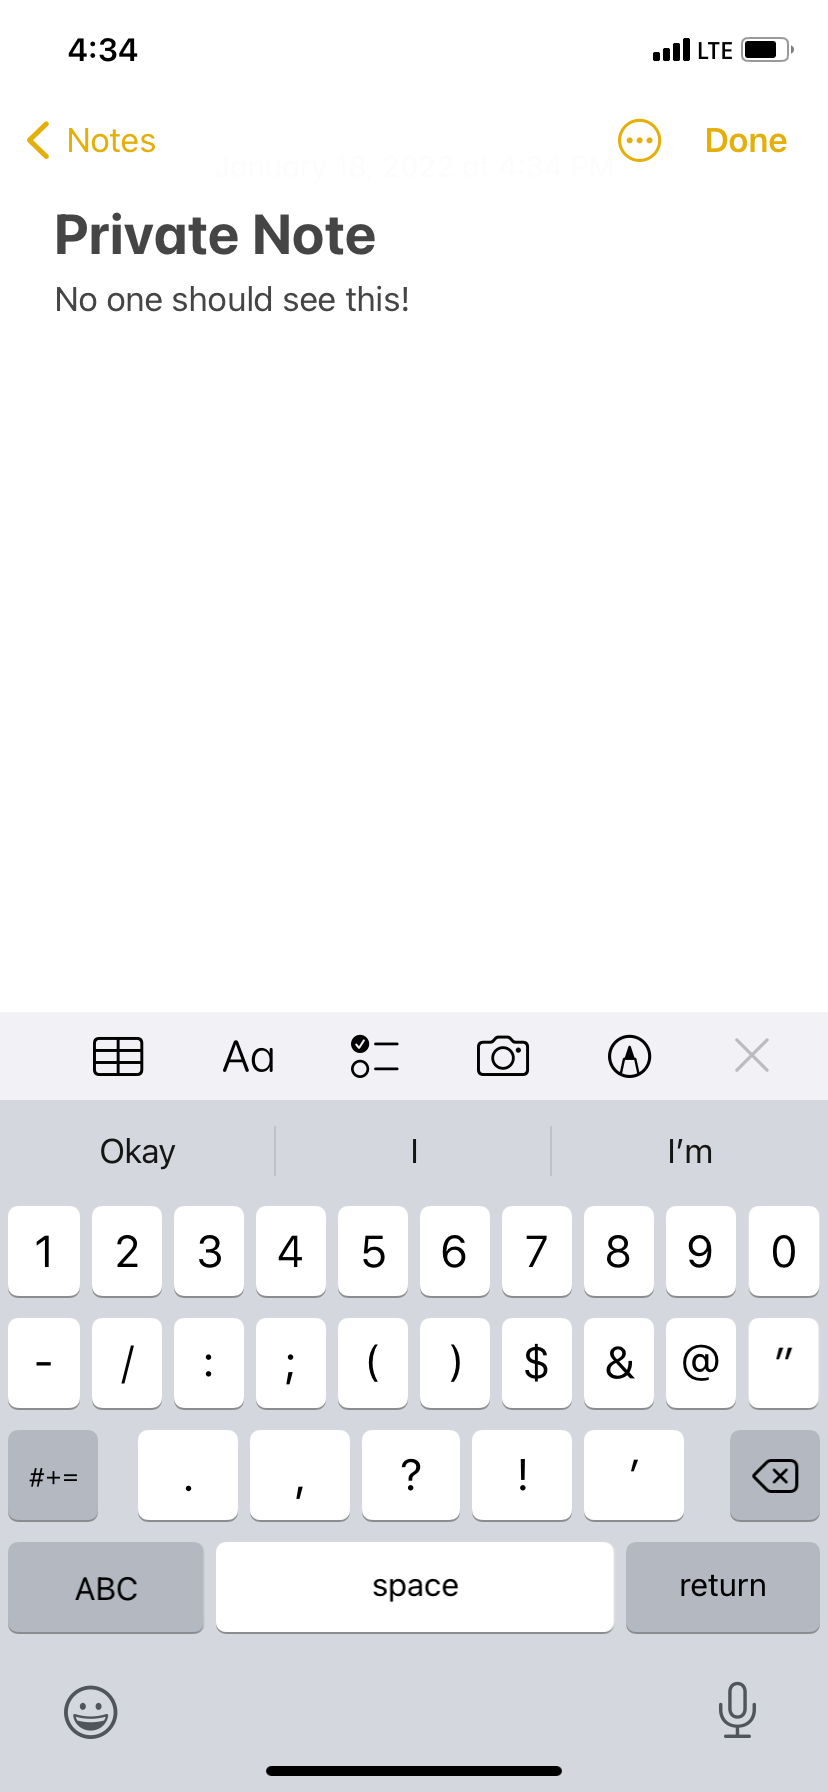
- Open the note you wish to lock inside Apple Notes.
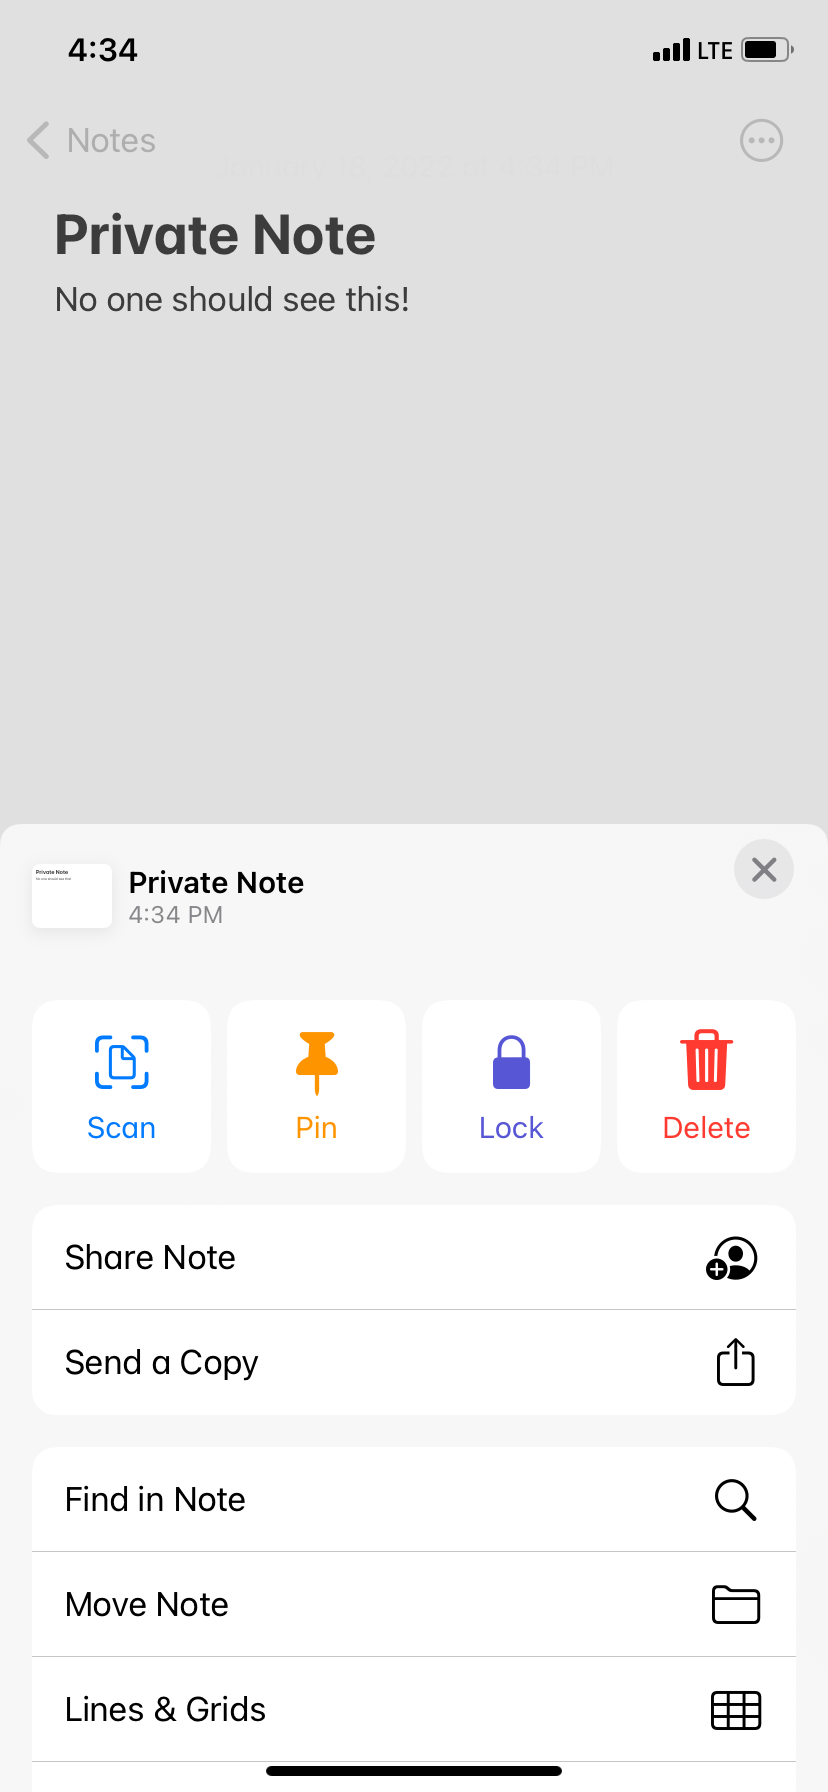
- Select the More (…) button and then select Lock.
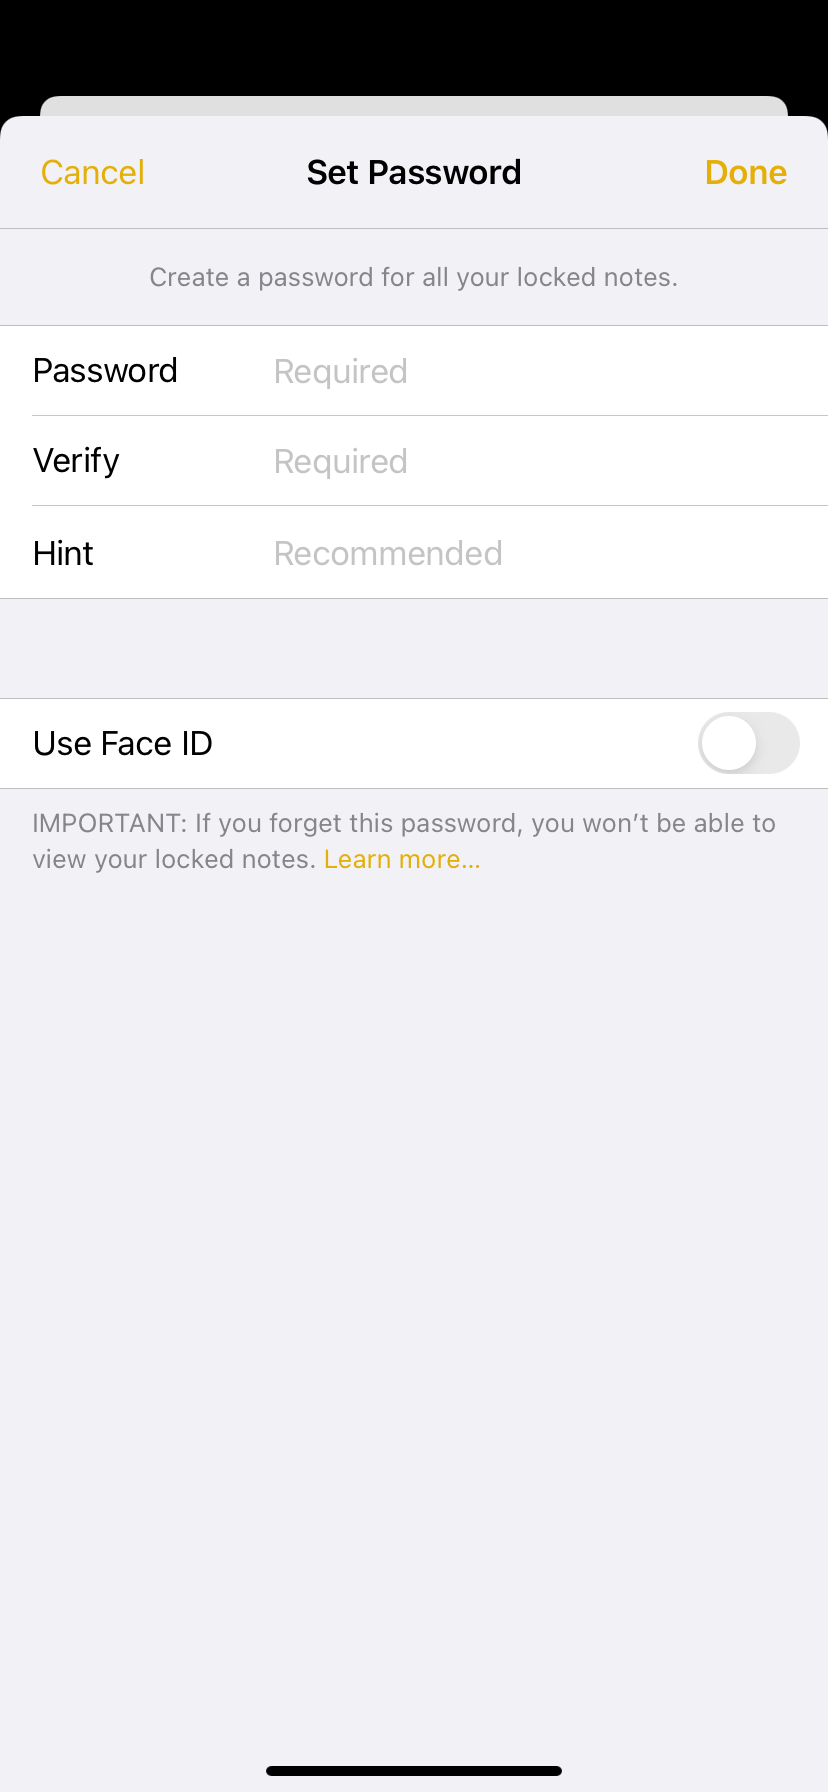
- Set a password and then type it again into Verify.
- Add a password hint.
- If you want to use Face ID or Touch ID (if available), toggle the switch on.
- Finally, select Done.
How to Lock a Note in the Apple Notes App
To lock a second note, you follow the same process as before. Simply select the More (…) button and then select Lock. Once done, the note stays open. Then, tap the Lock icon and your note will now require a password to view.
How to View a Locked Note
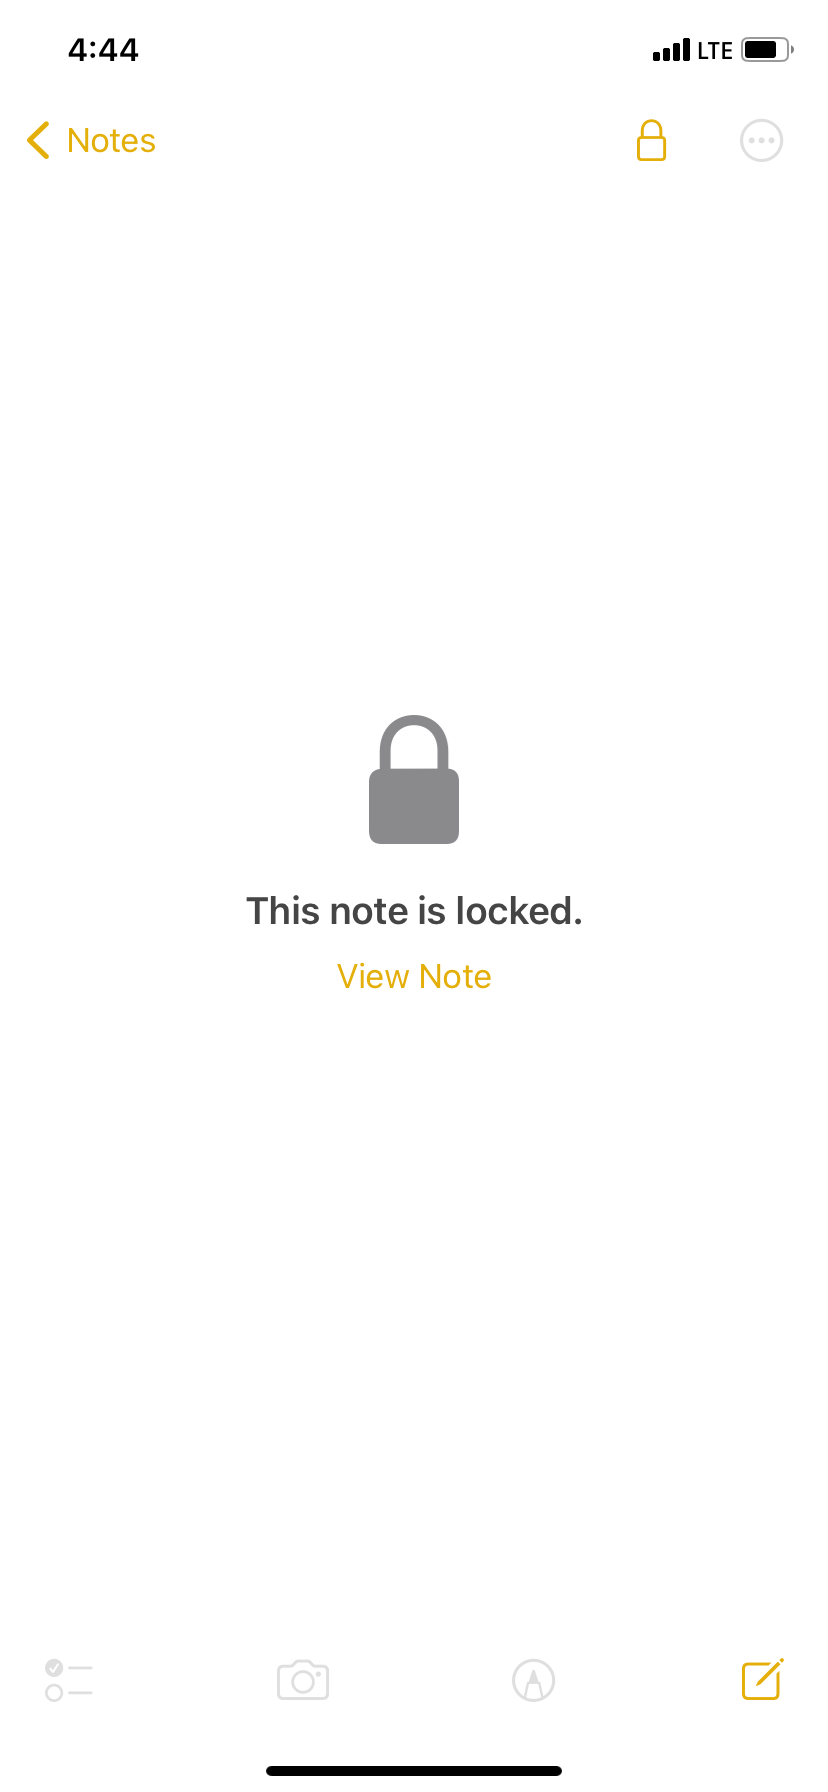
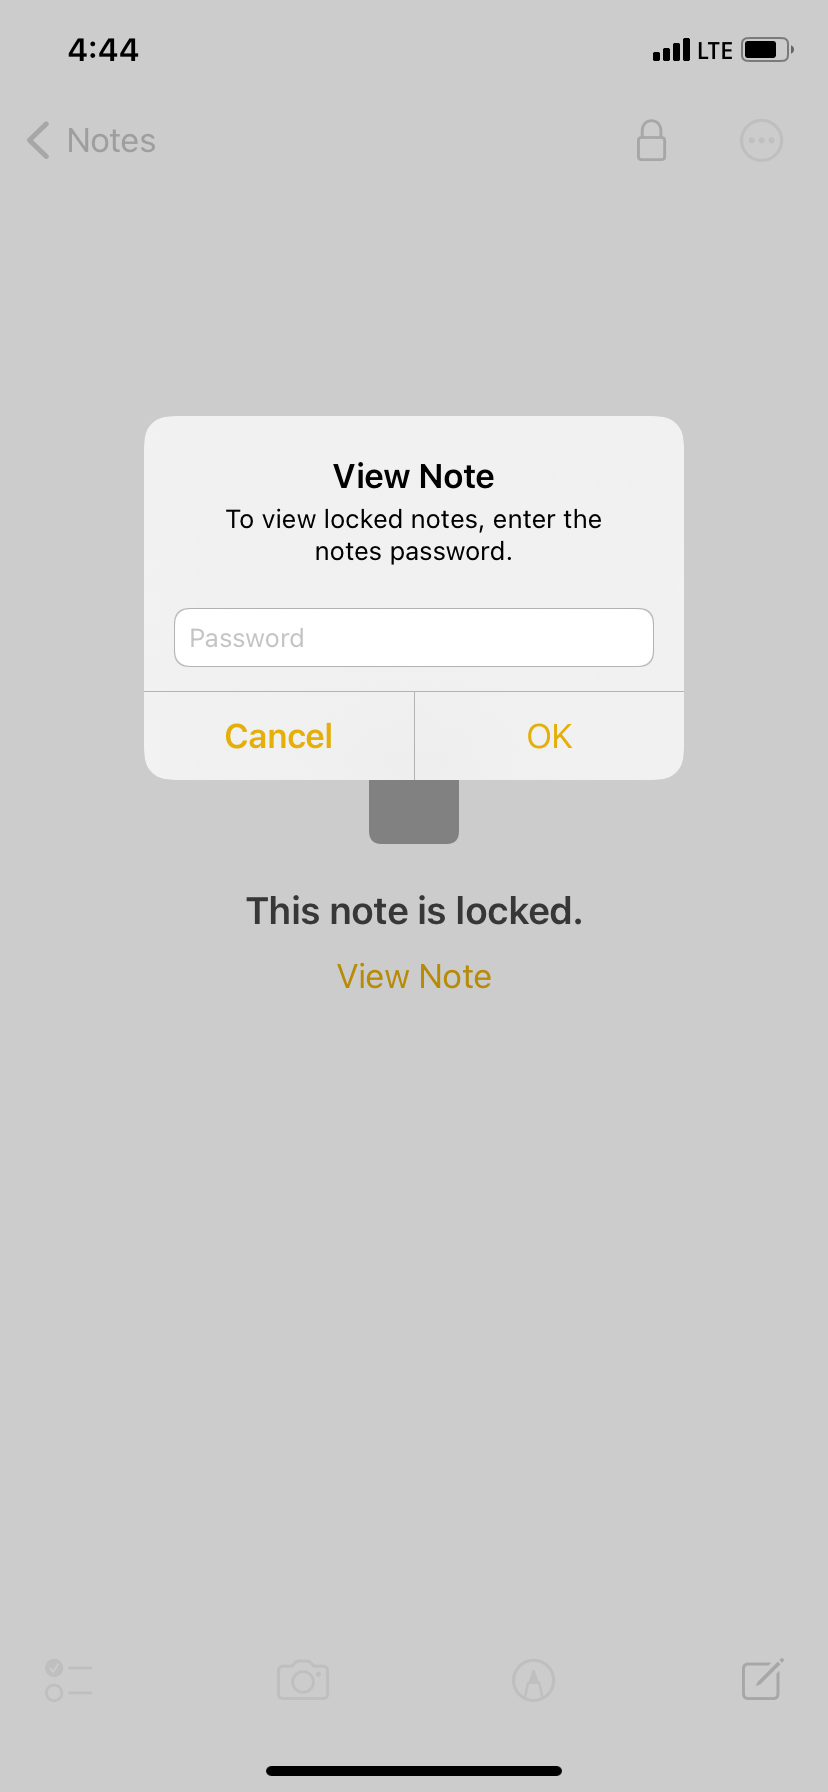
To view a locked note, find the note inside the Apple Notes app. Select it and then select View Note.
Enter your password or use Face ID or Touch ID. That’s it!

How to Remove a Lock From a Note
To remove a lock, open the locked note and then select the More (…) button. Then select Remove.
Apple Notes Is Possibly the Best Note-Taking App for iPhone
Apple Notes is a fantastic app for keeping everything from website log-ins to daily to-do lists safe, secure, and available. Make sure you learn everything you can do in the Notes app to take full advantage of it.

