Somewhere between using a WYSIWYG editor like Wix and building your own stack from the ground up with something like Webpack is using a framework like Gatsby.
Gatsby is better known as a static site generator, though it also competes with full-blown full-stack, server-side rendering frameworks like Next.js and SvelteKit. Gatsby takes pains to make the development experience friendly and easy, while delivering essential website features like modern blur-up images out-of-the-box.
But unlike Next.js or SvelteKit, Gatsby is purely a front-end framework, not a full-stack one. Therefore, Node.js is required for development, but not for deployment. For that, Gatsby supports several click-to-deploy platforms including Netlify and Gatsby Cloud.
Let’s dive right in — it’s the best way to get a sense for how Gatsby works and what it offers. You’ll need access to a command line to a Node.js/NPM installation, as well as to Git, which is used to download the starter kit. Once you have access to NPM from the command line, use it to install Gatsby globally by typing npm install -g gatsby-cli.
When that is complete, you should be able to type gatsby -v and get a response with the installed version. Start building a new app with gatsby new. Gatsby will largely hold your hand through the interactive process, and any choices you make can be changed later. I named my project “My Demo” and accepted the default location of my-demo.
When prompted for which CMS to use, you can accept “No (or I’ll add it later)” as the response. Same goes for CSS processors. You can leave the choices blank for which additional plug-ins to add.
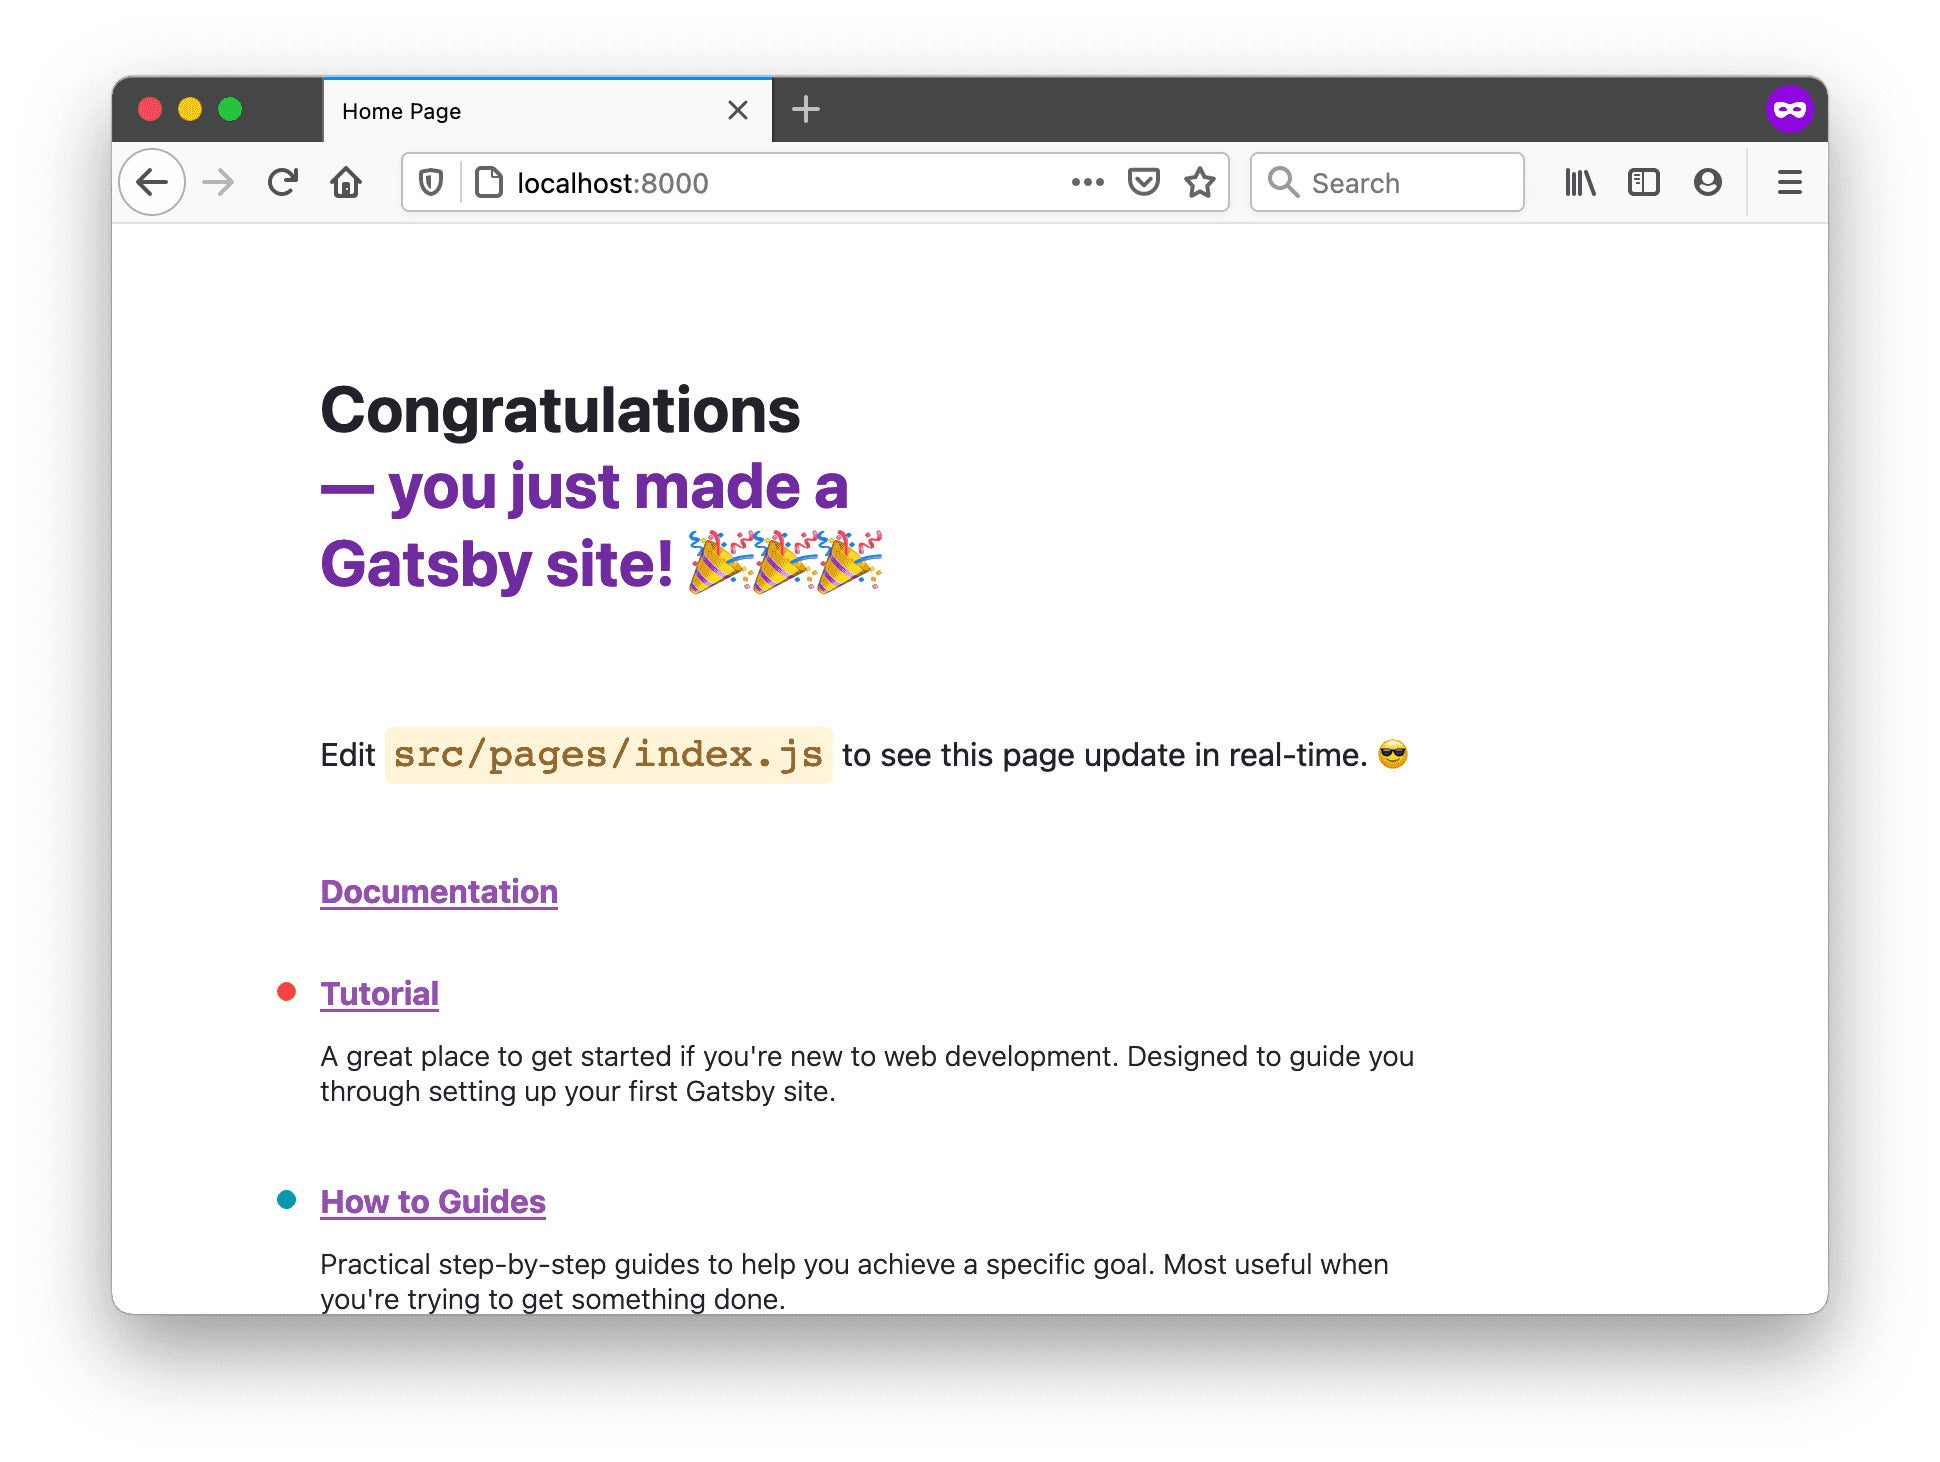
Run the Gatsby starter app
Now you can run the app in dev mode by cd-ing into the new directory (my-demo) and typing gatsby develop.
Once that is running, you can visit localhost:8000 and see the welcome screen as in Figure 1.
Figure 1. Gatsby welcome screen
Hot module replacement
Gatsby ships with HMR (hot module replacement) active, so go ahead and modify the <title> element in /src/pages/index.js to be <title>My Home Page></title> and you will immediately see this change reflected in the browser. (Be sure the app is running in dev mode; either background the process or open a new command-line window.)
Add a page
Gatsby is built on React, so you have the full range of React capabilities at your disposal. A key fact about developing in Gatsby is that each page is a React component. Even the index page is a React component. You can verify this by opening that file and observing that it defines a function (const IndexPage = () => { return (...)) and then exports it as a JS module (export default IndexPage). In short, the index.html file exports a React functional component that represents the index page.
Let’s add a new page, and make it dead simple. Create a new file /src/pages/mypage.js and give it the contents of Listing 1.
Listing 1. Adding a simple page
import * as React from "react";
const MyPage = () => {  return (
        My New Page
)}
export default MyPage;
Adding navigation
You can visit the new page at localhost:8000/mypage. Now add a link from your new page to the index page. Add Gatsby’s built-in Link component by importing it:
import { Link } from 'gatsby'
Now add it to your page with <Link to="/">Home</Link>. The link will appear and you can click it to navigate to the index page.
Creating a shared component
Now add a new file src/components/Dog.js. (Note you’re adding the components directory as well.) Put the contents of Listing 2 into this file.
Listing 2. The Dog component
cat src/components/Dog.js
import * as React from "react";
const DogComponent = ({ name }) => {
        return (
{name} says Woof!
        )}
export default DogComponent;
This is a typical reusable React component that accepts a single prop (name), which is then used in the markup via the token syntax. You can use it in the page components as seen in Listing 3.
Listing 3. Using the Dog component
import Dog from '../components/Dog.js';
//...
<Dog name="Buster" />
There is nothing Gatsby-specific here, except for the fact that your shared components do not go in the pages directory. (Note there is nothing special about the name of the components directory.)
Using images
One of Gatsby’s claims to fame is its sophisticated image support. This is now delivered via official plug-ins. Let’s add images to the Dog component. Begin by installing the NPM packages as seen in Listing 4.
Listing 4. Installing image plug-ins and dependencies
npm install gatsby-plugin-image gatsby-plugin-sharp gatsby-source-filesystem gatsby-transformer-sharp
Listing 4 installs four different plug-ins used by Gatsby for handling images and loading them from the file system. Now register the plug-ins with Gatsby by editing the gatsby-config.js file in the project root directory. That file has an empty plug-ins entry in the module export. Add the plug-in entries seen in Listing 5.
Listing 5. Registering image plug-ins in gatsby-config.js
plugins: [ `gatsby-plugin-image`, `gatsby-plugin-sharp` ]
The two image plug-ins include one for dynamic images (images which are data driven, i.e., which can change depending on the app state) and one for static images, which remain always the same. In this case, we’re just going to use a static image.
Open the /src/components/dog.js file and add the import and component as seen in Listing 6.
Listing 6. Using the StaticImage component
import * as React from "react";
import { StaticImage } from "gatsby-plugin-image";

const DogComponent = ({ name }) => {
        return (
           <div>
                Foo2
                <div>
                <StaticImage src="https://dogtime.com/assets/uploads/gallery/shih-tzu-dog-breed-pictures/shih-tzu-breed-picture-1.jpg" alt="A Shitzu" width={350} height={350}/>
                </div>
                <span>{name} says Woof!</span>
           </div>
        )}
export default DogComponent;
Listing 6 imports the StaticImage component from the gatsby-plugin-image package and uses it to display the image at the given URL. Note that if you want to load files from the local file system, you’ll need to also import gatsby-source-filesystem and configure it to point to the location(s) where your image files reside (see here). If you want to use dynamic images, you use the GatsbyImage component, and you have to include the gatsby-transformer-sharp plug-in.
Gatsby and GraphQL
Another notable feature of Gatsby is its heavy use of GraphQL, which is a query language originated by Facebook. GraphQL can pull data from numerous sources for use by your components. This capability is used across many of Gatsby’s plug-ins to unify how data is loaded.
I’m going to give you a sense of how this works by pulling out data from the information defined inside the gatsby-config.js file. A similar process is used for accessing files from the file system and data from content management systems and databases.
First, look at gatsby-config.js. Notice it exports a couple of metadata fields, as seen in Listing 7.
Listing 7. gatsby-config.js exports
module.exports = {
  siteMetadata: {
    siteUrl: "https://www.yourdomain.tld",
    title: "My Demo",
  }
Now open the src/pages/mypage.js file and access that metadata as shown in Listing 8.
Listing 8. Accessing the metadata with GraphQL
import * as React from "react";
import { Link, useStaticQuery, graphql } from 'gatsby';
import Dog from '../components/Dog.js';

const MyPage = () => {
const data = useStaticQuery(graphql`
    query {
      site {
        siteMetadata {
          title
        }
      }
    }
  `)
return (
        <main>{data.site.siteMetadata.title}
          <Link to="/">Home</Link>
        <br />
<Dog name="Buster" />
        </main>
)}

export default MyPage;
The changes in Listing 8 begin with importing the useStaticQuery and graphql packages from gatsby. In the body of the markup, you can see a token accessing the site metadata with {data.site.siteMetadata.title}. But where does this data come from?
Before the return statement, the data variable is populated with a call to useStaticQuery, and this defines a GraphQL query that accesses the site metadata. These queries have access to page variables like query params, and thus can be fully dynamic when accessing the data store (i.e., using entity Ids).
GraphQL is probably the biggest hurdle to adopting Gatsby, due to its complex-seeming interface. But in the long run, GraphQL provides a powerful approach to unified data querying.
The Great Gatsby
You’ve gotten a taste for some of Gatsby’s capabilities. Gatsby sports a vast plug-in ecosystem, with both official and community-created plug-ins. It’s a good place to start whenever you need something.
Gatsby continues to evolve to keep pace with industry changes. It’s a tempting option, especially when looking to build static sites like blogs.
Read more about JavaScript development
- A simple automated build pipeline for Node.js
- Hands-on with Dropwizard REST APIs
- Hands-on with MarkoJS
- Hands-on with SolidJS
- Hands-on with SvelteKit
- Hands-on with Svelte
- Hands-on with MarkoJS
- How to use Auth0 with Node.js and Express
- How to use FilePond with Node.js
- Hands-on with CodeSandBox
- 7 tools transforming JavaScript development
- 10 tips for tuning React UI performance
- How to use React’s concurrent mode
- How to handle component interaction in React
- How to handle errors in React
- How to use React functional components