:format(webp)/cdn.vox-cdn.com/uploads/chorus_image/image/59651655/2018_05_06_18.57.23_Screenshot.0.png)
In this God of War artifact guide, we’ll help you find every artifact in every part of God of War’s story.
Finding artifacts in God of War isn’t just about being a completionist. Each artifact you pick up earns you some XP (with a bonus when you complete a set). And you can sell artifacts for good money when you visit a Brok or Sindri franchise location. In this guide, we’ll show you how to find every artifact in God of War.
Table of contents
- Wildwoods — Lost and Found (4 toy artifacts)
- River Pass — Faces of Magic (9 mask artifacts)
- Shores of Nine — Abandon Ship (9 ship figurehead artifacts)
- Veithurgard — Horns of Veithurgard (5 horn artifacts)
- Alfheim — Spoils of War (5 elven artifacts)
- The Mountain — Bottoms Up (5 cup artifacts)
- Helheim — Family Heirloom (5 brooch artifacts)
Late-game spoilers below
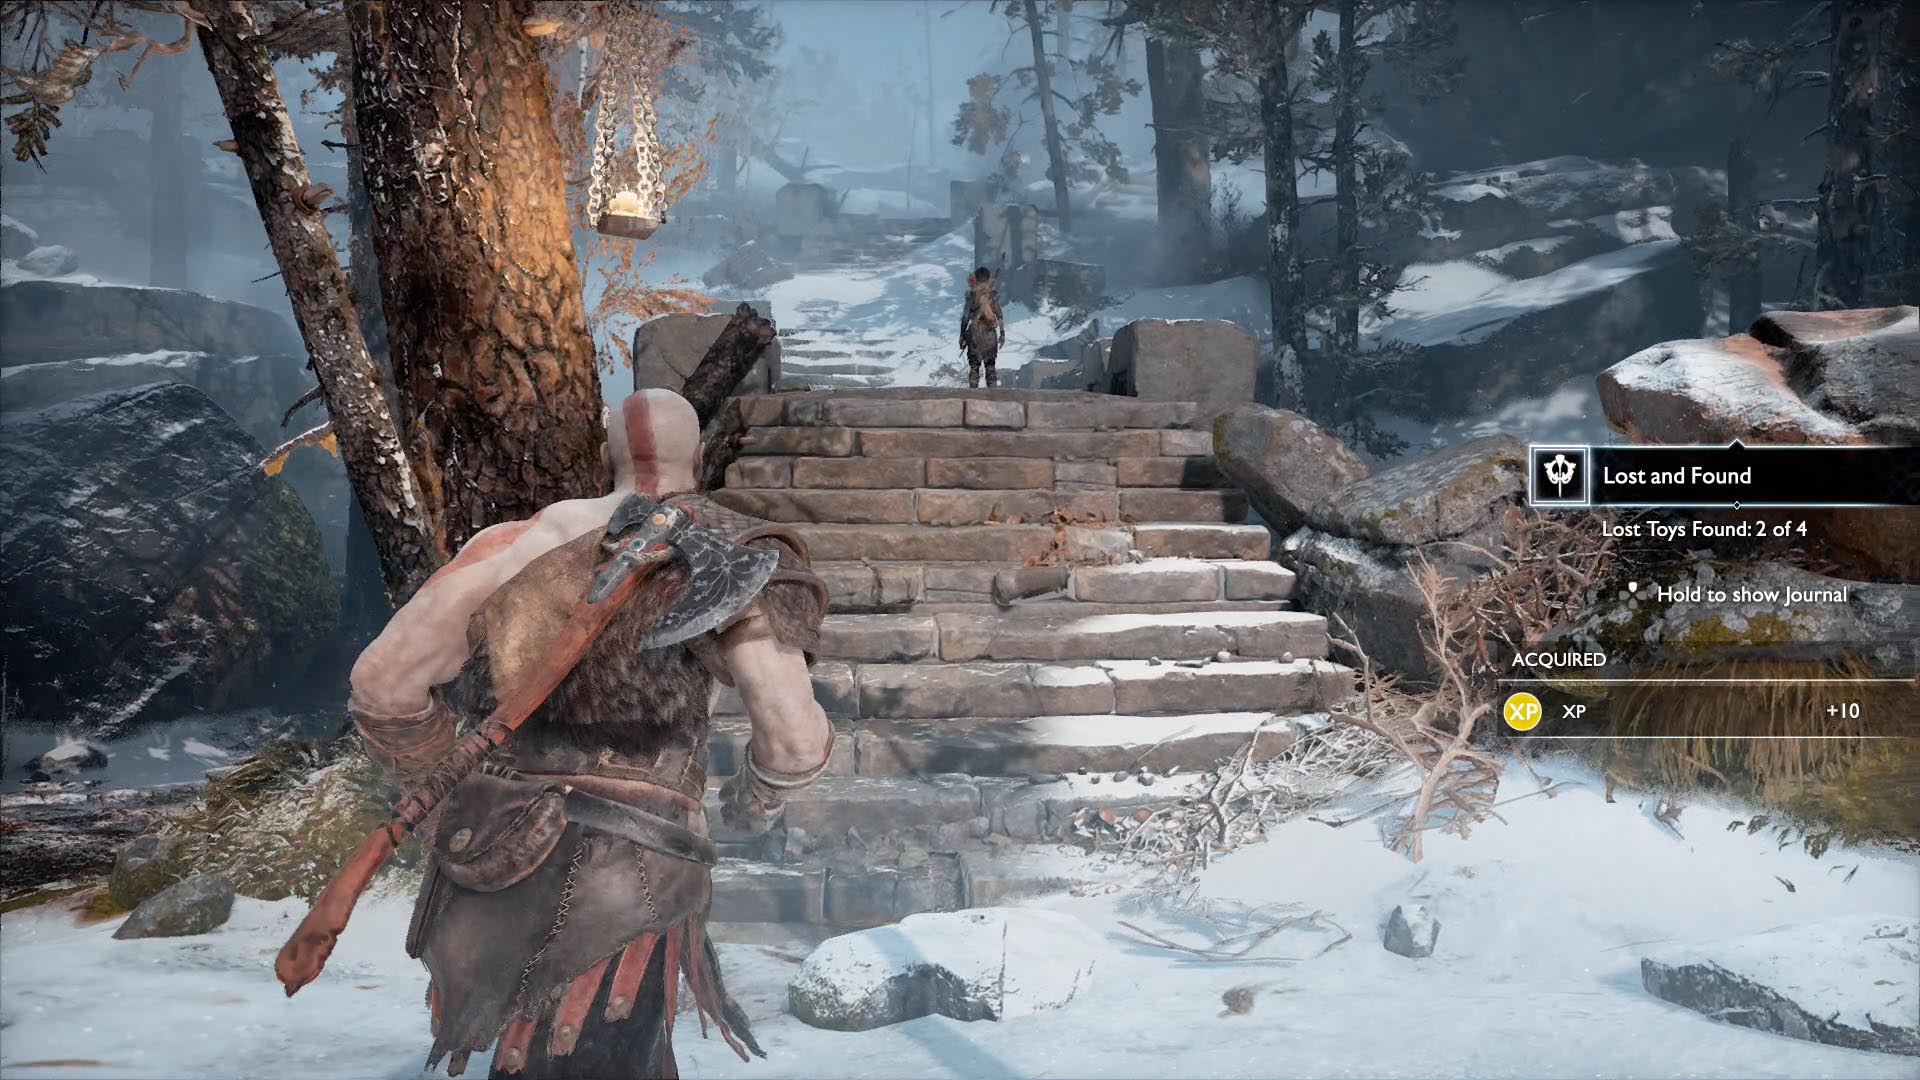
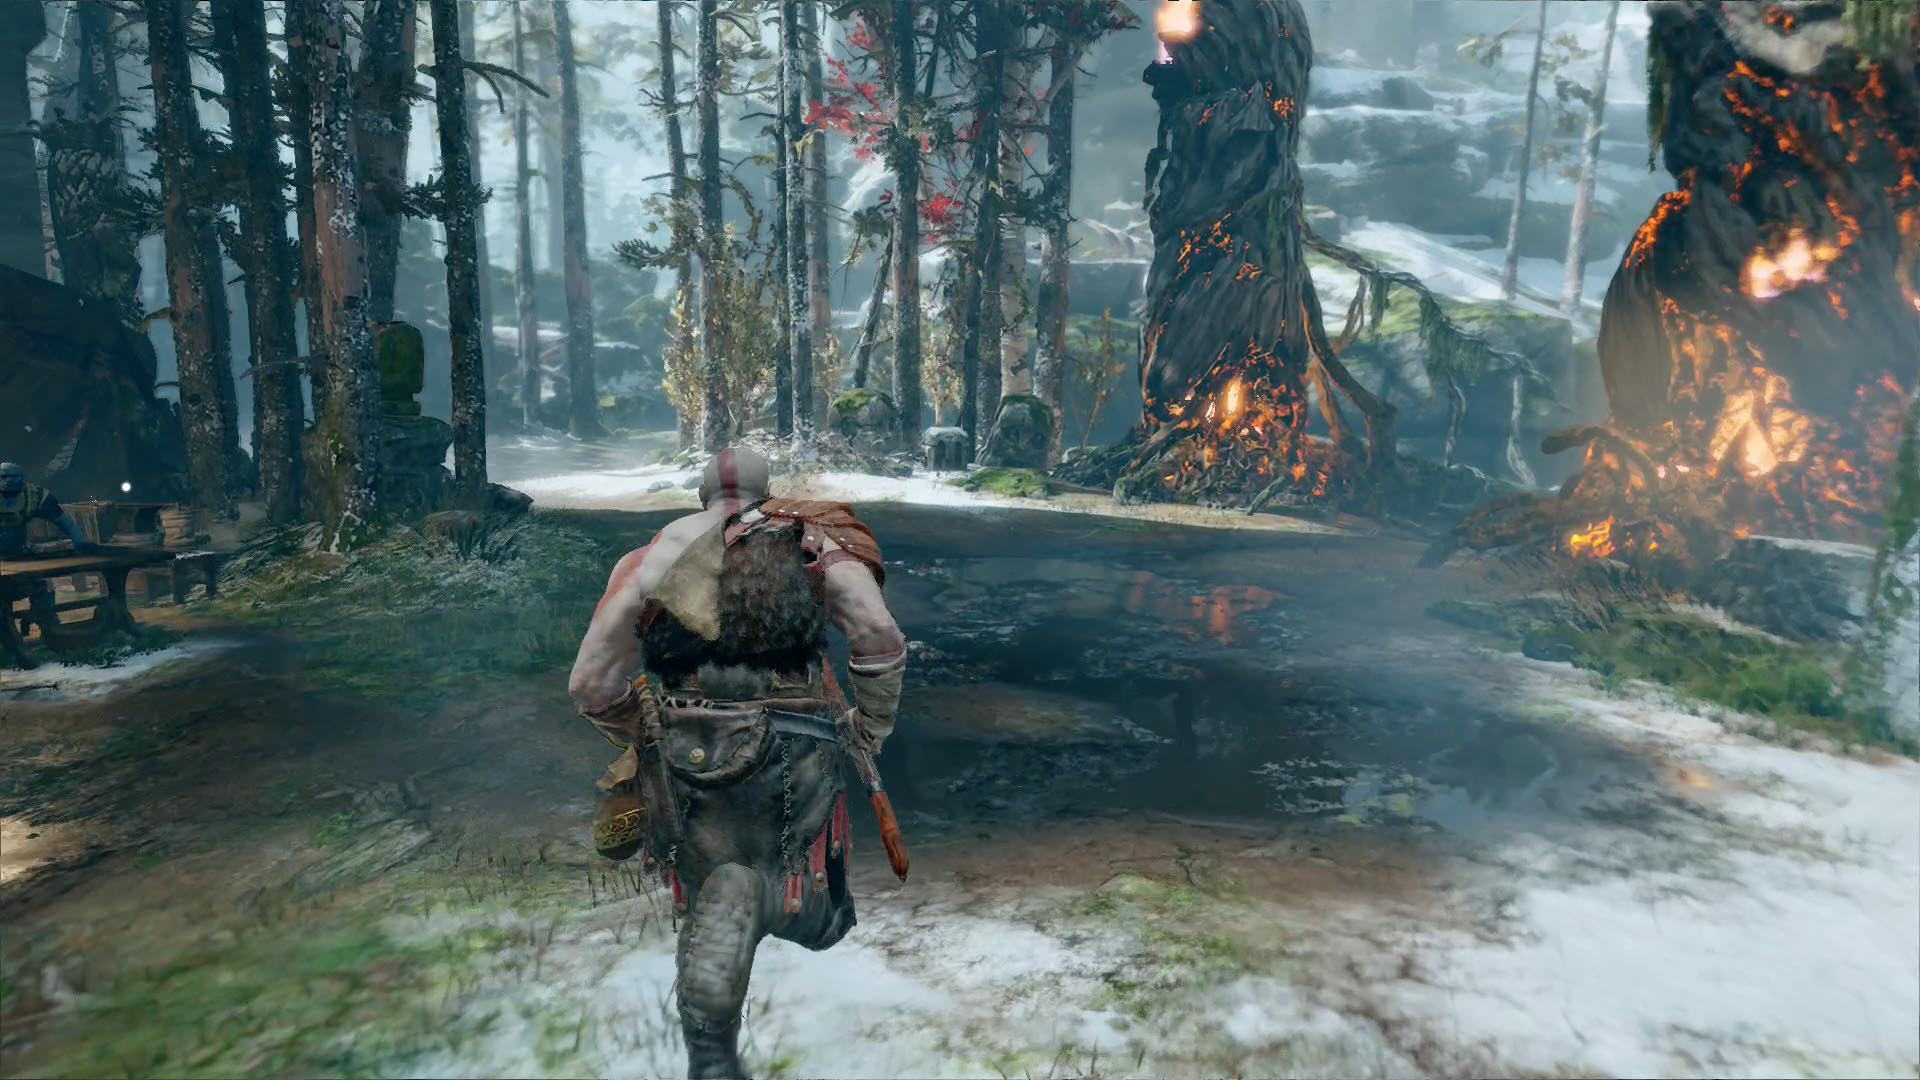
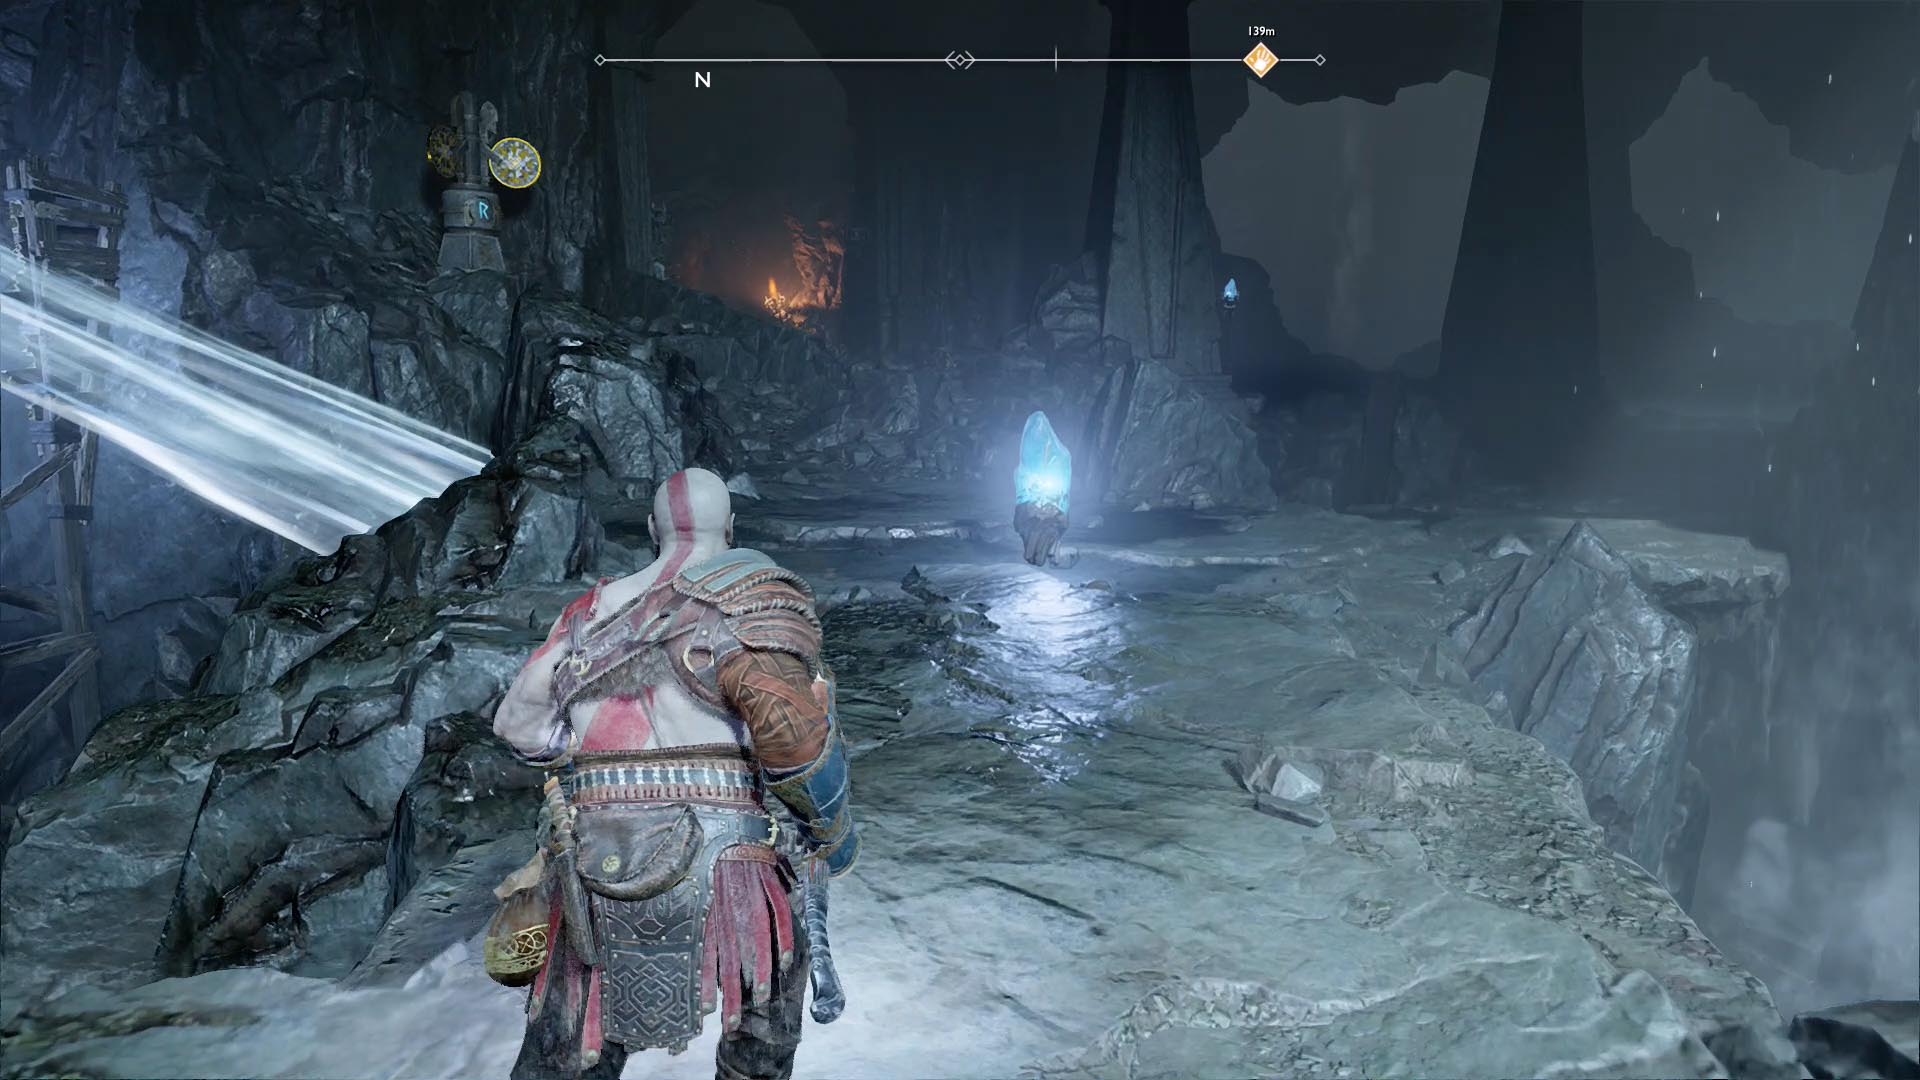
Wildwoods — Lost and Found (4 toy artifacts)
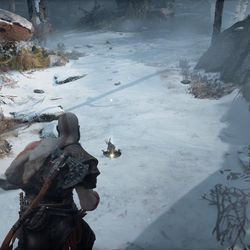
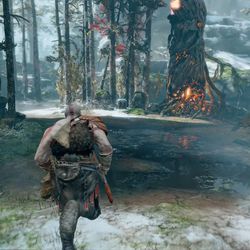
You can find all four of the Lost and Found artifacts in the Wildwoods region during the first story chapter, “The Marked Trees.”
-
 SIE Santa Monica Studio/Sony Interactive Entertainment via Polygon
-
 SIE Santa Monica Studio/Sony Interactive Entertainment via Polygon
-
 SIE Santa Monica Studio/Sony Interactive Entertainment via Polygon
-
 SIE Santa Monica Studio/Sony Interactive Entertainment via Polygon
-
 SIE Santa Monica Studio/Sony Interactive Entertainment via Polygon
-
 SIE Santa Monica Studio/Sony Interactive Entertainment via Polygon
-
 SIE Santa Monica Studio/Sony Interactive Entertainment via Polygon
-
 SIE Santa Monica Studio/Sony Interactive Entertainment via Polygon
-
 SIE Santa Monica Studio/Sony Interactive Entertainment via Polygon
-
 SIE Santa Monica Studio/Sony Interactive Entertainment via Polygon

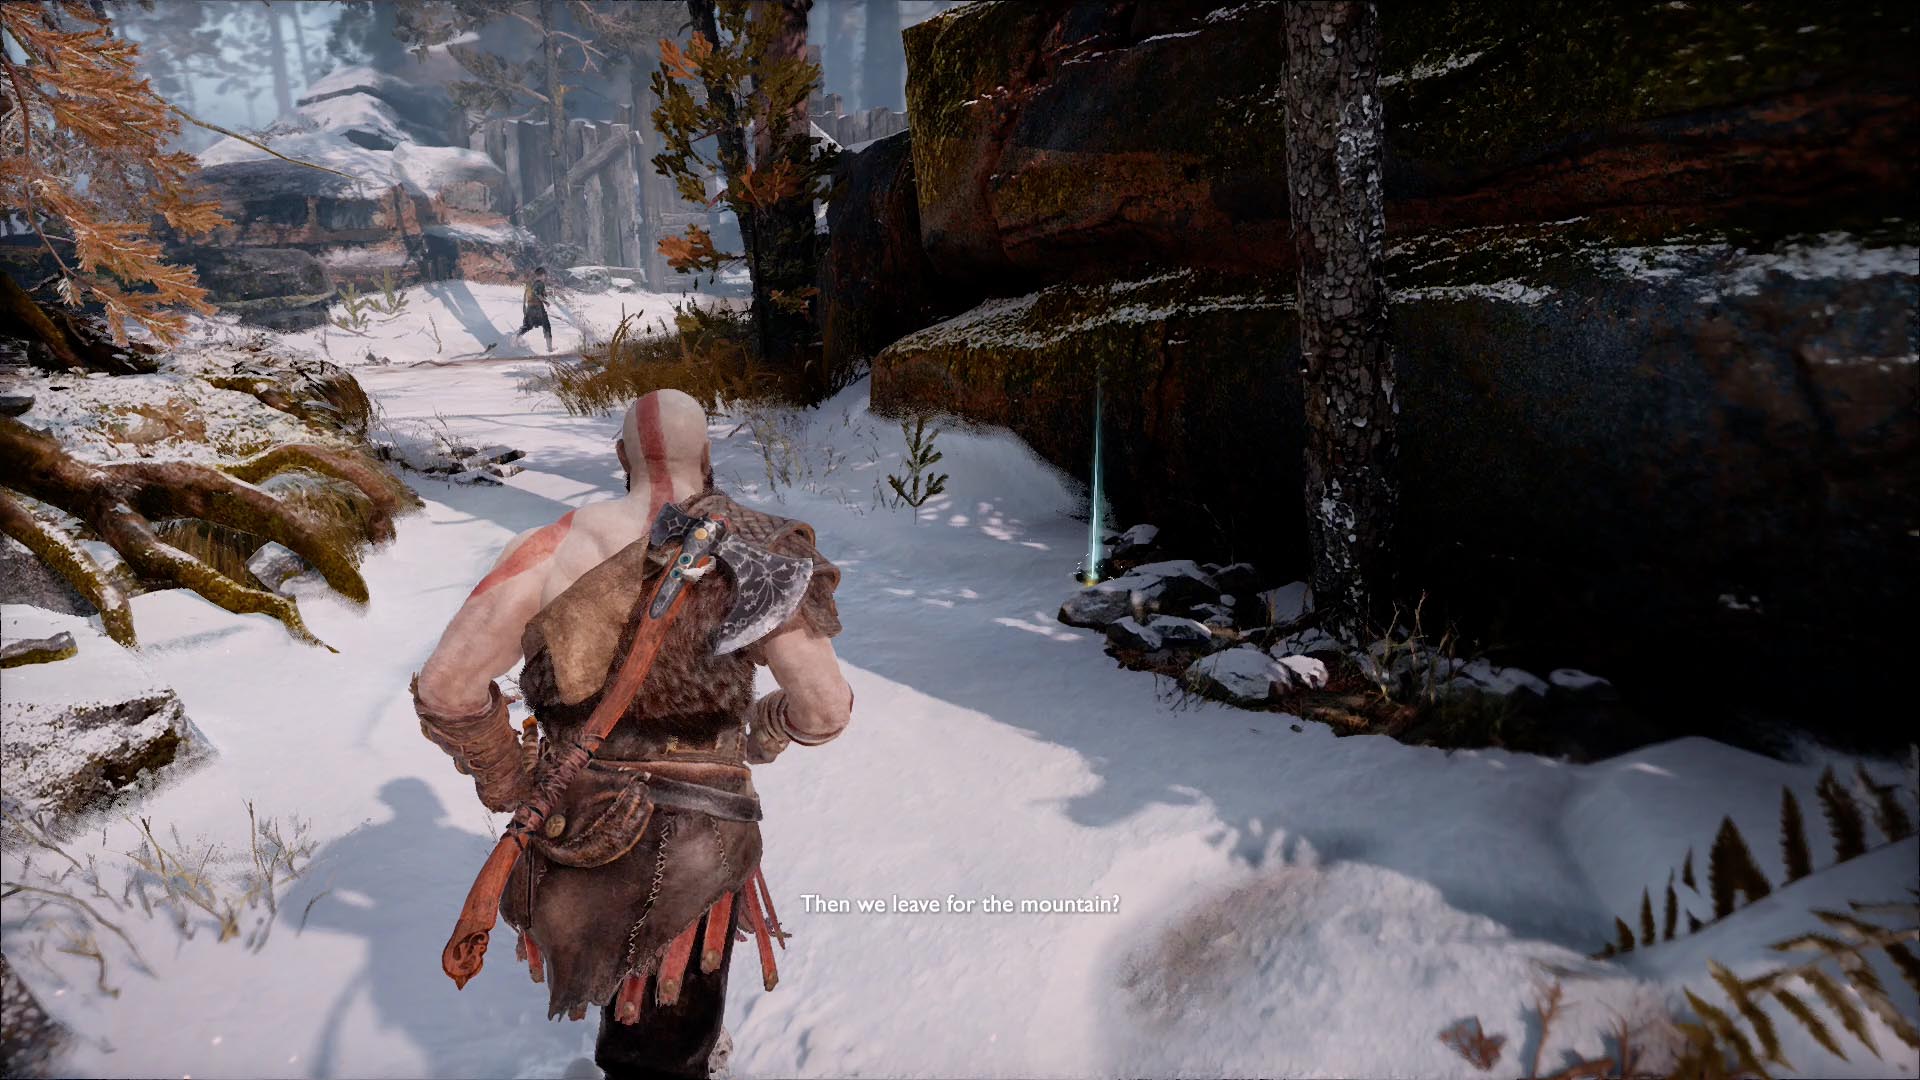


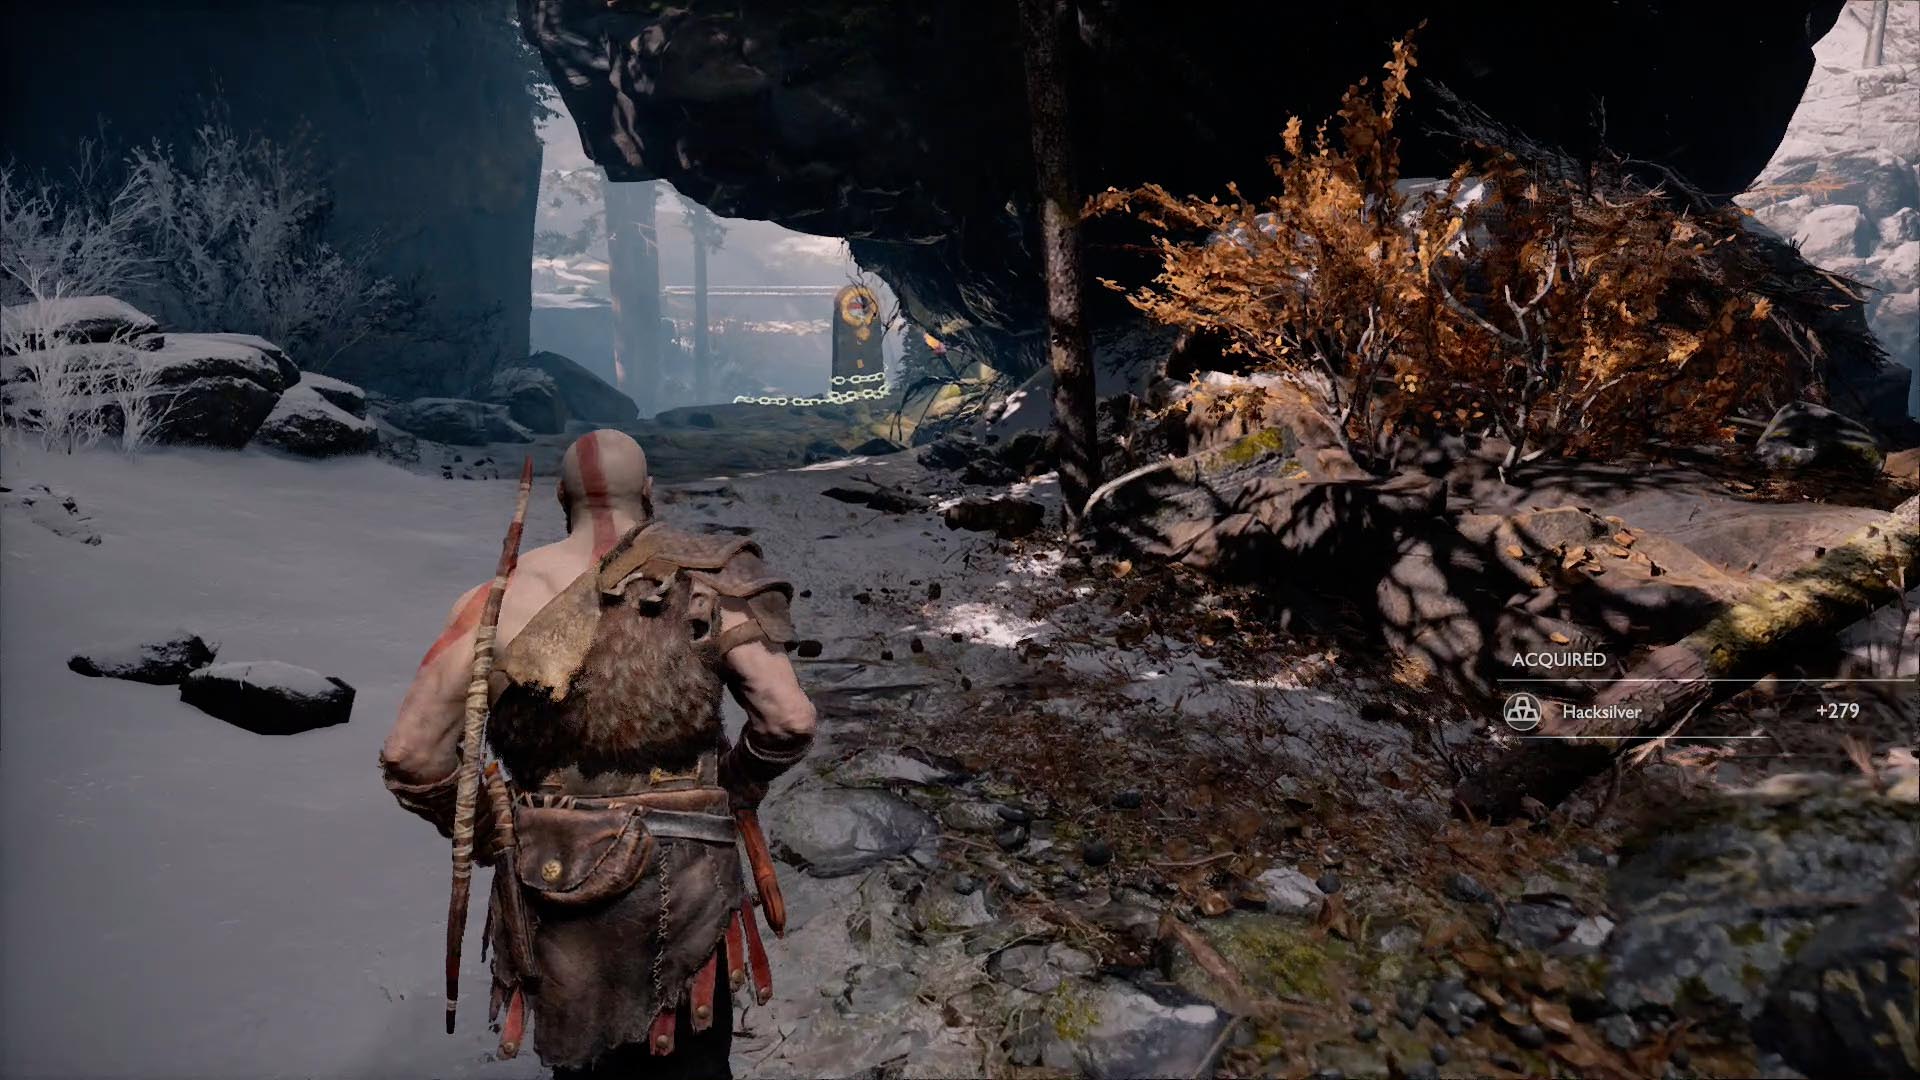


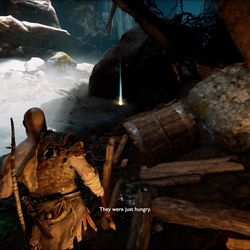
- The first artifact is right in Kratos’ front yard. It’s to the right of the gate that Kratos and Atreus go through to go hunting.
- While you’re following Atreus on his hunt, you’ll come to a stone bridge. Turn left just before the bridge to find the second artifact.
- A little later, you’ll come to some ruins where you’ll open your very first Nornir Chest. Turn right there, follow the path and slide down the chain to find the third artifact.
- When you get to the temple, turn right, then go through the door and go out onto the frozen pond next to the bridge to find the last of the artifacts.
River Pass — Faces of Magic (9 mask artifacts)
You’ll only be able to get the first seven River Pass artifacts during your first visit as part of “A Path to the Mountain.” (You can find the remaining two Faces of Magic artifacts later, and we cover those below.)
-
 SIE Santa Monica Studio/Sony Interactive Entertainment via Polygon
-
 SIE Santa Monica Studio/Sony Interactive Entertainment via Polygon
-
 SIE Santa Monica Studio/Sony Interactive Entertainment via Polygon
-
 SIE Santa Monica Studio/Sony Interactive Entertainment via Polygon
-
 SIE Santa Monica Studio/Sony Interactive Entertainment via Polygon
-
 SIE Santa Monica Studio/Sony Interactive Entertainment via Polygon
-
 SIE Santa Monica Studio/Sony Interactive Entertainment via Polygon
-
 SIE Santa Monica Studio/Sony Interactive Entertainment via Polygon
-
 SIE Santa Monica Studio/Sony Interactive Entertainment via Polygon
-
 SIE Santa Monica Studio/Sony Interactive Entertainment via Polygon
-
 SIE Santa Monica Studio/Sony Interactive Entertainment via Polygon
-
 SIE Santa Monica Studio/Sony Interactive Entertainment via Polygon
-
 SIE Santa Monica Studio/Sony Interactive Entertainment via Polygon
-
 SIE Santa Monica Studio/Sony Interactive Entertainment via Polygon
-
 SIE Santa Monica Studio/Sony Interactive Entertainment via Polygon
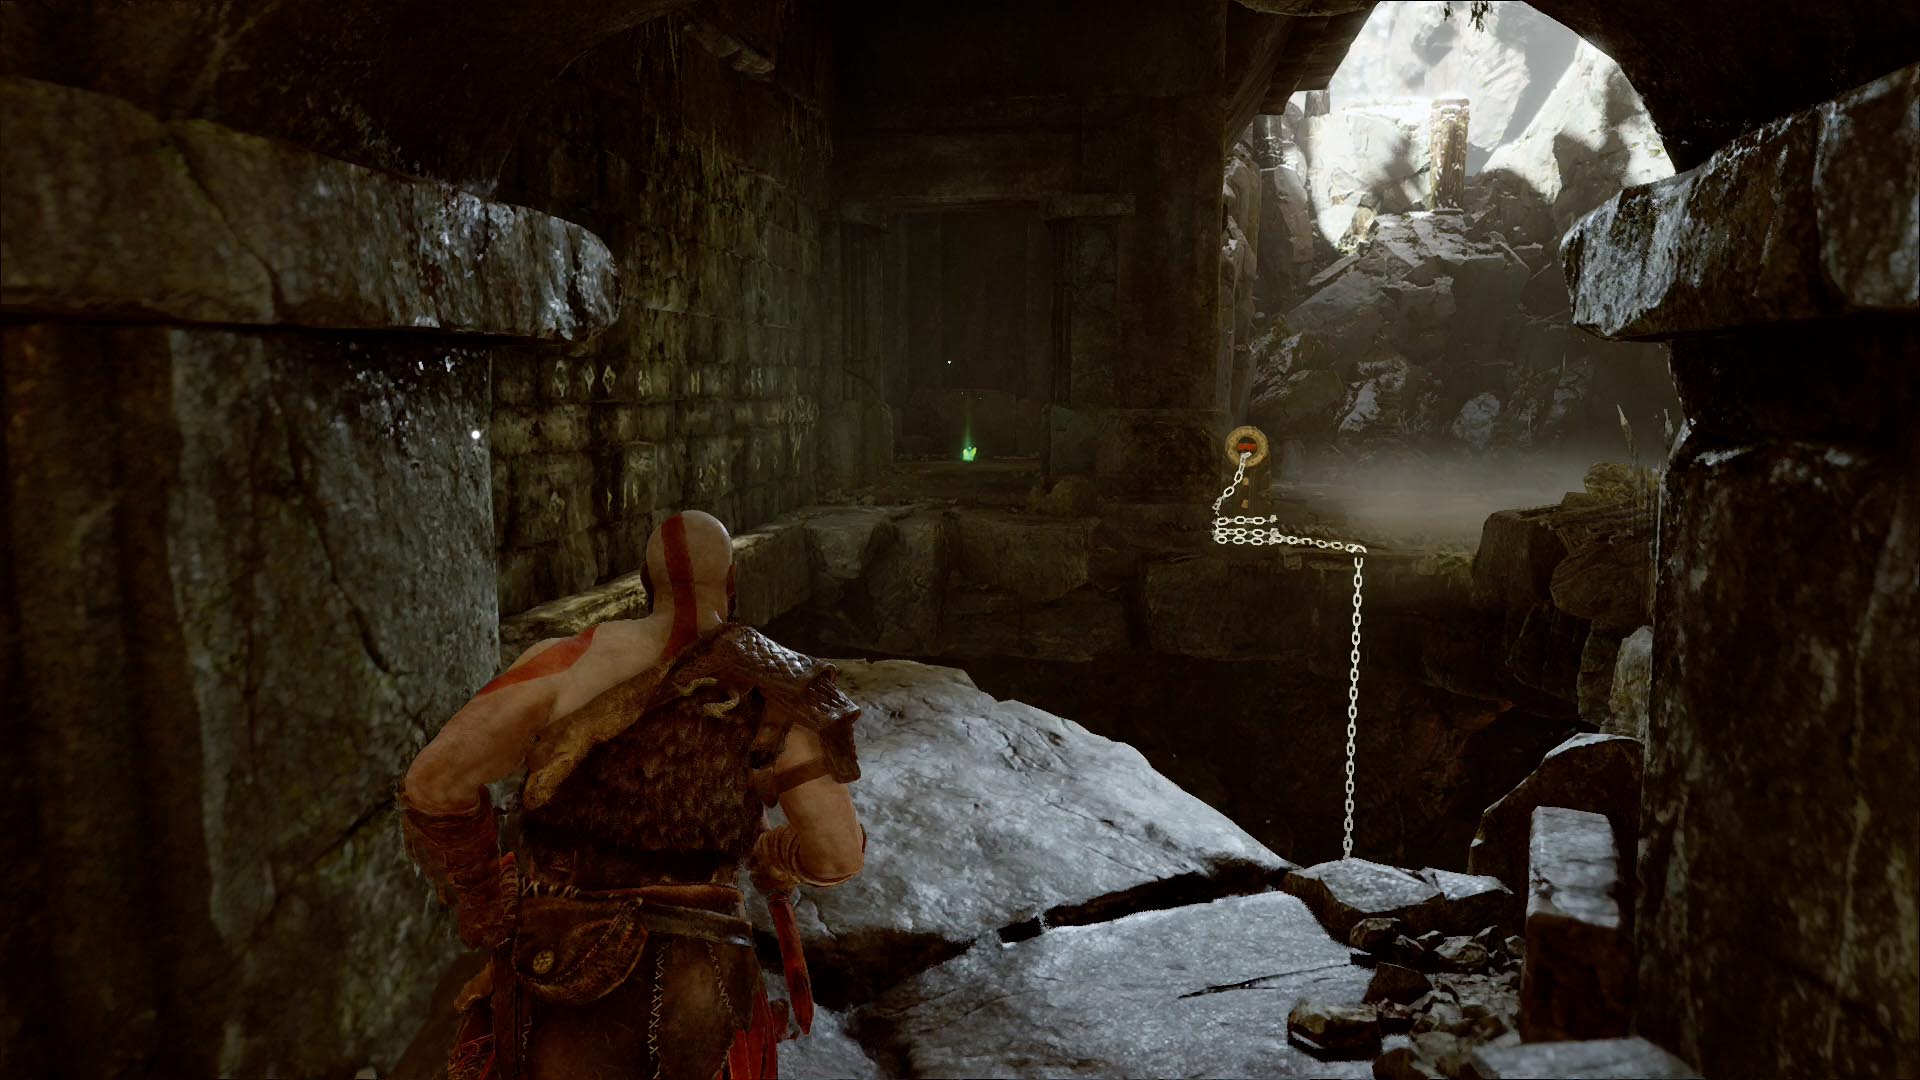


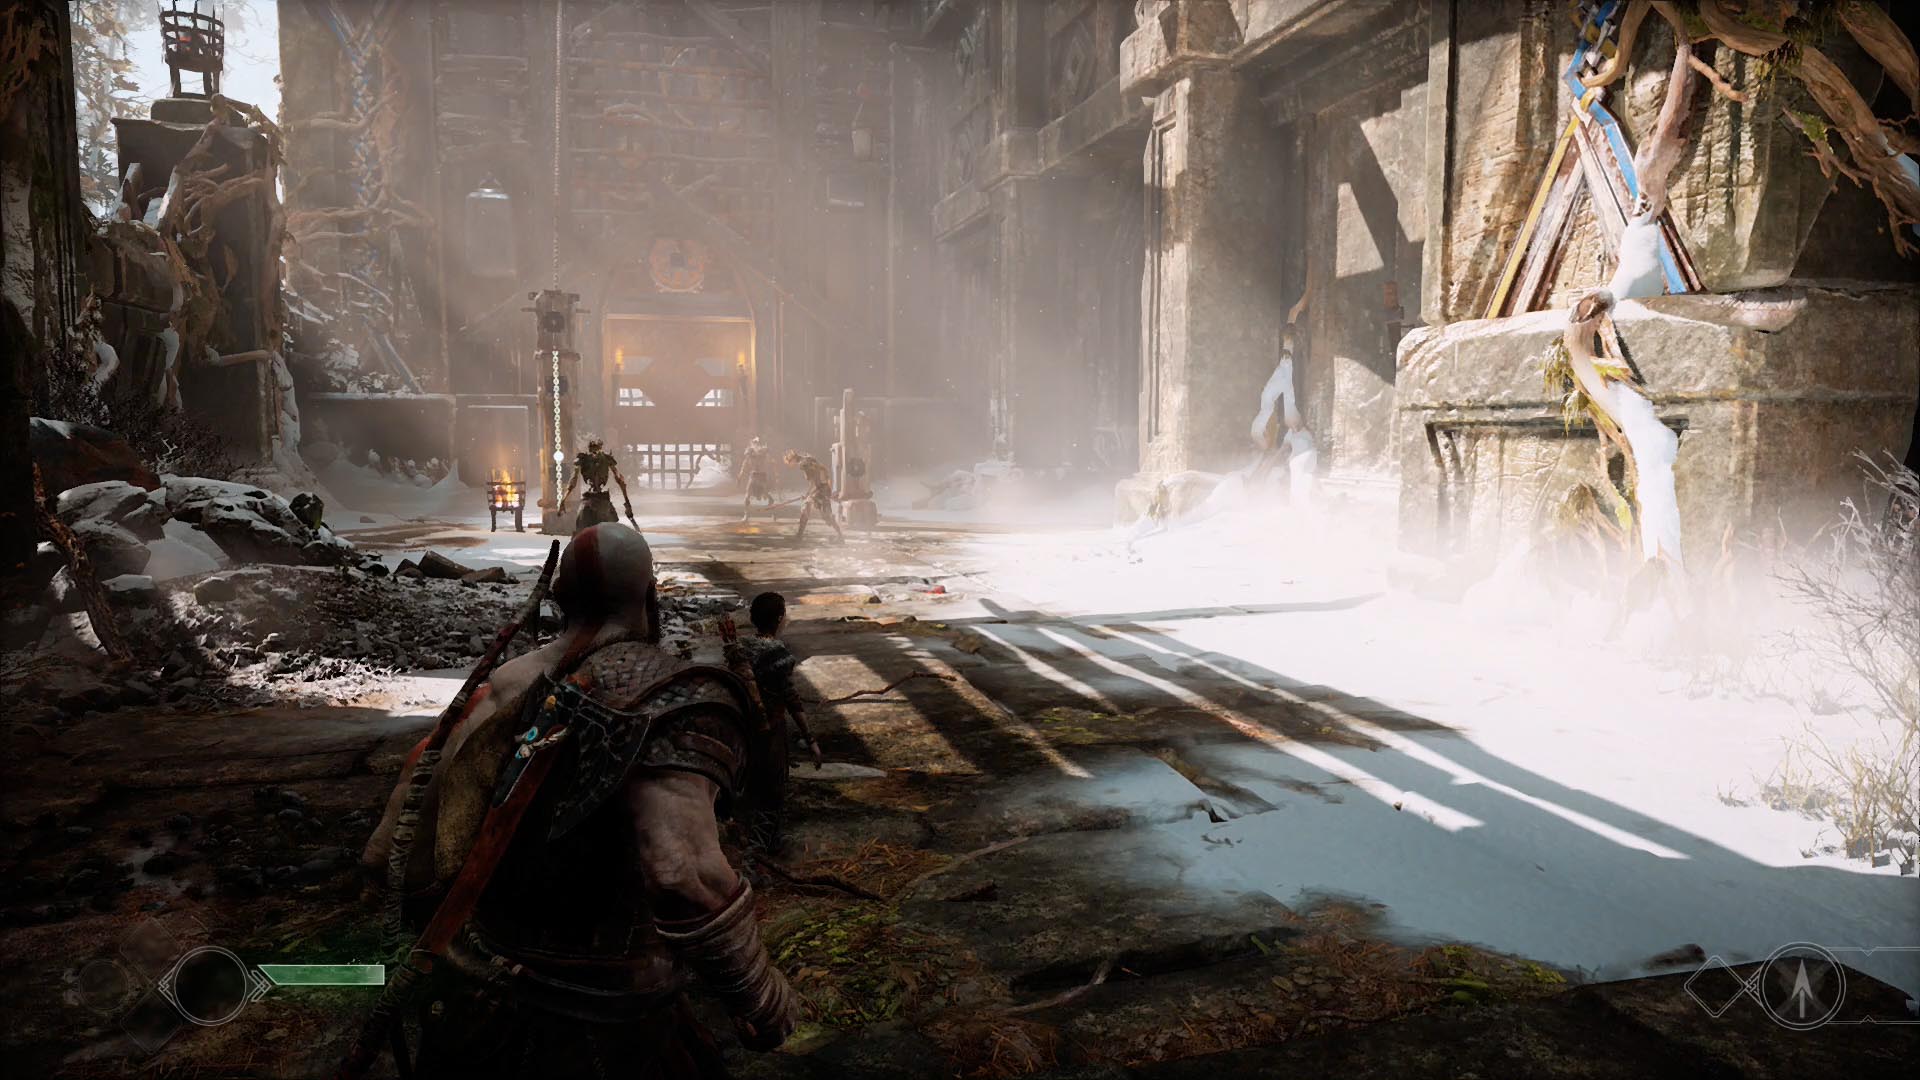
- You won’t be able to find your first artifact until quite a way into the River Pass. After make it past all of the bridge puzzles, but before you meet Brok for the first time, you’ll get attacked by Reavers. Once you escape them, you’ll cross a ledge. On the other side, there’s a chain you can climb down. Follow the ledge you land on until you find the first artifact.
- Shortly after that, you’ll meet Brok. Turn right from his shop and follow the path a little ways. Drop down over the ledge to find the second artifact.
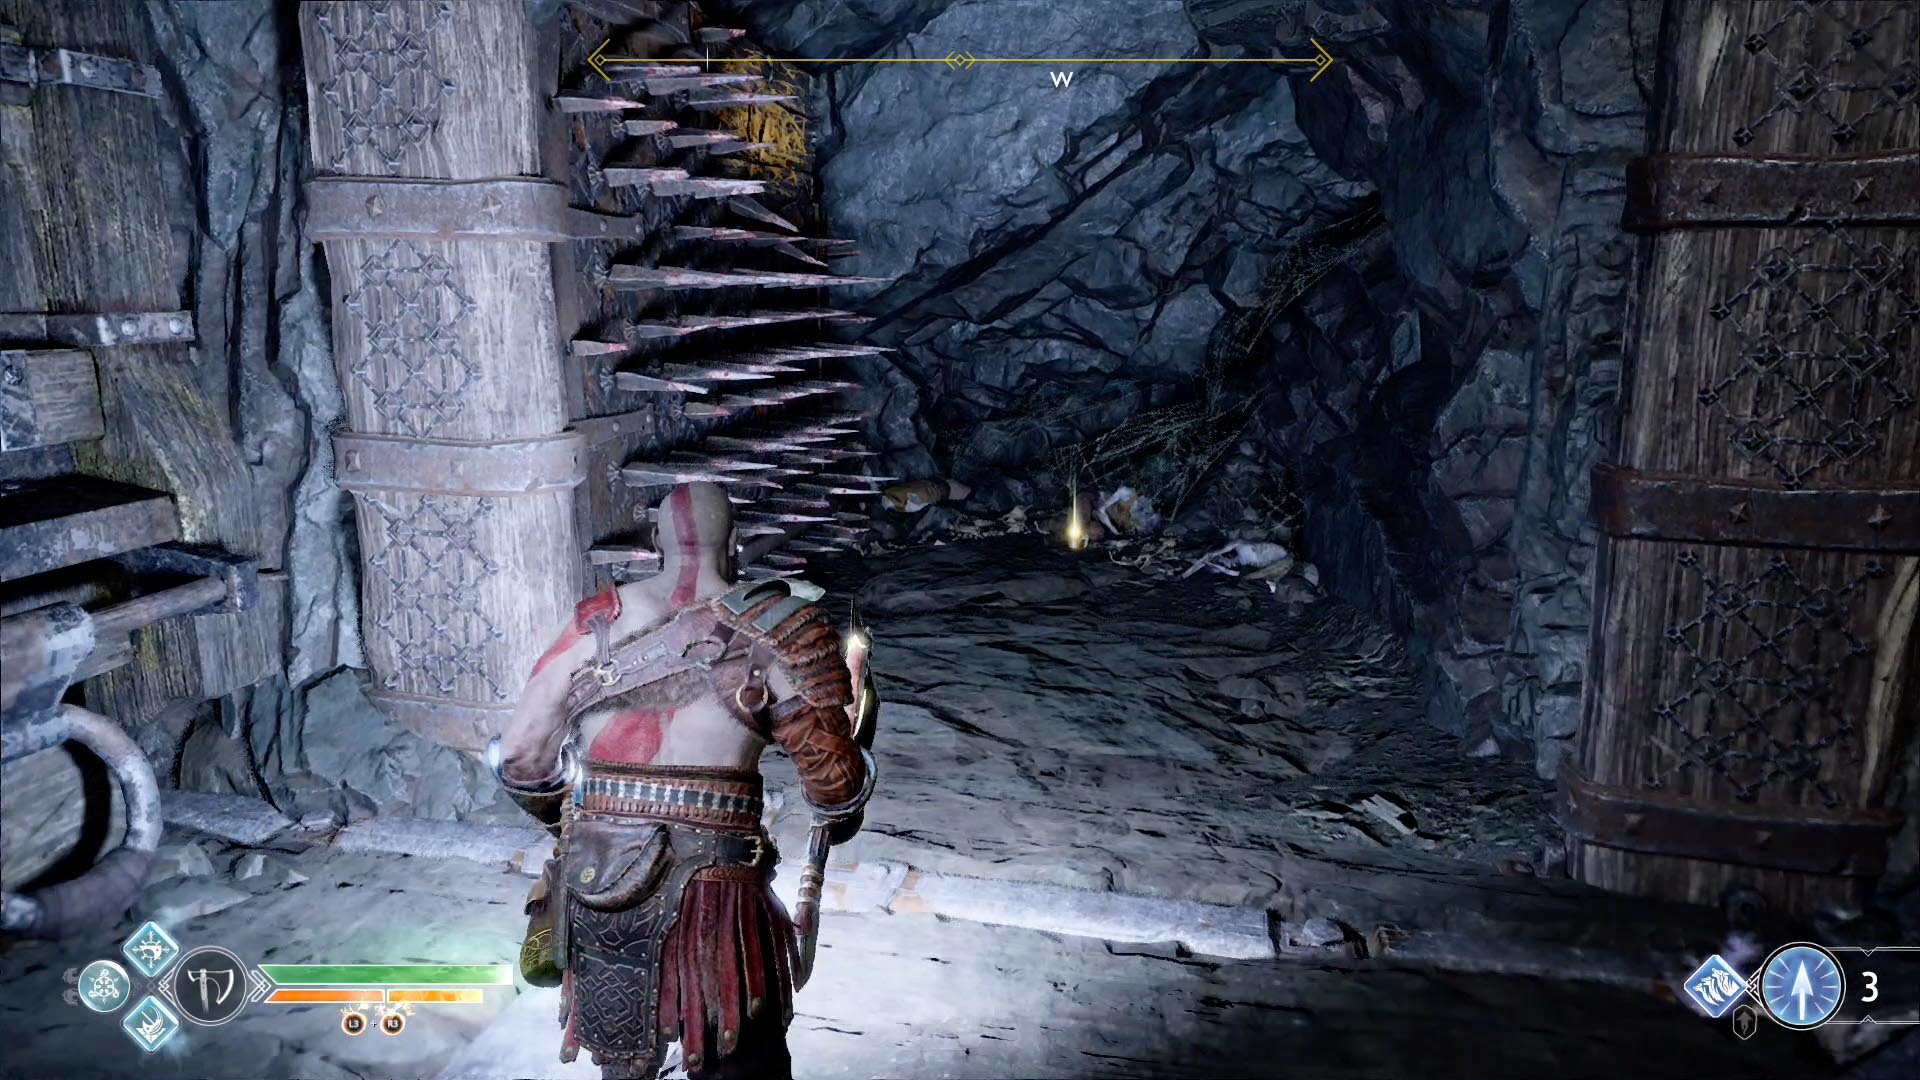
- Back on the main path, you’ll cross through a spiked-ceiling puzzle area. On the other side, you’ll walk right past the third artifact.
- Right after you pick up that one, follow the edge of the cliff you come to until you find the fourth artifact.
- Just a little after that, you’ll have to solve a sand bowl puzzle and open a big round door. Follow the tunnels inside and take the first left. Climb up the ledge to find the fifth artifact.
- After you fight the troll and exit his arena you’ll come to a burned village. You can find the sixth artifact behind the fourth house on your right.
- After a bit of story development, you’ll end up in the Witch’s Cave under her house. Go down the ramp and turn left. Continue along that tunnel and drop down. Grab the pallet full of rocks and move it toward the water. You’ll have to reposition yourself, but you can push it all the way into the river. Jump on top of it and across to the next platform to find Faces of Magic artifact 7.
You can find the remaining two Faces of Magic artifacts when you return to the River Pass — specifically the Witch’s Cave and House — during “A New Destination.”
-
 SIE Santa Monica Studio/Sony Interactive Entertainment via Polygon
-
 SIE Santa Monica Studio/Sony Interactive Entertainment via Polygon
-
 SIE Santa Monica Studio/Sony Interactive Entertainment via Polygon


- When you return to the Cave, you’ll have to climb up an old well to get to the witch’s front yard. At the top of the well, follow the ramp down. You’ll pass right by this artifact near a corpse on your right.
- When you get to her front yard, turn left and climb up the chain to a ledge. The final artifact is hidden in the grass along the left side of the path. This one is extremely easy to miss.
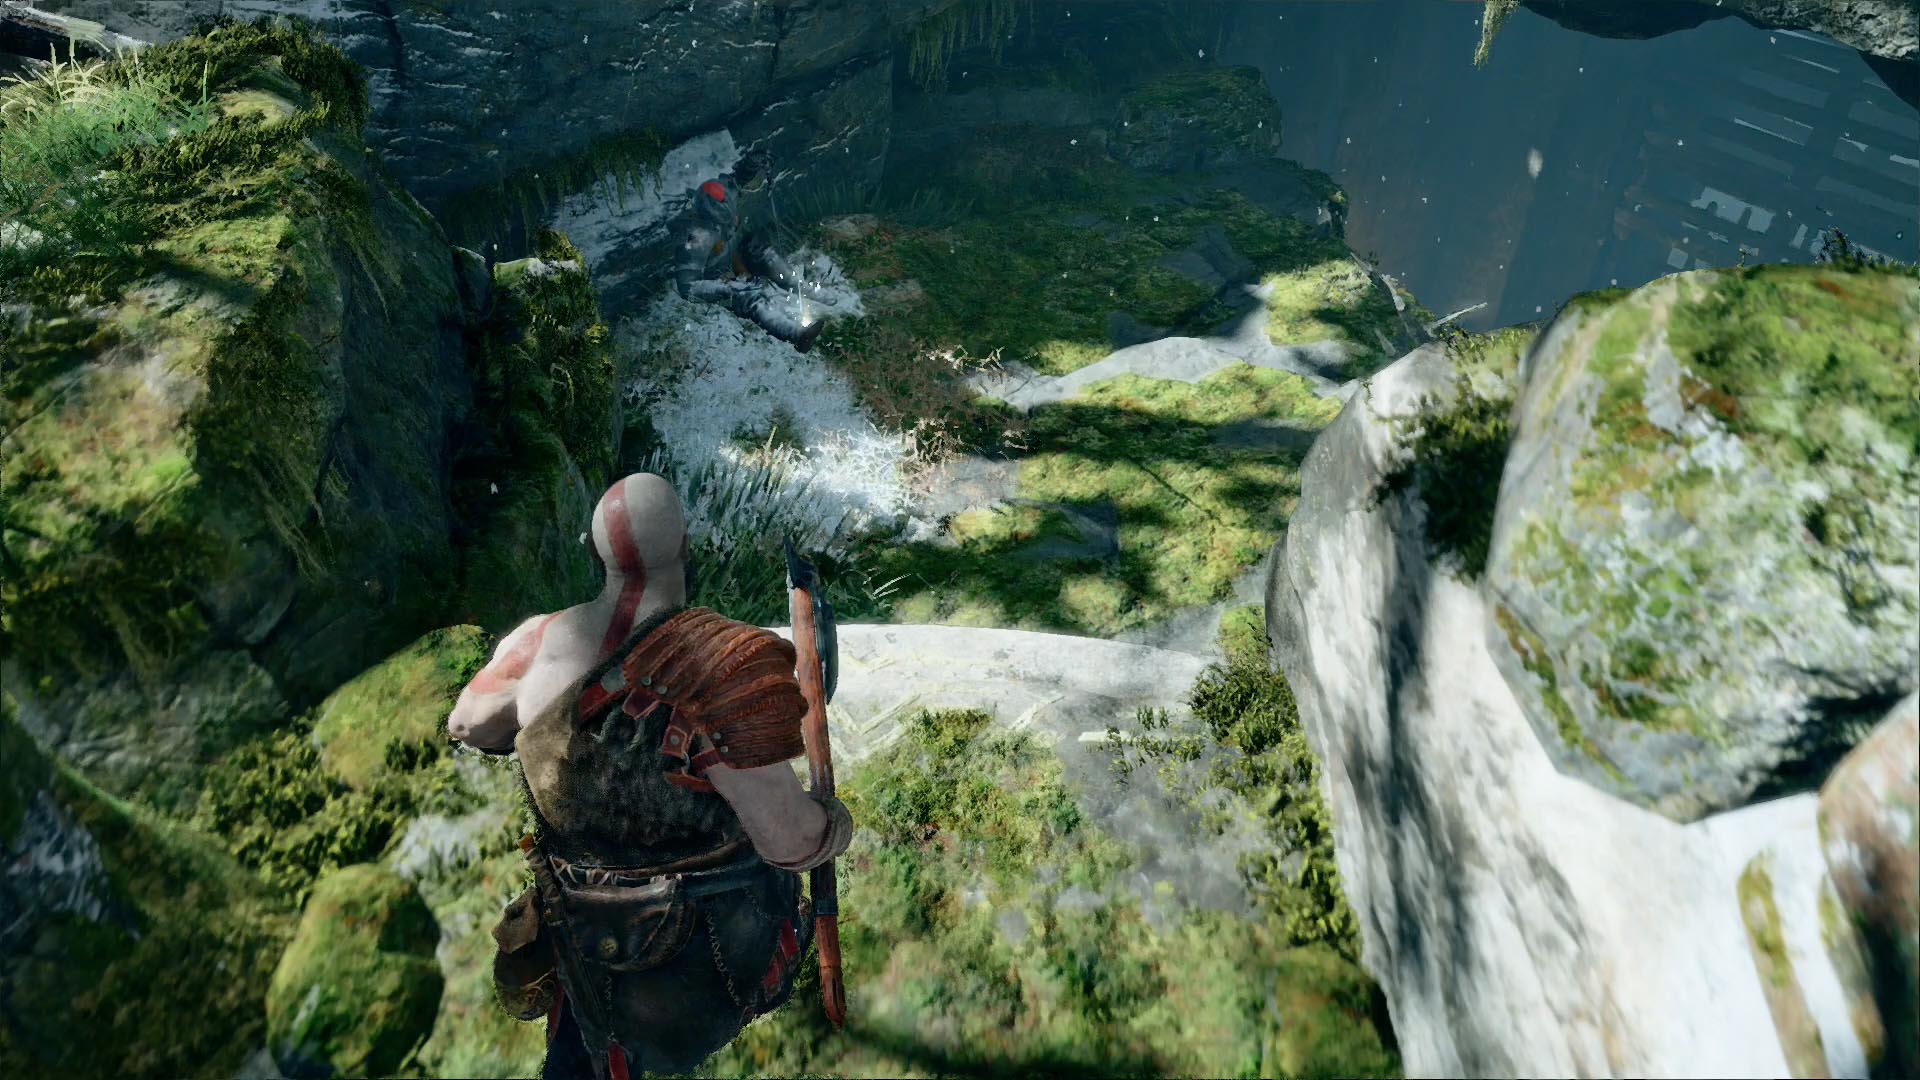
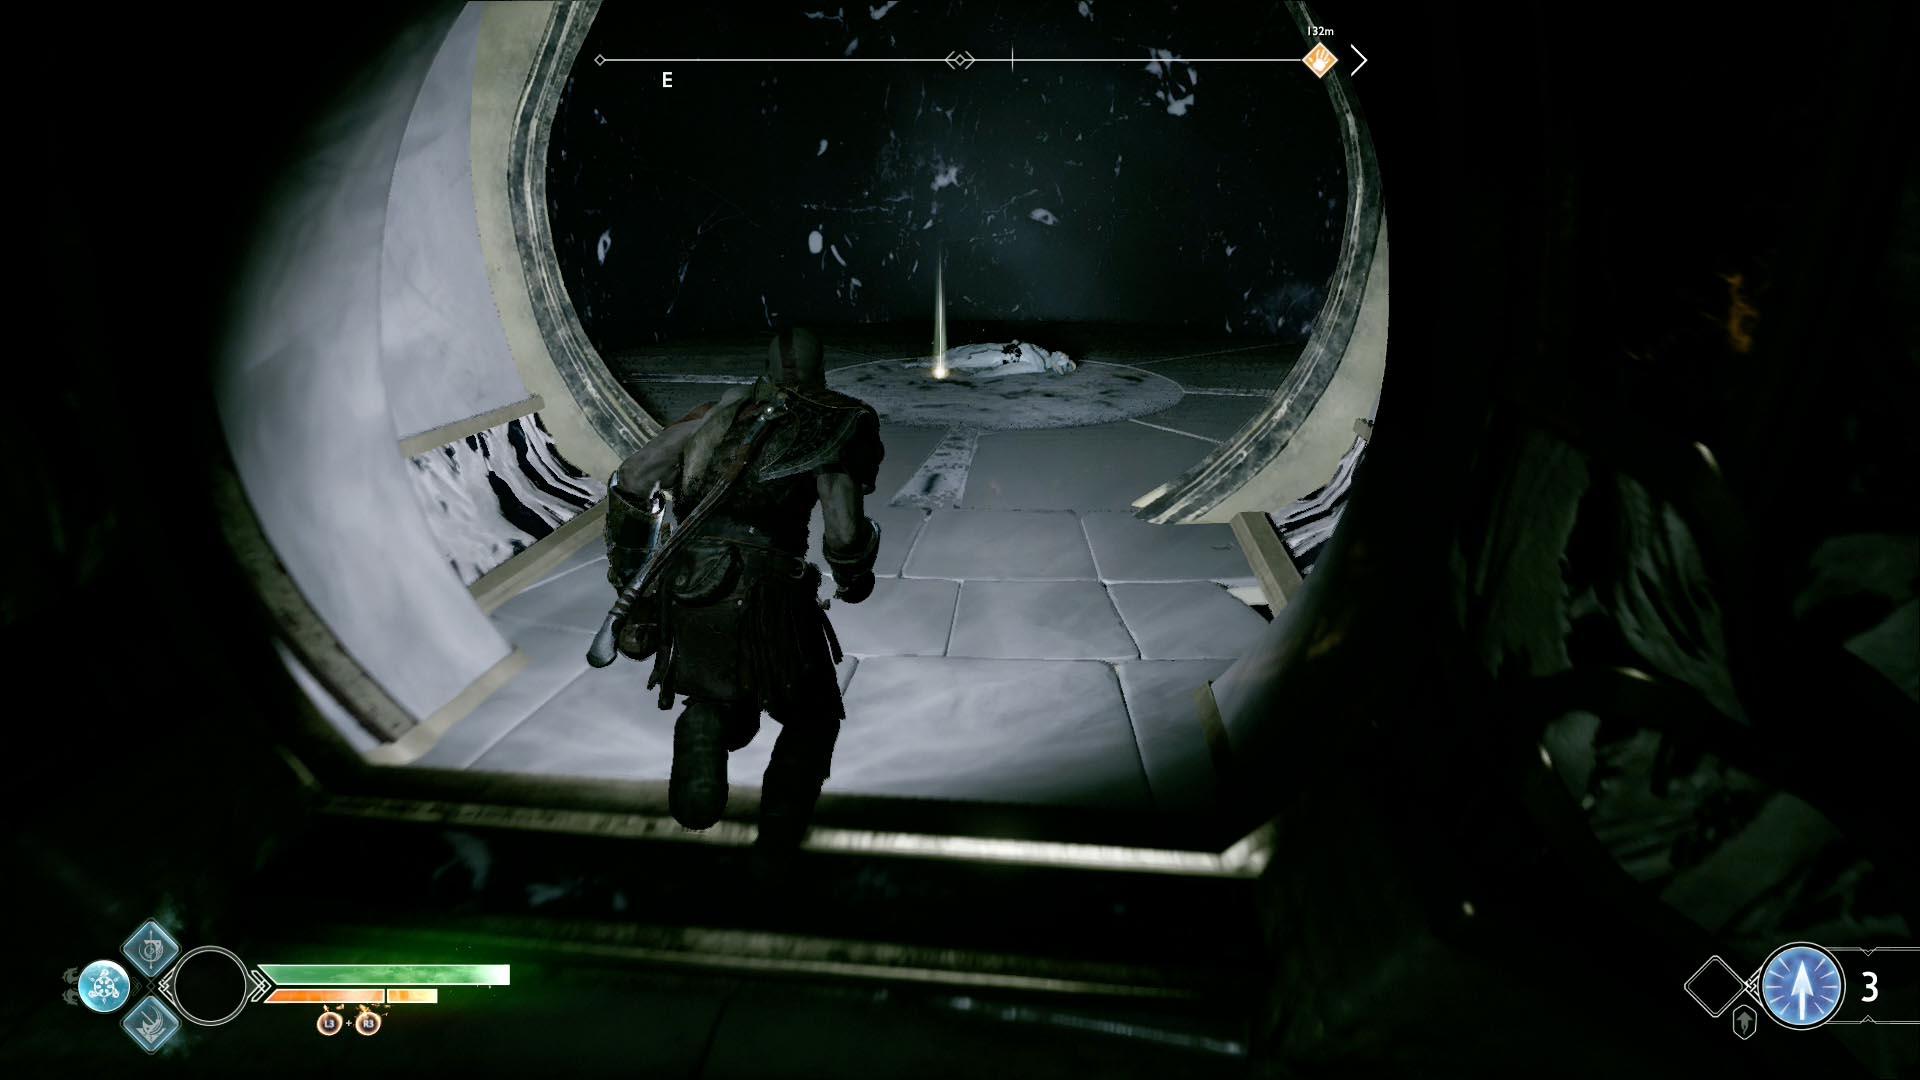
Shores of Nine — Abandon Ship (9 ship figurehead artifacts)
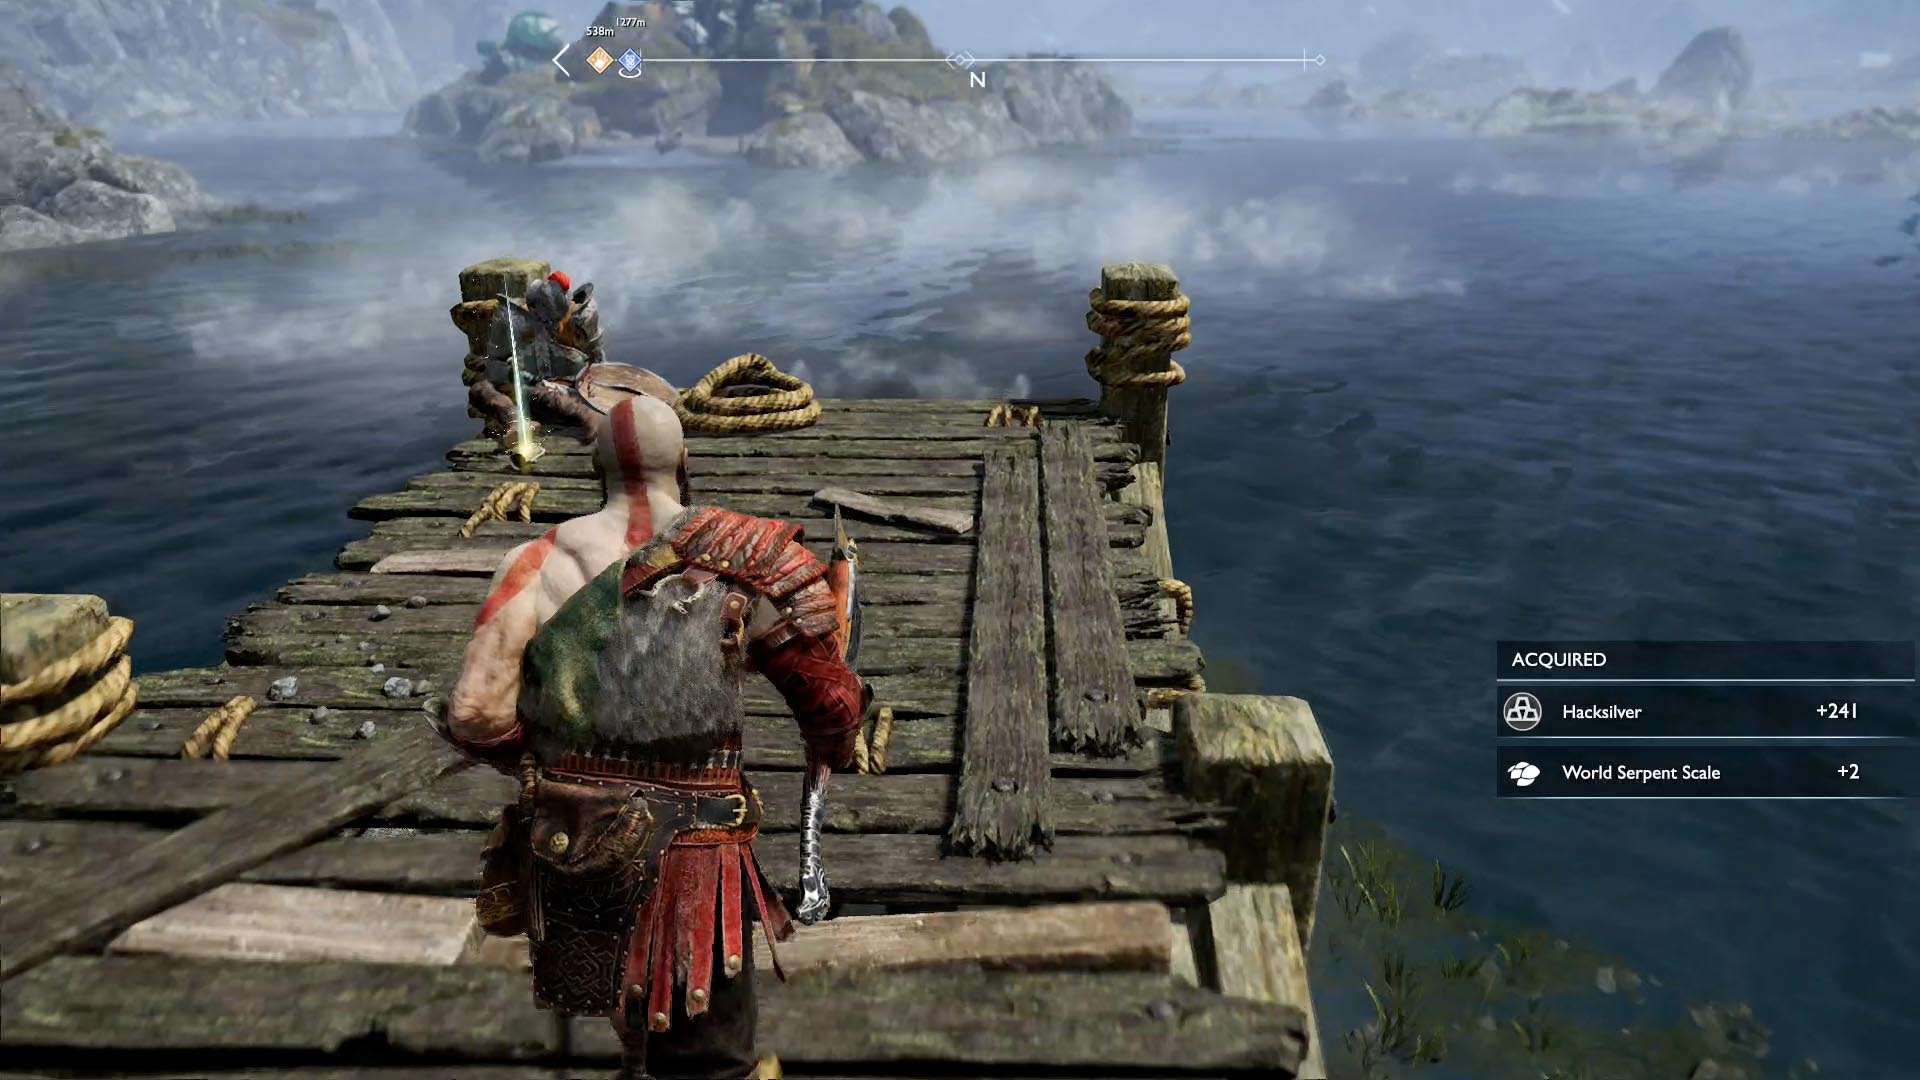
You can find all nine Abandon Ship artifacts when you first arrive at the Lake of Nine during “Path to the Mountain.”
-
 SIE Santa Monica Studio/Sony Interactive Entertainment via Polygon
-
 SIE Santa Monica Studio/Sony Interactive Entertainment via Polygon
-
 SIE Santa Monica Studio/Sony Interactive Entertainment via Polygon
-
 SIE Santa Monica Studio/Sony Interactive Entertainment via Polygon
-
 SIE Santa Monica Studio/Sony Interactive Entertainment via Polygon
-
 SIE Santa Monica Studio/Sony Interactive Entertainment via Polygon
-
 SIE Santa Monica Studio/Sony Interactive Entertainment via Polygon
-
 SIE Santa Monica Studio/Sony Interactive Entertainment via Polygon
-
 SIE Santa Monica Studio/Sony Interactive Entertainment via Polygon
-
 SIE Santa Monica Studio/Sony Interactive Entertainment via Polygon
-
 SIE Santa Monica Studio/Sony Interactive Entertainment via Polygon
-
 SIE Santa Monica Studio/Sony Interactive Entertainment via Polygon
-
 SIE Santa Monica Studio/Sony Interactive Entertainment via Polygon
-
 SIE Santa Monica Studio/Sony Interactive Entertainment via Polygon
-
 SIE Santa Monica Studio/Sony Interactive Entertainment via Polygon

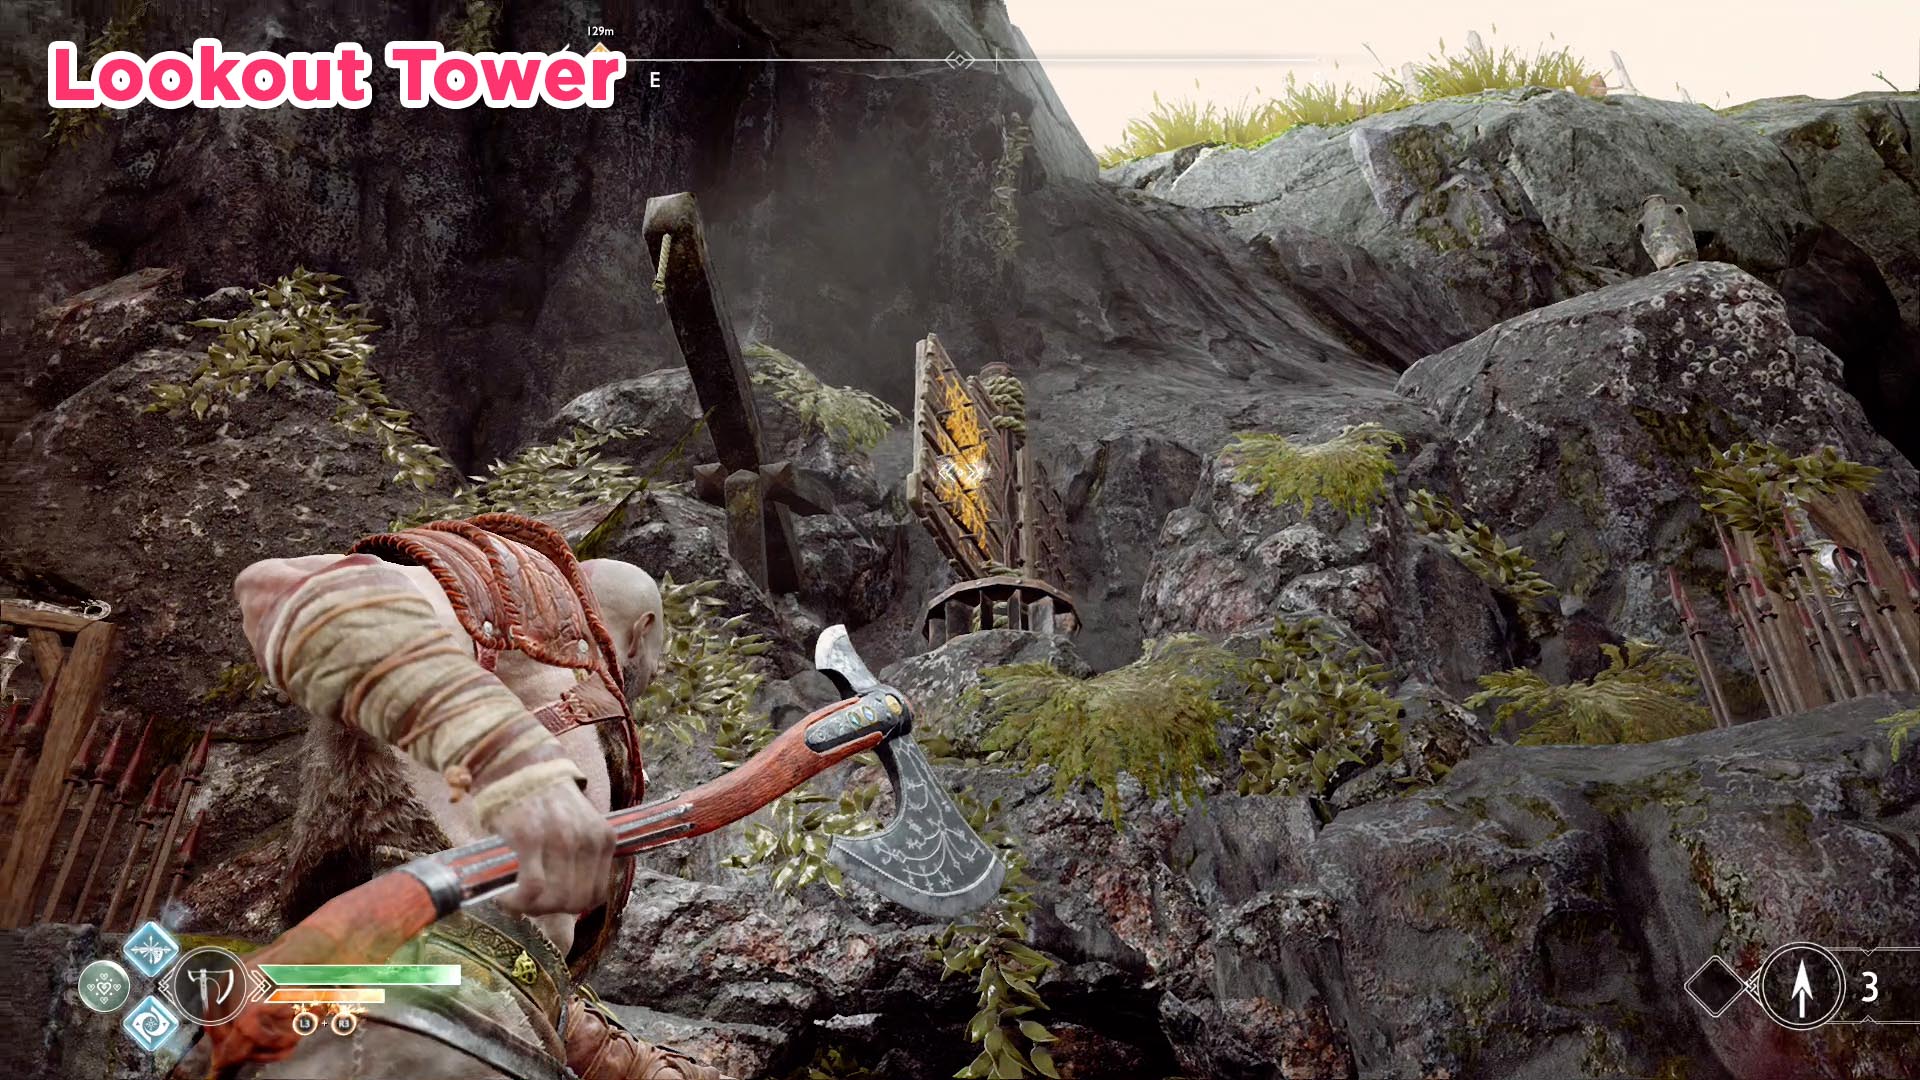


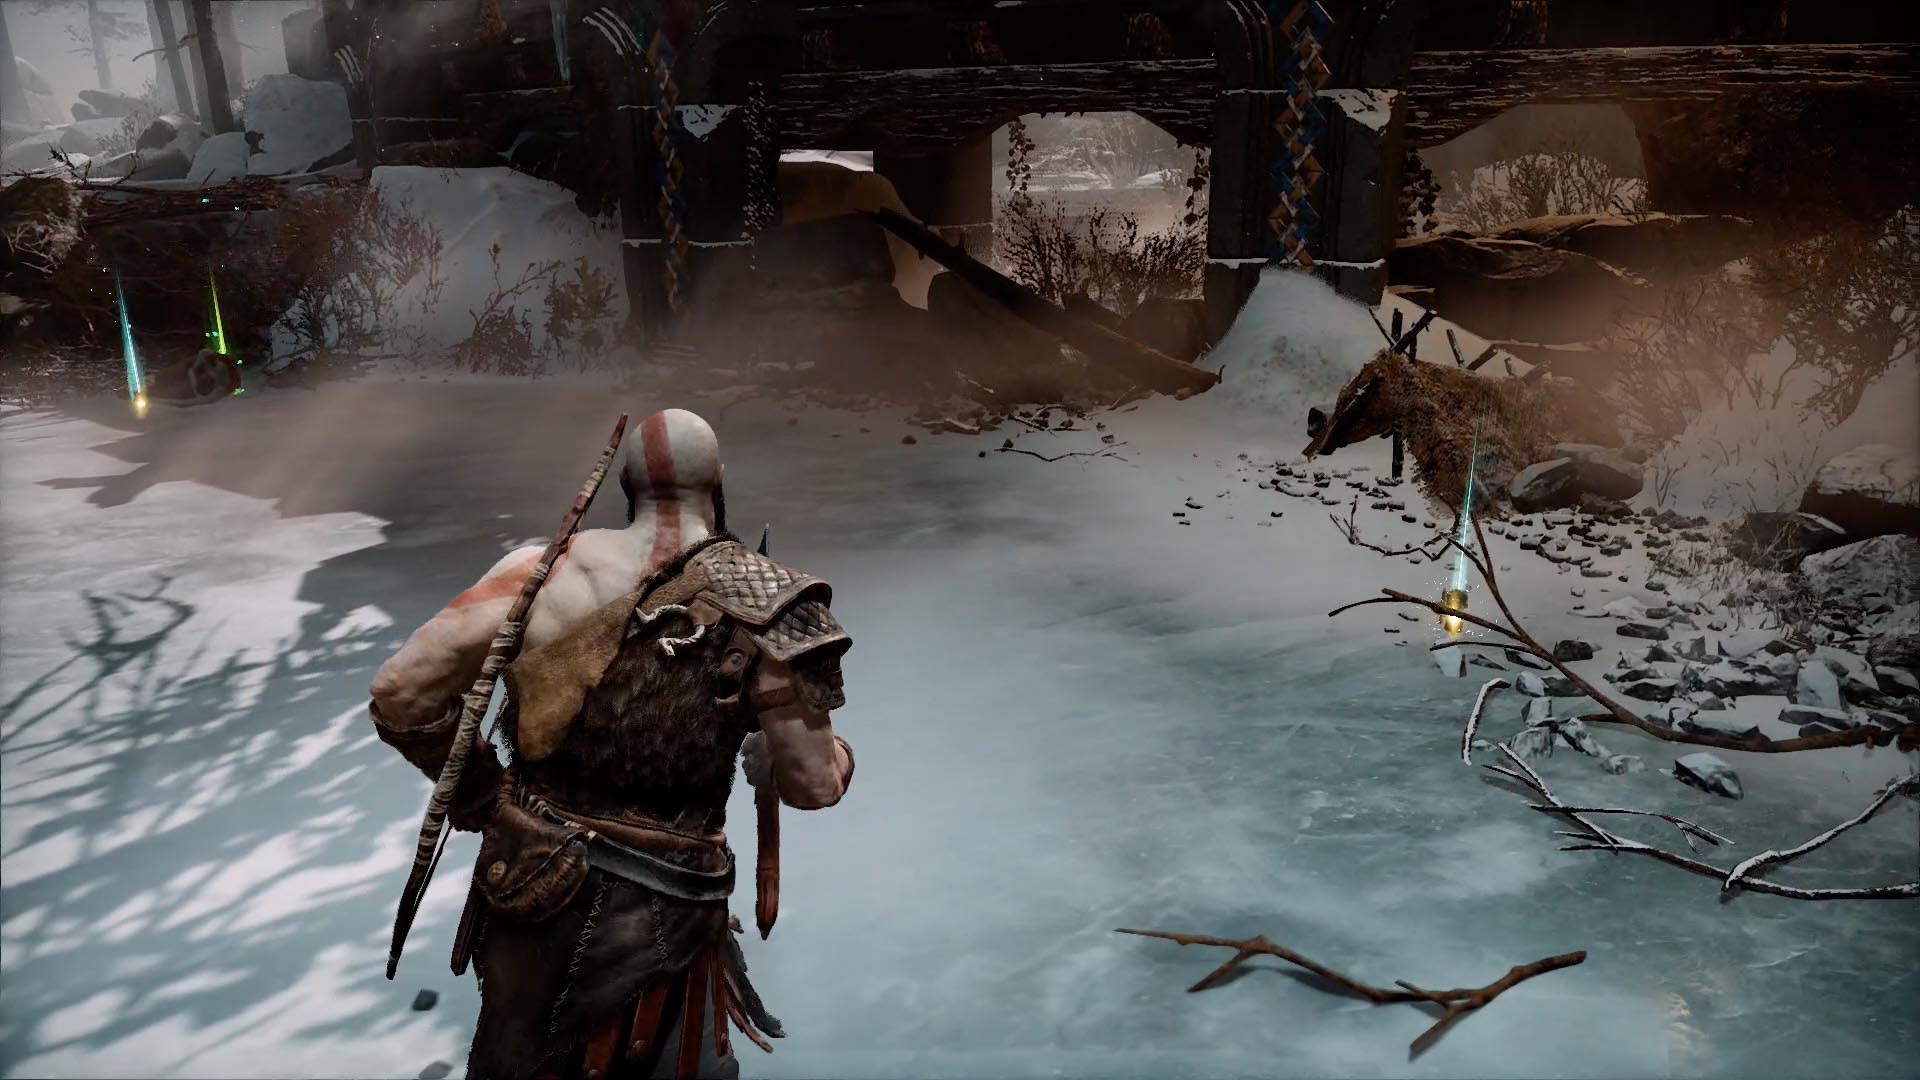
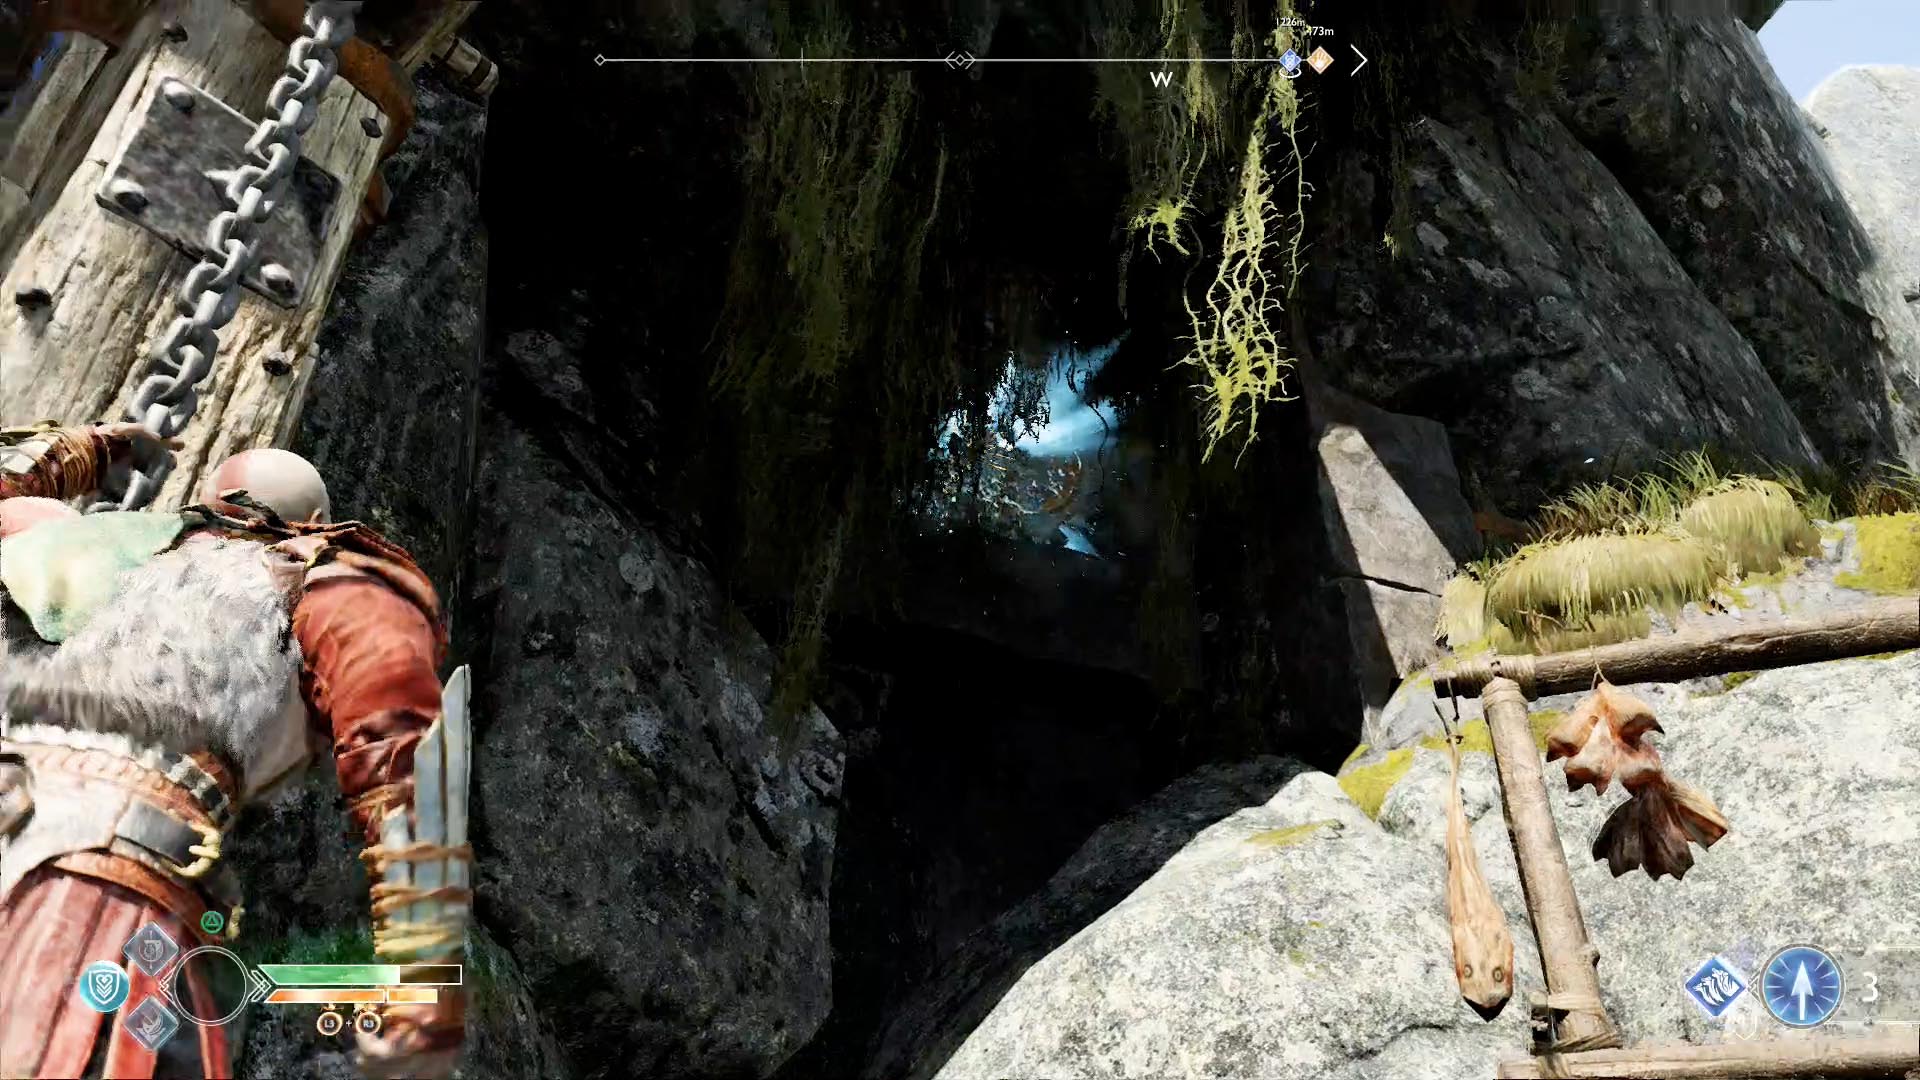
- Lookout Tower. Turn right when you exit the tunnel from the Witch’s Cave and follow the shore. The first dock will be the Lookout Tower. Spin the panel high on the wall above the Nornir chest to retract the spikes in the ground. The artifact is on the ground in front of the corpse to the right of the chest.
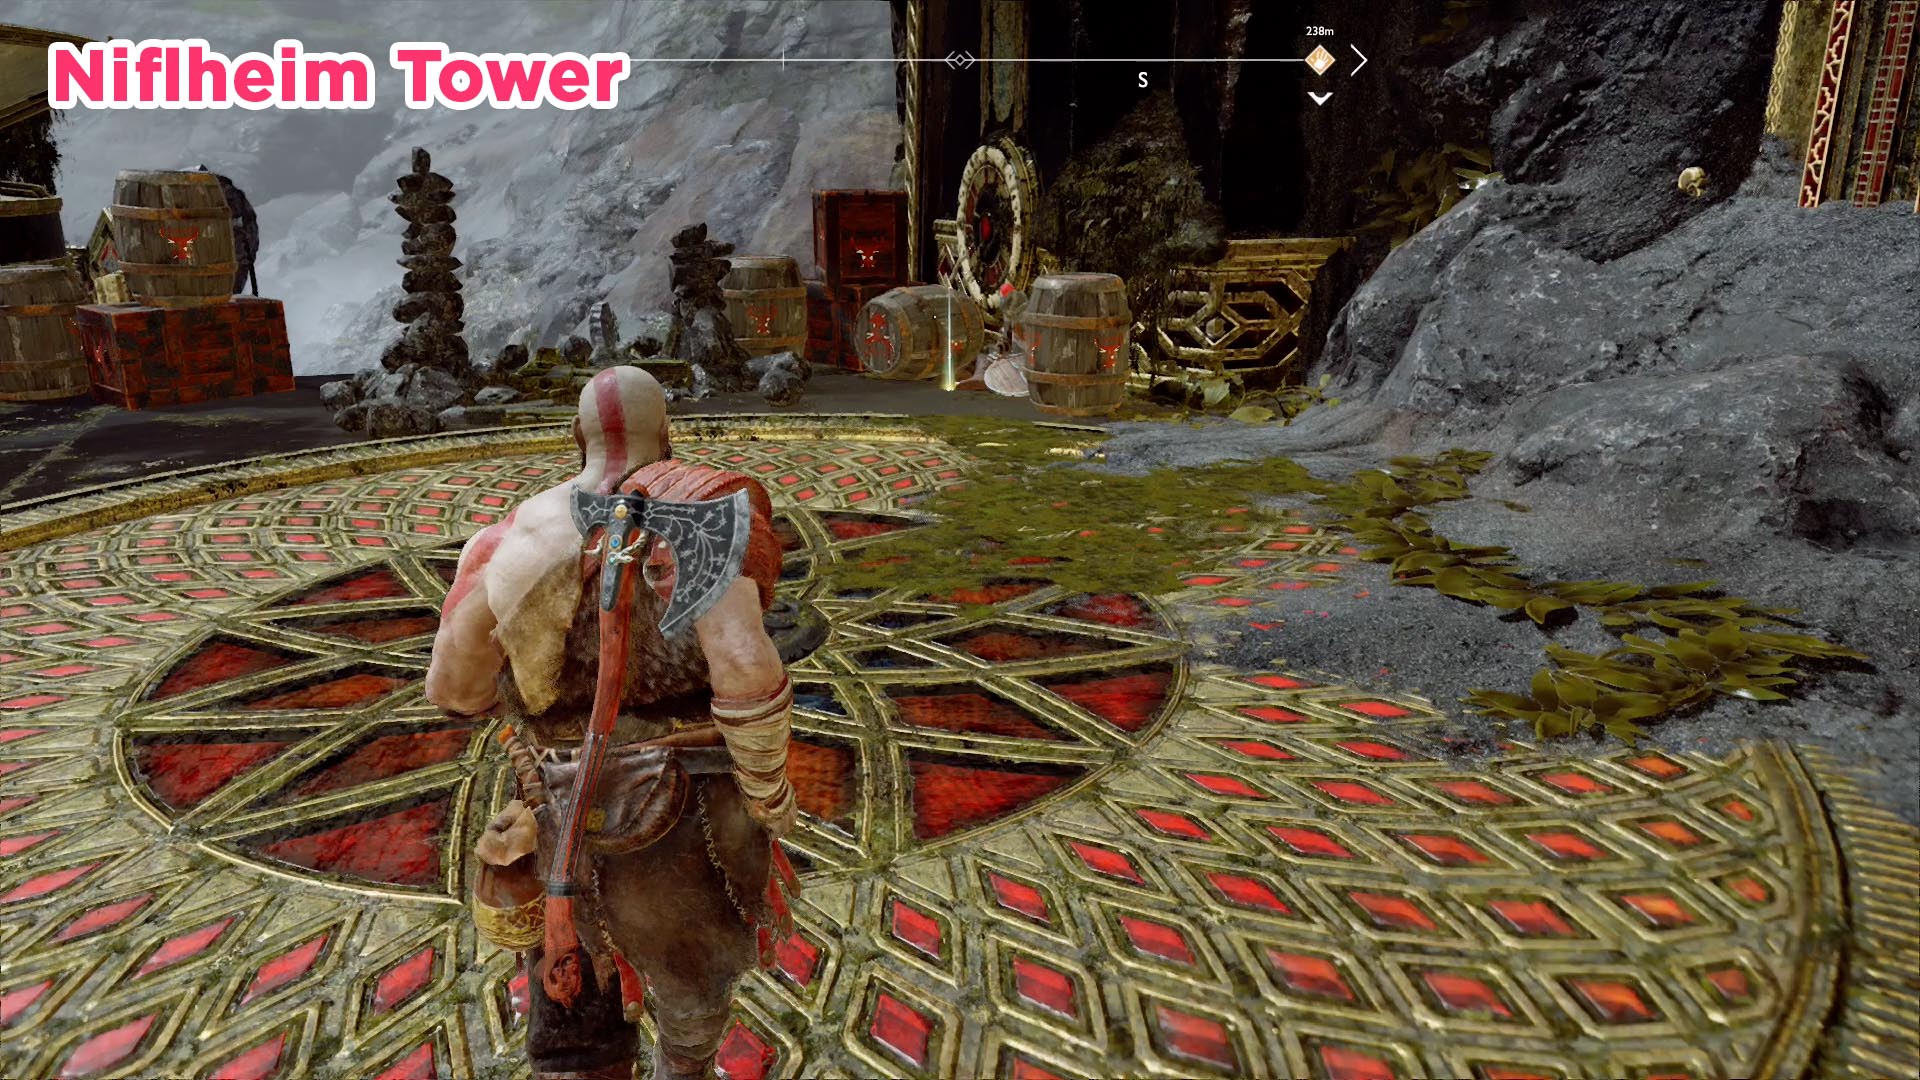
- Niflheim Tower. As you continue clockwise (back past the Witch’s Cave tunnel) around the Lake of Nine, the next artifact is at the top of the Niflheim Tower. Ride the elevator up, and you’ll find the artifact in front of a(nother) corpse behind some crates on your right (just to the left of the Mystic Gateway).
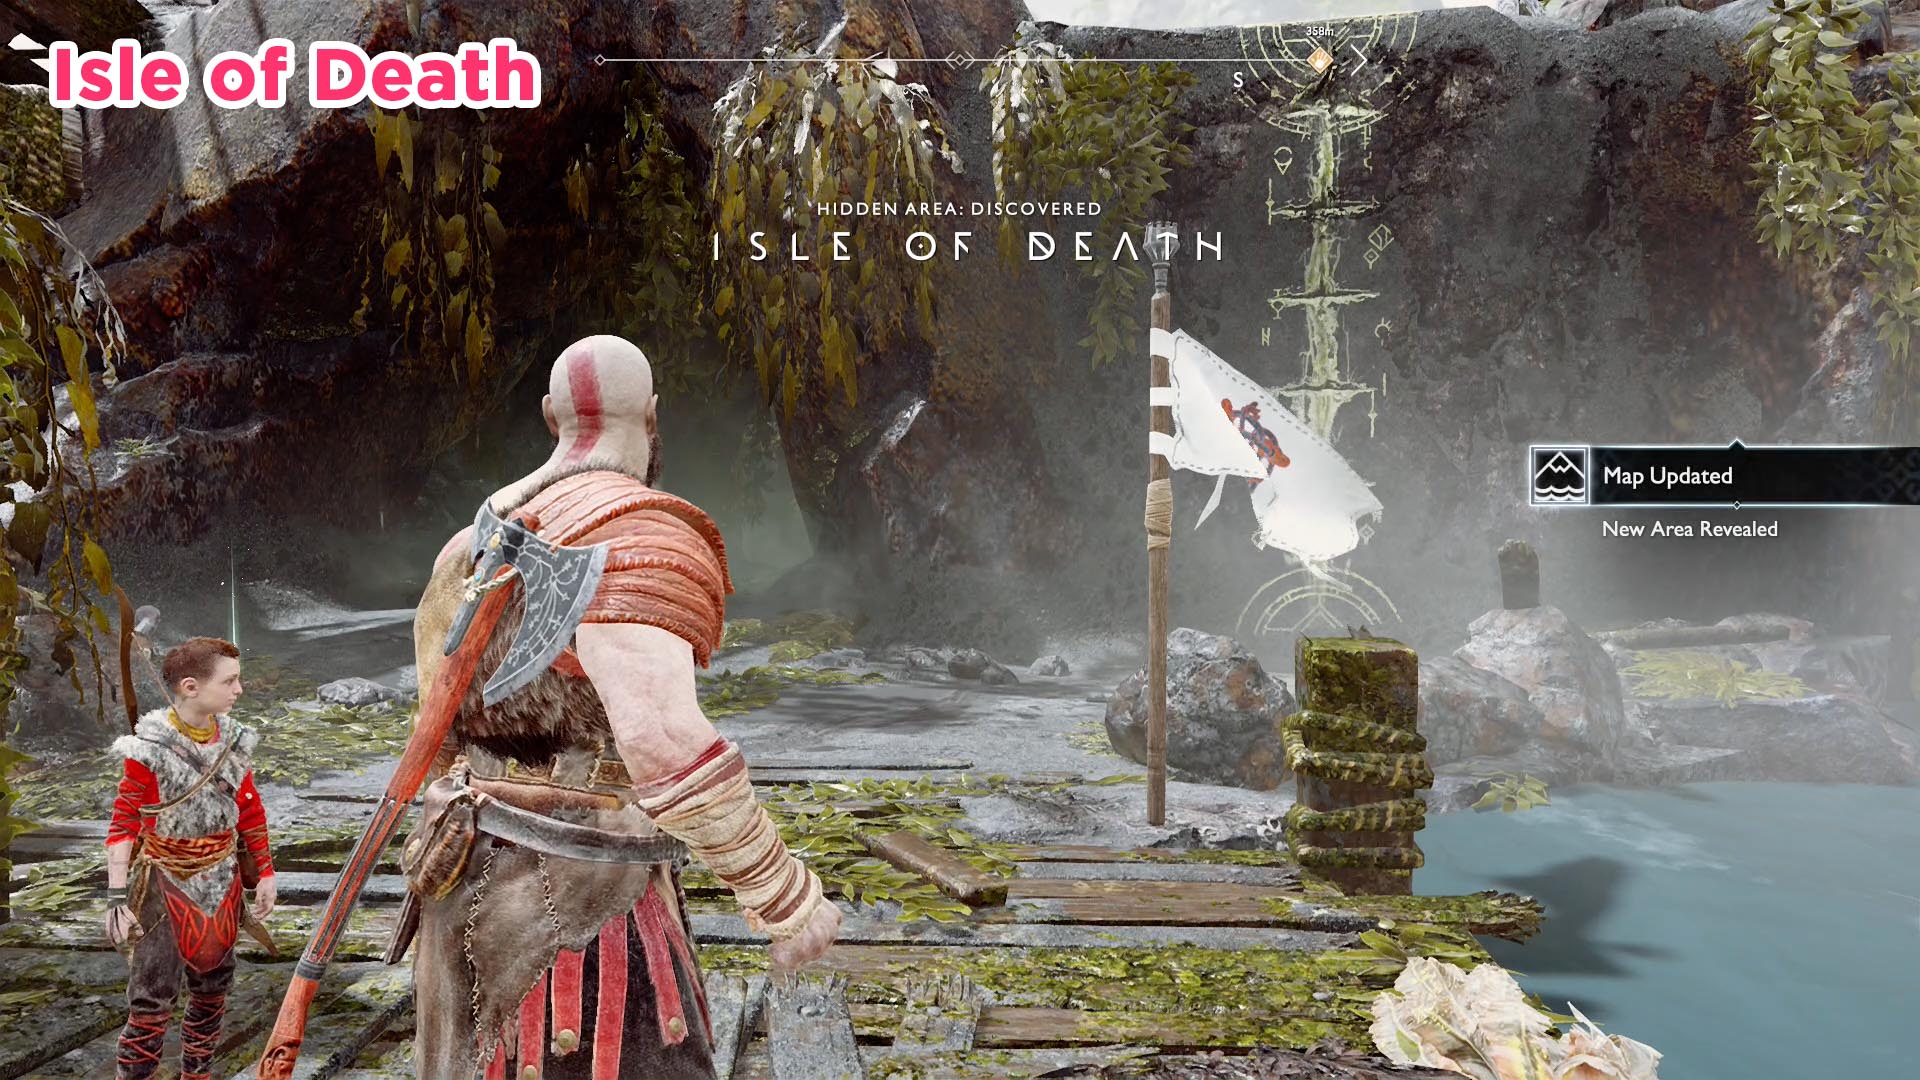
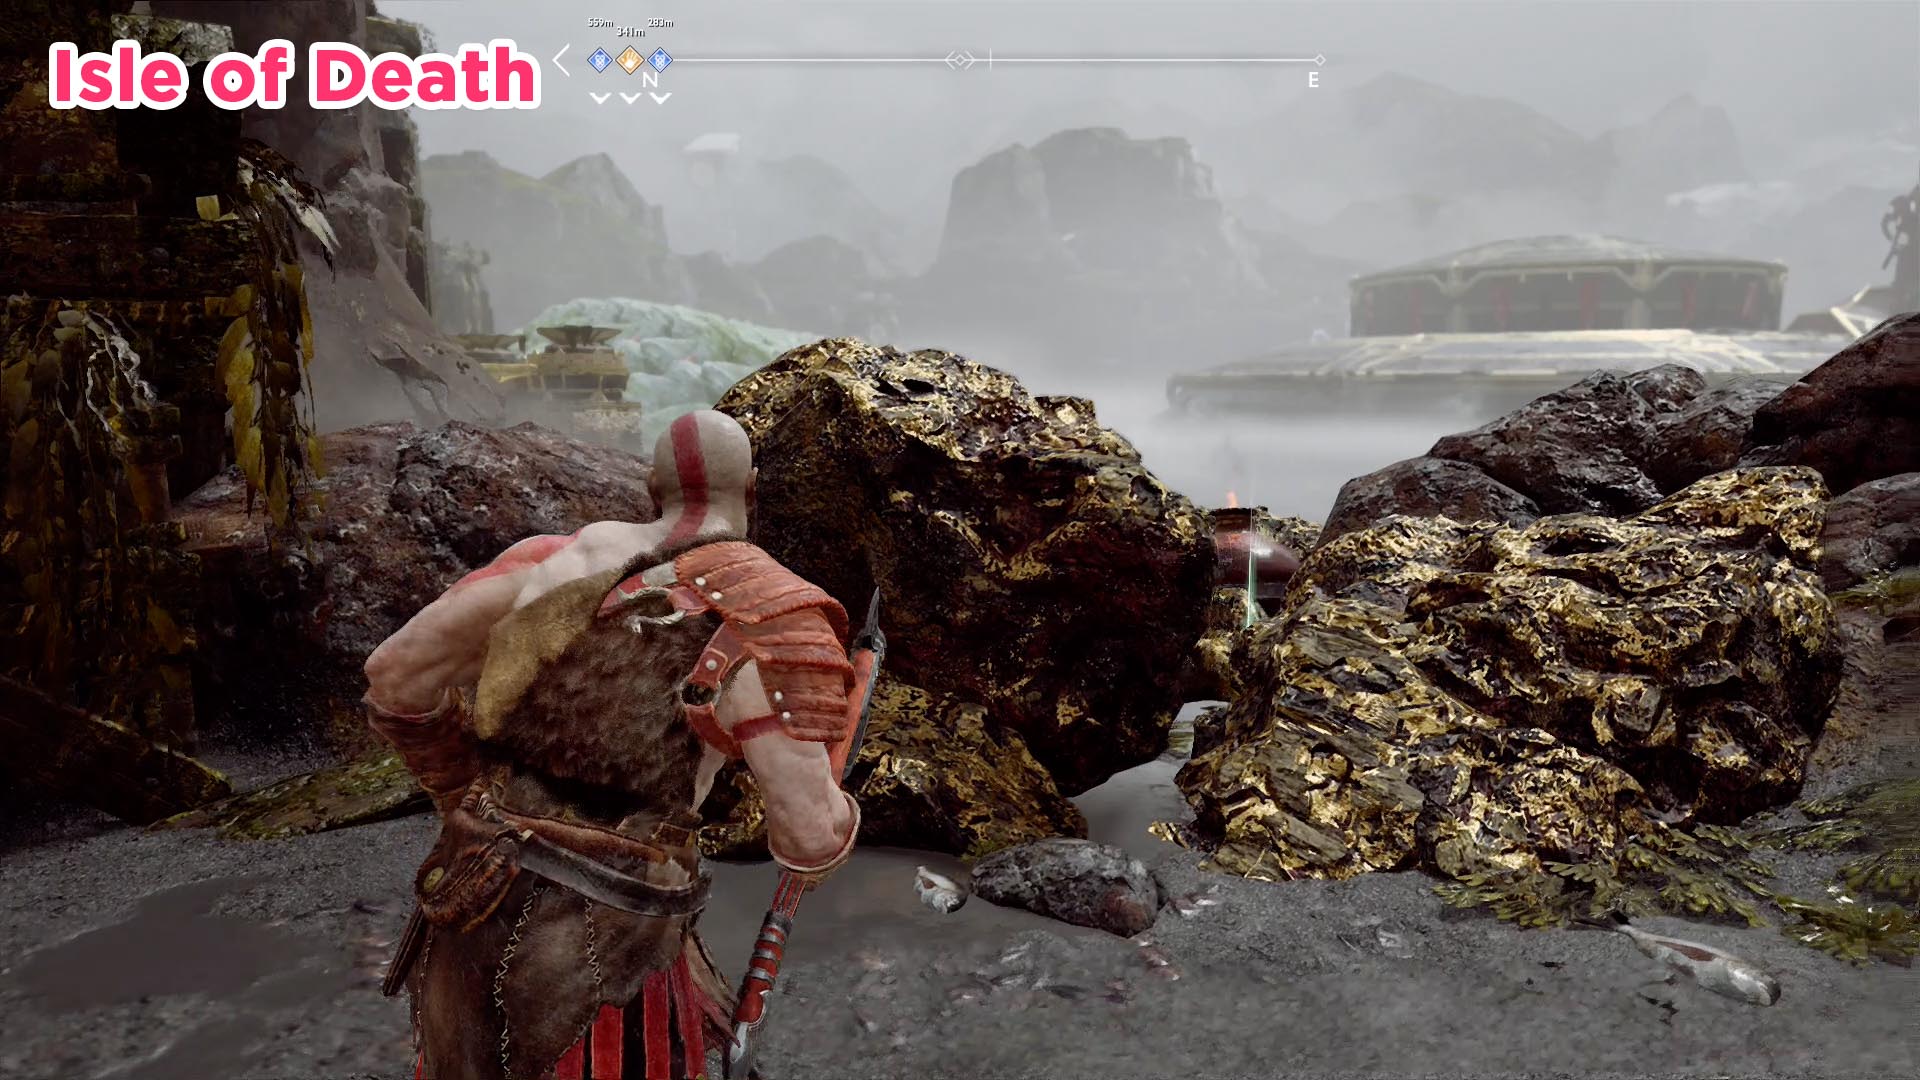
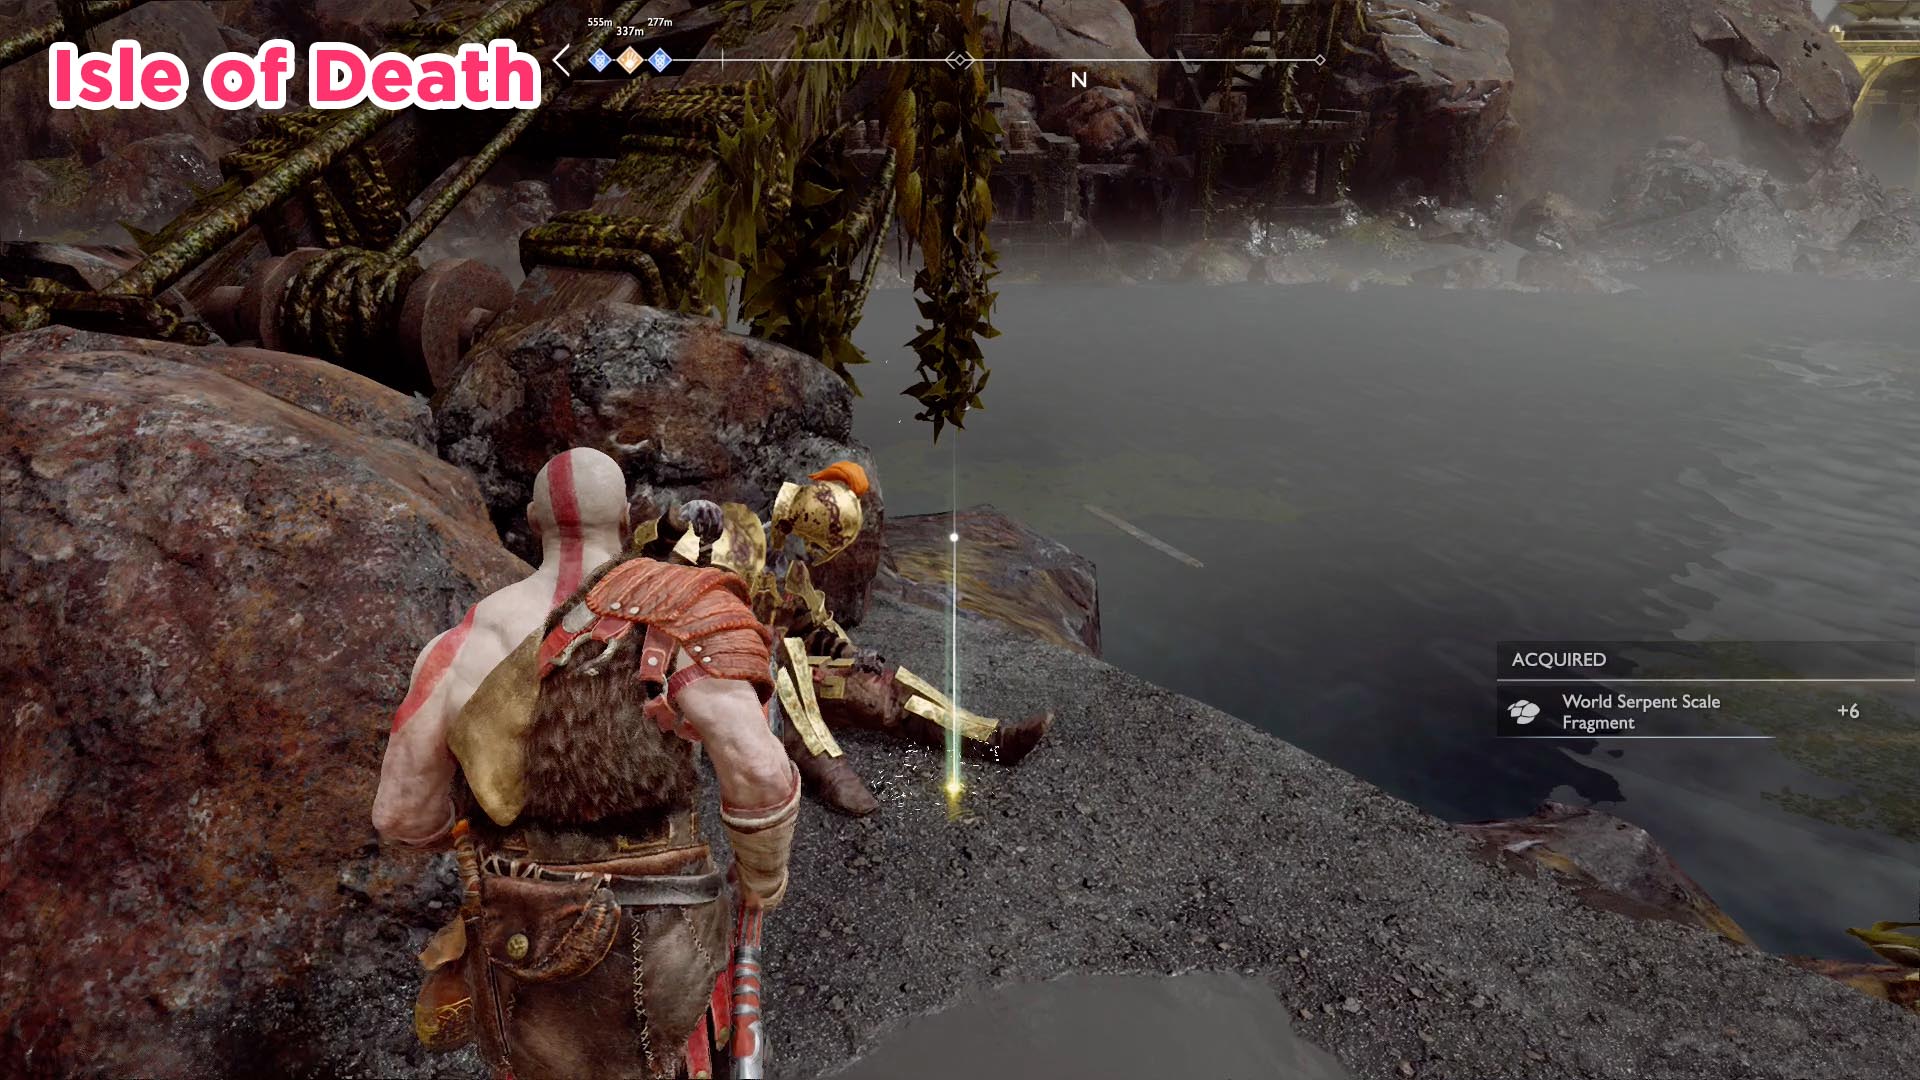
- Isle of Death. Dock at the Isle of Death boat dock and climb up the wall ahead of you. Turn left and destroy the rocks with the fire pot. That will reveal another corpse and the next artifact.
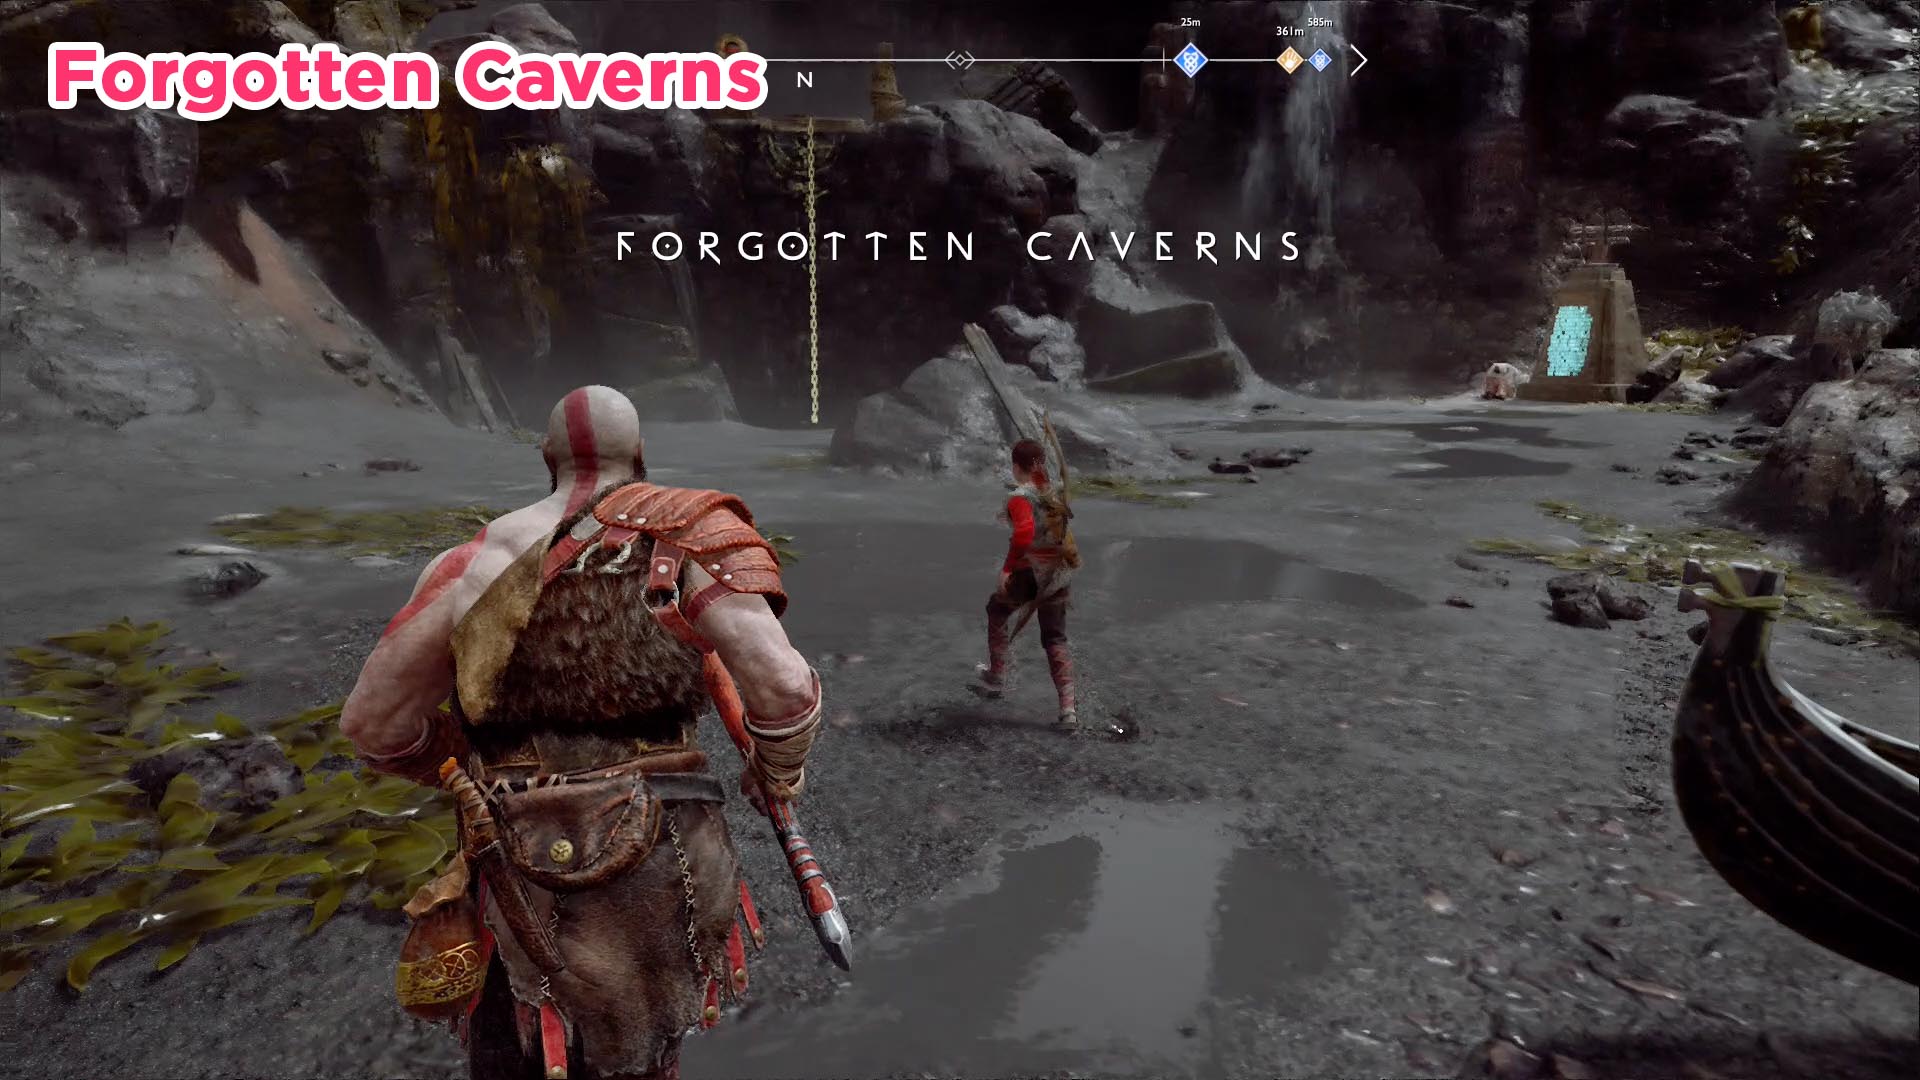
- Forgotten Caverns. Beach the canoe at the Forgotten Caverns (and handle the Draugr waiting for you), then climb the chain on the right side of the beach. Turn left to find the artifact in front of another corpse.
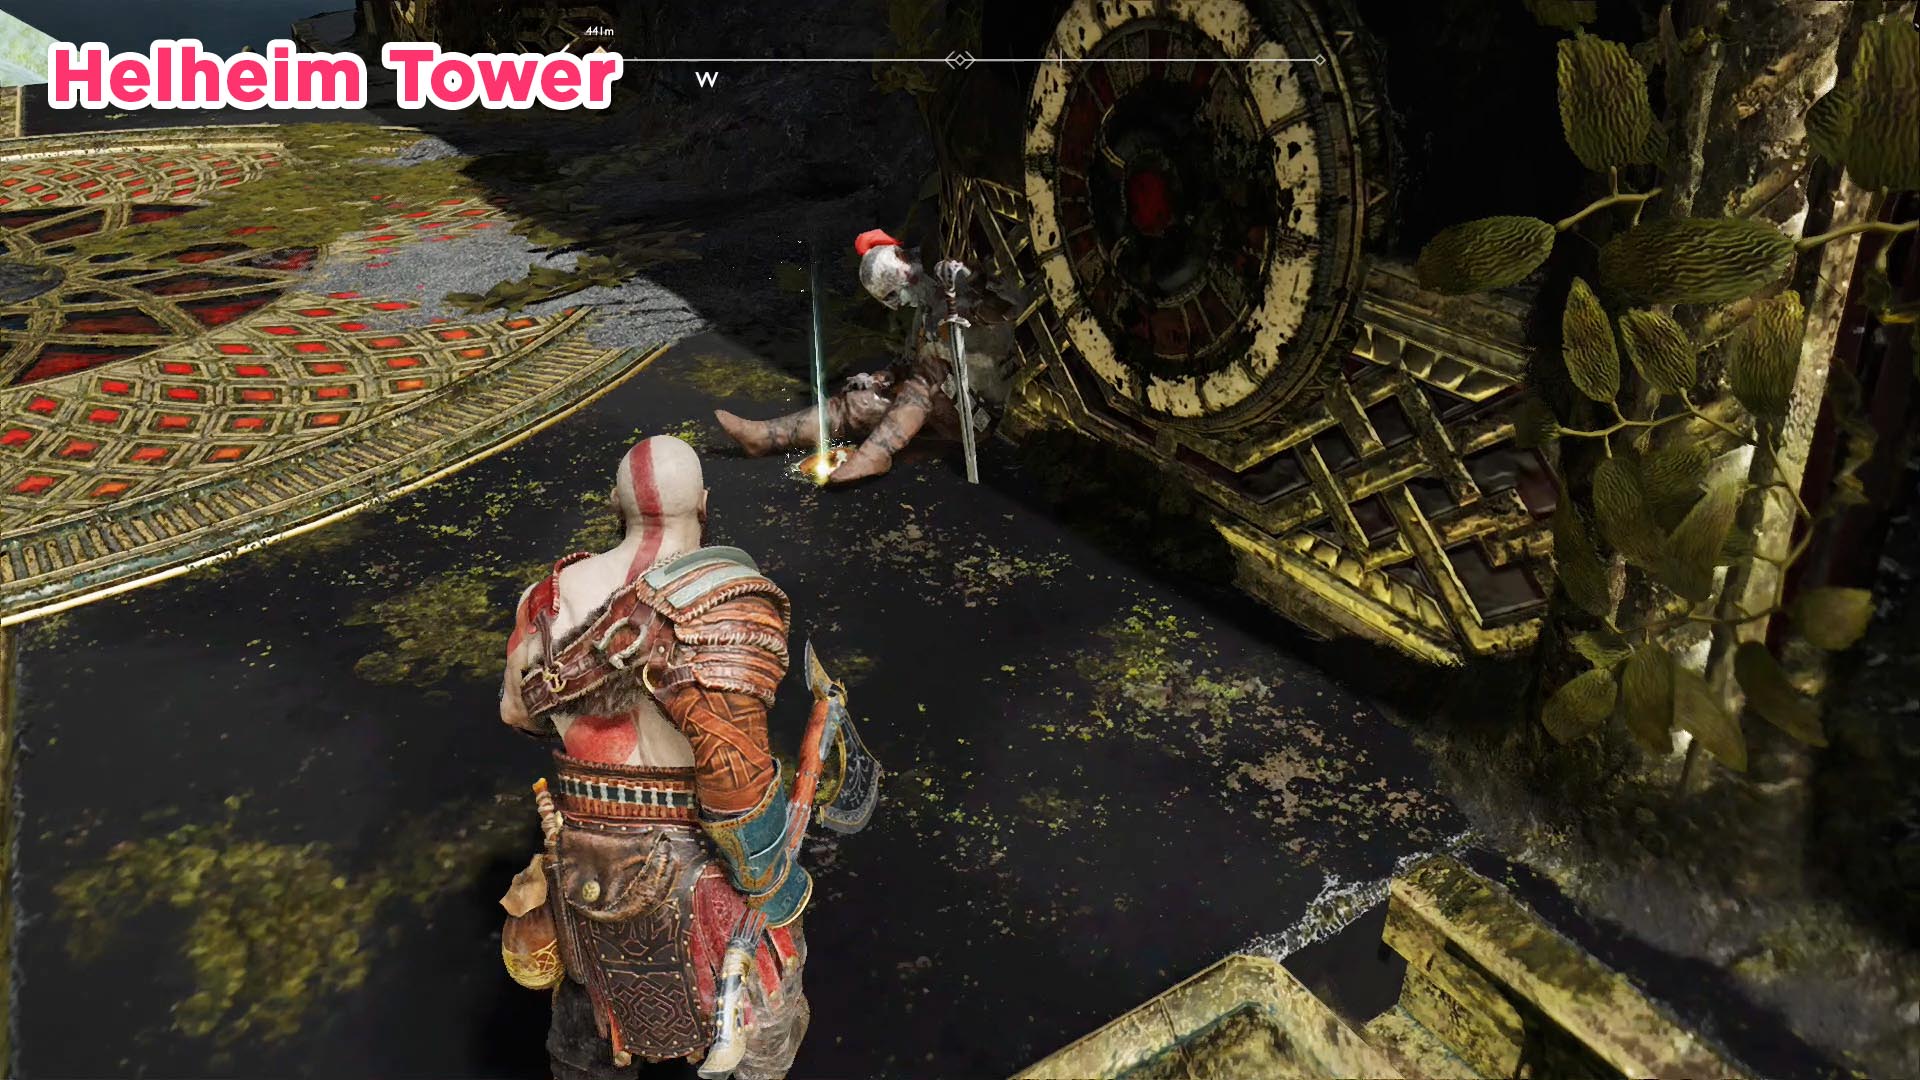
- Helheim Tower. Ride the elevator to the top of Helheim Tower and handle the Hel-walkers up there. The artifact is next to a corpse leaning against the huge doors right next to the elevator.
- Alfheim Tower. Once again, this artifact is at the top of the tower. Ride the elevator up and cross the tower to find the artifact on your left. (You can ignore the Realm Tear unless you’re ready to take on three level four Draugr.)
- Stone Falls. The artifact at Stone Falls takes a bit of work. Go through the gate (and clean up the enemies), then look for the closed gate on the right side of that arena. Climb onto that ledge to find the artifact.
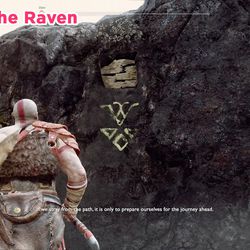
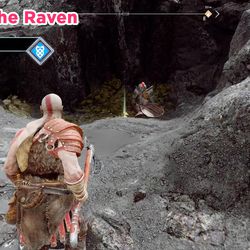
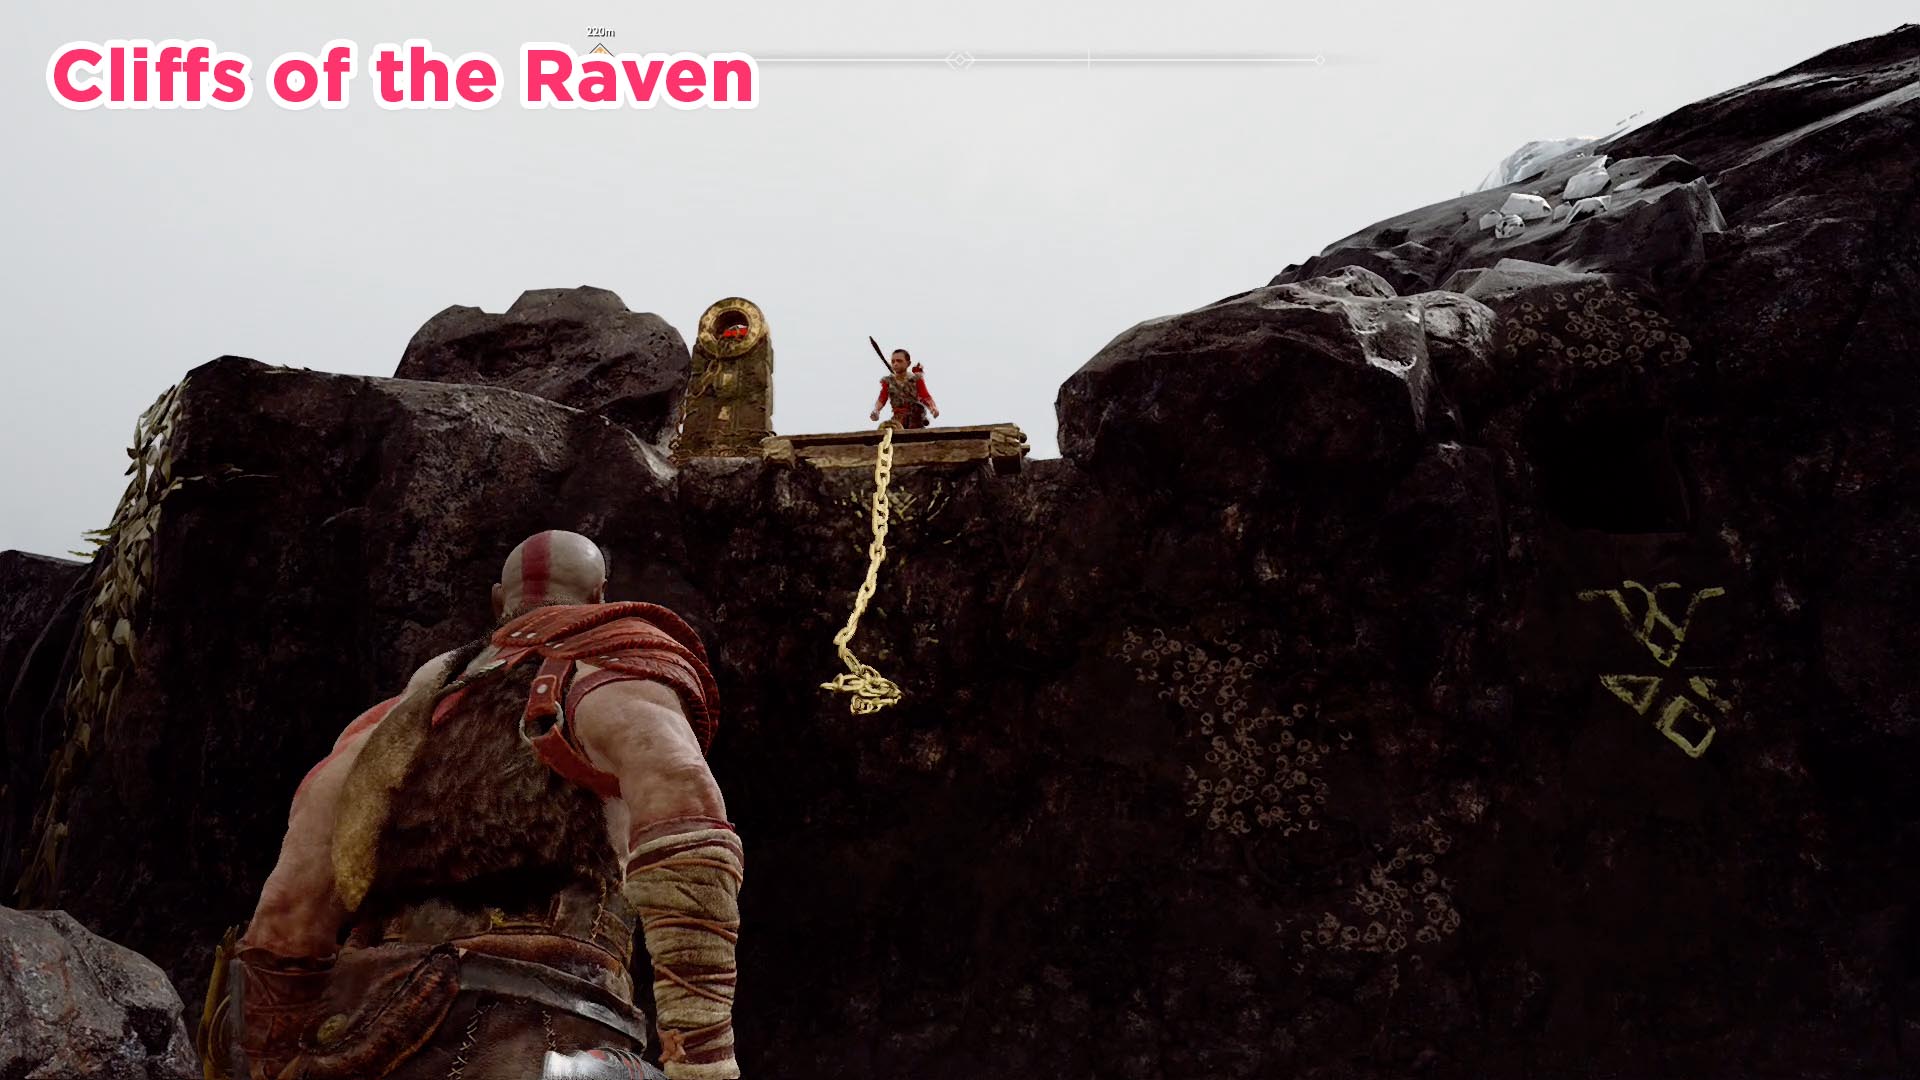
- Cliffs of the Raven. Look to the left of the dead giant(?) for some planks to smash. Boost the boy through the gap and have him kick down a chain for you. Climb up and run past the Legendary chest to find this artifact.
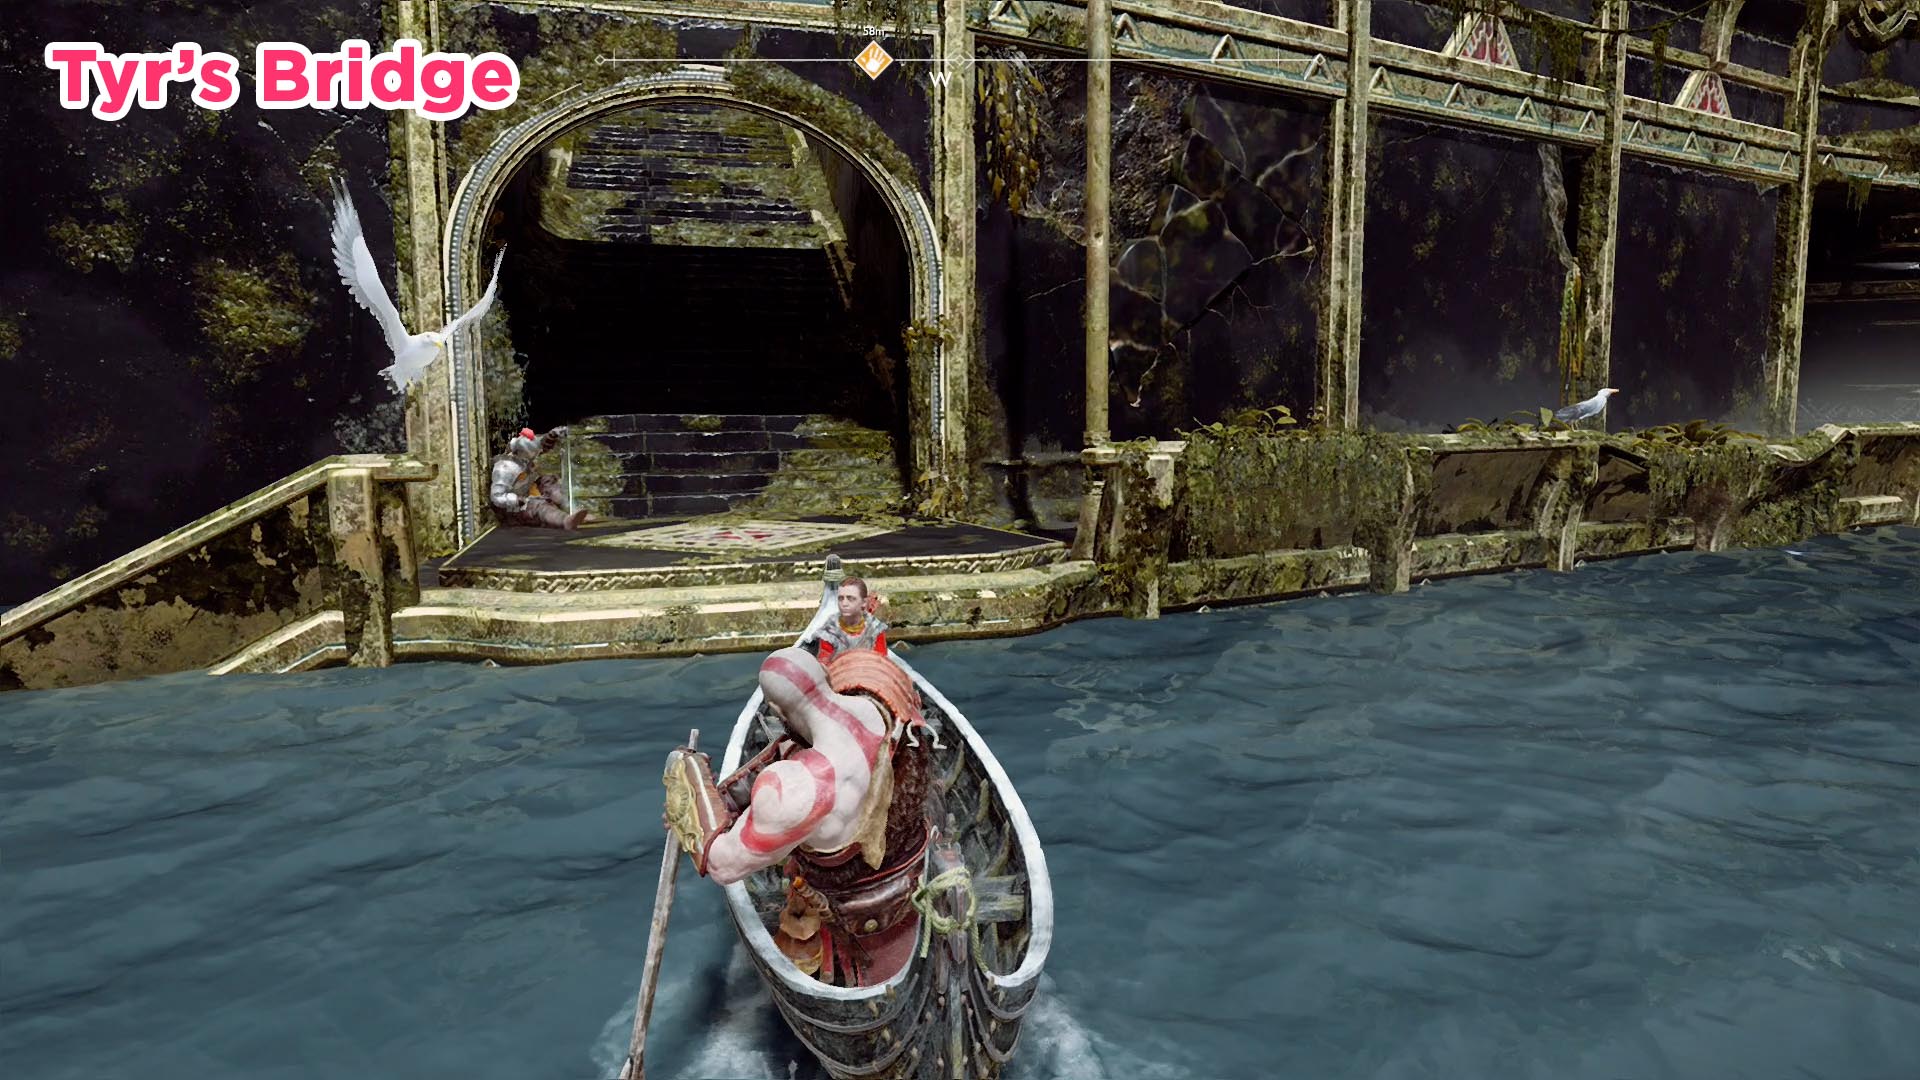
- Tyr’s Bridge. The final artifact is right at the boat dock on the east side of Tyr’s Bridge. This is not the dock closest to where you entered the Lake of Nine, but the one on the opposite side.
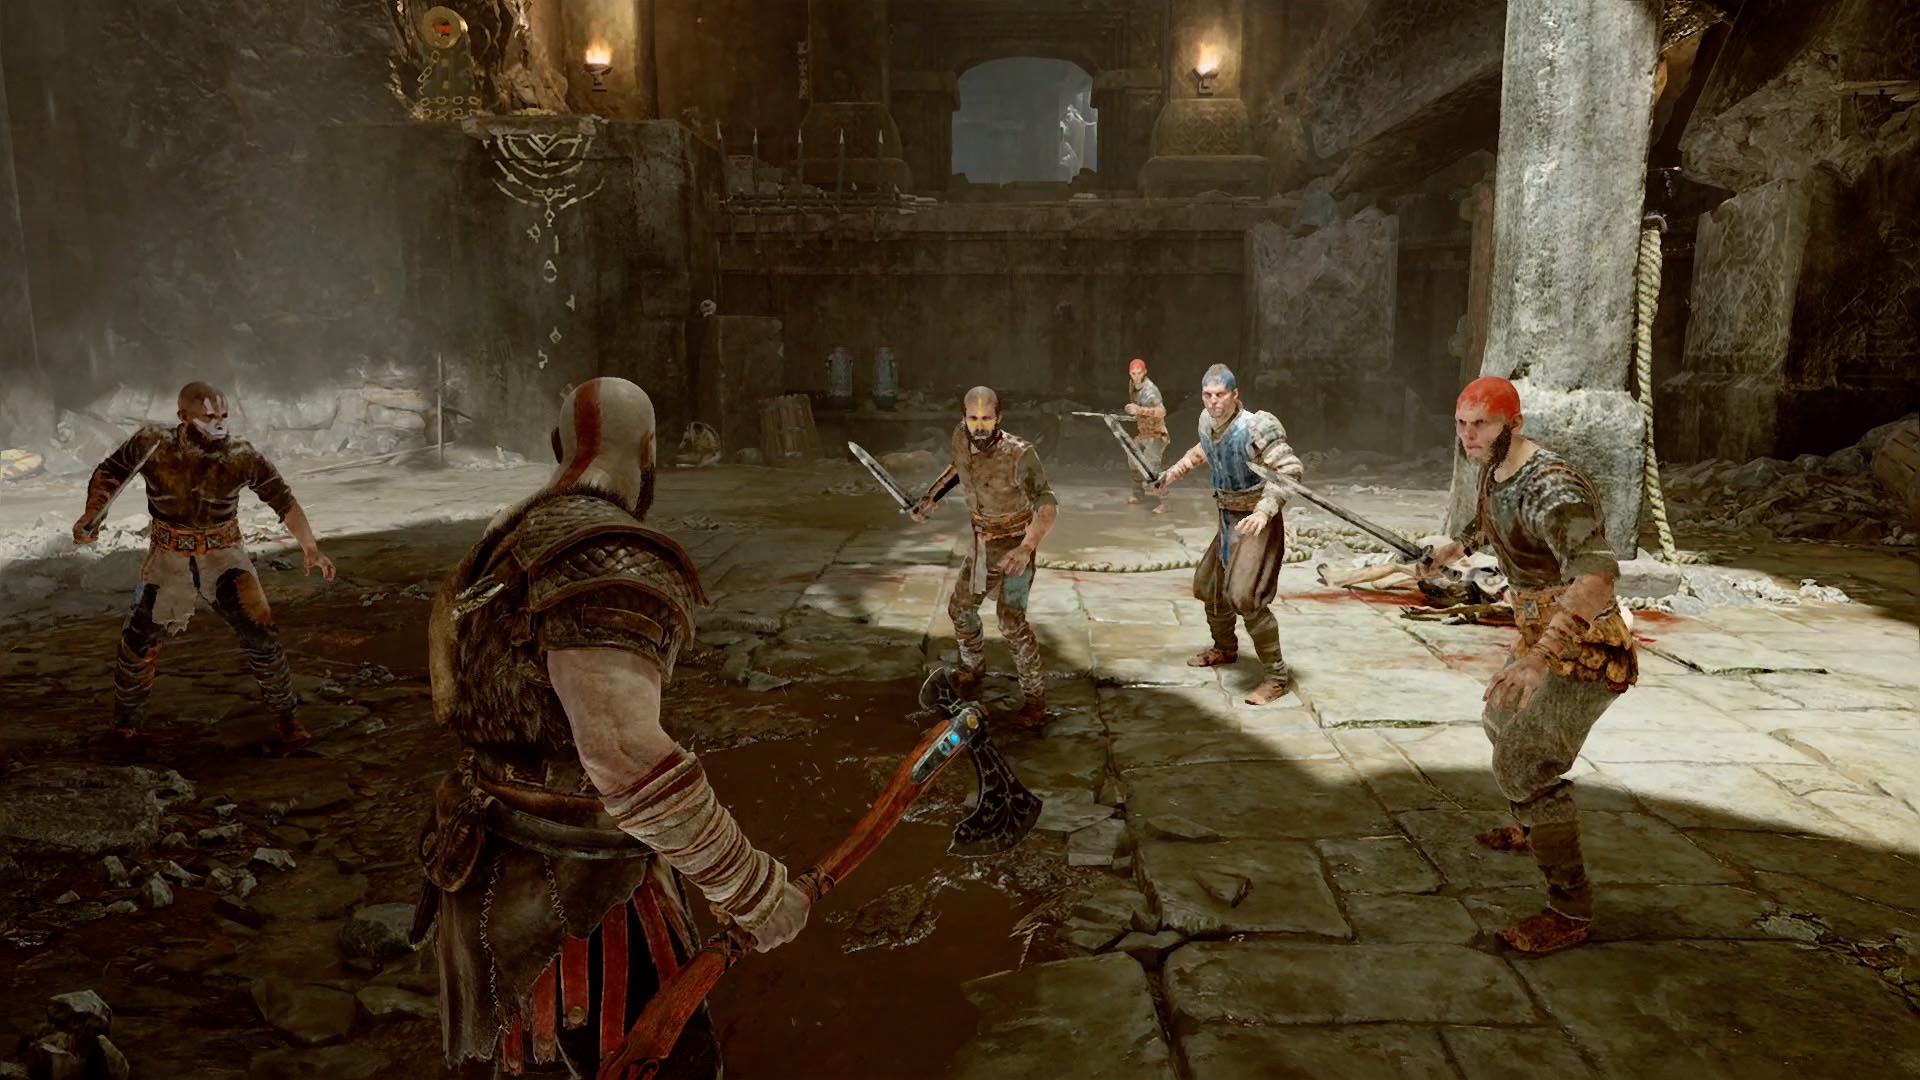
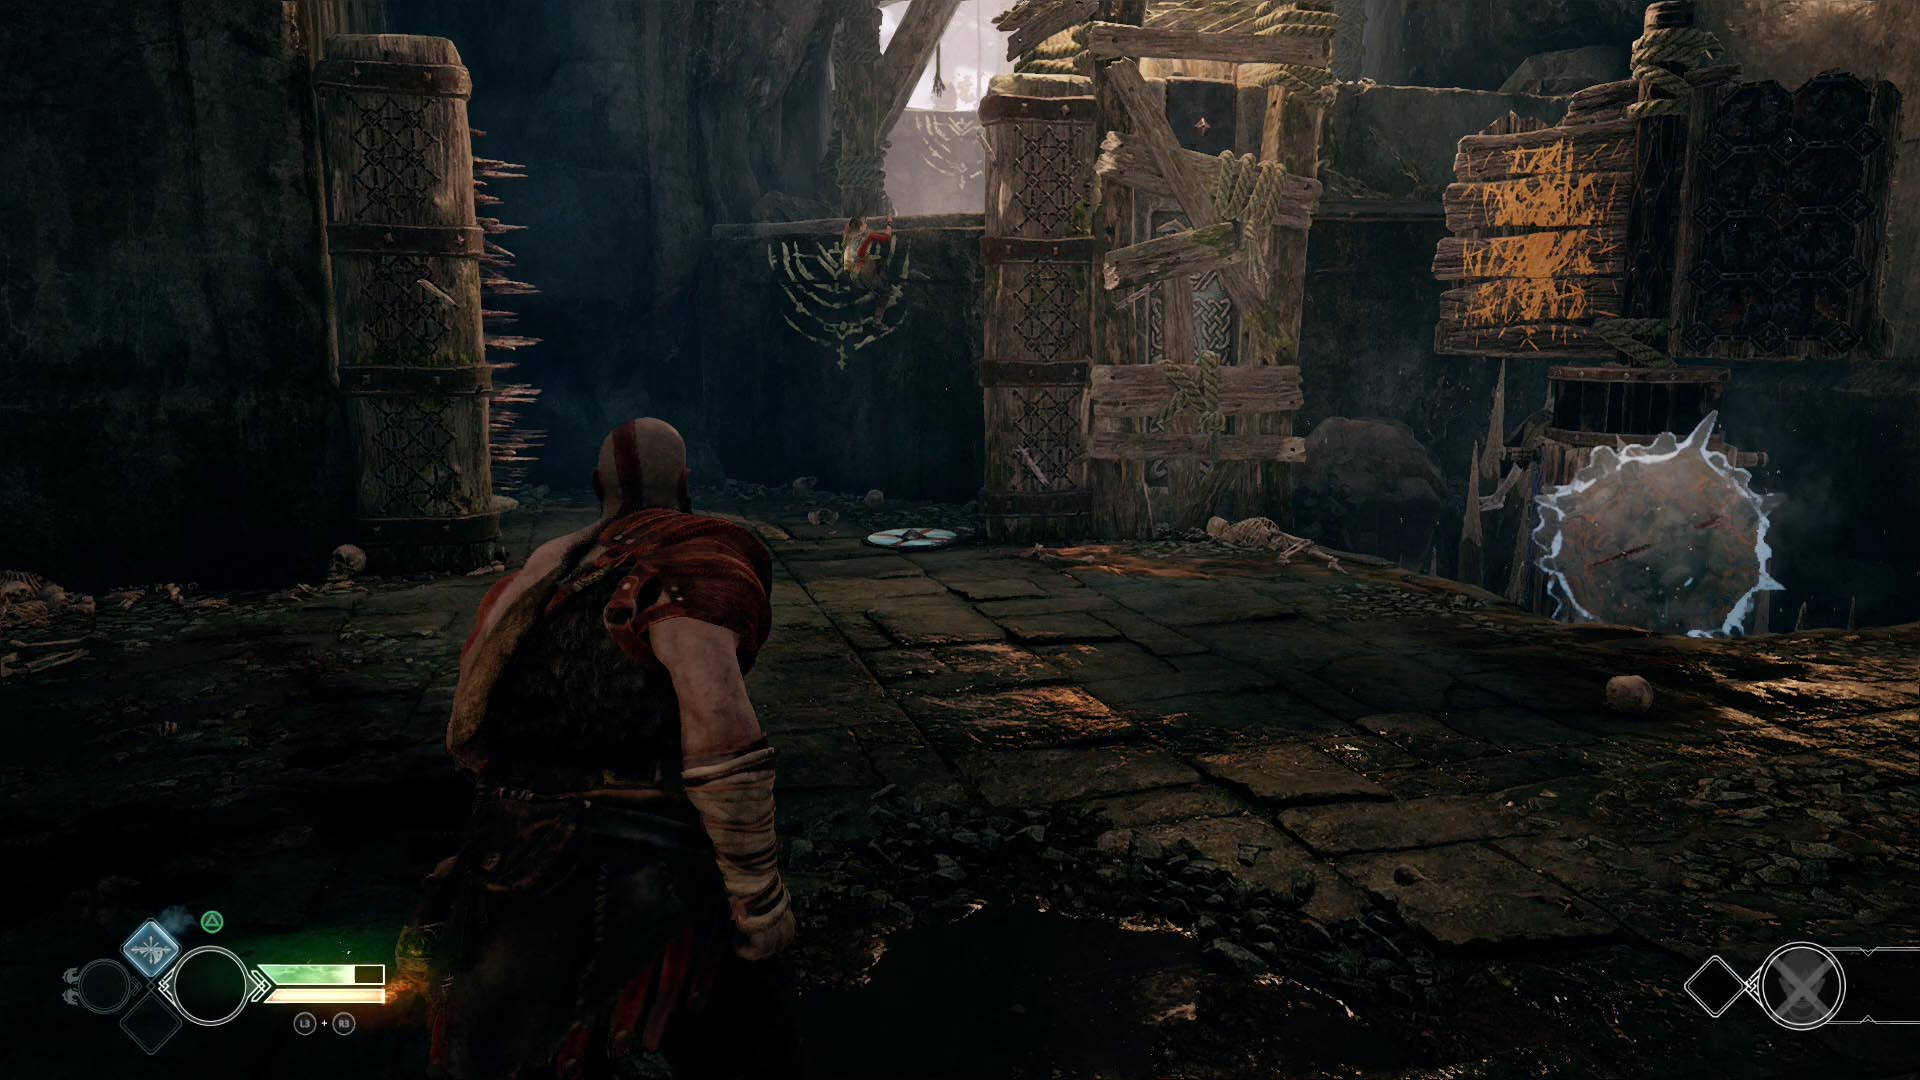
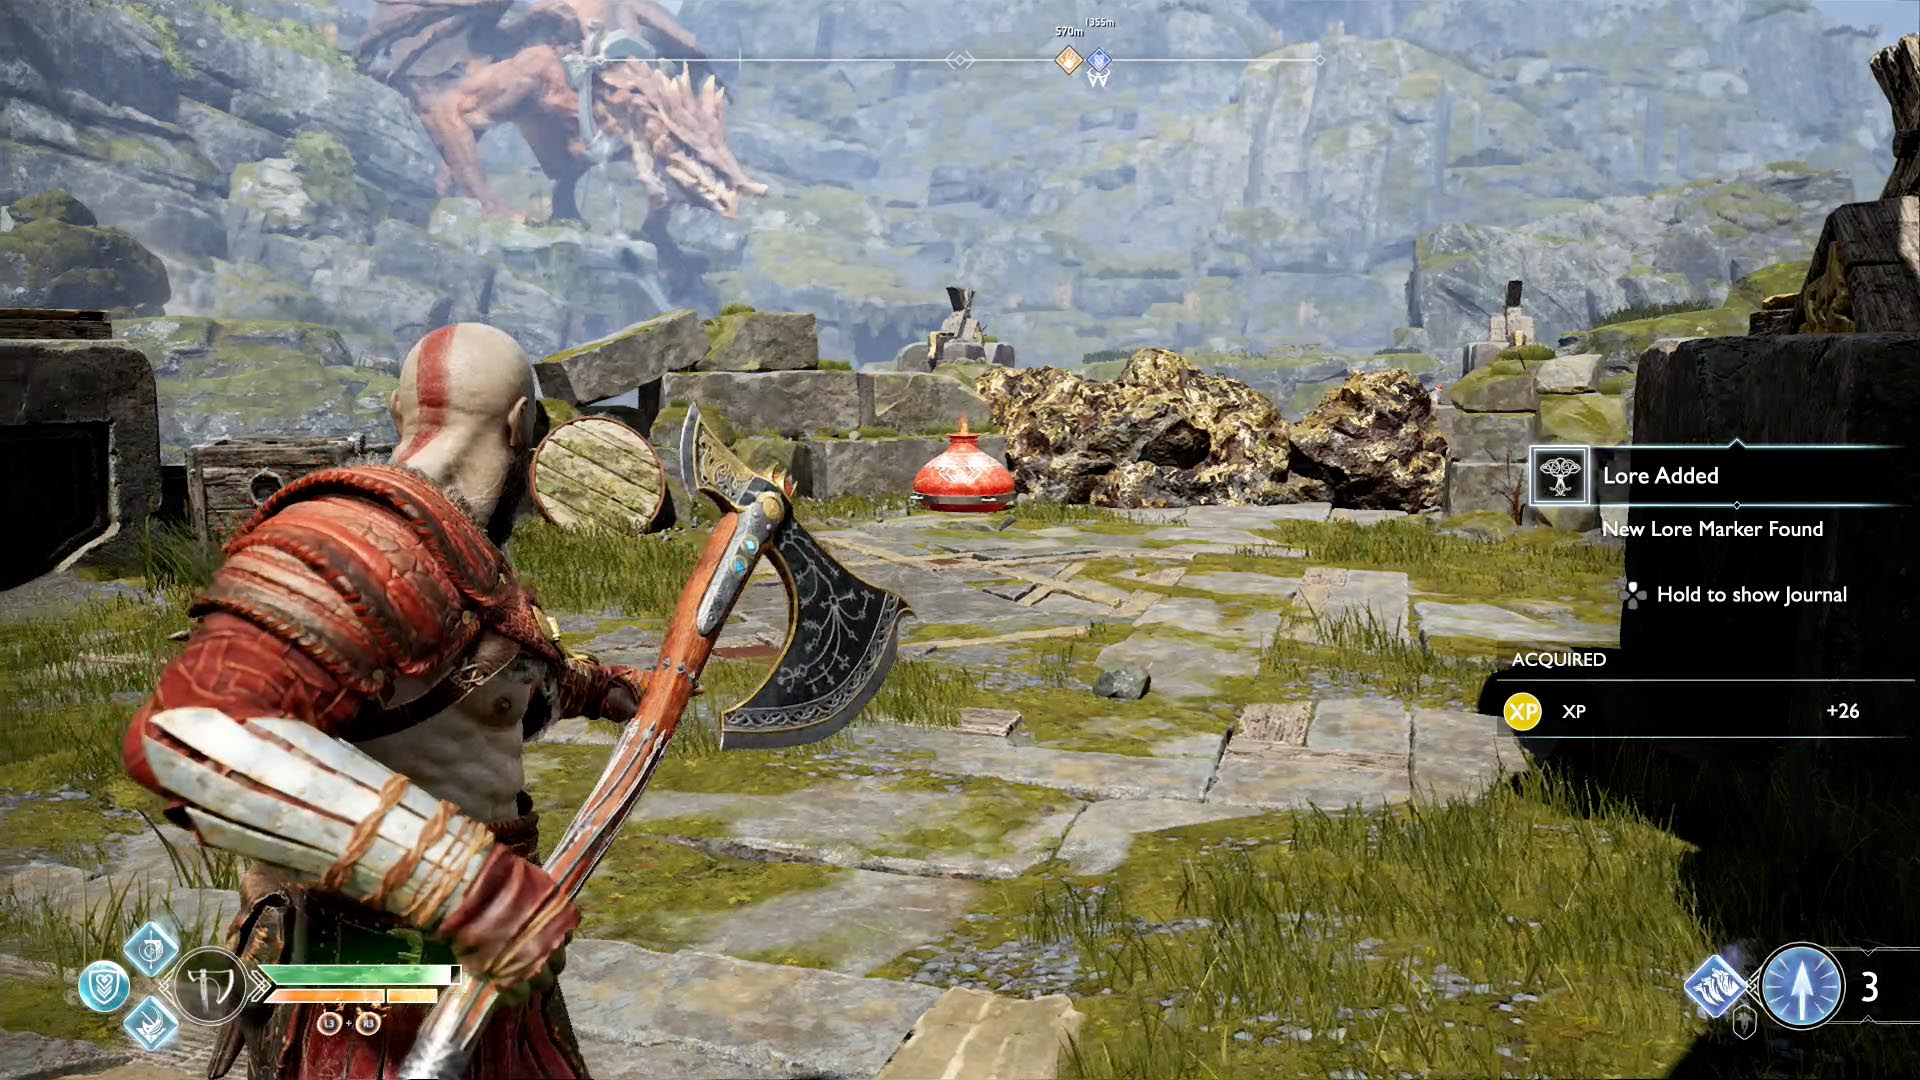
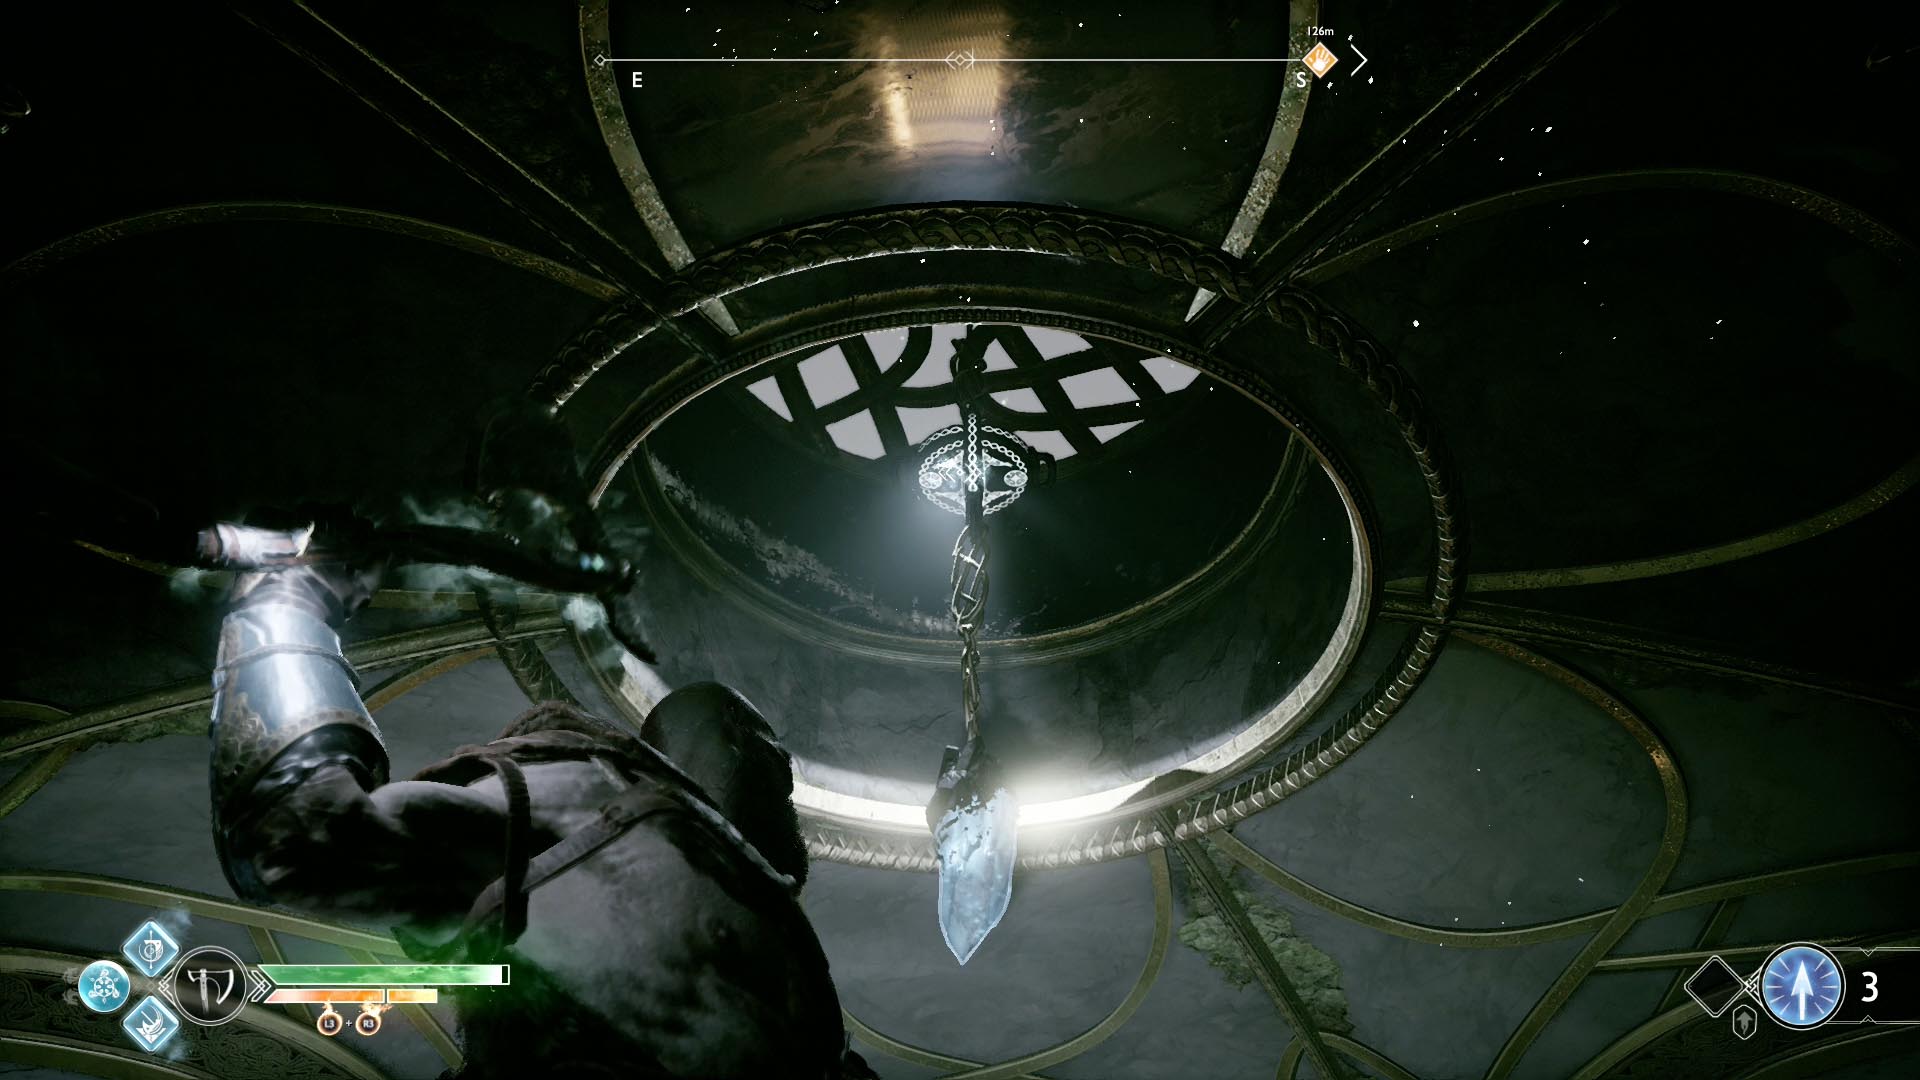
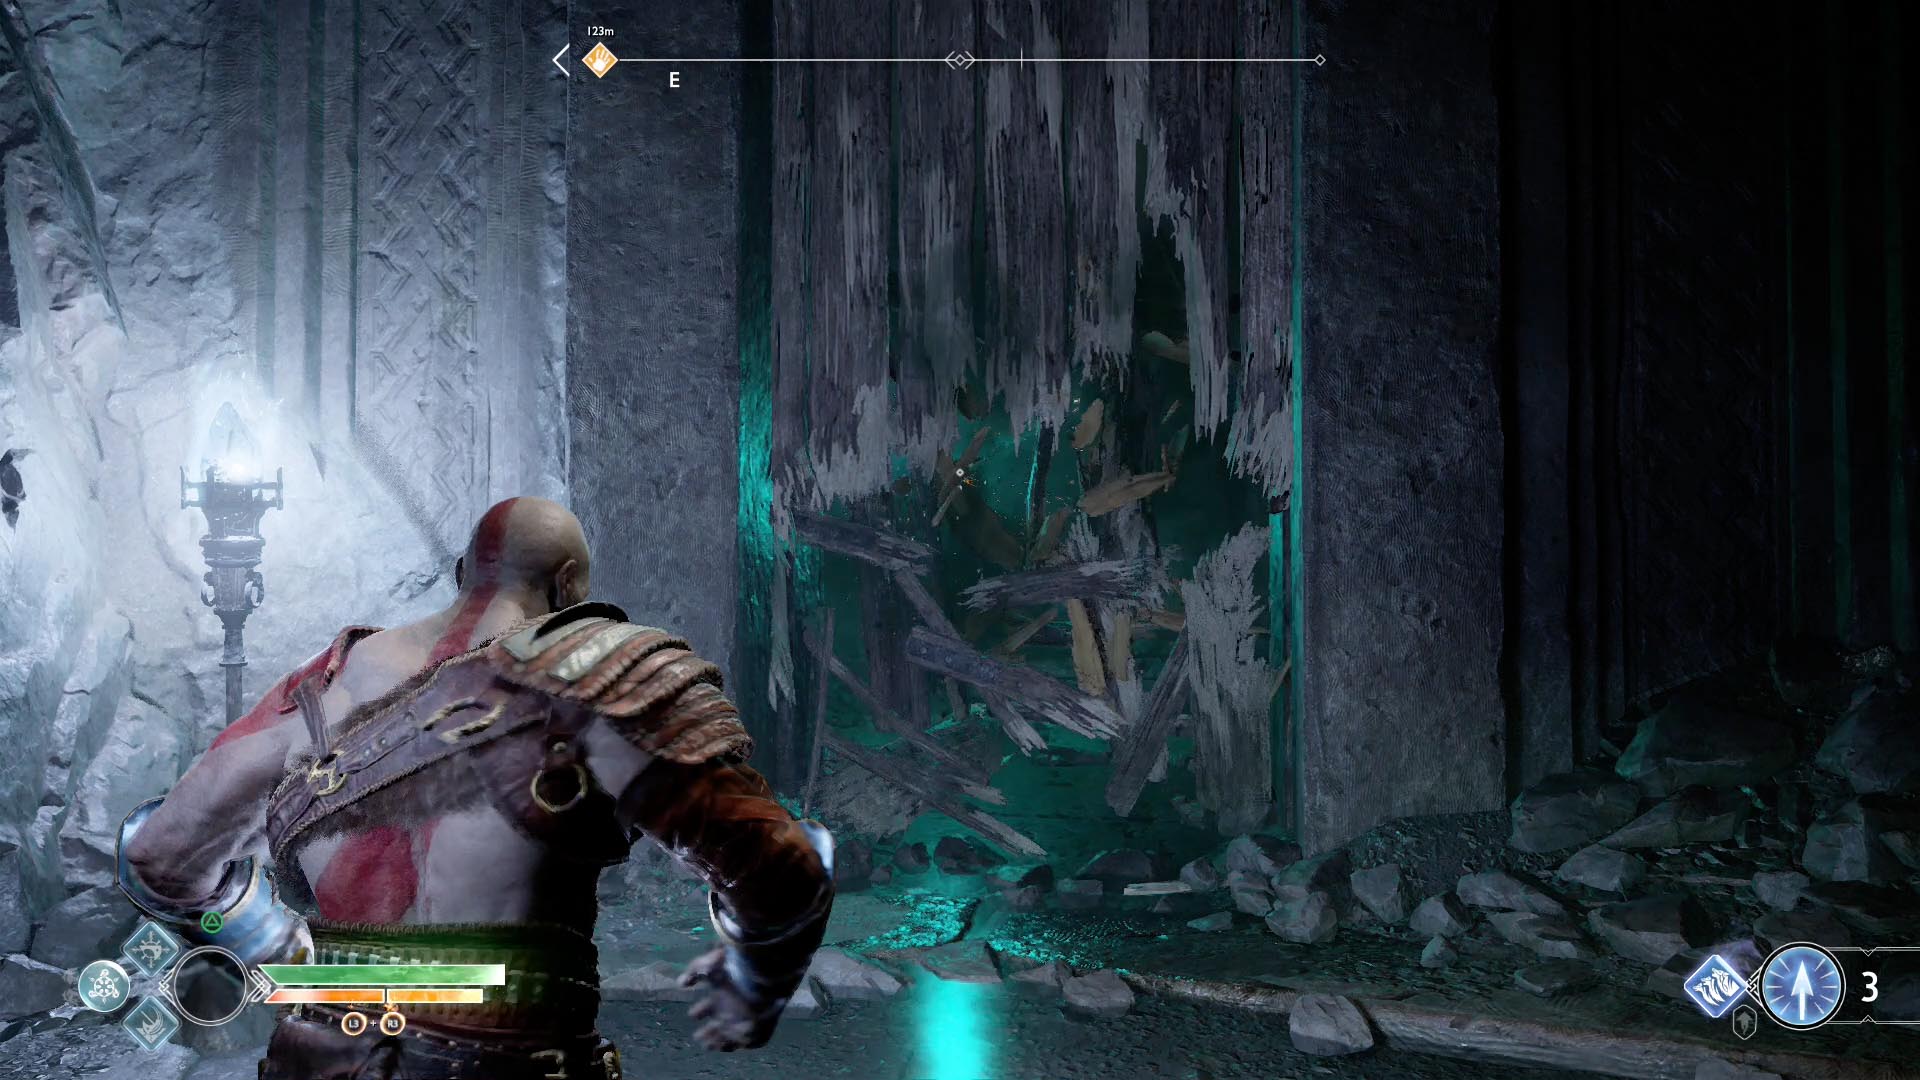
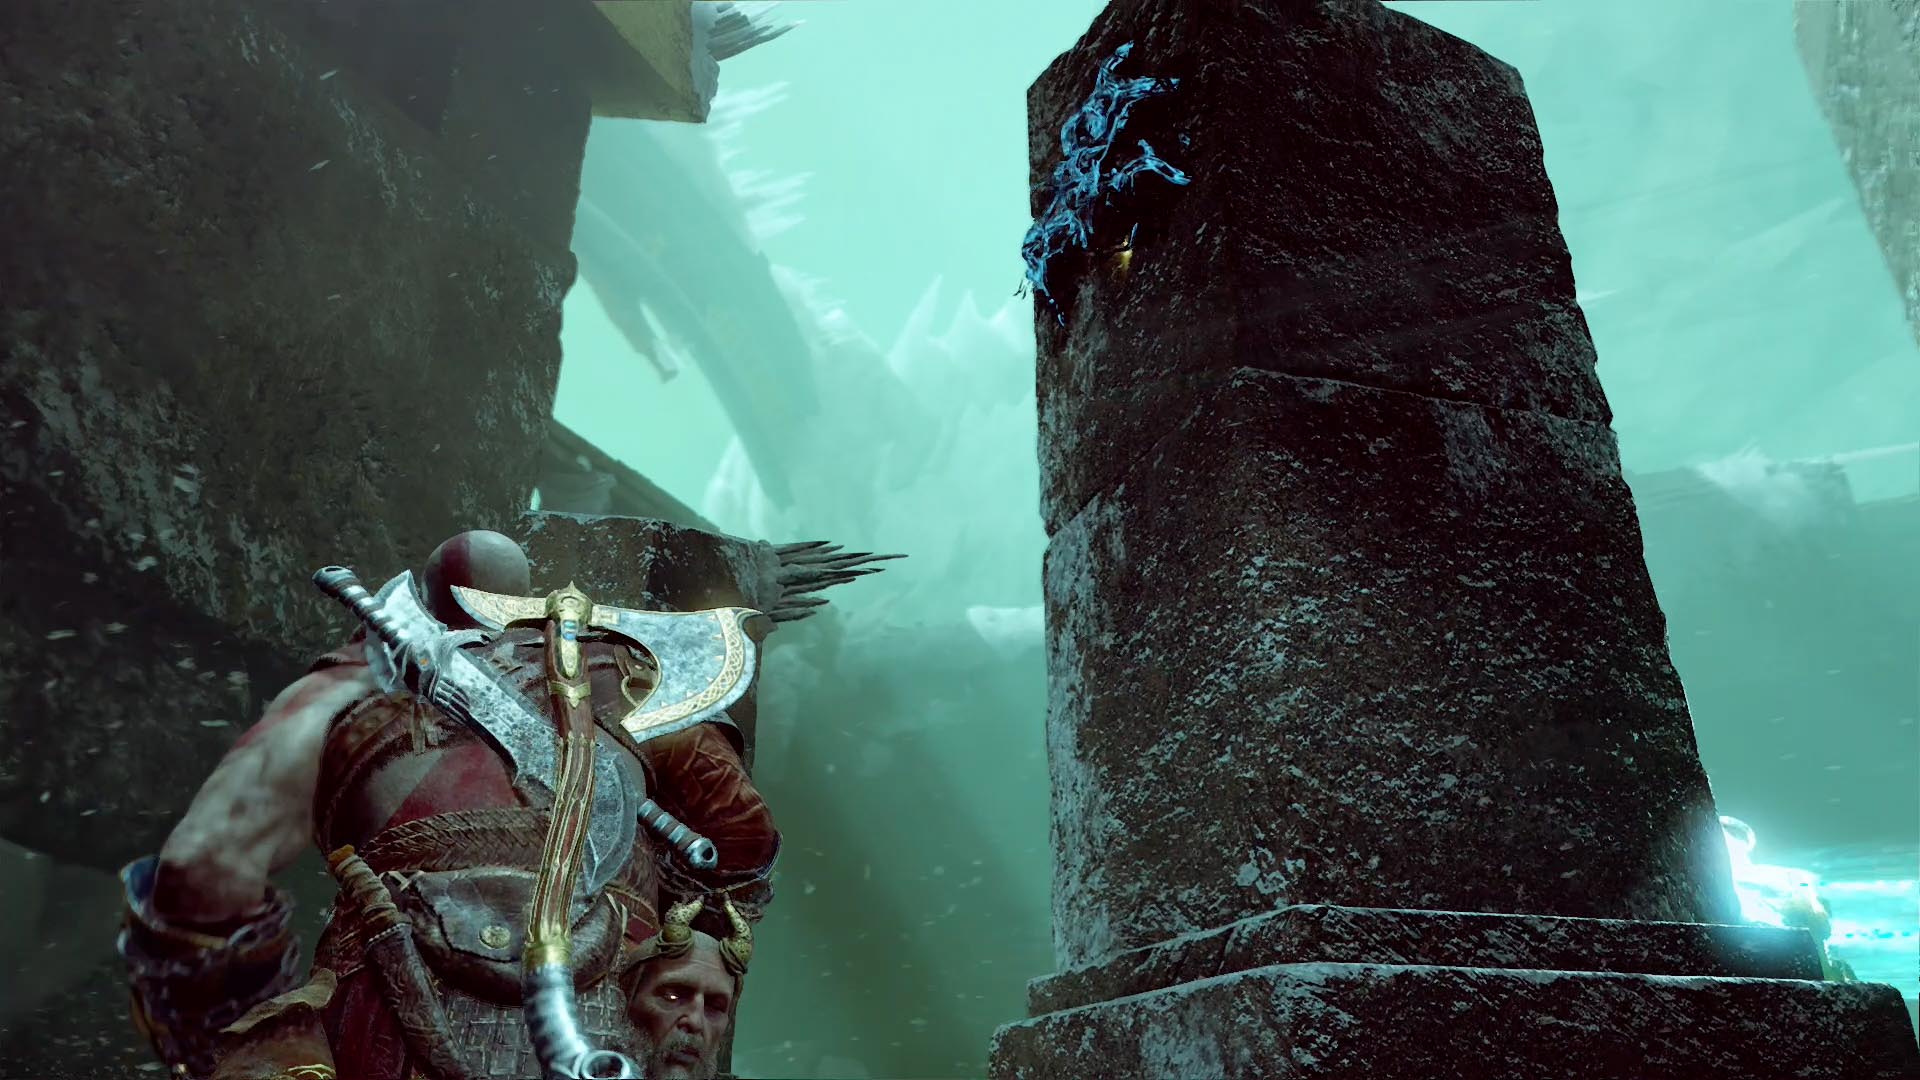
Veithurgard — Horns of Veithurgard (5 horn artifacts)
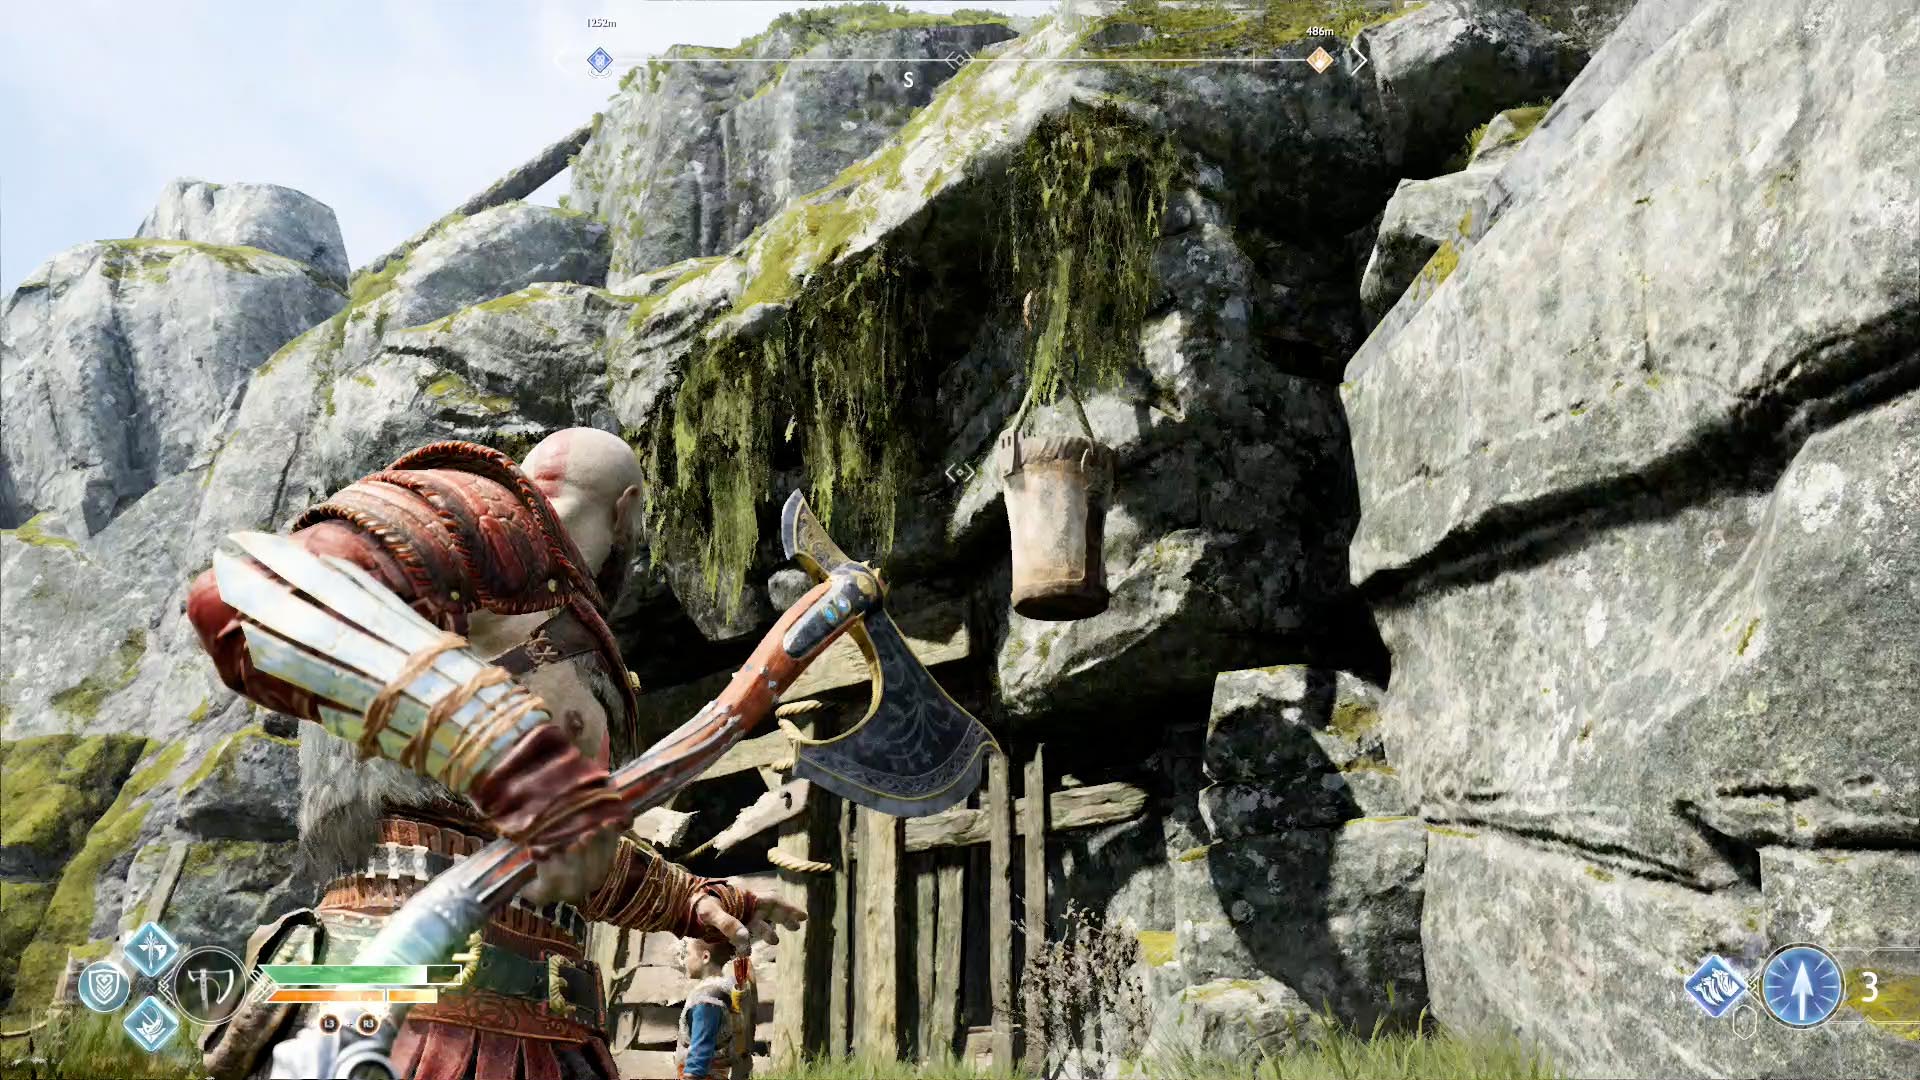
While exploring the Lake of Nine, you’ll find a beach at Stone Falls. There you can pick up the “Hammer Fall” Favor and open the gates to the hidden region of Veithurgard. Once you get to Veithurgard and start exploring, you’ll be able to pick up all five artifacts.
-
 SIE Santa Monica Studio/Sony Interactive Entertainment via Polygon
-
 SIE Santa Monica Studio/Sony Interactive Entertainment via Polygon
-
 SIE Santa Monica Studio/Sony Interactive Entertainment via Polygon
-
 SIE Santa Monica Studio/Sony Interactive Entertainment via Polygon
-
 SIE Santa Monica Studio/Sony Interactive Entertainment via Polygon
-
 SIE Santa Monica Studio/Sony Interactive Entertainment via Polygon
-
 SIE Santa Monica Studio/Sony Interactive Entertainment via Polygon
-
 SIE Santa Monica Studio/Sony Interactive Entertainment via Polygon
-
 SIE Santa Monica Studio/Sony Interactive Entertainment via Polygon

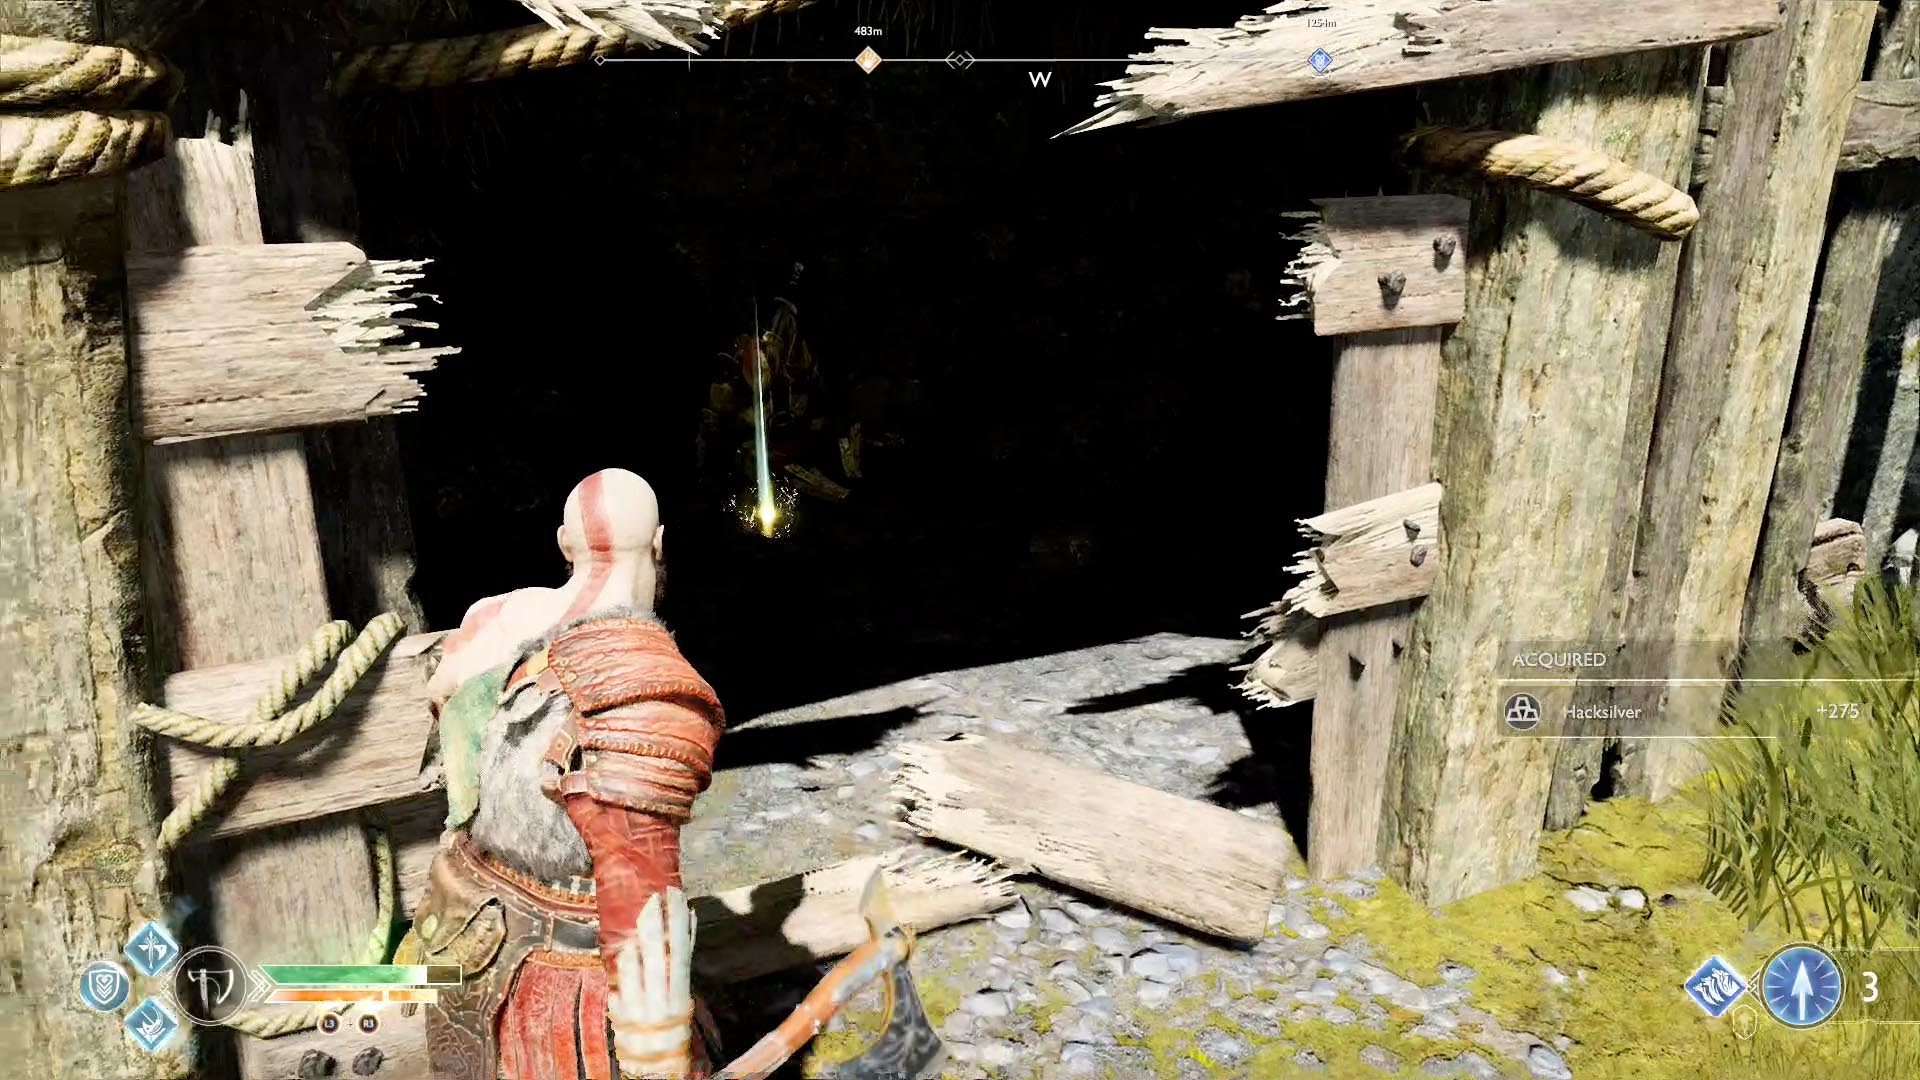

- When you land on the beach at Veithurgard, the first artifact is at the end of the dock on your left.
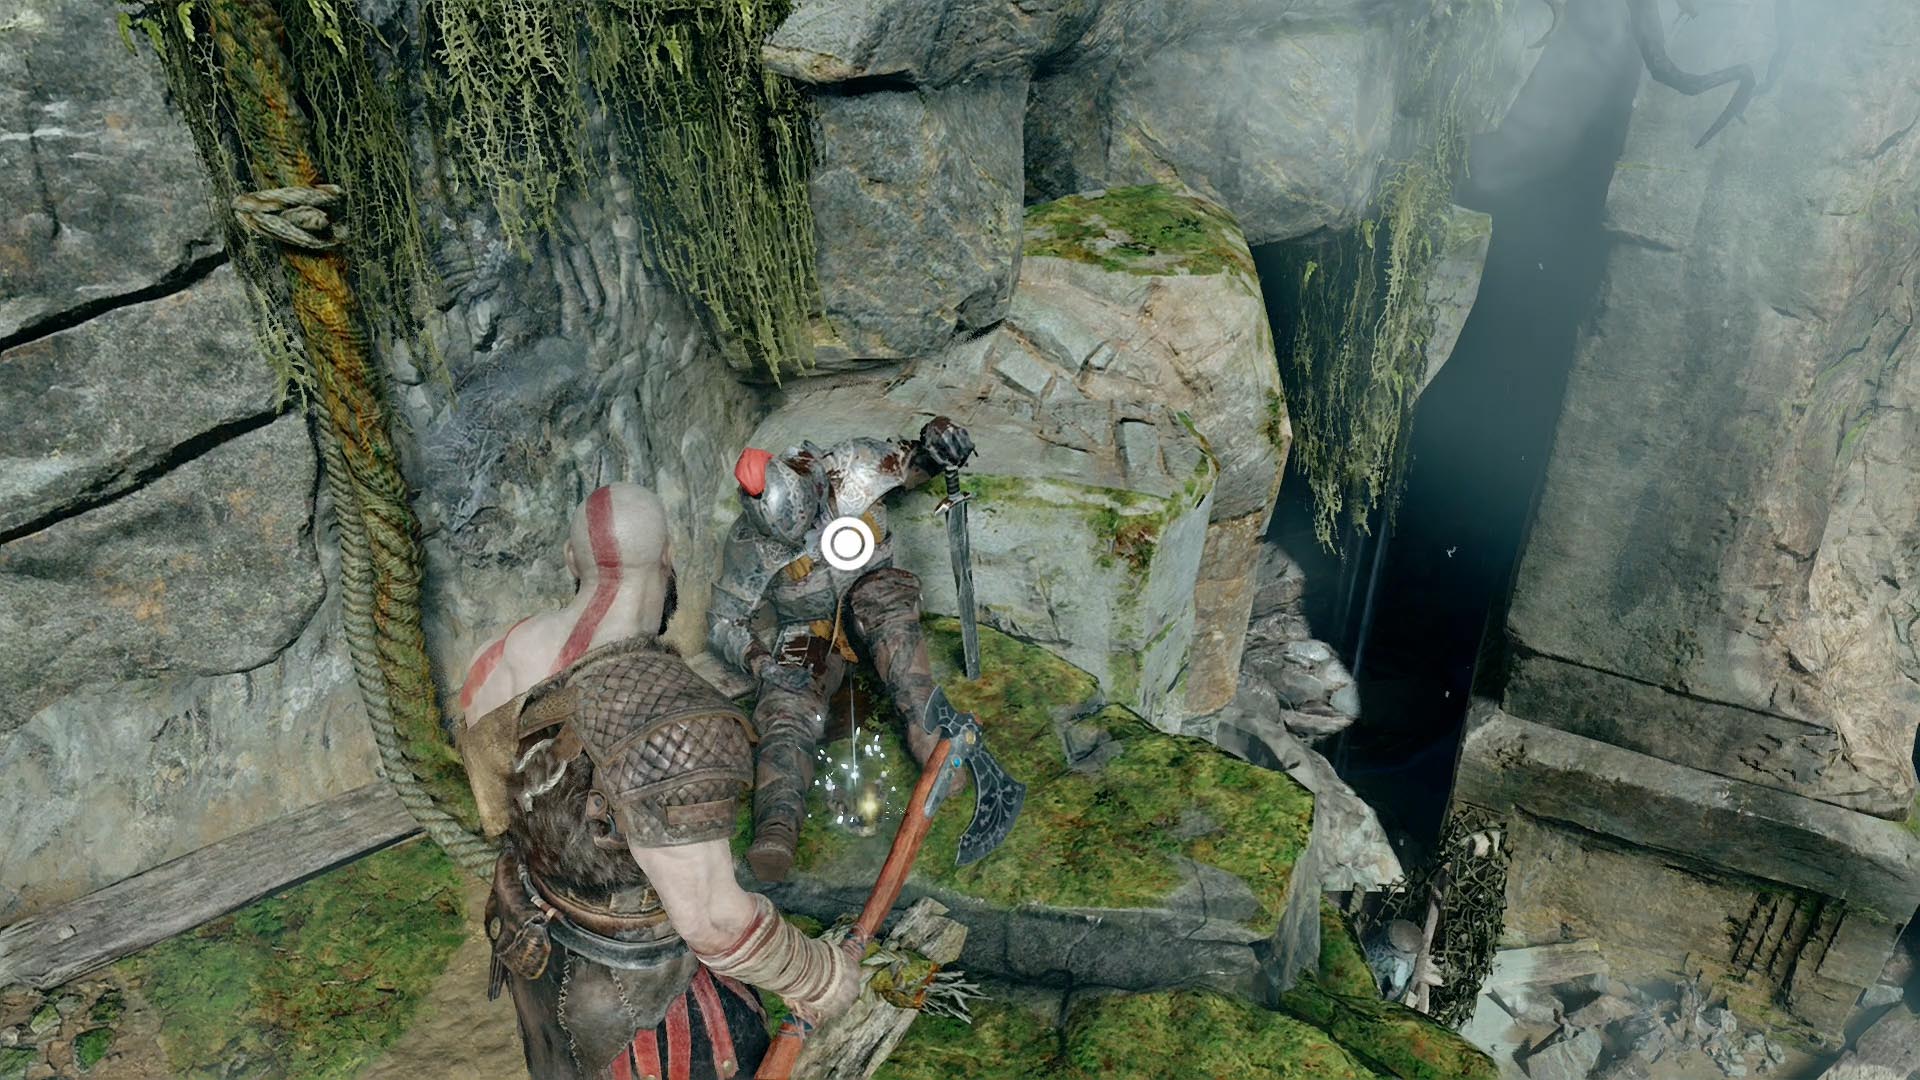
- To the right of the beach, there’s a chain that will open a gate around the corner to the left of the chain. Go through the gate and climb up to the top of the cliff, and then start making your way back down to the beach. On the first drop from the top of the cliff, there are some planks to smash. You’ll find the second artifact in the area you reveal after smashing the plants.
- As you’re making your way around the area outside of the fortress, you’ll find three shrines to free the dragon Otr. On your way from the second shrine to the third, you’ll blow up some rocks with a fire pot right in front of the doors to the fortress. The third artifact is behind those rocks.
- As you return to the altar to free Otr, the fourth artifact will be next to a corpse behind some crates on your left. Look for the little waterfall to the left of the altar.
- The fifth artifact is inside the dwarven fortress. You’ll have to drain some water out of a channel. The final artifact is at the bottom of that channel.
Alfheim — Spoils of War (5 elven artifacts)
You can collect all five of the Alfheim artifacts on your first visit during “The Light of Alfheim.” You won’t find the first two until you’re exploring the Lake of Light.
-
 SIE Santa Monica Studio/Sony Interactive Entertainment via Polygon
-
 SIE Santa Monica Studio/Sony Interactive Entertainment via Polygon
-
 SIE Santa Monica Studio/Sony Interactive Entertainment via Polygon
-
 SIE Santa Monica Studio/Sony Interactive Entertainment via Polygon
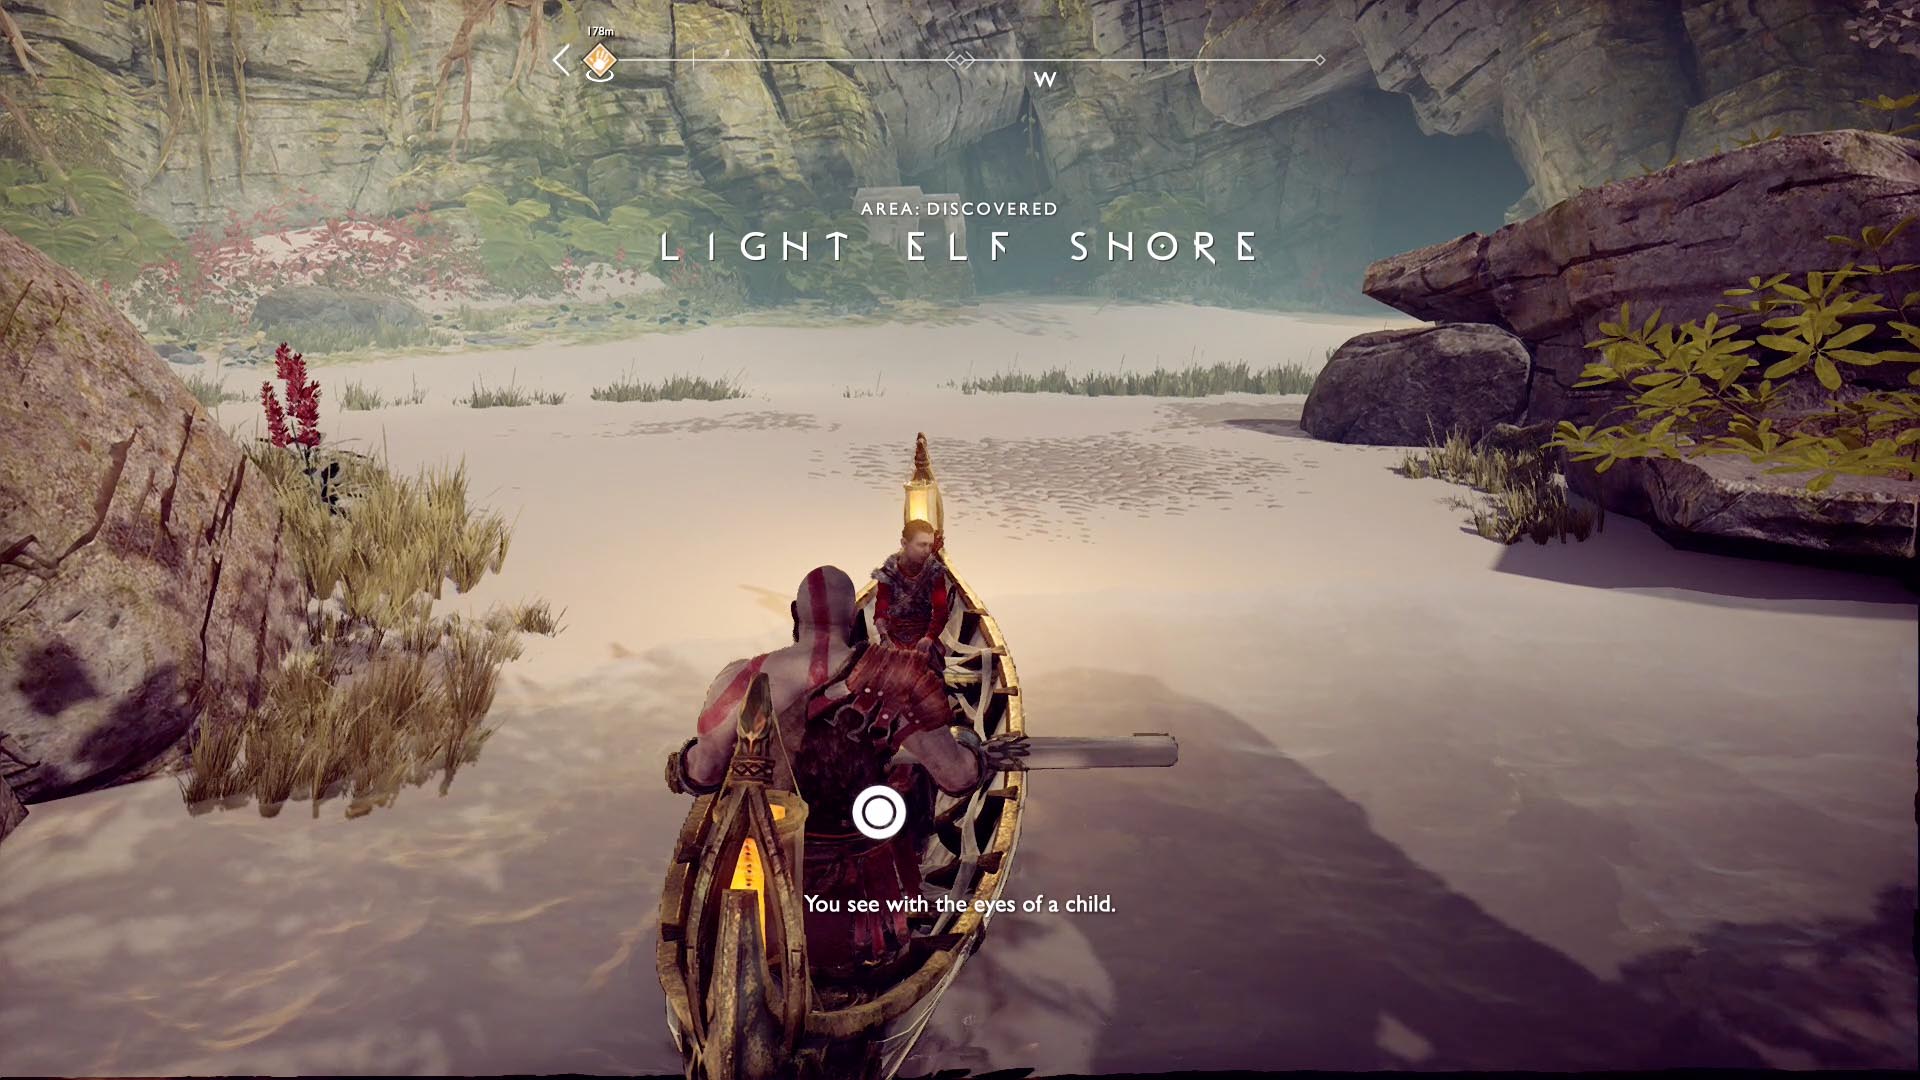

- Once you get to the Lake of Light, follow the shore to the left. You’ll come to the Light Elf Shore. As soon as you beach the canoe, turn right and follow the broken pier back toward the water to find the first artifact.
- The next artifact is at the other optional location — the Light Elf Sanctuary. Follow the shore all the way to the right. Work your way around the sanctuary, past the puzzle doors and loop around to the right. Before you drop back down to the beach where you started, the second artifact will be at your feet. (Check our Alfheim guide for a full walkthrough of the Light Elf Sanctuary.)
The rest of the artifacts are in the main temple.

- You won’t find any artifacts for a while. You’ll do a bit of exploring, Atreus will get kidnapped briefly, and you’ll have to fight an Ancient and a bunch of Dark Elves. On the platform after you fight the Ancient, restore the bridges, then head to the left for the third artifact.
- Again, you’ll have to do a bit more exploring and fighting. When you take the elevator back down into the closed and dark trench, the next artifact is in a cell directly behind you.
- Back in the main part of the trench, you’ll create a light bridge off to the left. In the next room, you’ll knock down a crystal and release a bunch of Draugr. The fifth artifact is in one of their cells.
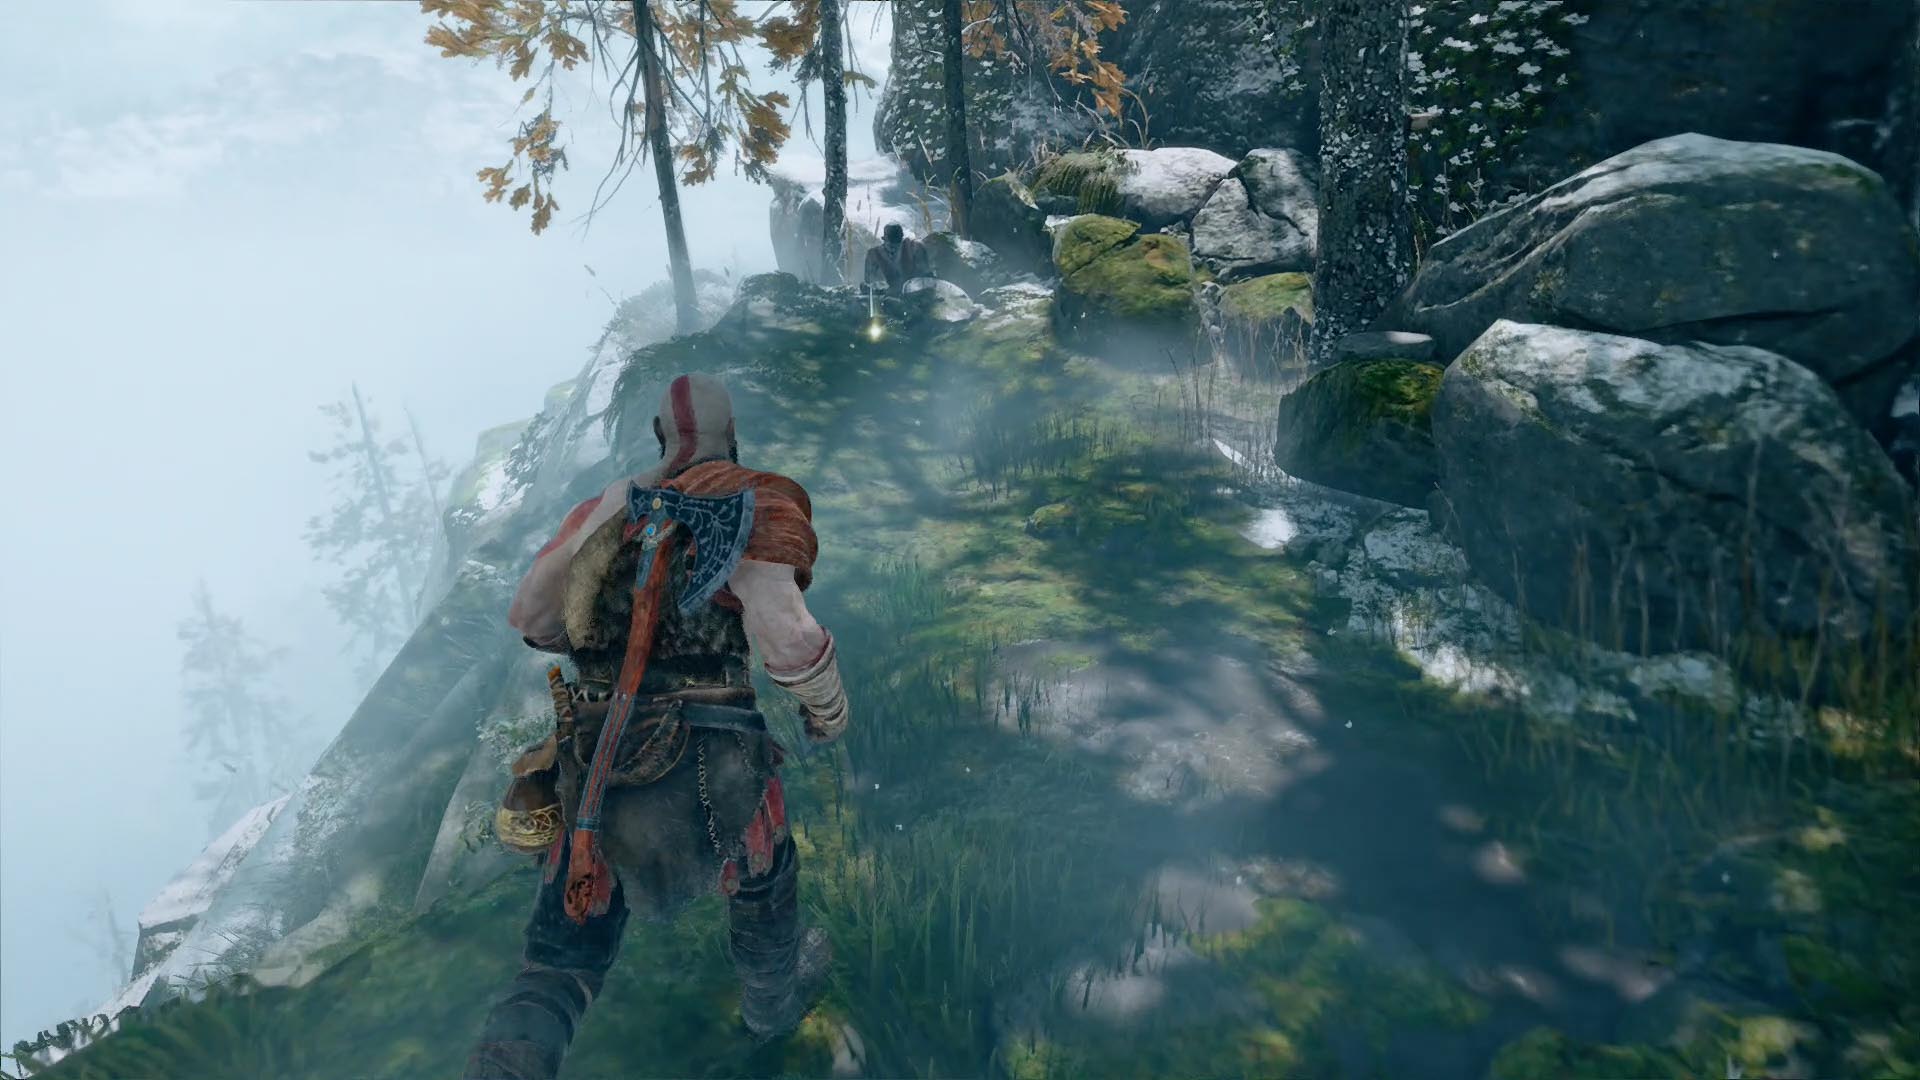
The Mountain — Bottoms Up (5 cup artifacts)
You’ll be able to pick up the five Bottoms Up cups during the “Inside the Mountain” journey chapter.
-
 SIE Santa Monica Studio/Sony Interactive Entertainment via Polygon
-
 SIE Santa Monica Studio/Sony Interactive Entertainment via Polygon
-
 SIE Santa Monica Studio/Sony Interactive Entertainment via Polygon
-
 SIE Santa Monica Studio/Sony Interactive Entertainment via Polygon
-
 SIE Santa Monica Studio/Sony Interactive Entertainment via Polygon
-
 SIE Santa Monica Studio/Sony Interactive Entertainment via Polygon
-
 SIE Santa Monica Studio/Sony Interactive Entertainment via Polygon
-
 SIE Santa Monica Studio/Sony Interactive Entertainment via Polygon
-
 SIE Santa Monica Studio/Sony Interactive Entertainment via Polygon
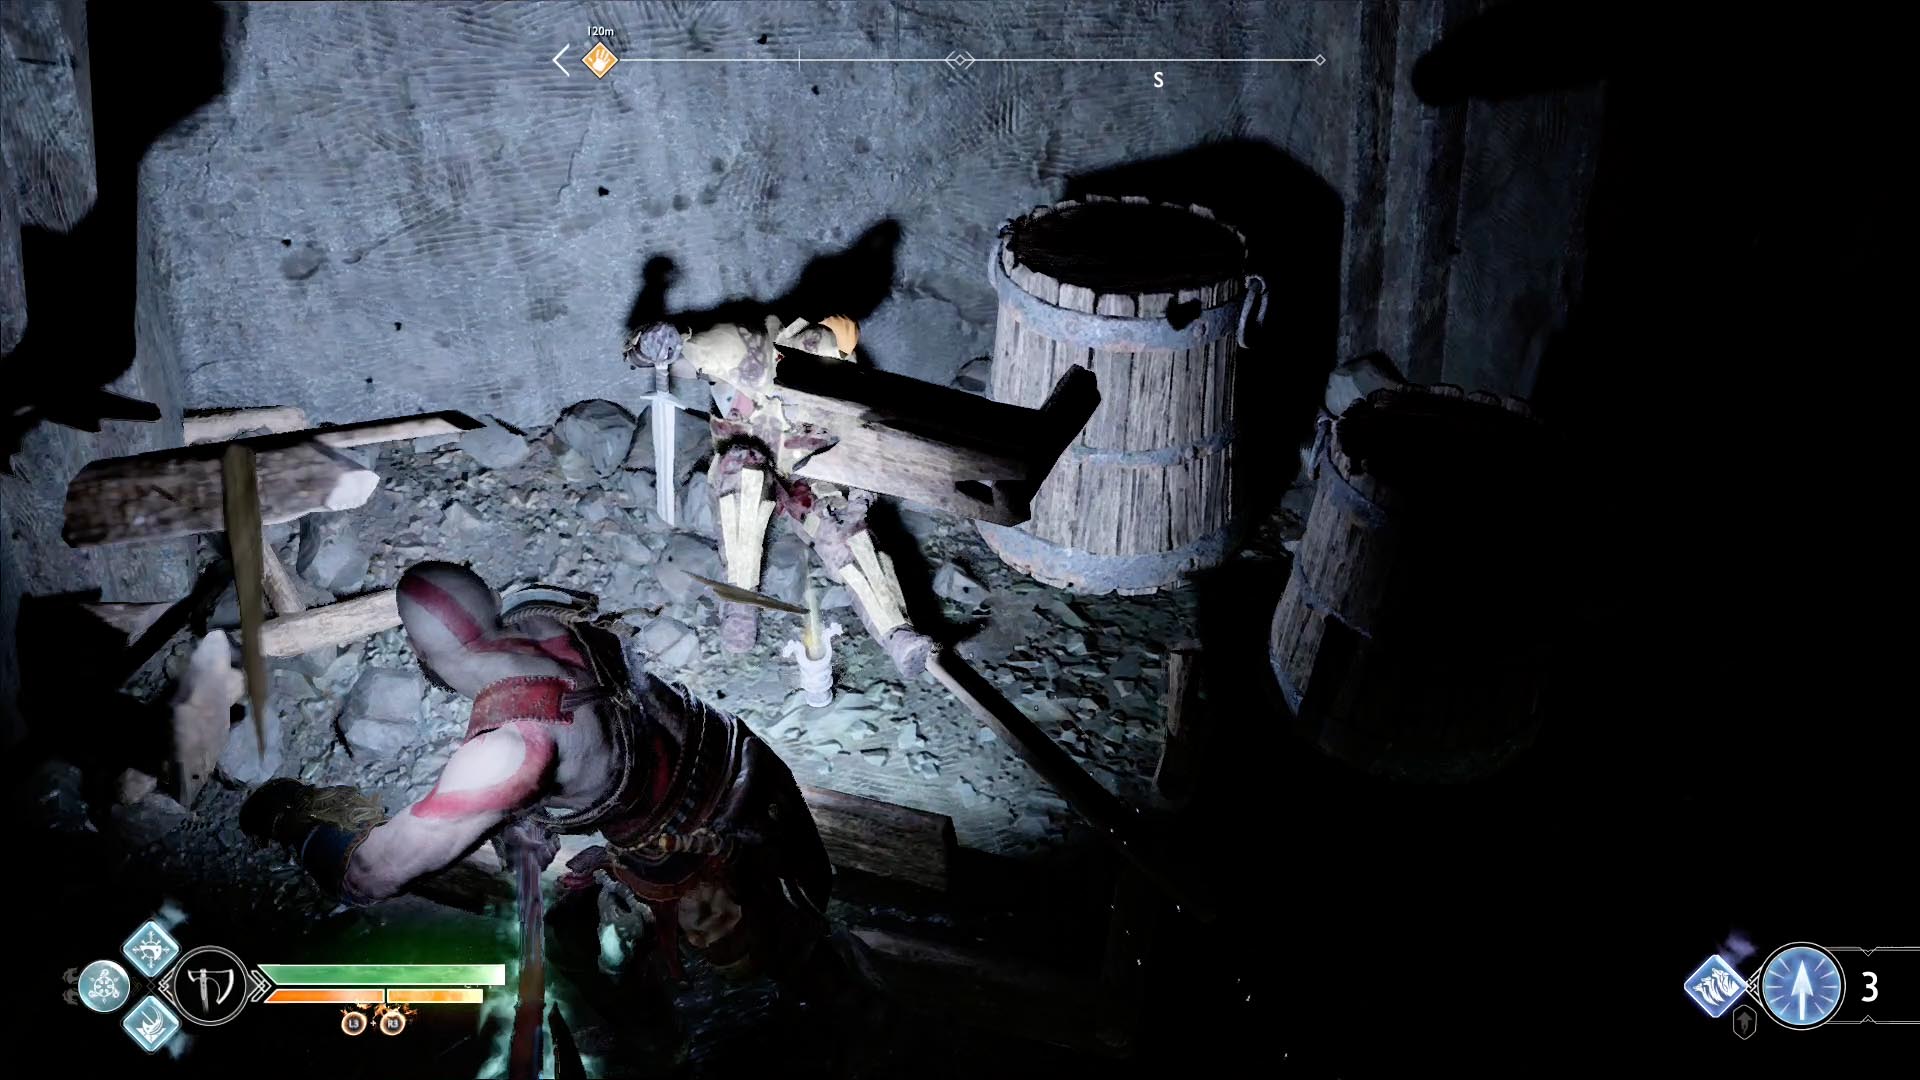


- After you take the Sky Mover up and clear away the Black Breath, you’ll finally get inside the mountain. During your first visit to the deer-headed statue’s throne room, you’ll go through a long process through the door on the right. There’s a Nornir chest back in the cavern there. The first artifact is directly across from the Nornir chest. You’ll have to smash through some planks and a table to find it. (This is right before you come back into the throne room.)
- A little later, you’ll have to find and move a cart to create a makeshift elevator in the Heart of the Mountain area. As soon as you start to move that cart, you’ll unblock a spiked door. Knock it open with your axe, and you’ll find the second artifact inside.
- After you fight Hraezlyr and talk to Sindri, you’ll get back inside the Mountain. After a little climbing, you’ll have to move a basket and a Shatter Crystal to blow some stuff up. After you move the basket, the third artifact is in an alcove behind it.
- Shortly after that, you’ll run along a snowy ridge as you approach the summit. There’s a quick way up blocked by Hel-bramble. Turn left there and follow the path around to pick up the fourth artifact.
You can’t get the final Bottoms Up artifact until you return to the Mountain during “Return to the Summit.”
-
 SIE Santa Monica Studio/Sony Interactive Entertainment via Polygon
-
 SIE Santa Monica Studio/Sony Interactive Entertainment via Polygon
- When you get back inside the Mountain, you’ll be able to skip over the throne room by going around to the left this time. When you get back into the room where you created your elevator earlier, there’s a sap wall under a platform on your left. The final artifact is behind that sap wall.
:format(webp):no_upscale()/cdn.vox-cdn.com/uploads/chorus_asset/file/10663231/God_of_War_spoiler_warning_image.jpg)
Helheim — Family Heirloom (5 brooch artifacts)
Your first trip to Helheim will be during the main story chapter “The Sickness.” You’ll be able to grab the first three of the Family Heirloom artifacts during that visit.
-
 SIE Santa Monica Studio/Sony Interactive Entertainment via Polygon
-
 SIE Santa Monica Studio/Sony Interactive Entertainment via Polygon
-
 SIE Santa Monica Studio/Sony Interactive Entertainment via Polygon
-
 SIE Santa Monica Studio/Sony Interactive Entertainment via Polygon
- As soon as you leave Tyr’s Temple and exit into Helheim proper, turn right. You’ll find the first artifact in the corner.
- A ways down the bridge, there’s a locked door you can’t get through. You have to turn left, burn through some Hel-bramble and take a detour. You’ll climb around a bunch of pillars and fight a bunch of Hel-walkers. At the bottom of the pillar you climb down (you’ll pass a chest held up by some Hel-brambles), look for a broken pillar behind you. The second artifact is stuck behind some Hel-bramble near the top of the pillar.
- You’ll fight some more Hel-walkers and eventually climb out of that arena (and back up toward the bridge). Immediately after you climb out, you’ll pass under an overpass. The third artifact is stuck to the underside of the overpass with more Hel-bramble.
For the remaining two artifacts, you’ll have to take a special trip back to Helheim with Atreus in tow.
-
 SIE Santa Monica Studio/Sony Interactive Entertainment via Polygon
-
 SIE Santa Monica Studio/Sony Interactive Entertainment via Polygon
-
 SIE Santa Monica Studio/Sony Interactive Entertainment via Polygon

- Run along the bridge until you reach the second overpass. Climb up and cross it to the left. Have Atreus blow up the sap wall to get inside a Hidden Chamber (there are also two Odin’s ravens and a Valkyrie, Rota, behind this sap wall). This first of the remaining artifacts is just behind the sap wall on your right.
- Take the elevator (Helevator) down to the Valkyrie’s area. Before you get to Rota’s arena, take the stairs up to the balcony over the entrance. The artifact is behind the brazier on the left side.
The next level of puzzles.
Take a break from your day by playing a puzzle or two! We’ve got SpellTower, Typeshift, crosswords, and more.