Linux users will be familiar with dual booting their systems. We often have Linux running alongside Windows, or another Linux distro. The Raspberry Pi, itself a small $35 Linux computer, isn't particularly well known for dual booting, but it can be done; all we need is a little help.
PINN is a website which creates a custom installation script tailored to our specific requirements. With PINN, we can install multiple OSes to a single micro SD card or USB stick. PINN doesn’t download an OS to our cards, rather it creates an installation file that when run on our Raspberry Pi, will automatically download and install all of our OS choices. From there all we need to do is reboot, choose a new OS and we are ready to create more great Raspberry Pi projects.
For This Project You Will Need
- A Raspberry Pi, we chose a Raspberry Pi 4
- 32GB FAT32 formatted micro SD card
- Ethernet connection for your Raspberry Pi
- Keyboard, mouse, HDMI, and power for your Raspberry Pi
- A PC
How to create a custom installation with PINN
We start the process by creating a custom installation script via the PINN website.
1. On your PC, navigate to https://pinn.mjh.nz.
2. Insert a blank FAT32 formatted 32GB microSD card into your computer.
3. Click on SD Card to set the target storage device. This will not prompt you to specify the drive, rather it enables Pinn to be correctly configured for use on an SD card.

4. Select the size of your microSD card. In our case it was a 32GB card.

5. Choose your model of Raspberry Pi. We chose a Raspberry Pi 4. Choosing the correct model is vital, because it dictates which operating systems can be installed.

6. Click on the headings to filter the operating system choices. There are many different operating systems available for the Raspberry Pi. We can install a general OS, such as Raspberry Pi OS, Twister or Manjaro. We can also install specialized OS such as DietPi (servers, and appliances) and Kali Linux (network security).
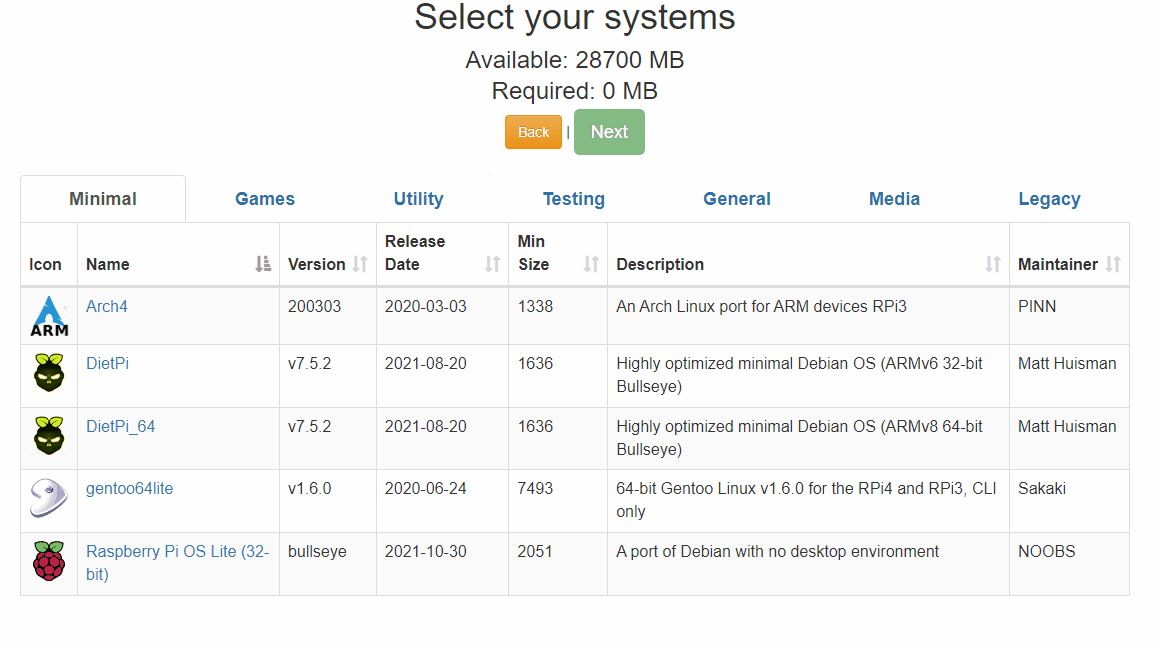
7. Click on your choice of OS then click Next.

8. Use the slider to divide up the space on the microSD card between your OS choice.

9. Download the ZIP file containing the installation and the recovery.cmdline file.

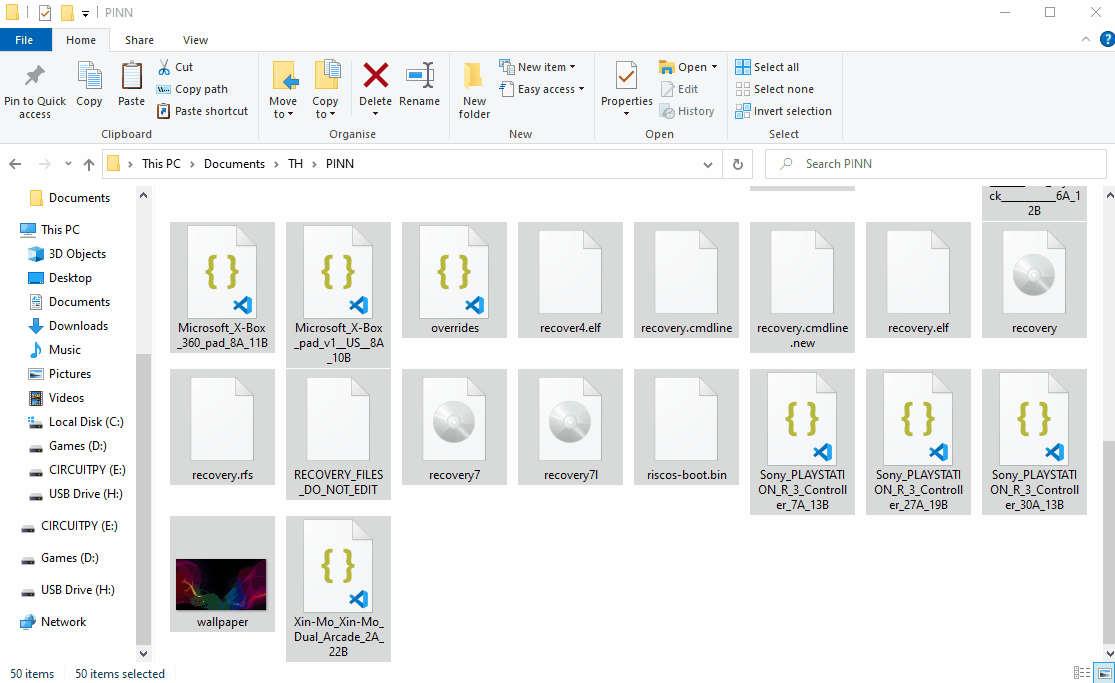
10. Extract the contents of the ZIP to a new folder called PINN.
11. Copy the recovery.cmdline into the new folder. We downloaded a replacement file which contains instructions specific to our install. This new file will replace the existing version inside the PINN folder.

12. Copy the contents of the PINN Folder to your microSD card.
13. Eject the microSD card and insert it into your Raspberry Pi.
Setting Up the Installation
Now that we have our microSD card configured and ready to install, we move to the Raspberry Pi and finalize the install which involves PINN downloading and installing our chosen OS.
1. Connect Ethernet, keyboard, mouse, HDMI and finally power to your Raspberry Pi. PINN will automatically boot up to finish the installation. This takes approximately 30 seconds.
2. Ensure that your OS choices are displayed and, when ready, click Install to begin the download and installation process. You will be prompted to confirm the installation, answer Yes to proceed. Depending on your Internet connection and model of Raspberry Pi this could take some time.

3. Once the installation is complete click Ok to reboot.

4. On first reboot the first OS on the drive will start as normal. Run through the standard setup for your chosen OS and then reboot the Raspberry Pi.
For every subsequent boot the Pi will boot into PINN’s OS select screen. Click on the OS to select, then click BOOT to run.