The Photographers’ Guide to Color Grading Video
When you’re a photographer just starting to work with video, it can seem like color grading is a mystical art. However, it’s simply the process of adjusting the colors in your video footage to achieve the final look you want. If you already use Adobe Photoshop or another image editor to tweak your photographs, congratulations, you are already color grading!
However, there are a few extra steps you need to consider before transitioning from color grading still images to video. This guide will walk you through what you need to know to make the leap.
What is Color Grading?
Color grading is the act of manipulating the colors in your video for artistic or stylistic reasons. You can color grade to change the mood of a scene, which, in turn, affects the audience’s emotions. For example, warmer hues, like yellow and orange, can evoke feelings of happiness. Likewise, cooler colors, such as blue or green, will evoke sadness or loneliness.
Photo Color Grading Versus Video Color Grading
When you adjust the colors in a photograph, all you have to consider is the single image in front of you. Videos require you to consider multiple images. Since videos are comprised of a series of shots to make a sequence, you need to consider the whole sequence when color grading to ensure consistency.
Your audience will find it very distracting if your shots look very different from each other, especially if they’re in a sequence together. Many factors can affect the look of your footage, such as lighting conditions and using different cameras. Different camera sensors tend to record footage with slightly different looks, even if they’re the same brand and model.
Common Color Grading Software
The most popular professional-level video editing programs include all the color grading tools mentioned above. You can use their color wheels and videoscopes to fine-tune your color grades. Let’s take a quick look at some of the most popular programs available to you.
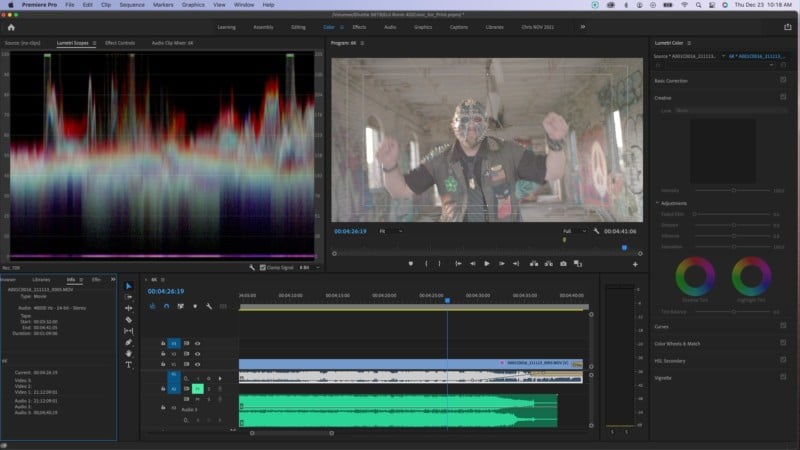
Adobe Premiere Pro
As a photographer, you may already use Adobe Photoshop and Adobe Lightroom. If you have a subscription to the complete Adobe Creative Cloud package, you already have access to Adobe Premiere Pro. Premiere Pro has a comprehensive color grading workspace based around the Lumetri color module.
Adobe Premiere Pro includes a wide selection of creative LUTs to quickly add artistic flair to your videos. There’s also an automated color match feature. This tool is excellent for matching footage between different cameras. You can also grab an inspirational image from your favorite film and the Premiere Pro will try to grade your clips to match that look.
Adobe Premiere Pro is also directly compatible with other Creative Cloud software, like Adobe After Effects. So, you can start working in Premiere Pro and switch over to After Effects later, which is sometimes necessary because After Effects is better suited for certain tasks.
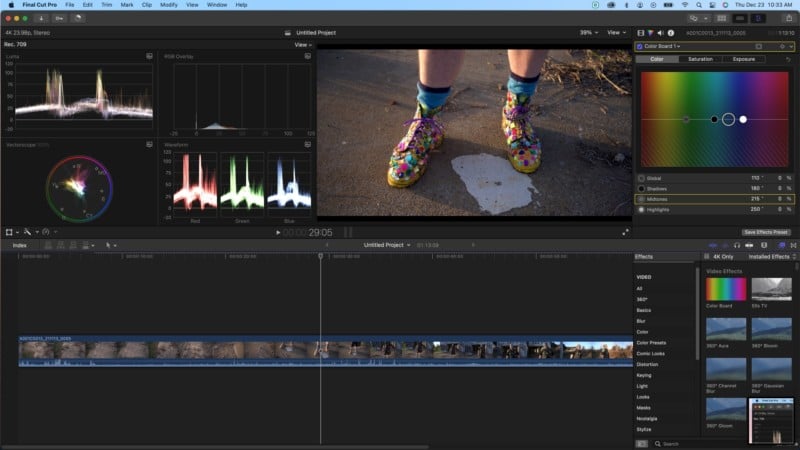
Apple Final Cut Pro
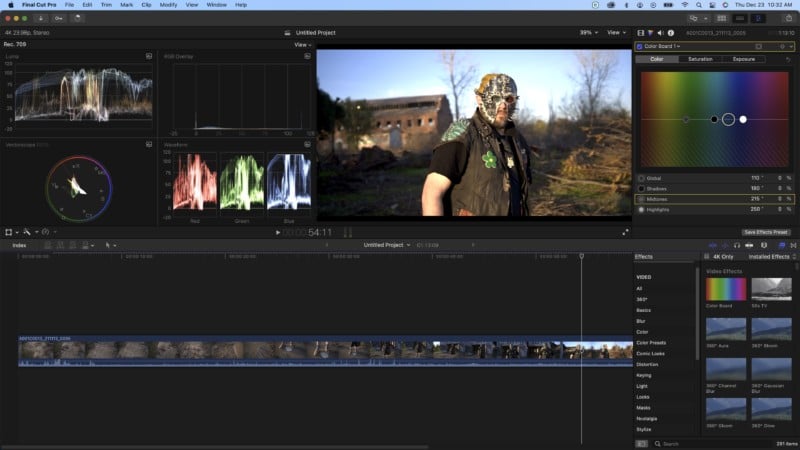
Final Cut Pro includes all the color correction and color grading tools you need for precise control over the look of your video. It also has options for automatically balancing colors and white balancing your footage. As with Adobe Premiere Pro, there is a feature to quickly color match between clips in just a couple of clicks.
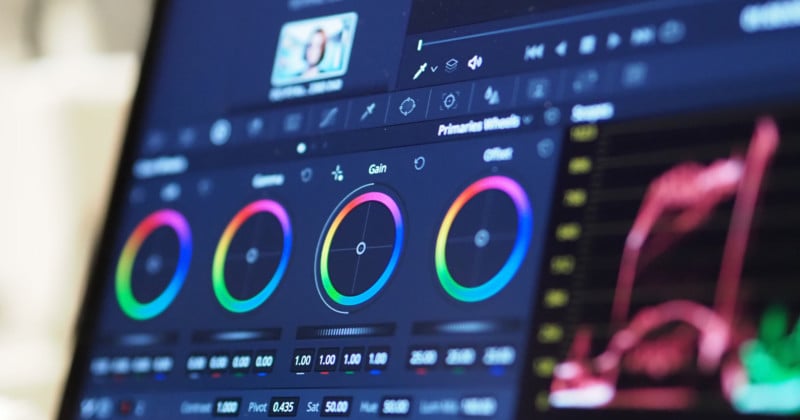
Blackmagic Design Davinci Resolve
Unlike the other programs in this list, Blackmagic Design Davinci Resolve began as color grading software; its editing features were subsequently added. As such, it has highly comprehensive and sophisticated color grading tools.
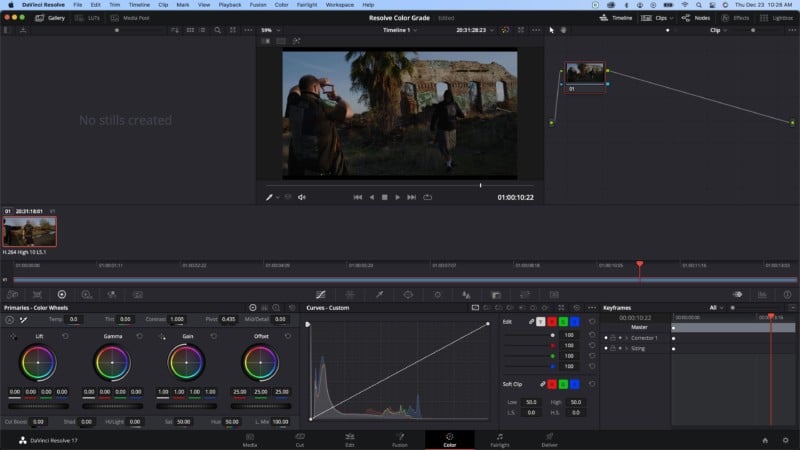
In addition, a version of Davinci Resolve is available to download completely free of charge. The free version only has a few features disabled when compared to the paid Studio version. As such, many users find that the free version will more than meet their needs. In addition, several of Blackmagic Design’s cinema cameras come with the Studio version of Resolve included.
VEGAS Pro
The latest version of VEGAS Pro added a unified color grading panel feature to enable you to quickly access its range of color grading tools. VEGAS Pro also has optimization for touchscreen use, so it’s a great option for on-the-go usage.
To Get Started, Normalize Your Footage
Many cameras today can record video files in “Log” mode, which preserves the greatest dynamic range in your footage. However, Log footage has very flat contrast and muted colors when viewed. Therefore, it must be processed before you can start color grading it.
You can use a preset file known as a Lookup Table, or LUT, to transform your Log footage to Rec 709. Rec 709 is the standard color space for video footage, giving video footage good contrast and saturation. This process is called normalization.
Color Correction
Before you can start color grading your video, you need to color correct it first. Color correcting is the act of adjusting an image’s exposure and color settings until you correctly expose it with a neutral color balance.
When color correcting video, you should start with the wide shot in your sequence. Use this shot as a blueprint for how the rest of the shots in the sequence should look. It’s essential to review the entire clip as you color correct it. Don’t get fixated on a single frame because the exposure can change during the shot. For example, clouds could have come in halfway through the clip and blocked the sun. In this situation, you need to use different exposure correction settings at the start and end of the clip.
Upon review, you should also look for exposure inconsistencies and things like inconsistent, shaky video. Before moving on to color grading, you need to address anything from keeping your shots consistent. If you do have a few shakey shots, most editing software will have some kind of shake correction tool. However, for the best end result, you should stabilize your footage on set with a camera stabilizer.
Also, be sure you take note of the subject and object in your frame. The mise-en-scène of your footage is important to how you color grade. You want to make sure everything looks consistent.
How to Color Grade Video
Like the color correction stage, you should start the color grading phase with a wide shot in your sequence.
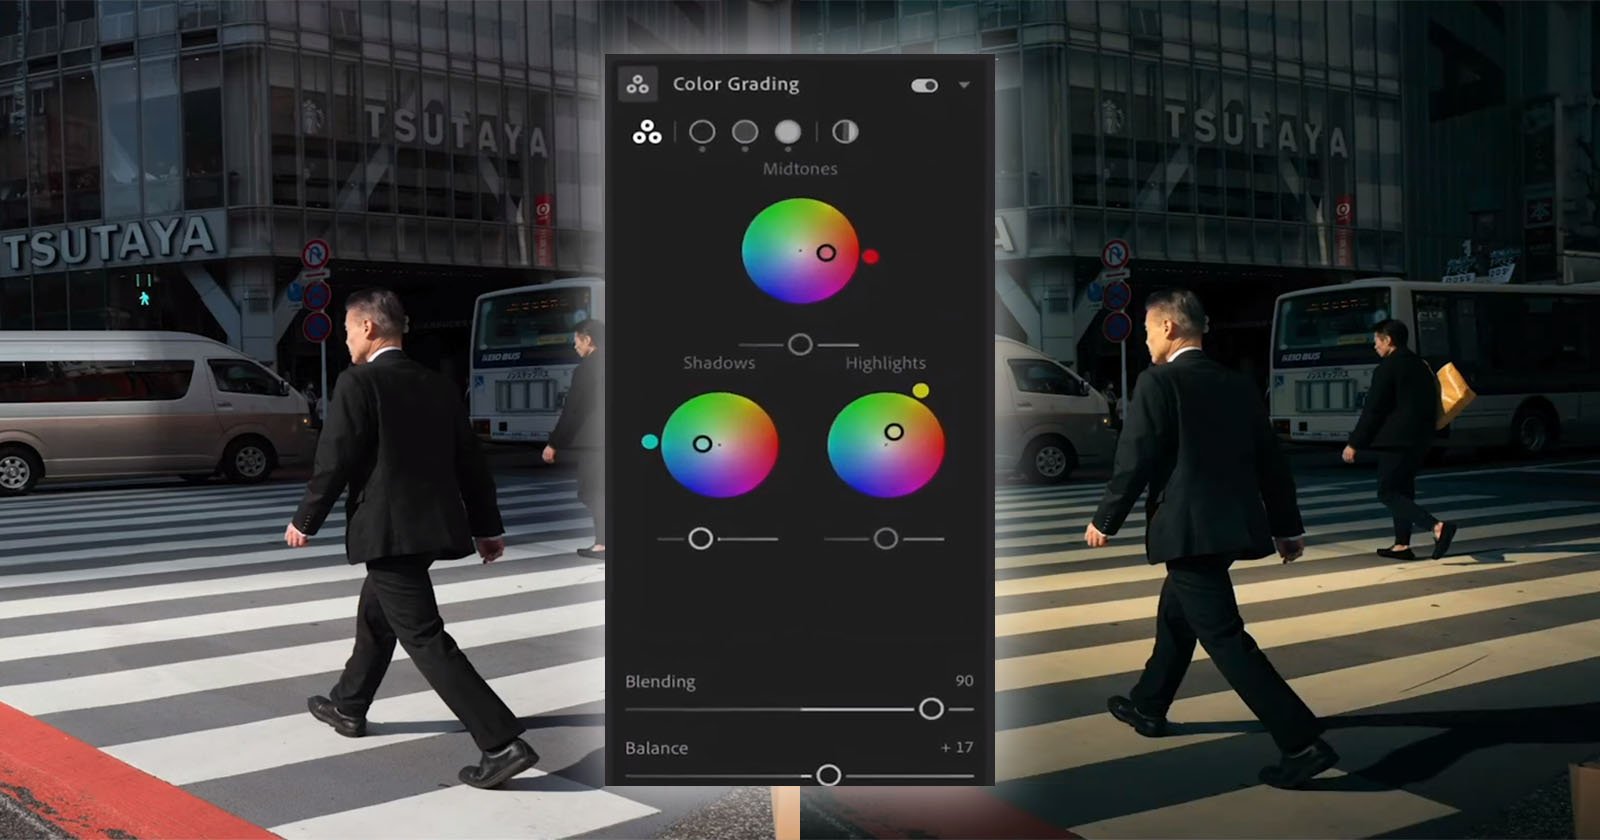
Most color grading software use color wheels to adjust the color grade of videos. Color wheels display all the colors in the spectrum in a circular format. With your mouse, you can drag the center of the wheel towards a color on the spectrum. This will tint your clip with the color you land on. The further you move from the center, the stronger the tint will be. You can color grade the whole image or you can work selectively. For example, you can select the blue of the sky and then apply color changes to only that element of the video.

Additionally, color grading software usually has a separate color wheel for shadows, mid-tones, and highlight ranges. They also should include sliders to adjust your clip’s brightness or luminance.
Once you’re satisfied with your wide shot’s color grade, you should apply that grade to the rest of the shots in your sequence. Since you color corrected all your shots to have the same exposures, you usually can apply a color grade without the need for additional adjustments. However, you still need to review the sequence to ensure there aren’t any inconsistencies or imperfections between clips. If you find any, be sure to fine-tune the color grade for the clip in question.
If you’re working with a green screen, you would pull the key out the green screen before color grading your footage. This ensures your subject color grade matches your background.
Using LUTs for Color Grading
While LUTs can help you normalize your Log footage, you can also use artistic LUTs when color grading. There’s a multitude of LUTs available, both paid and free. You can even export your own color grades as LUTs, allowing you to reuse them on future projects.
You can get LUTs for specific purposes, such as creating “Day For Night” shots (shots filmed during the day that are later color graded to look like it was shot at night). There are also LUTs to make your video look like it was shot on film, allowing you to choose specific film stock.
However, beware. LUTs are rarely a one-size-fits-all solution. You should use them as a starting point for your color grade.
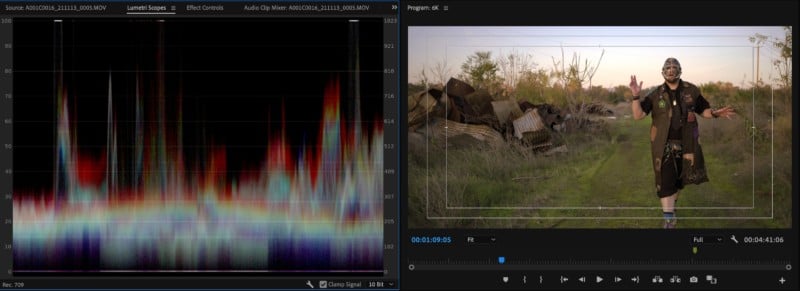
Video Scopes
Most color grading software include video scopes, a helpful tool for color correcting and color grading video. Video scopes are graphical displays that show you detailed information about a shot’s exposure and color. They appear as a circular graph and display the shot’s chrominance (color information). Video scopes have red, green, blue, cyan, magenta, and yellow targets. The further a target is from the graph’s center, the more saturated its color is in the clip.
Vectorscopes can also display a skin tone line. You can use them to remove a color cast in subjects’ skin tones by adjusting the colors until the vectorscope graph aligns with the skin tone line.
Other commonly used video scopes include histograms, which can help you adjust exposure and contrast. There is also the Parade, which can be useful for color balancing your video.
It’s Time to Take the Leap
As a photographer, the skills you have developed editing your photographers are transferable when color grading video. With practice, you will soon master this new area of work.
About the author: Pete Tomkies is a freelance cinematographer and camera operator from Manchester, UK. He is also a long-time writer for Videomaker.com and Videomaker Magazine.