Create Your Memorable Photo Book in 5 Easy Steps
Cold weather is on the way, and the holidays are nearing. Many of us are creating lists of projects we hope to accomplish while we stay inside during the coming months. One task that always seems to be on that list is creating a photo book.
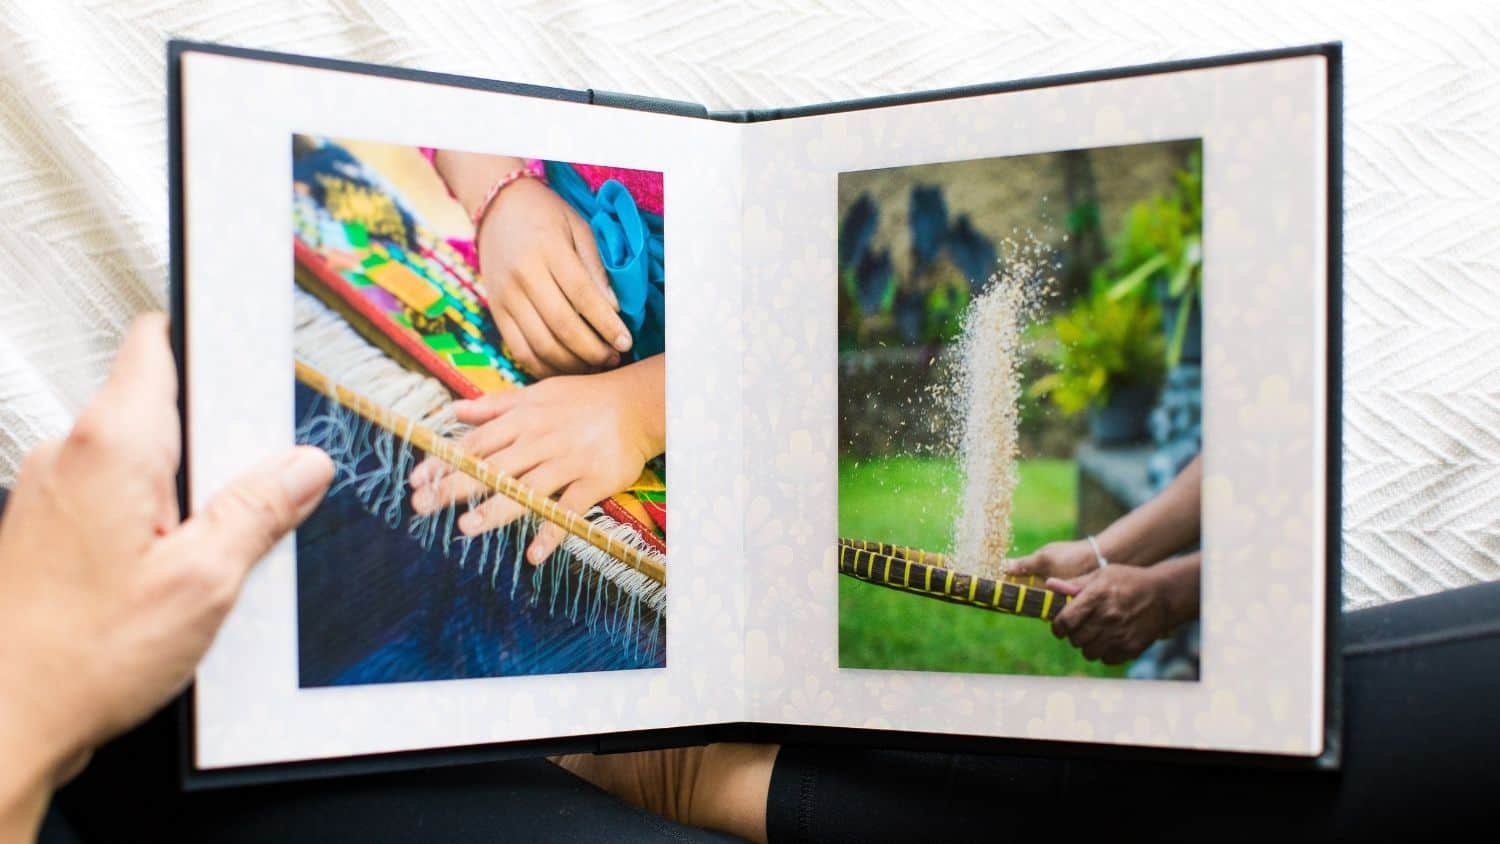
Creating a photo book can seem like a daunting task, but it’s so gratifying to make a unique gift that enables you and those you love to turn the pages and relive these special moments in time.
The ability to take photos with ease using our mobile phones has resulted in more digital memories than ever before, yet they often become lost and eventually forgotten. You can enjoy and share those memories again and again in a beautiful photo book by using a bit of preparation and planning.
You can create a memorable photo book in just a few simple steps!
Define the Scope
It is incredibly overwhelming, and unrealistic, to create a photo book that includes your entire collection of photos. Take a moment to define the scope of your photo book based on a specific period of time or significant event:
- A trip with friends or a family reunion both have a defined period of time and central focus.
- You may choose to create a treasured anthology of an entire year, which has a compilation of events, but is limited by a time frame.
- Do you have a person you want to honor or memorialize? Are you hoping to send a photo album off to college with your graduating senior? You may want to create a Celebration of Life book for a high school graduate that spans the first 18 years of his or her life, or summarize 90 years of memories for a parent’s milestone birthday.
Setting a clear vision of your finished project will keep you inspired and on track as you can ignore or eliminate photos that aren’t within the parameters you created.
Plan the Layout
This step is not meant to be a page-by-page plan, but rather a general blueprint, which will make the next step of selecting photos much easier.
Start by deciding the number of pages you will have in your book. Each company provides parameters for different photo book sizes and styles. Once you’ve determined how many pages you will have in your book, you will create categories that will be divided amongst the pages.
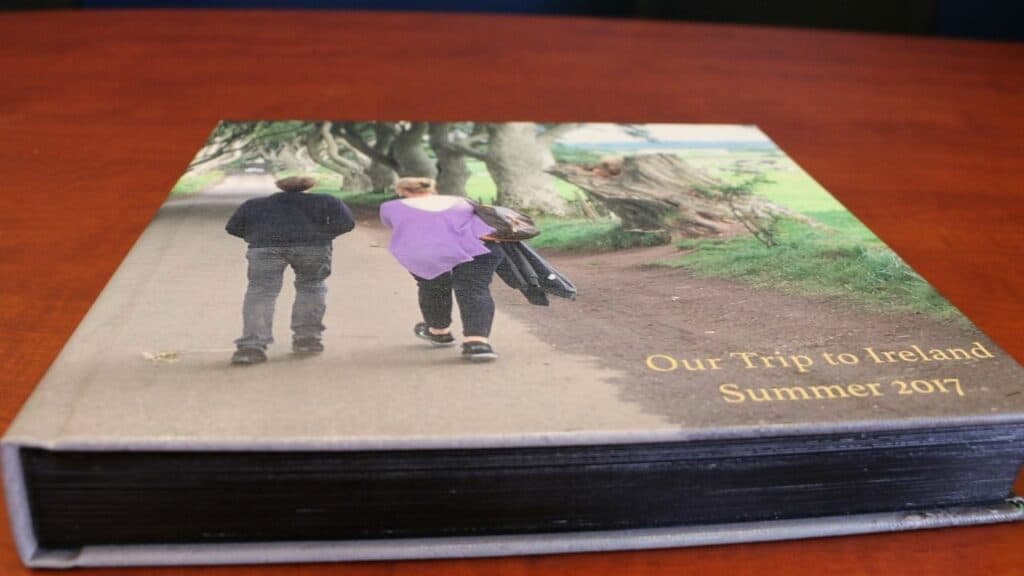
Let’s look at an example of planning a layout for a book featuring a trip to Italy you and your friends took last year. You have decided the book will be about 80 pages. Categories can be created based on your trip itinerary. For example, if you were in Italy for 10 days, you can group each day into 8 pages.
You can also increase the spread count to document busier days, and decrease it on days you spent relaxing and took less photos. Some additional categories to consider:
- Months or seasons for an annual book
- Decades for a milestone birthday
- Cities visited for a long trip
Select the Photos
Allow yourself to take a walk down memory lane as you choose which photos you want to bring into print. It’s best to select the photos you will be using before designing the book.
Create a folder on your computer with the date and name of the photo book you are compiling to stay organized. Drag and drop to this folder copies of the photos you think you want to include. You can also create sub-folders for categories created in the previous step. Leave the original photos in your organized collection.
As you’re looking through your photos, allow yourself to be transported back to these fond memories. Challenge yourself to spend only a few seconds on each photo to determine whether or not you want to include it in the book.
Focus on selecting shots that are going to tell the story rather than giving into the need to include every single photo. Remember that the scenery itself is far less important long-term than the people with whom you were enjoying those sights.
Design the Book
You can purchase software that specializes in photo book design, but most online photo book companies offer a free, online design tool that is easy to use. Using the layout you determined earlier, drop your selected photos onto the digital pages.
Websites that offer photo book services include Mixbook, Shutterfly, Snapfish, PhotoBox, VistaPrint and many others.
Resist the temptation to select layouts or add design until you’ve dropped all of your photos onto the pages as you may realize that you want to modify your initial plan.
Once you’ve placed all of the photos, you can design your book. Less is more when it comes to layout and text. Including text will help to document a funny or meaningful moment or the name of a specific place you visited.
Keep your layouts simple and limit clipart or other design elements. This will reduce the amount of time you spend on the project and will allow those looking through your book to enjoy the story without distraction.
Order and Enjoy
Put some thought into what book size will fit in your home where you plan to store it. Is this a gift? Will young children be looking through the pages? Your answers will guide your purchasing decisions.
My goal for you is to get the book created so that you can enjoy the memories!
Let’s Have a Conversation:
How do you organize your photos? Have you created any special photo books? What themes were they? Did you find the process easy? Are there any tips you would recommend? Please share below and join the conversation!
Tags Photography