

These 7 tricks and tips will take you from 50% to 90% accuracy for your image recognition models in literally minutes.
So, you have gathered a dataset, built a neural network, and trained your model.
But despite the hours (and sometimes days) of work you've invested to create the model, it spits out predictions with an accuracy of 50–70%. Chances are, this is not what you expected.
Here are a few strategies, or hacks, to boost your model’s performance metrics.
1. Get More Data
Deep learning models are only as powerful as the data you bring in. One of the easiest ways to increase validation accuracy is to add more data. This is especially useful if you don’t have many training instances.
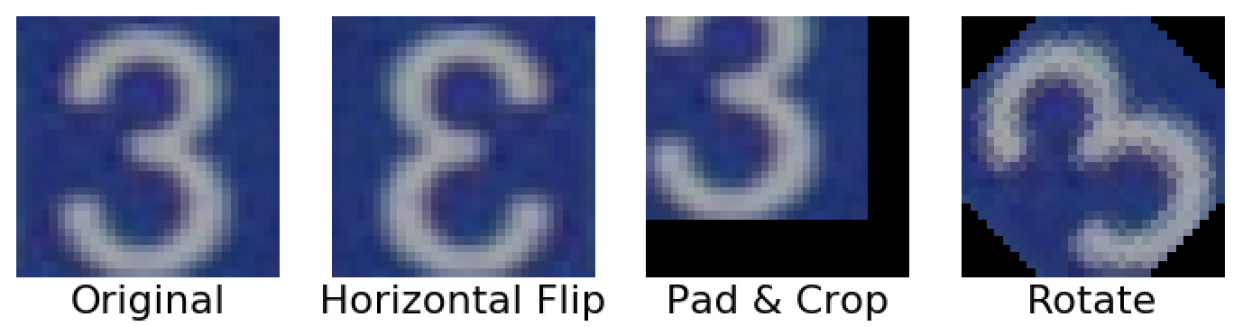
If you’re working on image recognition models, you may consider increasing the diversity of your available dataset by employing data augmentation. These techniques include anything from flipping an image over an axis and adding noise to zooming in on the image. If you are a strong machine learning engineer, you could also try data augmentation with GANs.
Read more about data augmentation here.
Keras has an amazing image preprocessing class to perform data augmentation: ImageDataGenerator.
2. Add More Layers
Adding more layers to your model increases its ability to learn your dataset’s features more deeply. This means that it will be able to recognize subtle differences that you, as a human, might not have picked up on.
This hack entirely relies on the nature of the task you are trying to solve.
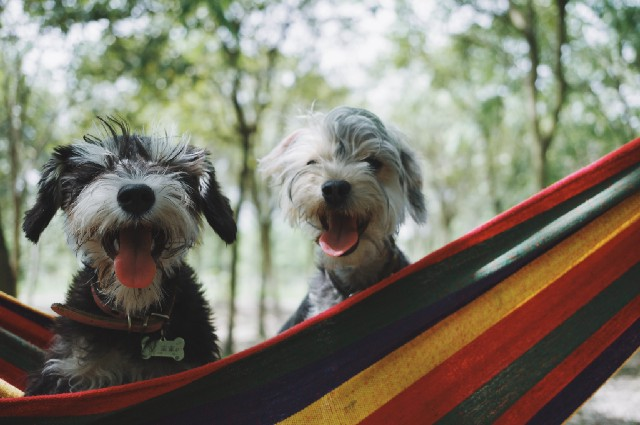
For complex tasks, such as differentiating between the breeds of cats and dogs, adding more layers makes sense because your model will be able to learn the subtle features that differentiate a poodle from a Shih Tzu.
For simple tasks, such as classifying cats and dogs, a simple model with few layers will do.
More layers -> More nuanced model.
3. Change Your Image Size
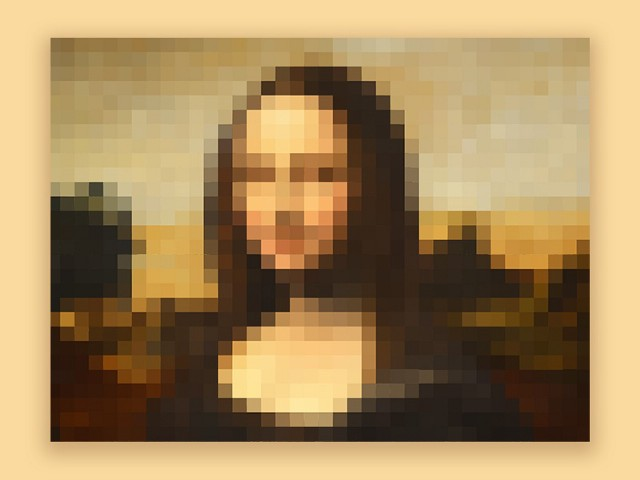
When you preprocess your images for training and evaluation, there is a lot of experimentation you can do with regards to the image size.
If you choose an image size that is too small, your model will not be able to pick up on the distinctive features that help with image recognition.
Conversely, if your images are too big, it increases the computational resources required by your computer and/or your model might not be sophisticated enough to process them.
Common image sizes include 64x64, 128x128, 28x28 (MNIST), and 224x224 (VGG-16).
Keep in mind that most preprocessing algorithms do not consider the aspect ratio of the image, so smaller-sized images might appear to have shrunk over a certain axis.
4. Increase Epochs
Epochs are basically how many times you pass the entire dataset through the neural network. Incrementally train your model with more epochs with intervals of +25, +100, and so on.
Increasing epochs makes sense only if you have a lot of data in your dataset. However, your model will eventually reach a point where increasing epochs will not improve accuracy.
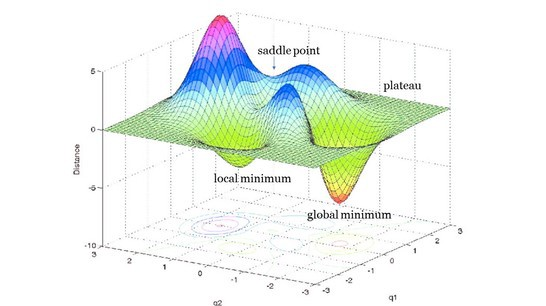
At this point, you should consider playing around with your model’s learning rate. This little hyperparameter dictates whether your model reaches its global minimum (the ultimate goal for neural nets) or gets stuck in a local minimum.
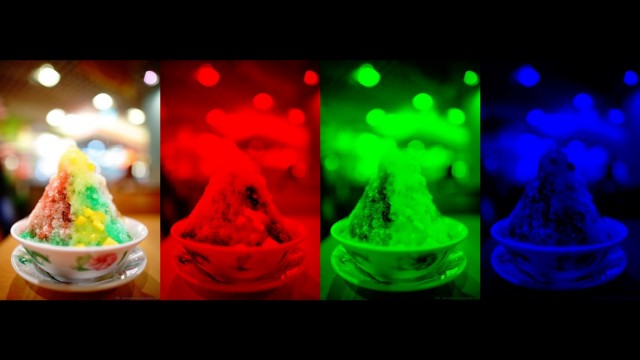
5. Decrease Colour Channels
Colour channels reflect the dimensionality of your image arrays. Most colour (RGB) images are composed of three colour channels, while grayscale images have just one channel.
The more complex the colour channels are, the more complex the dataset is and the longer it will take to train the model.
If colour is not such a significant factor in your model, you can go ahead and convert your colour images to grayscale.
You can even consider other colour spaces, like HSV and L*a*b.
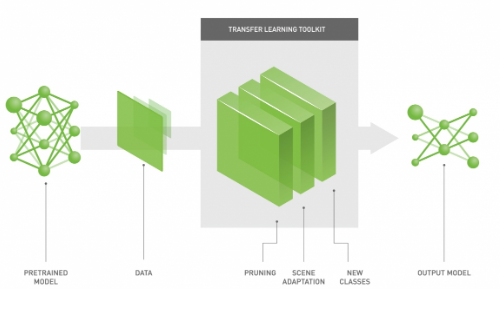
6. Transfer Learning
Transfer learning involves the use of a pre-trained model, such as YOLO and ResNet, as a starting point for most computer vision and natural language processing tasks.
Pre-trained models are state-of-the-art deep learning models that were trained on millions and millions of samples, and often for months. These models have an astonishingly huge capability of detecting nuances in different images.
These models can be used as a base for your model. Most models are so good that you won’t need to add convolutional and pooling Layers.
Read more about using transfer learning.
Final Thoughts
The hacks above offer a base for you to optimize a model. To really fine tune a model, you’ll need to consider tuning the various hyperparameters and functions involved in your model, such as the learning rate (as discussed above), activation functions, loss functions, and so on.
This hack comes as an “I hope you know what you’re doing” warning because there is a wider scope to mess up your model.
Always Save Your Models
Always save your model every time you make a change to your deep learning model. This will help you reuse a previous configuration of the model if it provides greater accuracy.
Most deep learning frameworks like Tensorflow and Pytorch have a “save model” method.
# In Tensorflow
model.save('model.h5') # Saves the entire model to a single artifact

# In Pytorch
torch.save(model, PATH)
There are countless other ways to further optimize your deep learning, but the hacks described above serve as a base in the optimization part of deep learning.
Tweet at me letting me know what your favourite hack is!