So you've just bought a shiny new camera, but something isn't right—all of the photos come out looking too dark for your taste. Most digital cameras come with a mode that automatically adjusts the exposure, however, modifying the settings yourself gives you full control of the look of your images.
Creating well-exposed photos can be tricky if you don't really know how the settings affect the image captured. Here, we discuss the best camera settings for taking bright pictures.
What Is the Exposure Triangle?
Before we dive into the fun part, let's quickly go over the elements that determine the brightness of a photo. In photography, there's a phrase called the exposure triangle. This refers to the following:
- ISO: This is the sensitivity of your camera's sensor. The higher the sensitivity, the brighter the image. The downside is that with a higher ISO, you get more digital noise.
- Shutter Speed: This is how long your shutter stays open. The slower the shutter speed, the brighter the image will be because more light will be let in and hit the sensor. However, a slower shutter speed can lead to "smeared" images because the camera is affected by motion for longer while waiting for the shutter to close.
- Aperture: This is how wide the opening of the camera lens is. The wider the opening, the more light will come in. There's a sacrifice, however: a wide aperture means you'll have a shallower depth of field (a smaller focus point and more blur in the background).
The Best Camera Settings for Bright Photos
Exposure can be a tricky thing to get a hang of when you're just starting out as a photographer. Different lighting conditions will require different settings.
Note that the following settings can vary from camera to camera. We're basing this on our Nikon D5000 with an 18-55mm lens, so you might not get the exact same results. But, these recommendations will get you around the same ballpark, and we recommend you do some experimentation of your own as well.
Our goal is to get a well-lit image with varying depths of fields and keep digital noise to a minimum. Let's jump right in!
Sunny Conditions
The sun is better than any LED panel you can buy. If you're outside during a sunny day, you won't have to mess with the ISO too much and will be able to keep it relatively low.
For a bright shot with a medium depth of field (where the background is in focus to some degree but slightly blurred), you can keep your ISO at about 200, with an aperture of f/11, and a shutter speed of 1/500 (see picture 1-1).
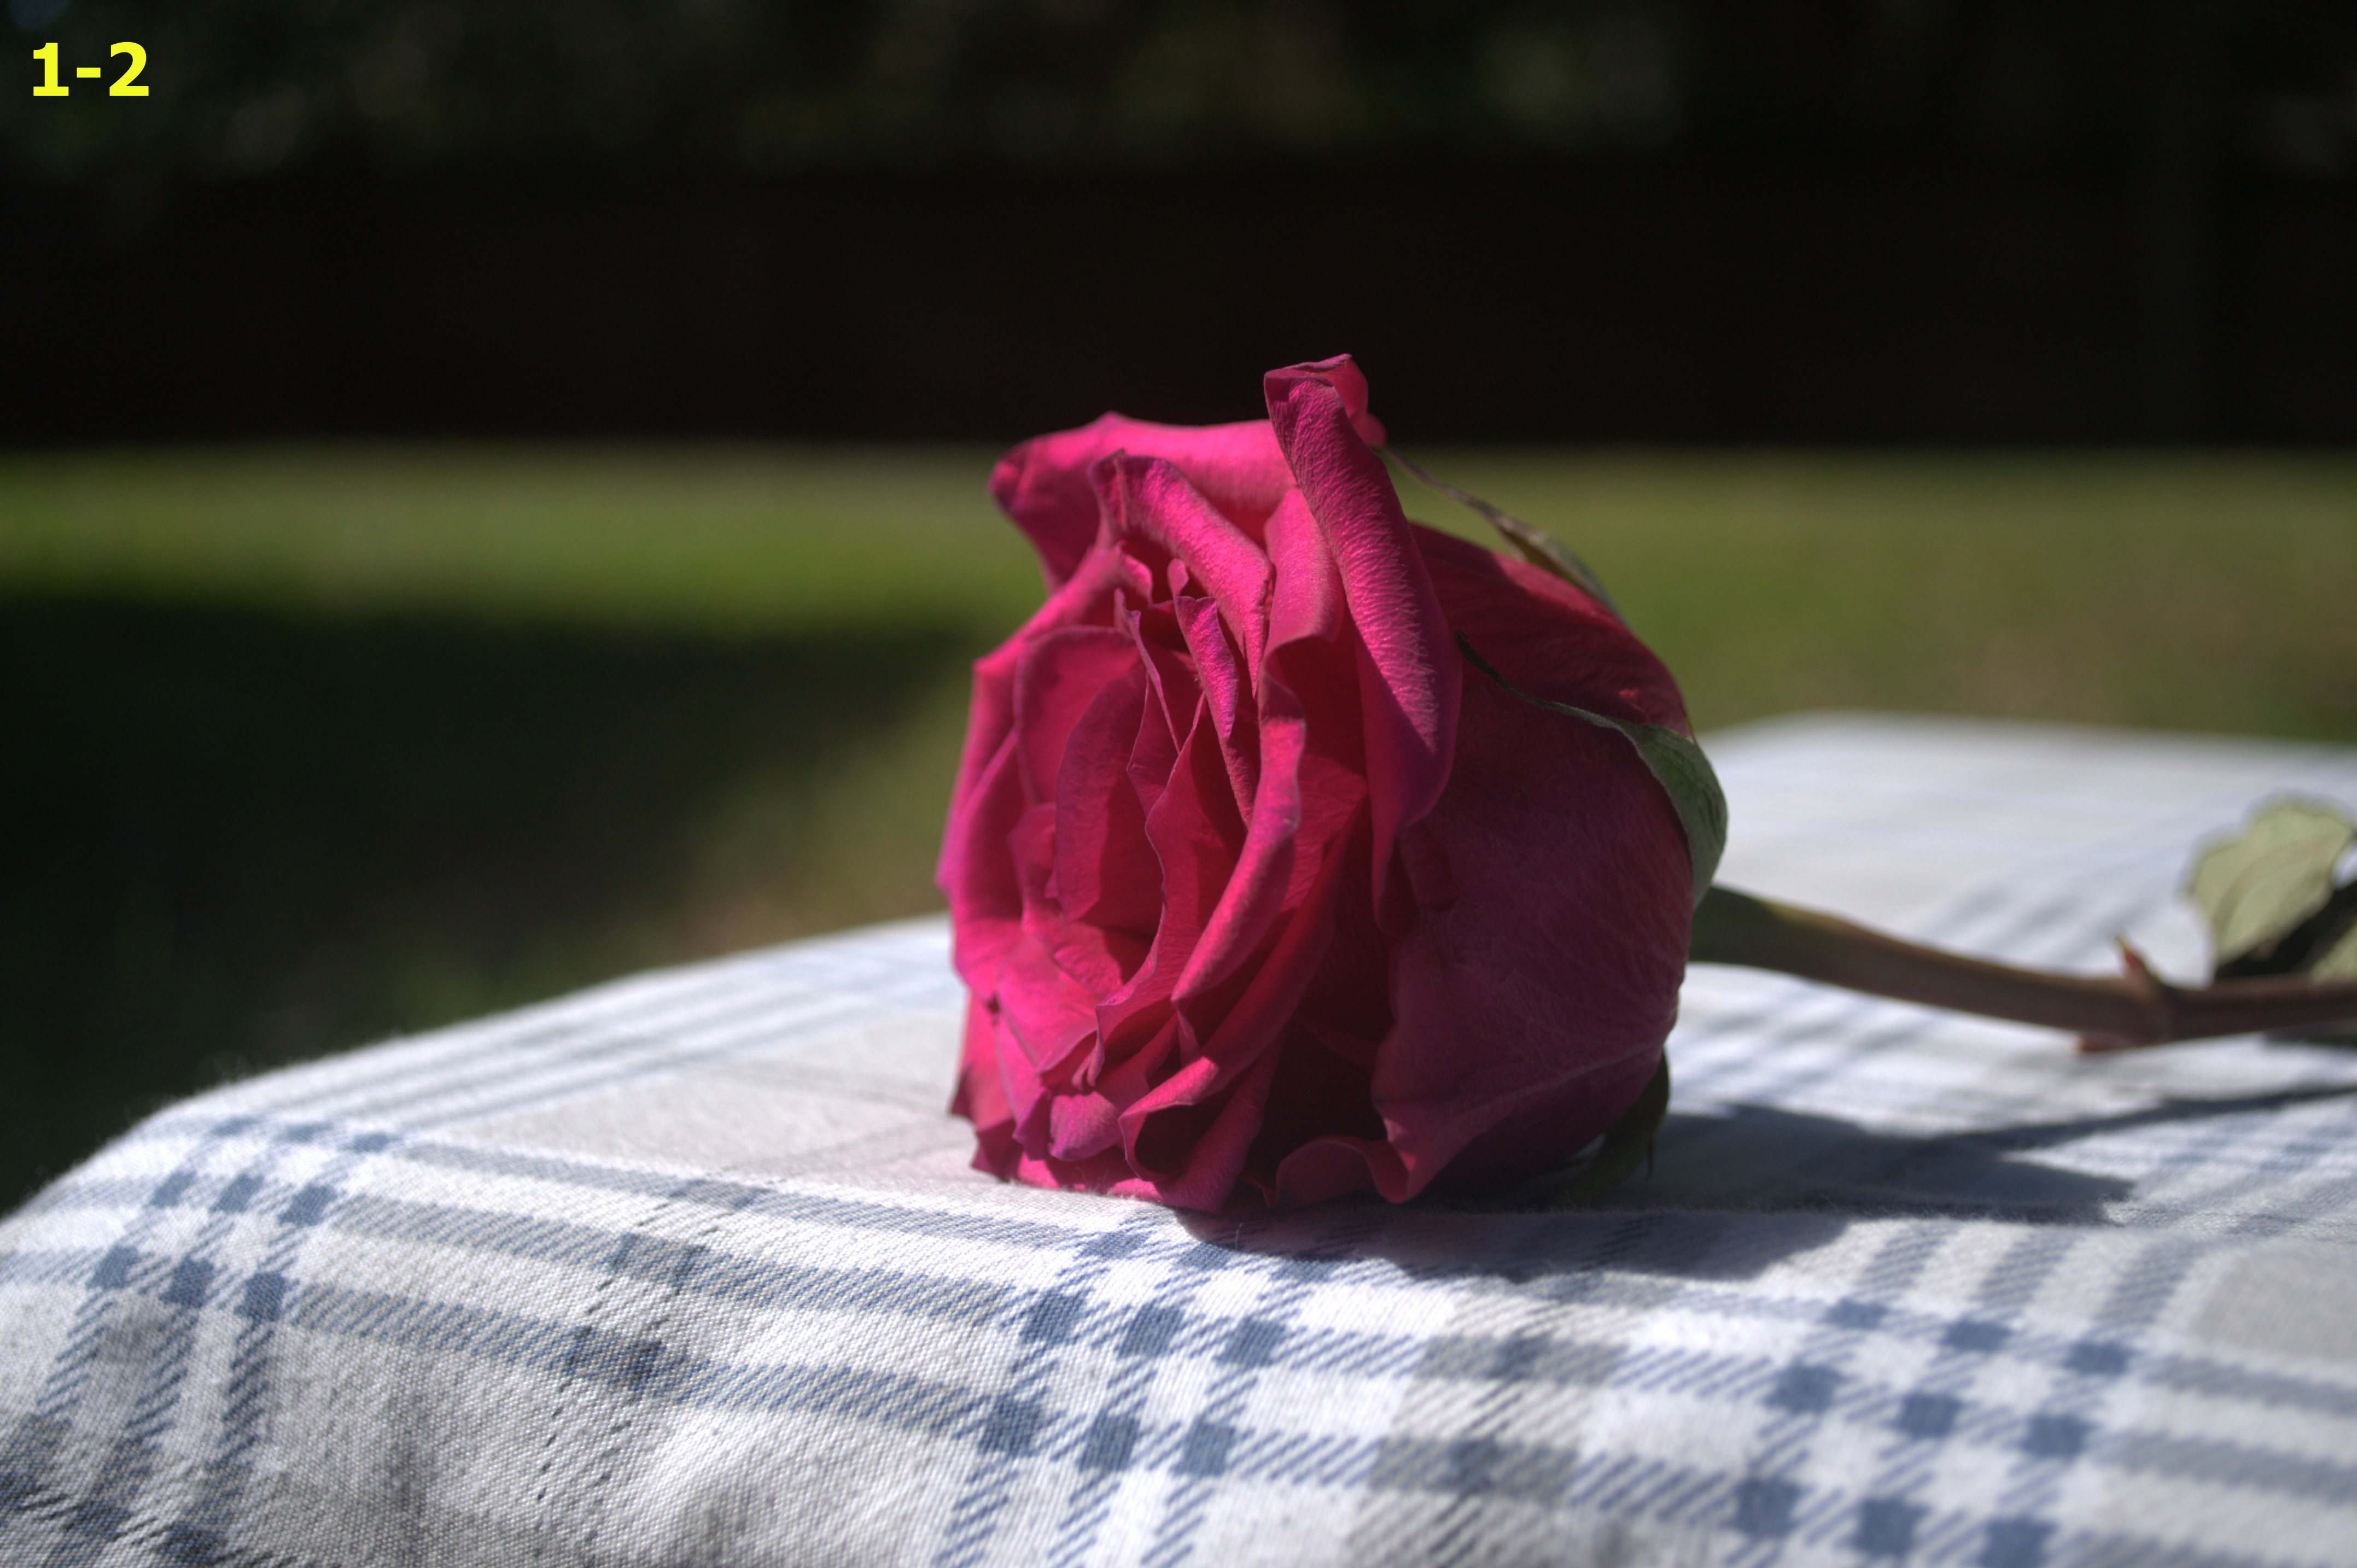
If you want a shallow depth of field with a super blurry background, then you'll want to widen the aperture. For a very blurry background, we set the aperture to f/5.6 (the widest aperture may be different for your camera), with an ISO of 200, and to compensate for the added light, we cranked the shutter speed up to 1/1000 (see picture 1-2).
To keep the background in focus with a wide field of view, we set the aperture to f/32. This will make the picture a lot darker, so to compensate, we raised the ISO up to 640 and lowered the shutter speed to 1/250 (see picture 1-3).


Under Shade
You're not always going to have bright sunlight for your pictures, unfortunately. Taking pictures under shade means that you'll be working with reduced light. Because of this, your settings will need to be changed accordingly.
For a medium depth of field, we used a slightly higher ISO of 320, with an aperture of f/9, and a shutter speed of 1/200 (see picture 2-1).
For a shallow depth of field, we pushed the aperture to f/5.6, with a shutter speed of 1/200, and an ISO of 400 (see picture 2-2).
For a wide field of view, we narrowed the aperture to f/22 this time because we didn't want to darken the photo too much. Then we set the ISO to 1000 and the shutter speed to 1/100 (see picture 2-3).
You should play around with the ISO and shutter speed and see what happens. Pushing up the ISO, however, can introduce some noise into the picture. If you see noise, you can lower the ISO a bit and choose a slower shutter speed.
Just keep in mind that you might want to use a tripod if you slow the shutter speed any more than 1/100 because the slightest hand movements can blur your photo. If you don't have a tripod, check out these alternatives.


Low-Light and Indoors
As light decreases, additional equipment becomes necessary. First off, you'll definitely want a tripod, because we're going to lower the shutter speed, and that means that motion blur will become evident if we do it by hand.
We also used an LED light panel for one of the shots, as well. You'll want to have an additional light source to help you fill out your picture and reduce your dependency on a higher ISO; this will help keep the digital noise down. We didn't use an LED panel for the first two shots, however.
Starting off with the medium depth of field, we set the aperture to f/9 and the ISO to 1000. We then lowered the shutter speed quite a bit to 1/2 seconds (at this point, we used the tripod). We were able to capture a good amount of light and keep a lot of detail (see picture 3-1).
In order to get a nice shallow depth of field, we opened the aperture to f/5.6. Since that was opened up a bit, we were able to up the shutter speed to 1/8 seconds and kept the ISO at 1000 (see picture 3-2).
Now, if you want to get a wider depth of field, you might want to use an additional source of light. As stated before, we used an LED panel for additional light. The reason you might need more light is that the aperture is a lot narrower. We also didn't want to crank up the ISO more than necessary, as digital noise would overtake the photo.
The LED panel provided enough light so that we could keep the ISO at 1000 and boost the shutter speed to 1/10 seconds. We didn't want to close the aperture all the way, so we went with f/22 to bring up some of the detail in the background (see picture 3-3).


Snap Beautifully Bright Pictures
Breaking away from auto-modes on cameras can be a tough affair, but it's necessary if you want to have more creative control. These recommended camera settings can help you brighten up your photos and finally get the perfect exposure level. But you should always experiment with the levels to see what works best for you.

