Windows comes with its own media player, but you're probably already using one of the more popular third-party options, like VLC or Media Player Classic. However, there's another quite exciting alternative you might have skipped: MPV.
More popular in Linux-land, MPV is an incredibly lightweight and zippy media player, compatible with most media formats and then some. Despite its lack of a proper GUI interface, it's straightforward to use but also very customizable. Let's see how you can use it to play all your media and make it work the way you want.
How to Install MPV on Windows
There are many ways to install MPV, but unfortunately, there's no official installer available for Windows. Since that's what we'll be using for this article and compiling from source might not be your cup of tea, you can go for a third-party build.
For example, Rossy's mpv-install script, available at GitHub, can install MPV, register it as the default app for opening several types of media files, and add it to the context menu for easy access, among other things.
For this article, we used the popular Chocolatey program manager, where MPV is also available. We installed it by running PowerShell as an administrator and then running this command:
choco install mpv
If you like this approach, check our guide on how to use Chocolatey to install programs from a commandline.
After MPV is installed, depending on if the installation method you chose registered it as the default handler for media files, it will act as the default media player.

Note that MPV is a straightforward "vanilla" media player. If you want something with more features, which could be described as a "media center" or "media manager", maybe you'd like to look at something like Kodi. Check out our introductory guide where we explain what is Kodi and how does it work, for despite serving a similar purpose, such apps are vastly different from MPV.
How Play Your Media With MPV on Windows
If the installer you used registered MPV as your default media player, you can use it by simply double-clicking on any media file. Its window will pop up almost instantly, playing your media.
You can repeat the process to play other media files and even spawn multiple MPV instances, each playing a different file, making your desktop look like a video wall.
Would you prefer to open another file in an existing instance of MPV instead of spawning a new one? Drag the file from your favorite file manager and drop it on MPV's window. You can also drag and drop multiple files, as well as folders that contain media files MPV can recognize. Don't worry if they also contain unsupported files: MPV will skip them.

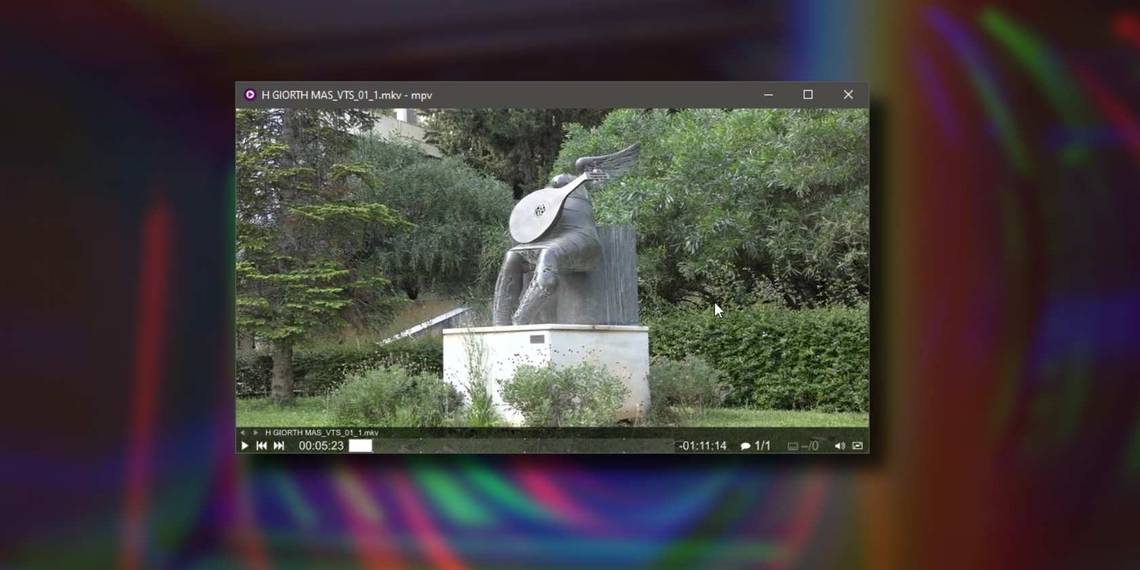
Although we mentioned that MPV doesn't come with a proper GUI interface, that's partially a lie: it does offer an interface, but it's pretty simplistic. You can perform the same basic feats you'd expect from other media players: starting and pausing playback, moving to the previous or next file in a playlist, and if the active file comes with more than one, choose subtitles or an audio stream.
If you haven't tweaked MPV's default settings (as we'll see next), it's easier to navigate your media with your keyboard:
- The left and right cursor keys allow you to move back and forward in the active media file.
- Space works as a Play and Pause toggle.
- Combine Shift with <> to move to the previous or next file in your playlist.
- Press Alt together with - (minus) and + (plus) to zoom out/in.
- Use Alt with the cursor keys instead, and you can move the video around ("panning").
- Press Q to exit MPV. Combine it with Shift if you want MPV to remember the current position of the active file to resume playback from the same spot in the future.
How to Customize MPV
One of the best aspects of MPV is its customizability. Admittedly, you can't tweak its GUI, but that doesn't matter, as we saw earlier, its primary "interface" is your keyboard. And you can customize that precisely as you like, binding any function to any single key or combination. First, though, you'll need your browser.
You see, we could replicate here a list of all of MPV's available functions, but that would be the equivalent of copying a manual. Instead, visit this GitHub page with your favorite browser, where you can find an example of MPV's input.conf file. It's in this file where you can map MPVs functions to keys. This example file contains most of MPV's "mappable" actions, and you can use it as a reference for your own input.conf file.

Fire up your favorite file manager, and visit MPV's installation folder. Since you probably won't find an input.conf file there, create it from scratch. You can right-click on an empty window spot, create a new blank TXT file, and then rename it to input.conf.

To map the functions you want to the keys you prefer, copy, edit, mix, and match the entries you'll find in the example input.conf file at the GitHub page we've linked above. All of its entries follow the same approach:
KeyBind Function
For example, to have the keypad's 1 and 2 buttons seek back and forward in the active file by 10%, you can add the following to your input.conf file:
        KP1 seek -10 relative-percent
KP2 seek 10 relative-percent
Save the changes to the file, exit your favorite text editor, and when you relaunch MPV, your new keybindings will be active.
How to Get More Out Of MPV
Would you like even more from MPV? You can extend it with scripts, affecting every aspect of the program, like how it manages files or displays videos. You can find filters that can apply smart sharpening and upscaling to your videos. Others might add other image improvements or allow you to press Alt+Delete to have the active file deleted when you exit MPV.

You can find countless such scripts by performing a search for the term "mpv script". However, you can't use them immediately, nor is there an interface for installing them. The process is easy, but you'll have to turn once more to your favorite file manager.
Visit the directory C:\Users\%Username%\AppData\Roaming\mpv. Remember to replace "%Username%" with your actual username if your file manager doesn't do it automatically. Create a new folder named "scripts" there if it doesn't already exist. That's it, you can now use scripts!
So, return to your browser and, after locating a script you'd like to install, download it into the folder mentioned above. Note that the script should be a file with a "lua" extension. If it comes in a compressed archive, you'll have to unpack it elsewhere and then move the Lua script file to your scripts folder.
Restart MPV if it's running, and your newly installed script will be active. You'll probably have to read the script's documentation to learn how to use it. Still, many of the scripts that affect how media files play are usually active immediately after installation without needing extra customization.
MPV on Windows: Light, Quick, and Awesome!
That's MPV in a nutshell: the best media player you probably never knew existed. Its customizability, speed, and broad compatibility with various media files make up for its somewhat lackluster interface. Plus, as we saw in the past, it's one of the best free media players that support GPU acceleration, taking advantage of your hardware's capabilities for optimal results without overtaxing your CPU.
Admittedly, it feels different compared to most typical GUI-based media players. It might take a while to get used to its keyboard-centric approach. When you do, though, you'll start appreciating how it responds instantly to your input while not eating up all your PC's precious resources.