Photographers across the board love the Adobe Curves tool in all of the places that it calls home: Lightroom, Camera Raw, Premiere, and, of course, in Photoshop as well.
Today, we're concerned primarily with the lattermost, but these principles can be applied to any place in the Adobe suite where you're able to modify an image using Curves. Let's learn how to use Curves in Photoshop for a perfect grade under any circumstances.
What Is the Curves Tool in Photoshop?
Curves are a tool that you can use to modify the tonal range of a Photoshop image. When you use Curves in Photoshop, you're dealing with the shadows, mid-tones, and highlights, all plotted along a line.
The Curves tool is a lot like the Levels tool, only you're able to increase the amplitude of one range of tones or another separately. It's the better choice for controlling these values independently of one another.
Some of the uses of Curves in Photoshop include:
- Adjusting the contrast of an image.
- Adjusting one family of values much more dramatically than the rest.
- Balancing the color profile of an image, channel by channel or all at once.
How to Use Curves in Photoshop
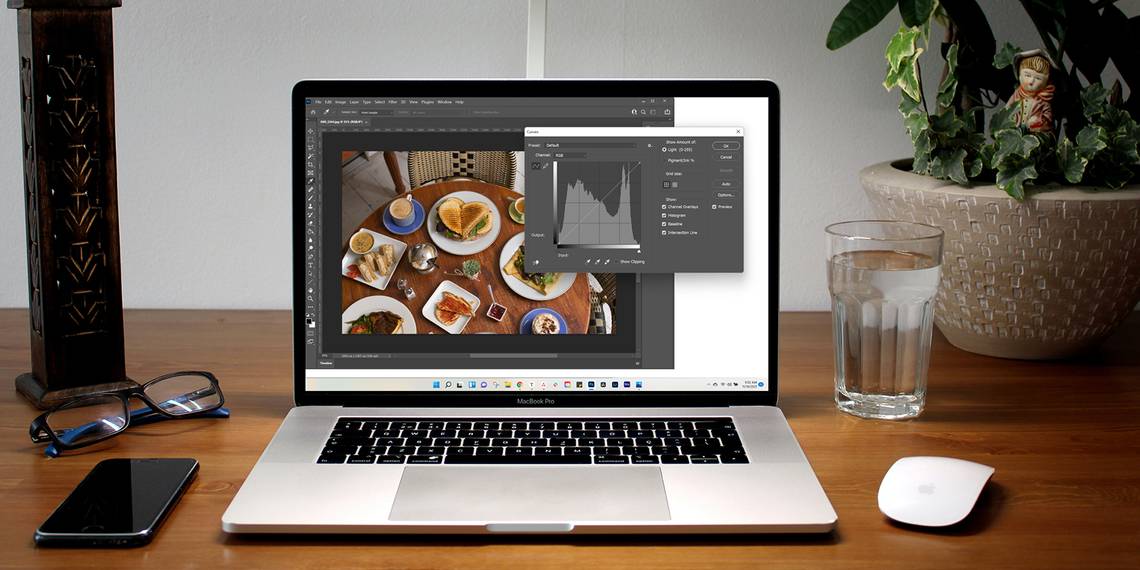
First, open up a photo in Photoshop. To call up the Curves window, you can use the shortcut [Ctrl + M] or [Cmd + M] or select Curves from the Image dropdown above under the Adjustments pull-out.

Once you have it up, you'll see the histogram of your image overlaid with a grid and one diagonal line. This diagonal line running through the center is how you'll adjust the values in your image.

Let's take a closer look at some of these parameters and options...
Unpacking the Curves Menu
When using the Curves tool, you have two choices: you can either adjust the image using Bézier curves or by directly drawing in your new curve.
First, we'll try the former, the path of least resistance: grabbing a hold of our Curves and adjusting them using Bézier curves suspended between points.
Here, we've applied an extremely scant adjustment in contrast to all the channels. It looks okay, but the fit could definitely be snugger.

Hitting the Auto button steamrolls right over everything we've just done. In some cases, this button is totally the way to go. For those who've already put some time into their Curves, however, be warned: if you're going to use it, it should be step number one.

Along with your Auto button, you've got a short list of options that let you specify the type of algorithm that Photoshop employs when you use it. Click the Options button to see them all laid out.
The four choices here all prioritize a different aspect of the grade. With all but the last one, Enhance Brightness and Contrast, you're able to target specific values for your shadows, mid-tones, and highlights.

There is also a trio of eyedroppers below the Curves graph that you can try—each corresponds to either your Shadows, Midtones, or Highlights. You can use these auto-adjust tools to select a spot in the image that corresponds ideally to a profile that you think would flatter the image as a whole.
We're going to select the Shadows eyedropper and nab the dark crust of this quiche in the lower left-hand corner.

Our highlights are still just a tad too hot, but, as you can see, this auto-correction function has balanced the color in this image to some extent. While not perfect, these eyedroppers might be able to get you going in the right direction, especially if you're stuck on a real head-scratcher.
You can also click on the Finger icon to modify the tonal range of the image from any point that you want—we used the jam to find our sweet spot. We're then able to refine it using the crusty brown of the top of the panini.

Let's start over and give the Pencil tool a try. You can find it right next to the Curves graph.

To begin, just draw your Curve in with your mouse. You'll see that your custom Curve replaces the baseline pixel by pixel as you draw it.

You can replace the entire Curve or bits and pieces of it. At any rate, take care that your line isn't overlapping with itself; getting too squiggly with it will leave you with a range of values that are less than desirable.

This part, admittedly, does take some practice, but there is one handy tool that you can use to strengthen the integrity of what you intended to put down...

The Smooth button on the side normalizes the Curve that you drew in. Any bumps in the road will be glossed over, leaving you with much smoother transitions between values and, by extension, a much more attractive photo.

If you keep clicking it, you'll eventually be left with nothing but the original straight line. Such is life.
What About the Rest?
Aside from these basic functions, there are a couple of additional options that you can take advantage of when using Curves in Photoshop:
- Show Amount Of: Choose between working with Curves additively or subtractively. Essentially, this option flips your Curve controls upside-down. If Pigment/Ink % is selected instead of Light (0-255), dragging the line up will darken the image instead of lifting it. The same goes for the opposite; pulling it down increases each value accordingly.
- Grid Size: Increase the number of intersections in your grid guide; sixteen blocks become one hundred.
- Show: Here, you can modify the Curves display—you can toggle your Color Channel Overlays, Histogram, the original Curves Baseline, and the Intersection Line if you've got adjustments in any of your individual color channels.
- Preview: You can switch the live preview on or off with this option.
- Show Clipping: This option toggles the preview display so that anything that's clipping can be seen clearly.
Using Curves in Photoshop: Other Key Features
After a little bit of digging, you'll uncover a few other very interesting aspects of this Photoshop tool.
Adjust the Levels by Channel
Under the Channel dropdown, you can specify which color channel you would like to apply the Curve to. By default, you're manipulating all three at once.
Select Red, Green, or Blue to refine these channels precisely and independently of one another. It's a convenient way of grading your image or balancing your whites.

By leaning into our blues, we're able to cool down the image naturalistically, in a way that doesn't pollute either of our extremes.

Here, you can catch us doing the opposite: we're removing some of the green in the shadow areas, giving our image a queer, magenta cast. Subtlety and restraint will be of vital importance here.

Adobe Presets: Photoshop-Approved Curves
Clicking into the Presets dropdown reveals a myriad of Photoshop presets—some of these are simple adjustments in contrast, while others are meant to emulate the look of a negative color or an image that has been cross-processed. Clicking the Gear icon lets you Save a Preset, Load a Preset, or Delete the Current Preset.

Yeesh. That's not really what we're going for here. Let's try the Strong Contrast preset instead.

Hey, now that's what we're talkin' about. Simple Curves adjustments like this can make a great baseline template to work off of, especially if you've never used this tool before.
Put the Curves Tool to Work in Your Next Project
Curves are widely applicable, and this goes far beyond the world of photography—they can be used to adjust the look of vector graphics, computer-generated compositions, and even illustrations and other forms of visual art.
To see the full extent of what Curves in Photoshop can do for you, we advise that you use them early, often, and at every opportunity possible.