Every baker will swear by their recipe for pie crust, one of the staples of any self-respecting boulangére.
“You can’t mess this up,” I’ve heard many say. “Foolproof.”
Some insist you add a small amount of vodka—or, no! vinegar!—which slows down gluten formation, at which point, a novice will likely nod before heading to the grocery store for a tube of pre-made Pillsbury crust. (And, perhaps, a bottle of vodka.)
And we haven’t even begun to discuss fat, which, beyond your standard butter and/or shortening combination, can be head-scratching; most of us can’t, or won’t, pop down to the local market for a slab of rendered leaf lard.
Beyond the ingredients, the process of making a pie crust is delicate. You’re going to have to measure things, and it’s essential that the butter and water be cold—like, cold, cold. And don’t you dare manhandle the dough; over-mixing will make it tough.

I do a fair amount of baking, yet delicious, flakey-but-sturdy pie crust has thus far eluded me. Ahead of Thanksgiving, my colleague Jackie Rae (who does not bake; she’s the token novice here) and I asked a pro for help.
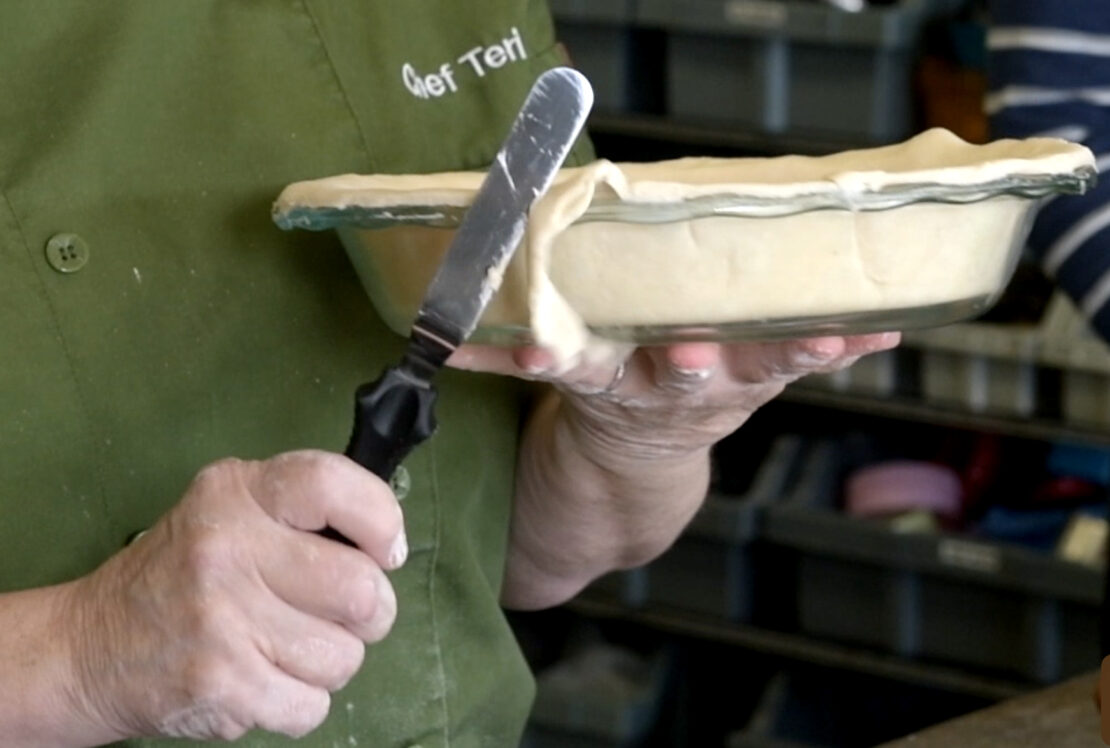
Teri Appleton Villanueva (“Chef Teri”) of Chef Tech Cooking School in Bixby Knolls, an award-winning pastry chef, recently walked us through making the perfect—perhaps foolproof—pie crust.
Here’s your step by step guide:
Pie Crust (from “Thanksgiving Essentials”)
For the ingredients, you’ll need 7 ½ ounces flour (one and a half cups); 6 ounces unsalted butter, cut into half-inch cubes, cold; a half teaspoon fine sea salt; one tablespoon sugar; 3 ounces of ice water (six tablespoons).
For your kitchen tools, we’ll be using a food processor or pastry cutter, rolling pin, standard 9-inch pie dish, pie weights (or dry beans).
Step 1: process the dry ingredients
Mix the flour, sugar and salt in a food processor until combined, about three seconds. One expert tip that Chef Teri emphasizes: don’t scoop your measuring cup into a vat of flour; rather, spoon the flour into a measuring cup, or else you’re likely to use too much. The best option is weigh the flour using a food scale (which novices may not have on hand).

Step 2: Incorporate the butter by scattering over the top and pulse until irregular large chunks of butter form with some small pieces throughout, about five pulses. Add ice water; process until little balls of butter form and almost no dry flour remains, about 10 seconds, scraping down the bowl after five seconds. (If you don’t have a food processor, you can still do this: Mix dry ingredients in a bowl, then use a pastry cutter or a fork to cut in the butter.)

Step 3: Turn the dough out onto a clean work surface and gather into a ball. Sprinkle dough and surface generously with flour and shape dough into a 6-inch disc, pressing any cracked edges back together.

Step 4: Roll dough into a 13-inch circle (you will need a rolling pin), re-flouring as needed. Loosely roll dough around the rolling pin and gently unroll it onto the pie plate, leaving about an inch hanging over. Ease dough into the plate by gently lifting the edge of the dough with your hand while pressing into the plate bottom (less handling of the dough the better).

Step 5: Trim overhang to half-inch beyond the lip of the plate. Tuck overhang under itself; folded edge should be flush with the plate.

Step 6: Crimp dough evenly around the edge of the plate using your knuckles. Pierce bottom and sides of dough all over with a fork, about 40 times. Wrap dough-lined plate loosely in plastic wrap and refrigerate for at least two hours, or up to two days.

Step 7: After the crust is chilled, either follow the instructions of your pie recipe for baking with filling, or, to bake alone: Preheat the oven to 375 degrees. Line the chilled pie shell with aluminum foil and fill foil to the lip of the plate with pie weights (dry beans will work). This prevents air pockets from forming. Bake on a rimmed baking sheet until the edges are dry and light golden brown, about one hour. Remove foil and pie weights, rotate sheet pan and continue to bake until edges are the color of peanut butter, about 20 to 25 minutes.

