Windows 11 is the latest version of Windows, and whether it’s for PC gaming or running a Windows-exclusive app, you may want to run it on your Mac.
Due to TPM and Secure Boot limits, however, you can’t run Windows 11 natively on modern Macs. Even Macs with Apple’s new M1 chips can’t run Windows natively, since Microsoft doesn’t license the ARM version of Windows for Apple to use.
Instead, you’ll have to virtualize the new Microsoft operating system and run it on top of MacOS, which is exactly what we’ll explain below.
How to run Windows 11 on a Mac using Parallels
The best way to get Windows 11 on a Mac is with a program known as Parallels. This lets you run Windows applications on your MacBook, without performance issues. You also can share content between Mac and Windows. There’s even a unique coherence mode that lets you hide the Windows desktop and use Windows apps just like Mac apps. Here’s how to use it.
Step 1: Download Parallels
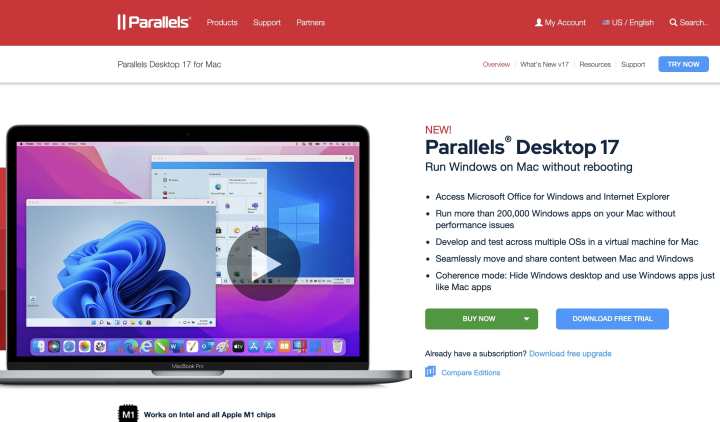
To get started, visit the Parallels website and download the app, or the free trial. You’ll need to save the DMG file somewhere on your Mac. Parallels is a paid software priced at $80. If you’re not sure about it, a free 14-day trial is available. Here’s how to get started with it.
Step 2: Install Parallels

Once finished, launch the DMG file, and double-click the Install Parallels Desktop icon. Click OK at any other prompts, and let Parallels download. When the download is finished, accept the license agreements, enter your Mac password, and initialize the app to grant it permissions. When complete, click Finish.
Step 3: Download Windows 11

Once the app is installed, you’ll need to install Windows 11 inside of it. Click the Skip button and minimize Parallels. Open a web browser, and download a
Step 4: Install Windows 11 in Parallels

Now that Windows 11 is downloaded, open up Parallels again. Then, choose the Install Windows or another OS from a DVD or Image file option. Pick
Note: You’ll still need a license key to activate Windows.
Step 5: Choose how you want to use Windows 11

As part of the setup, Parallels will ask how you will use Windows. Choose Productivity or Games only. Name your install, choose where to save it, and click Create. Then, click Continue. Click OK at any other prompts and wait for Windows 11 to install!
The install process for Windows 11 in Parallels might take a while. Give it some time. When finished, the Installation Assistant will put you into your
Tips and tricks
You’re now free to enjoy using Windows 11 on your MacBook! Resize the window as you see fit, or take
You also can enter Coherence Mode by clicking Control, Command, and C on your Keyboard. This will let you use the Windows 11 Start Menu from your MacOS dock, and run Windows apps full screen on Mac for a seamless experience.
When you’re ready to shut down Windows 11 on your Mac, just click the Action Menu at the top and choose Shutdown. You can then quit the app as usual from the Apple Menu. At any time you can get back to Windows by launching the Parallels app on your Mac and pressing the Play icon.
Overall, the performance of Windows 11 in Parallels on MacOS should feel quite snappy. It’s not nearly as good as Boot Camp would be, since Windows is being virtualized, but for using routine Windows apps, things will be just fine.
There are some limits, though. Microsoft doesn’t officially support running Windows 11 in virtual machines, so there’s no guarantee that this might keep working in the future. Parallels also aren’t designed for gaming, even if you have a high-end system. Parallels Desktop 17 doesn’t support DirectX12. Older DirectX11 games that don’t require a specific GPU should work just fine. We’ve played titles like Overwatch just fine on our Mac machine through Parallels.
Editors' Recommendations
- How to delete messages on your Mac
- The next big Windows 11 update has a new hardware requirement
- Windows 11 Home usually costs $139 — but it’s only $30 today
- How to dual boot Linux and Windows
- How to change mouse DPI on Windows and Mac