Quick Links
Clearing the cache can optimize your iPhone and iPad. Older temporary files take up space and potentially affect the speed and efficiency of your browser and other apps. Here's how you can clear the cache on your iPhone and iPad.
The iPhone stores the cache for websites your visit to load them quickly whenever you open them again. A similar thing applies to apps that fetch fresh updates. But if the cache becomes too old, it stops matching the new website data, and the load times for web pages and apps slow. So clearing that cache frees up storage and delivers a smoother overall performance.
How to Clear Browser Cache on iPhone
Removing old temporary files from your browser is good for resetting the page load speeds back to normal and making room for newer cache files. We'll cover how to do this in Safari, Chrome, and Edge.
Clear Cache in Safari
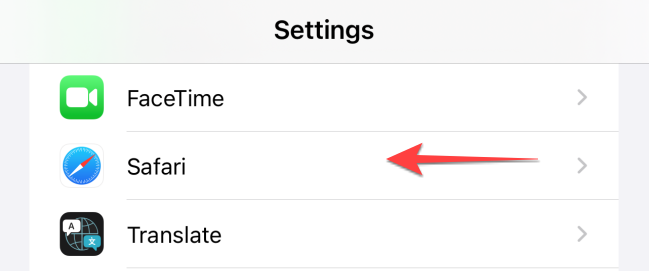
To get started, open the "Settings" on your iPhone or iPad.
Select "Safari."
Scroll down and select "Clear History and Website Data." Note that this will also delete all browsing history and cookies.
Tap on the pop-up to confirm.
Clear Cache in Google Chrome
Open the Google Chrome browser and tap on the three horizontal dots in the bottom-right corner.
Select "Settings."
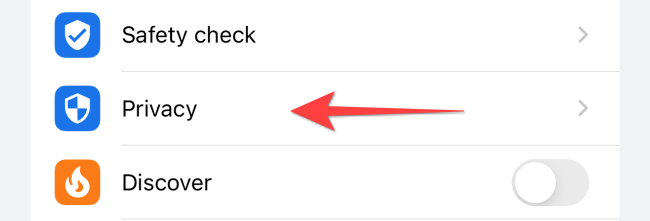
Head to the "Privacy" section.
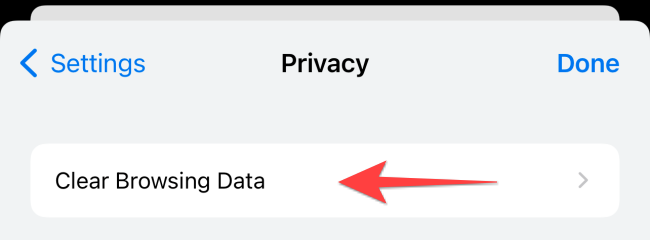
Select "Clear Browsing Data."
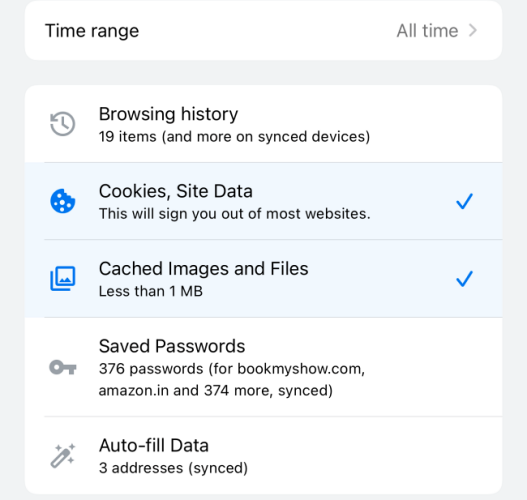
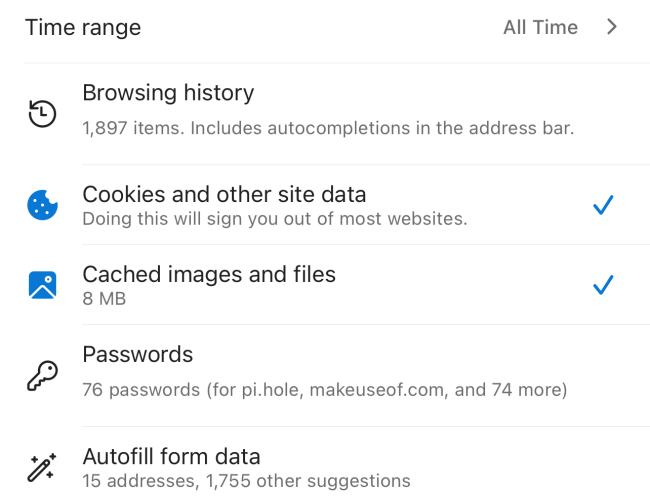
Select the "Time Range" and choose "All Time." Then, select the items you want to erase. Keep in mind that removing passwords, browsing data, and autofill will also wipe it from Chrome on PC or Mac if you have enabled the Chrome sync.
Tap on red "Clear Browsing Data" at the bottom and confirm the pop-up.
Clear Cache in Microsoft Edge
Open the Microsoft Edge browser on your iPhone.
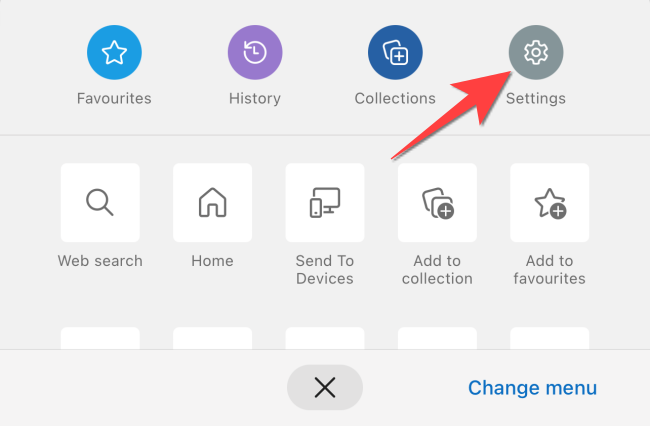
Tap the three horizontal dots in the center on the bottom bar.
Select "Settings" from the menu that pops up.
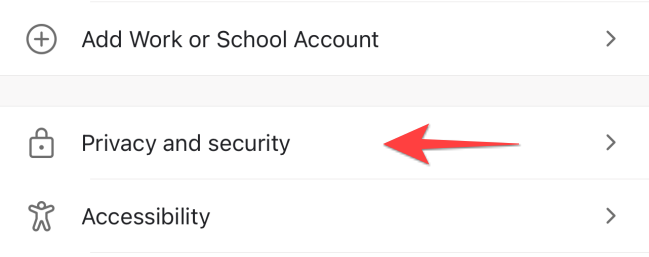
Tap on "Privacy and Security."
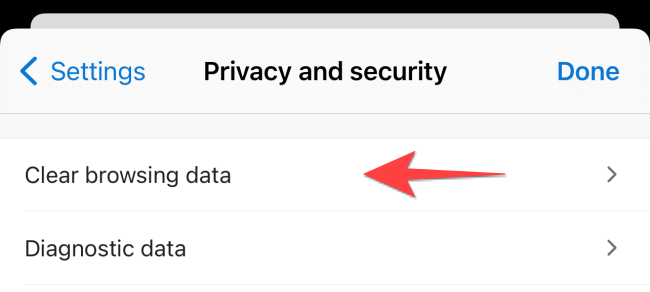
Select "Clear Browsing Data."
Tap "Time Range" and choose "All Time." Select the items you want to remove from Microsoft Edge.
Tap on "Clear Now" at the bottom to remove those unwanted data.
Clear Cache for Third-Party Apps on iPhone
Several third-party apps come with a cache-clearing option to ensure a smooth experience on your iPhone. The difference is that the option resides either in the Settings app or within the app itself. For instance, you can make the official Twitter app faster on your iPhone by clearing its cache.
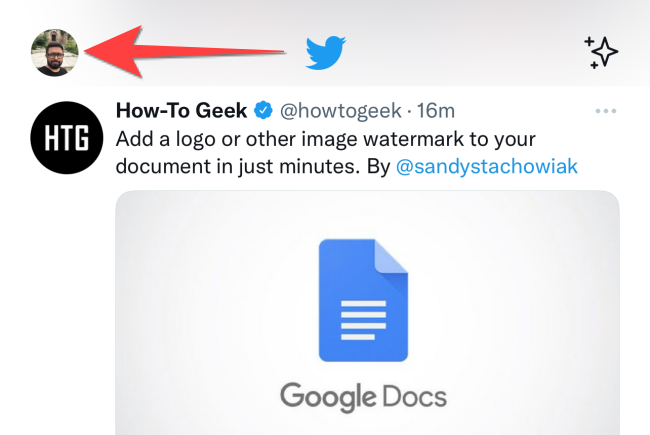
First, open the official Twitter app on your iPhone or iPad. Tap on your profile picture in the top-left corner.
Select "Settings and Privacy."
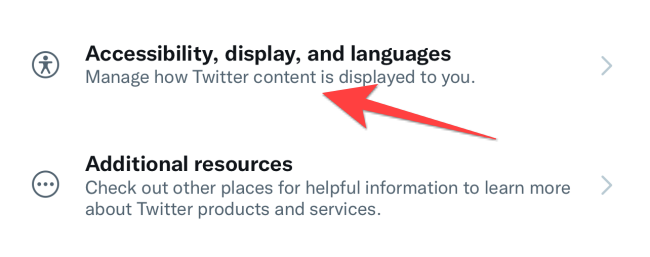
Tap "Accessibility, Display, and Languages."
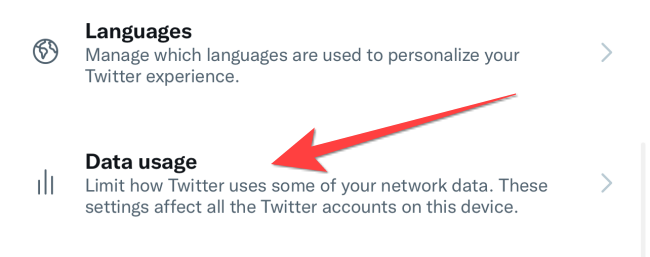
Tap "Data Usage."
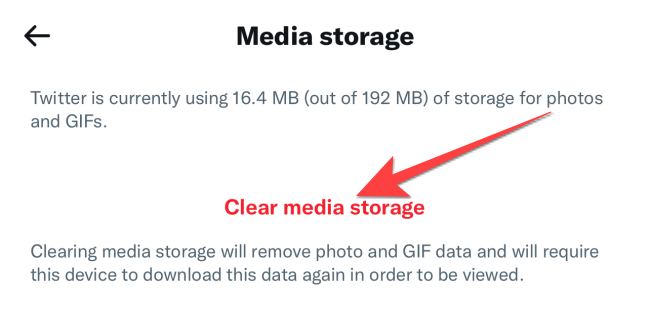
Under the "Storage" section, select "Media Storage."
Select "Clear Media Storage" and tap on the prompt for confirmation.
Repeat the same process for the "Web Page Storage" and choose whether you want to remove all data from the Twitter app or only of the sites you had visited inside it.
Apart from clearing the browser and app caches, you can still make space and speed up your iPhone.
Delete and Reinstall Apps
Not many apps offer an option to remove cache inside the app's settings. That leaves you with one option: deleting and reinstalling apps. That process removes the cache and other files with the app. Unfortunately, you'll need to log in to some apps again. Using the built-in password manager or a third-party password manager app, however, makes that easy.
Alternatively, to free up space on your iPhone or iPad, you can offload unused apps instead of deleting and reinstalling them. This removes the app from your device while retaining data files in case you want to use the app again later.
Optimize Storage for Photos and Music
You may store thousands of photos and videos on your iPhone and eventually might run out of space. Thankfully, the Photos app lets you back up those photos to iCloud while leaving compressed, more storage-efficient versions of the photos on your device.
Before you begin, make sure you've enabled the option to back up your photos to iCloud.
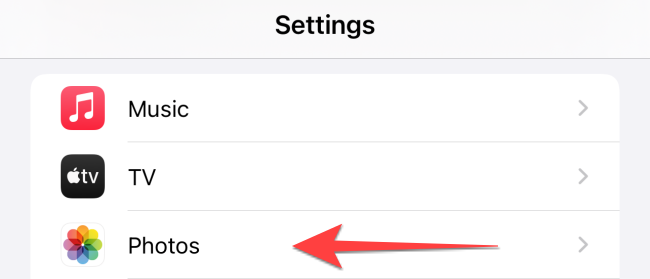
To get started, open the "Settings" app on your iPhone or iPad.
Head to the "Photos" section.
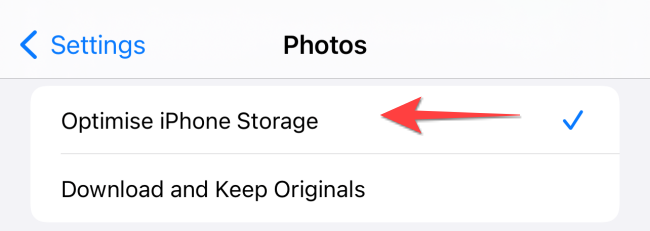
Select the "Optimize iPhone Storage" option and close the "Settings" app.
Your iPhone will take a backup of the photos and videos in full resolution to iCloud, provided you have enough storage space there.
Similarly, you can also optimize storage by letting iOS decide to remove the downloaded songs you haven't listened in a long time.
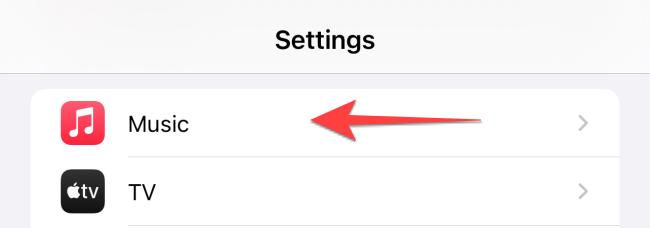
For that, fire up the "Settings" app and select "Music."
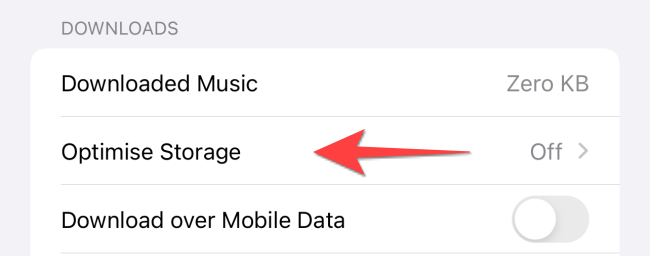
Select "Optimize Storage."
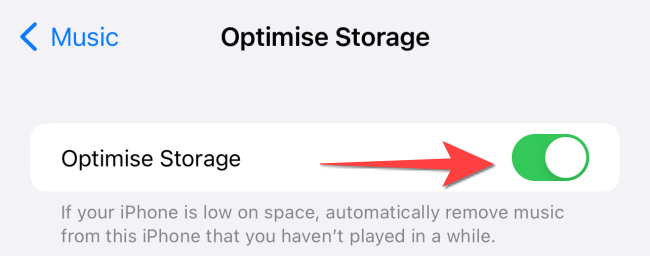
Turn on the toggle for "Optimize Storage," and then iOS will eventually remove the tracks you no longer listen to in the Music app. Also, you can choose what amount of storage you want to restain for music downloads.
Last Resort: Factory Reset Your iPhone or iPad
If your iPhone or iPad sluggishness persists, you can always reset your iPhone or iPad to factory settings. Follow our guide to factory resetting your iPhone or iPad for details on how to prepare for and initiate this process.
Once your iPhone resets to factory settings, you can set it up again and restore the backup without iTunes.
|
Clearing Cache |
||
|
Operating Systems |
Windows 11 | Windows 10 | iPhone and iPad | Android | Fire TV |
|
|
Web Browsers |
Google Chrome | Firefox | Edge |
|
|
Apps |
Discord | Dropbox | Facebook | Instagram | YouTube | Any Android App |
|
|
Additional Cache-Clearing Guides |
Stop Clearing Your Browser Cache to Browse Faster | Should You Clear Android's System Cache? | When Do Android Apps Need Cache Clearing |

