15 Easy Tips For Refinishing Hardwood Floors
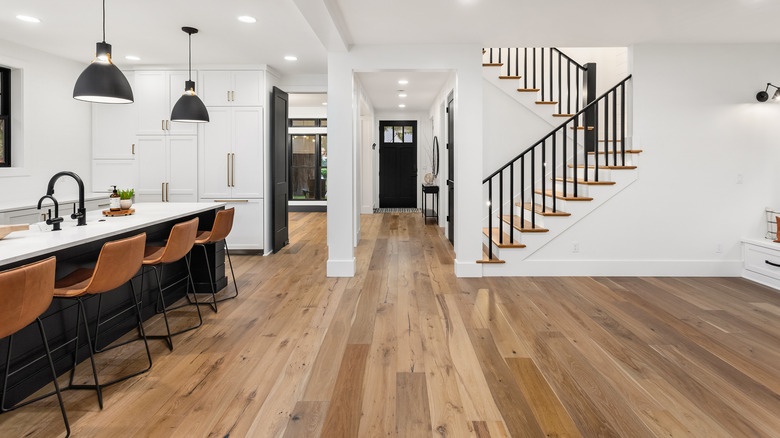
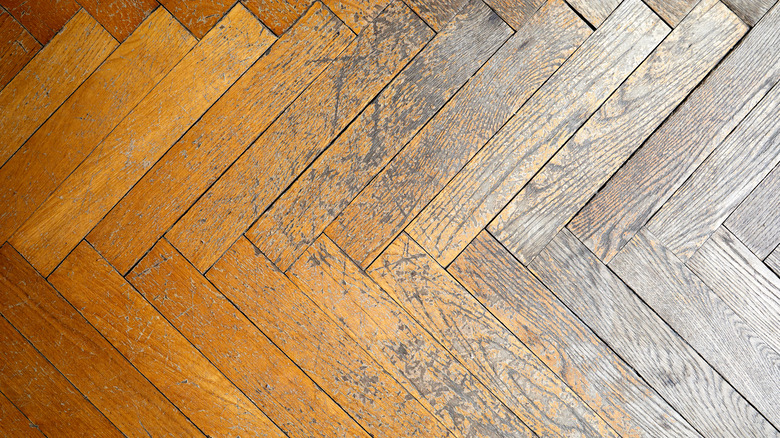
Many homeowners prefer hardwood floors to other types of flooring, and for good reasons. They're much easier to clean than fabric surfaces like carpet, they look absolutely stunning, and they come in various styles. You can choose from pale gray to deep chestnut floors and pick from skinny planks to rustic wide-plank variations. According to HomeLight, hardwood flooring can even increase your home's value. It's no wonder that so many people gravitate towards hardwood as a flooring option.
However, there's another pro to hardwood that makes it unique from other types of flooring — the ability to refinish it. That's right; whether you simply had a change of heart and want a different stain, or you own an older house with floors that need TLC, you can refinish rather than replace them. It's great for sustainability, and it can be great for the budget. There are just a few things you may want to consider before you start refinishing the room. Read on for 15 easy tips to keep in mind.
1. Decide whether you want to DIY or hire a contractor
Once you've decided to refinish your hardwood floors, one of the first things you have to decide is whether you want to DIY the project or hire a contractor. As Pro Floor Tips explains, the DIY choice comes with several perks, including serious cost savings and complete control over the project. However, if you're pressed for time or your flooring seems particularly challenging, you may want to call in the professionals.
2. Properly prep the floor and surrounding areas

Obviously, you'll want to completely clear the area of any furniture, rugs, and curtains so you can see exactly what you're working with. But one thing most homeowners forget to do prior to refinishing their floors is sealing vents and doors. Home Depot suggests sealing the air vent covers and doors with plastic sheeting to prevent dust from spreading throughout the house. Once that is done, you'll also want to check for any loose floorboards, which should be secured with finishing nails to prevent any accidents or surprises.
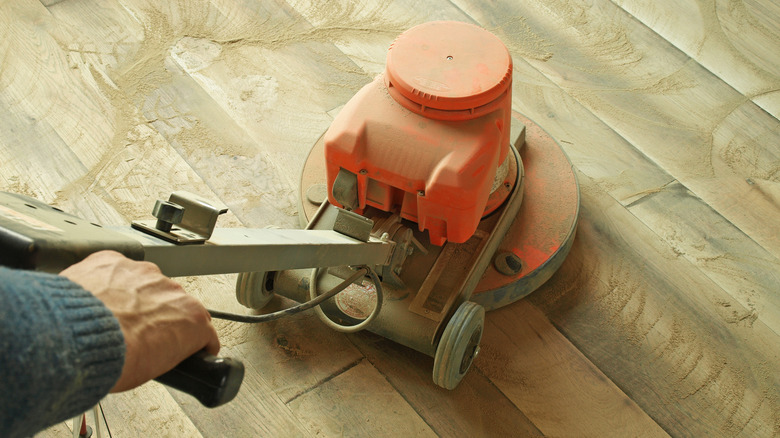
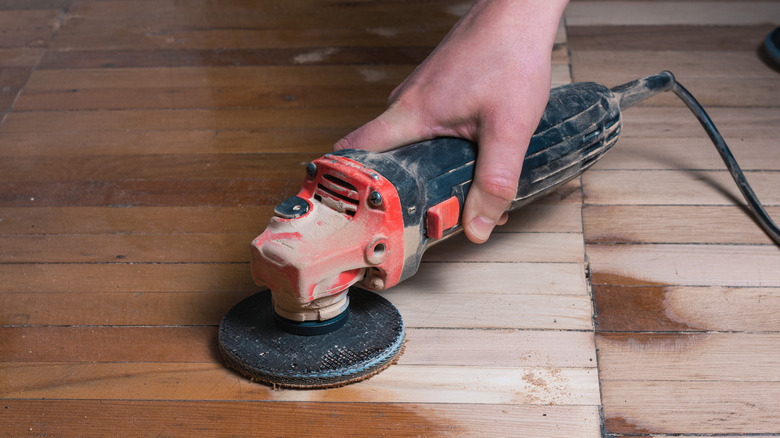
3. Pick DIY-friendly sanding equipment
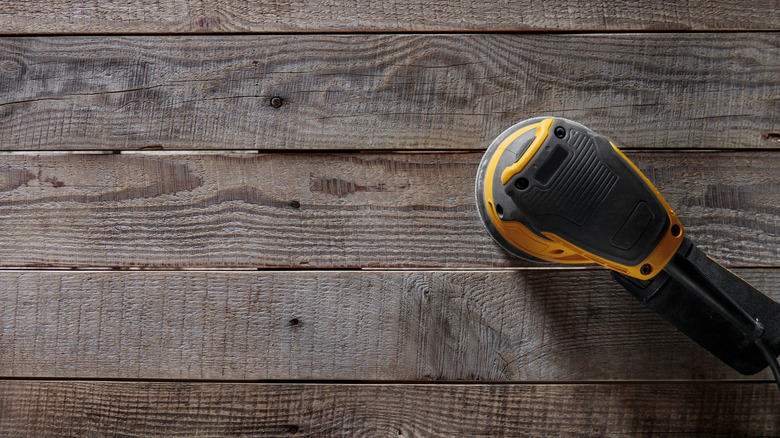
Yes, trained professionals will likely use a drum sander when refinishing hardwood flooring, but the sander is a disaster waiting to happen if you're an amateur. Drum sanders can be incredibly difficult for a beginner to master and have stringent requirements. For example, The Spruce writes that you have to follow the wood grain for best results. So, even though it may take a bit more time, Bob Vila recommends going for an orbital sander instead, as you'll be less likely to damage your flooring.
4. Don't skip the safety equipment and PPE
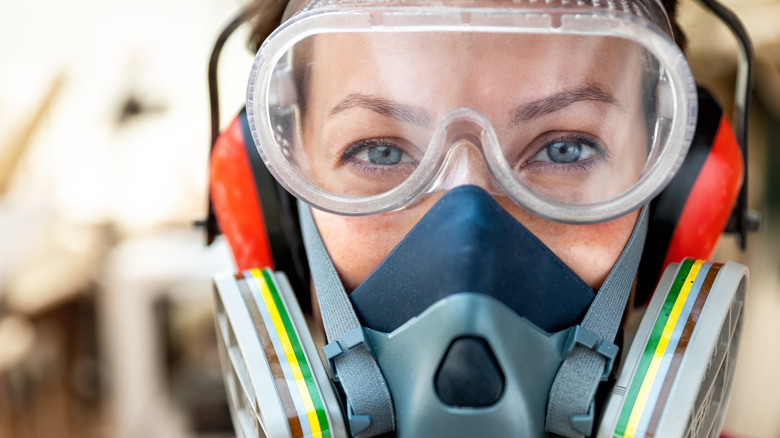
When you're DIY-ing something, you're not bound to follow the kind of rules and regulations that contractors are. However, that doesn't mean you should ignore them. For your own safety, Flooring First recommends purchasing and properly using all the necessary personal protective equipment (PPE). This includes items like earplugs, gloves, eye protection such as goggles, and respirators to deal with particles in the air.
5. Repair any major damage first
Before you even turn on that sander, you need to evaluate your floors. There's a chance you may need to do a few extra steps before beginning the sanding process. If your floors are badly damaged, you'll need to use wood filler to patch up cracks, small holes, or significant scratches, as HGTV explains. Small imperfections are fine, but you should only start sanding once you have a relatively smooth surface to work with.
6. Label your molding

In order to access every inch of your floor, you may need to remove the shoe molding or baseboards, depending on how your particular house is finished. In order to make the process as pain-free as possible, Lowe's recommends labeling both the wall and the removed molding so you can easily match things up when you're putting everything back. This will help you avoid mixing up all those identical slabs of wood.
7. Select the right kind of sandpaper

You might assume that you should only use one kind of sandpaper to ensure your floors are evenly sanded, but that's not quite the case. Sanding your floors before refinishing them is actually a multi-step process. You'll want to start with a rougher grit (although Bob Vila recommends not going any coarser than 60 grit) and then progress until you finish with 100 or 120 grit to smooth everything out.
8. Get more sandpaper than you think you'll need
When you're in a sanding groove, the last thing you want to do is rush to the hardware store to get more sandpaper. It's a pain, and when you return, you may be left wondering which spots you've already covered. So, as A Butterfly House recommends, just buy more sandpaper than you think you'll need. Either you'll be very thankful you have it, or worst-case scenario, you'll have some leftover for your next home improvement project.
9. Remove every speck of dust
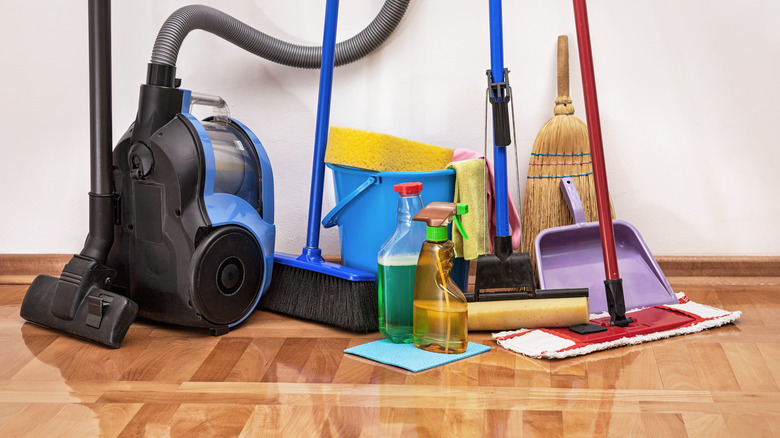
You can get away with a quick vacuum on a regular day, but when it comes to refinishing your floors, you want to really channel your inner cleaning superstar. After you sand but before you add your finish, Home Depot advises going over your hardwood floors with a vacuum and cloth to ensure every speck of dust is cleared. That's because you will trap the leftover dust, hair, or debris with the finish.
10. Decide if you're using stain or not
If you're embracing the natural color of your wood, you don't need to worry about the additional step of staining. However, if you're looking to refresh the color of your flooring as well, you'll need to decide which color stain to use. One thing to note, according to The Spruce, is that you may want to be careful when selecting darker hues. While they're stunning, they actually make dirt and dust more visible.
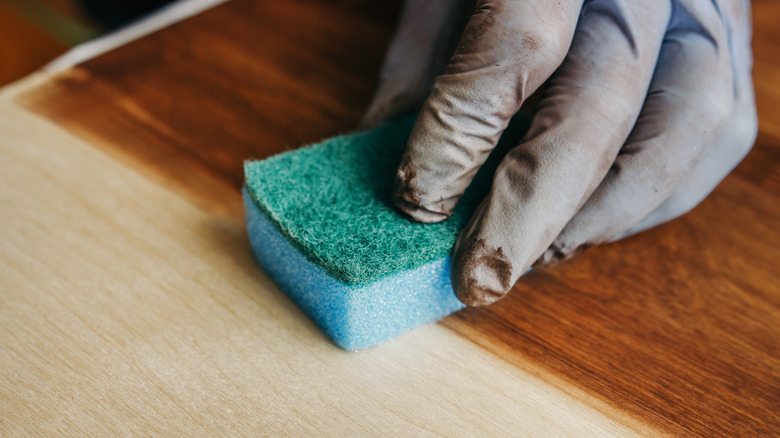
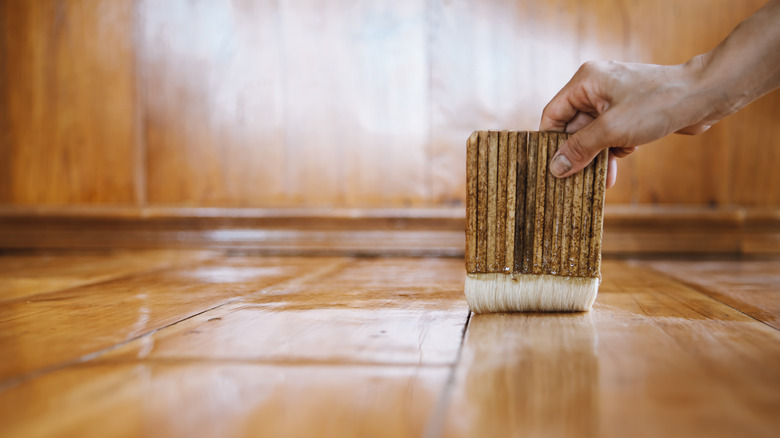
11. Apply stain in small sections, following the wood grain
While stain might be a little more forgiving than paint, there are still a few rules you'll want to follow while applying it. First, don't get too ambitious. HGTV recommends limiting yourself to working with 3 to 4 feet sections of flooring at a time for an even application. Second, make sure the stain is being applied in the same direction as the wood grain. And finally, in terms of applicators, put away the paintbrush and roller. You'll want a staining sponge or lambswool applicator for this particular job.
12. Determine what type of finish you want
An important step in refinishing your hardwood floors is deciding what kind of finish you want. According to Pro Floor Tips, the three primary finishes are acid cured, water-based, and polyurethane. They all have their pros and cons, but the best option for DIYers is likely polyurethane. It's more durable than a water-based finish, and it's easier to apply than acid-cured finishes. You'll also need to determine the level of sheen you want — matte, satin, semi-gloss, or glossy (via The Flooring Girl). Satin is frequently preferred because it offers sheen without the maintenance of glossier options.
13. Make time to apply two coats of finish
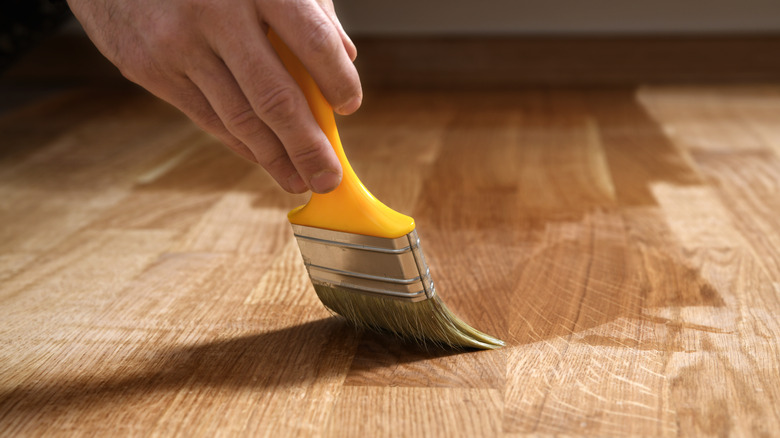
Though you may be eager to finish your home improvement projects as soon as possible, there's no getting around the need for paint, glue, or stains to dry. That's certainly the case with refinishing hardwood floors. When it comes to your finish, Pro Floor Tips recommends applying at least two coats for best results. You'll need a fair bit of time (usually about eight hours) for each coat to dry.
14. Think about how you'll apply the finish

Though it might be funny when watching it on a sitcom, the last thing you want to do is stain yourself into a corner. To avoid that, Bob Vila recommends being somewhat strategic about where you start and end your finish. Essentially, you have to plan ahead for your exit strategy. Before you begin, sketch out a rough plan for how you're going to apply the finish.
15. Give your flooring time to cure
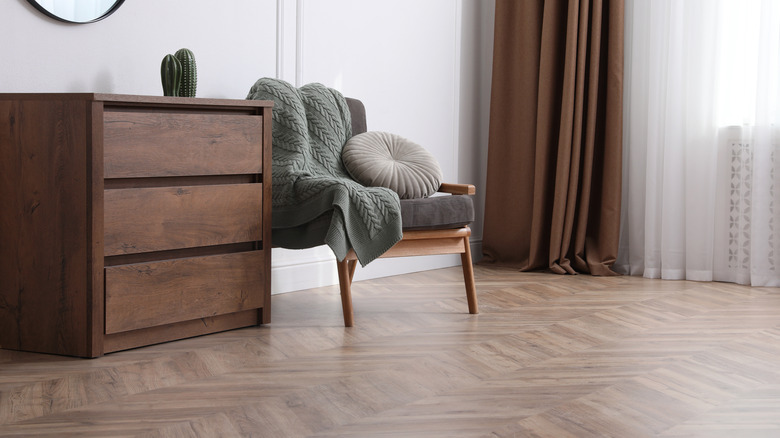
You've refinished your flooring, it looks fantastic, and you can't wait to put everything back in the room. However, if you've finished your floors with an oil-based polyurethane, which is a popular choice, you'll need to wait a bit for it to cure, according to The Flooring Girl. Wait at least 24 hours before walking on the floors with socks, about four days before you bring the furniture back in, and anywhere from two to four weeks before you start spreading your area rugs back out on the floor. Patience is a virtue!