How to Clean an Oven
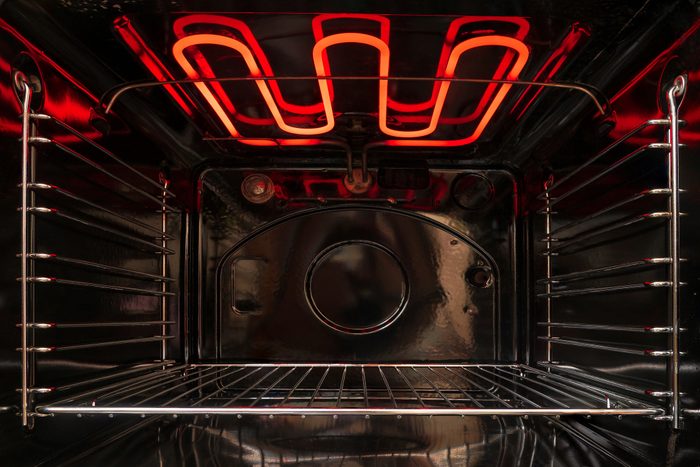
Check your oven manual for self-cleaning options. A self-cleaning oven uses either high temperatures or steam to help remove any residue and food stains.
If you don’t have a self-clean oven, here’s how to clean your oven manually. Make a paste with 1/2 cup baking soda and 3 tablespoons of water (If your oven is large, you can make more paste as needed). Spread the paste using a brush or sponge throughout the inside of the oven including the glass door. Let it sit for a minimum of 20 minutes (if your oven is super dirty, let the paste sit overnight). Then spray the paste with vinegar and wipe off. When baking soda (a base) and vinegar (an acid) are combined, the mixture fizzes up and works wonders on tough stains.
If you find your oven door getting dirty more quickly than the rest of your oven, just clean the oven glass.
How to Clean a Range
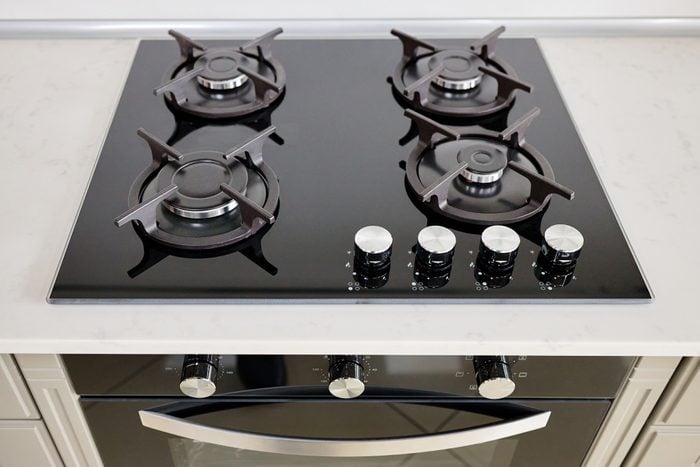
A range consists of an oven and stove. See above for how to clean the inside of an oven. As for the stove, it’s a good idea to give it a wipe down every night to remove recent stains and bits of food. Learn how to clean burner grates to get a deeper clean.
For an electric stovetop, you’ll need to remove the electric burners (once cooled!) and carefully wipe down the coils. Take care not to get the electrical connection wet.
For a glass stovetop, wait until the stove has cooled, and then wipe it down with something non-abrasive. Learn more about how to clean a glass stovetop.
Don’t forget about the hood! Here’s how to clean a range hood.
How to Clean a Microwave
Is there more tomato sauce in your microwave than on your pasta? (Tip: A microwave cover and other microwave cookware can help prevent that.)
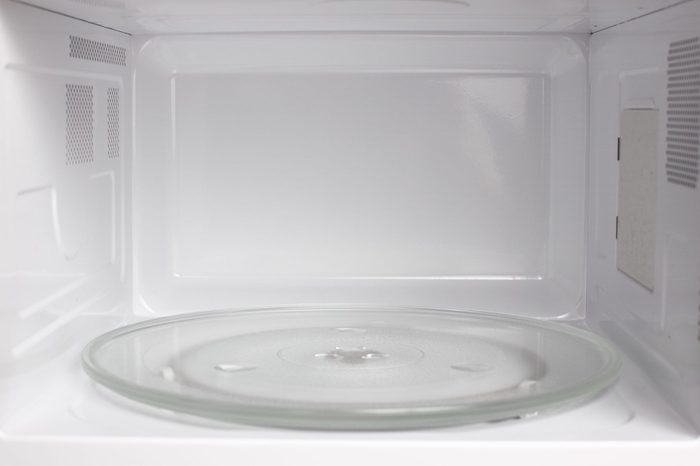
The best way to clean a microwave involves an ingredient that you definitely have on hand: water! Just grab a microwave-safe bowl and fill it up halfway. Microwave it for 4 to 5 minutes, and when it’s done, let it sit in there for 3 to 4 minutes to really get steamy. The steam will loosen anything stuck on the ceiling or walls of your microwave and you’ll be able to wipe it out much more easily than before.
Here are more cleaning tips that actually work.
How to Clean a Dishwasher
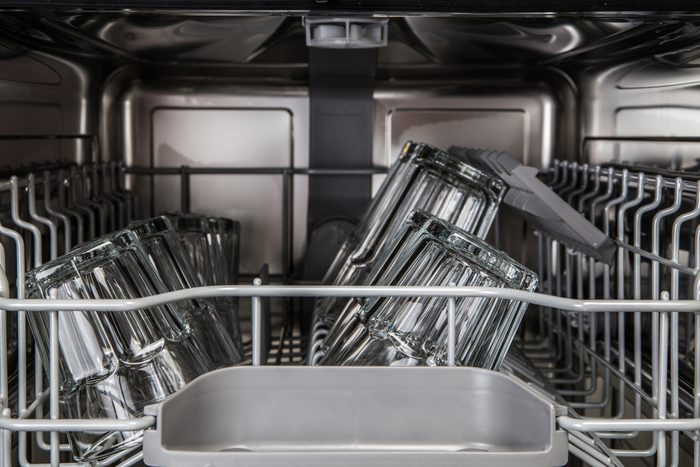
Regularly cleaning your dishwasher helps prevent bad odors and eliminates the buildup of detergent and hard water minerals that can damage the appliance over time.
Pour two cups of distilled white vinegar into a glass bowl and place it upright in the lower rack. Run a normal cycle with the heat dry option turned off and no detergent. This process allows the acidic vinegar to rinse through the interior, working its magic on cloudy film and build-up caused by mineral deposits.
Alternatively, you can use a dishwasher cleaner tablet. The highly reviewed Affresh dishwasher cleaner uses a powerful formula to clean and deodorize the inside of your dishwasher with one tablet. Place the tablet in the detergent tray then run a normal cycle.
How to Clean a Refrigerator
Your refrigerator is probably one of the things you haven’t cleaned in a long time, although it’s an appliance that’s in use constantly. It’s worth it to completely empty out your refrigerator every once in a while in order to make the inside sparkling clean (this is also the perfect time to go through your groceries to check they’re all still fresh enough to eat).
Detach all of the removable shelving and drawers and soak them while you wipe down the inside of the fridge with dish soap and water. After you’re done washing everything, don’t forget to wipe down your stainless steel door to get rid of fingerprints and grease.
How to Clean an Instant Pot
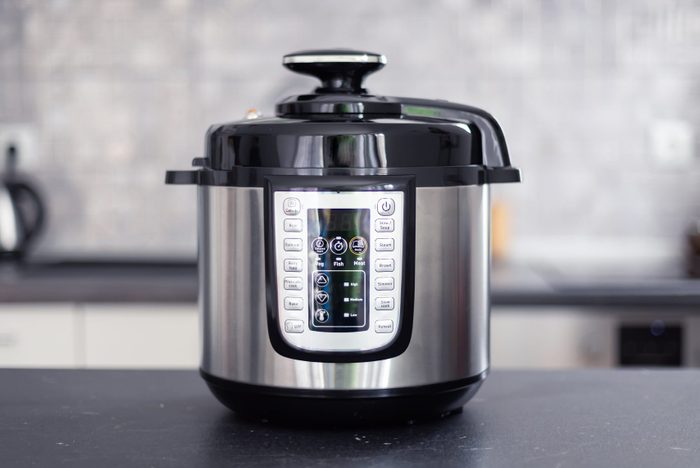
What can’t an Instant Pot do? This kitchen appliance can help you cook anything from hard-boiled eggs to flan to French toast.
Baking soda is an easy fix for getting stuck-on food off the metal insert of your Instant Pot. When you’ve got grime to get rid of, combine 3 tablespoons of baking soda with 4 cups of water in your Instant Pot and set the pressure cook time to 5 minutes with a natural pressure release. When it’s done, the food will be floating in your pot.
Get more details on how to clean an Instant Pot. Generally, Instant Pots are expected to last about 5 years, but you may need to replace certain parts before then. The sealing ring is often the first to go, about a year and a half after you get your Instant Pot, or when it cracks—whichever comes first.
How to Clean an Air Fryer
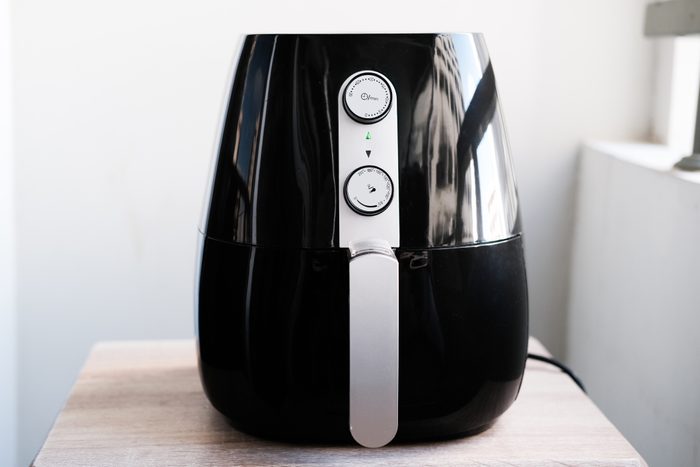
The invention of the air fryer has made making recipes for fried food like chicken tenders or fish and chips so much easier by eliminating the need for a splattering pot of hot oil. Plus, it’s created another way to bake favorites like apple fritters and oatmeal chocolate chip cookies.
No matter what you’re making, the basket, tray and pan need to be washed after each use. Scrub them in warm water with soap, or check to see if they’re dishwasher safe. If you’re pushing the buttons and handling the air fryer with sticky fingers, wipe down the exterior of your air fryer with a damp cloth to keep it squeaky clean.
Typically, air fryers can last for up to three years if you learn how to clean your air fryer properly. The most telltale sign of when you need to replace it is when it’s not heating up the way it should anymore.
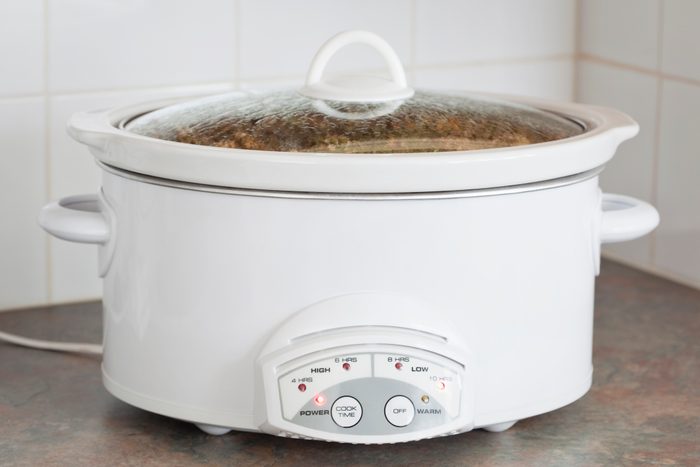
How to Clean a Slow Cooker
For everyday cleaning of your slow cooker, the glass lid and removable stoneware can be cleaned with hot, soapy water in the sink. When hand cleaning, do not use scouring pads or abrasive cleaners that can scratch and damage the surface.
For tough stains, use vinegar and baking soda. Fill the cooker with 1/2 cup distilled white vinegar for a 3-quart slow cooker, or 1 cup for a 6-quart slow cooker. Slowly pour in 1/2 cup of baking soda for a 3-quart slow cooker, or 1 cup for a 6-quart slow cooker. Once the bubbles die down, cover and set your slow cooker to low for 1 hour. Then scrub away stains with a dish brush or sponge (the Scrub Daddy sponge works well for this job).
As for the outside, spot cleaning is the way to go. Wipe it down periodically with a damp microfiber cloth, and you’re all set.
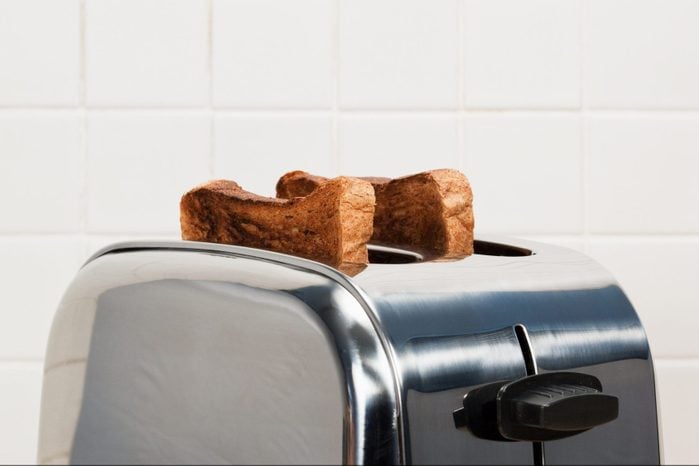
How to Clean a Toaster
We wouldn’t be surprised if you’ve never cleaned your toaster, but better late than never. (Here are more things you probably haven’t cleaned in a long time—if ever.) Start by emptying out and cleaning the crumb tray. Make sure the toaster is completely cool and unplugged, then take a toothbrush to scrub the coils.
Avoid these other toaster mistakes—and read up on more tricks for hard-to-clean household objects.
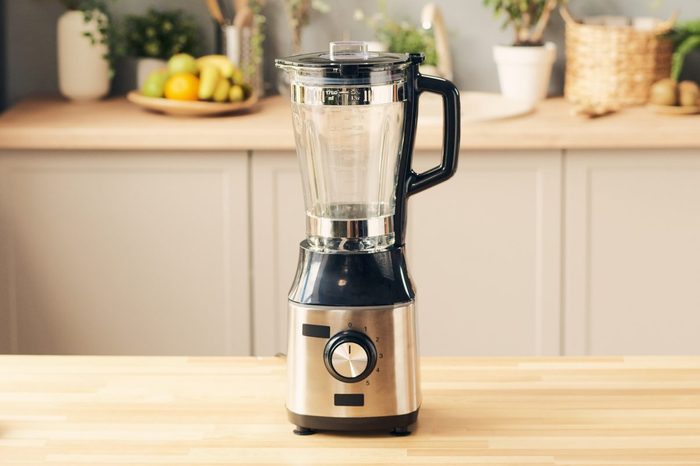
How to Clean a Blender
There’s an easy way to clean a blender that takes no more effort than it took to blend up your pureed butternut squash soup.
Simply put hot water and dish soap in the blender and run it like usual. The blender will clean itself! Rinse and dry, and it’ll be ready for use again for your next soup or smoothie. Just make sure to wipe down the base with a damp towel to make sure you didn’t miss any dribbles that could harden.

How to Clean an Immersion Blender
Just like a regular blender, you can clean an immersion blender simply by blending! Fill up a cup of hot, soapy water and turn on the dirty immersion blender for 10 to 20 seconds to clean the blades. Wipe down the body of the blender with a damp cloth if needed.
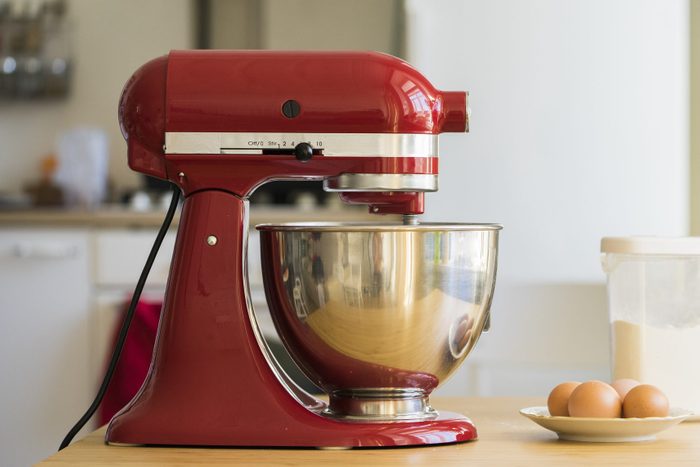
How to Clean a Stand Mixer
Of course, each time you whip up your favorite cake batter or frosting recipe with your stand mixer, you’ll need to wash the attachment—whether it’s the whisk, beater or hook—and the bowl. It doesn’t hurt to use a microfiber cloth or damp dish towel to wipe down the body and head of the stand mixer after each use, too. Get more details on how to clean a stand mixer, especially if you’re using it every day during Christmas cookie season.
Besides cleaning it incorrectly (or not enough), make sure you’re avoiding these KitchenAid mixer mistakes every time you bake.
KitchenAid mixers can last for decades, but every once in a blue moon you may have a problem that needs professional attention. In this case, KitchenAid offers shipping kits to get your mixer safely to and from their factory in Ohio. However, you can tackle problems like fixing the adjustment level on your stand mixer or getting rid of a little leaking oil yourself.
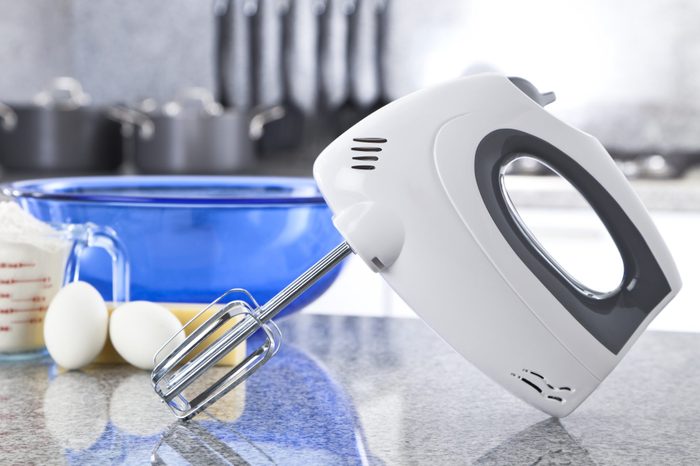
How to Clean a Hand Mixer
Hand mixers come in handy not only for frosting, but also for foods like mashed potatoes and even cooked chicken (yes, you can shred chicken with a mixer!).
While you might not have to worry with chicken, it’s dangerous when your cake batter or frosting creeps up and finds its way into the hole where the beaters are inserted. You’ll want to get that out with a baby bottle brush, or a reusable straw brush. Just make sure the hand mixer is unplugged first.
Of course, you have to wash the beaters after each use, too—those need hot, soapy water in the sink or a turn in the dishwasher. Never submerge the actual mixer in water since that will damage the motor. Wipe it down with a damp cloth instead to keep it clean. Read even more about how to clean a hand mixer.

How to Clean a Grill
It’s imperative to clean your grill grates and racks after each meal, so that the flavor from those ribs doesn’t carry over when you decide to try one of these grilled desserts!
While a wire brush is a classic option when it comes to cleaning your grill, there are plenty of other options to choose from. You can use a balled-up piece of aluminum foil, a nylon scouring pad, or half of an onion (the enzymes will break down grease on their own). Deeper cleaning solutions include soaking the grates in vinegar or ammonia. Learn about more ways to clean a grill without a wire brush.
The cleaner you keep your grill grates, the longer you’ll be able to keep them. As soon as metal grates have rust that flakes off as you grill, you should think about replacing them because you don’t want to end up eating that accidentally.
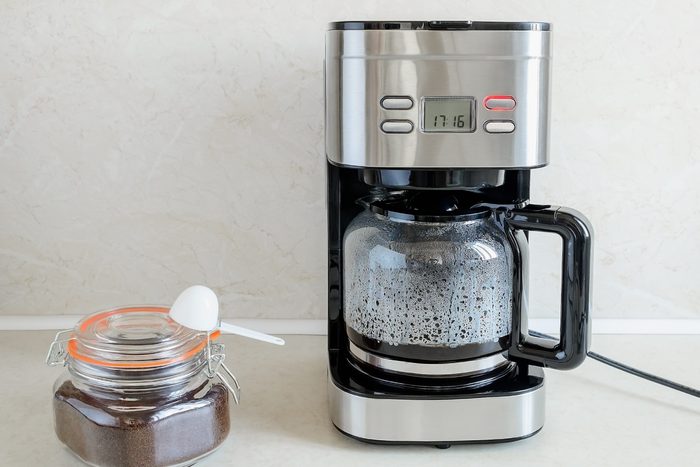
How to Clean a Coffee Maker
Knowing how to clean a coffee maker will make your morning cup of coffee taste so much better and also extend the life of your appliance.
Wash the carafe, brew basket and lid after each cup of coffee you brew. Descaling your coffee maker is something that should be on your radar about once a month.
Many coffee makers are expected to brew about 1,000 cups before they die, but it really depends on the machine and how well you take care of it. If your water isn’t heating up like it should, it’s time to purchase a new one.
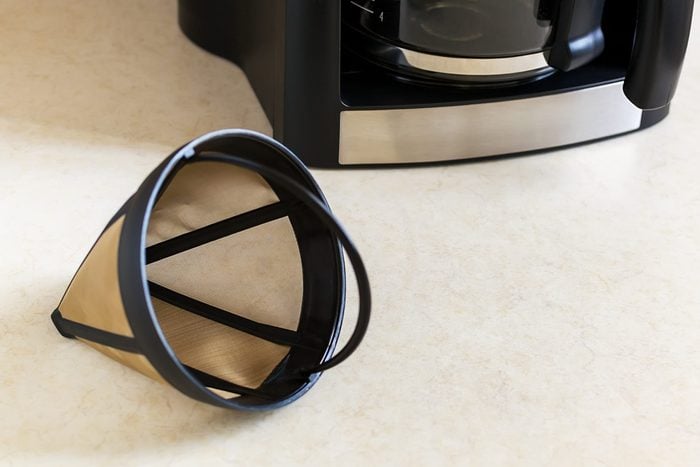
How to Clean a Coffee Filter
Not only do you need to know how to clean your coffeemaker, but you need to know how to clean a reusable coffee filter. Throw it in the top rack of the dishwasher or clean with hot, soapy water after each use. By cleaning it regularly, you can guarantee that your coffee tastes its best—without any lingering flavors from yesterday’s brew.
If it’s been a while since you’ve cleaned your filter, you might want to give it a deep clean. Put it to soak in a 1-to-2 mixture of distilled white vinegar to water before you go to bed, and when you wake up it’ll be ready to go! Just make sure to give it a good rinse before you put it back in your coffee maker.
How to Clean a Keurig
A Keurig makes morning coffee so simple and can save time that would have been spent waiting for a whole pot to brew before you can get out the door. Once a week, take a little bit of the time it would take to use a regular coffee maker to clean it!
Disassemble your Keurig by removing the drip tray, the lid, the K-cup pod holder and the water reservoir. Wash the water reservoir with soap and water. Use a damp, lint-free cloth to clean the pod holder, drip tray and exterior. Reassemble after everything is dry.
When it’s time to descale (about once every 3 to 6 months), read our guide on how to clean a Keurig.

How to Clean a Cast-Iron Skillet
Cast irons can last a lifetime (literally). That is, if you take care of them right. Knowing how to clean a cast-iron skillet will help it last for that long, if not longer—but proper care is a little bit trickier than it is for other pans.
After you’re done making that chocolate chip skillet cookie or one of our other cast-iron skillet recipes, rinse the pan as soon as it’s cooled down to dislodge the food scraps. If you need to, you can use a little bit of soap with the hot water. (Hopefully, it won’t take much more than that, but if you need to take more drastic measures, you can always re-season the pan.)
Then, rinse and dry it, and reinforce the seasoning by applying a light coat of oil with a paper towel. Though it’s unlikely, you should replace your cast iron when it has chips or cracks in the surface.
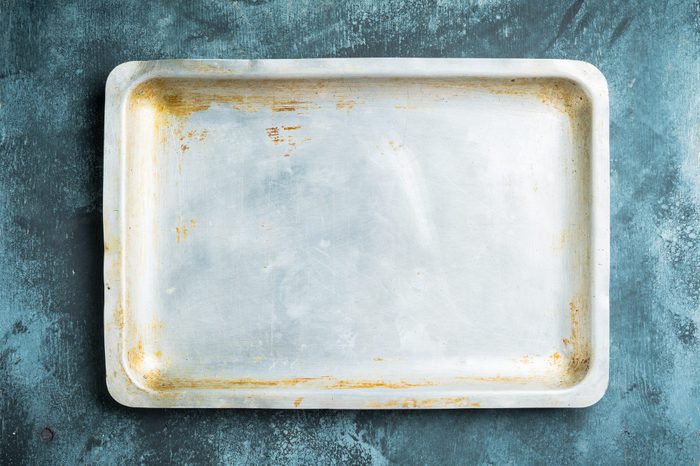
How to Clean Baking Sheets
Ever made a delicious sheet pan meal (like this sheet pan pizza) that resulted in baked-on food that doesn’t want to come off with just soap and water? We’ve got a solution that will make your baking sheet look as good as new! Sprinkle baking soda on your pan, then pour on hydrogen peroxide and top it off with more baking soda. Let it sit for a few hours. At that point, a rag should be all you need to wipe off the gunk.
Foil, vinegar and cream of tartar are a few other options that should do the trick if you don’t have hydrogen peroxide on hand. Check our guide on how to clean a baking sheet for all of the details you need.
While you shouldn’t need to toss your baking sheet because of stains and baked-on food, if your pan doesn’t lay flat on the counter or if the nonstick finish is peeling off, it’s time to replace it.
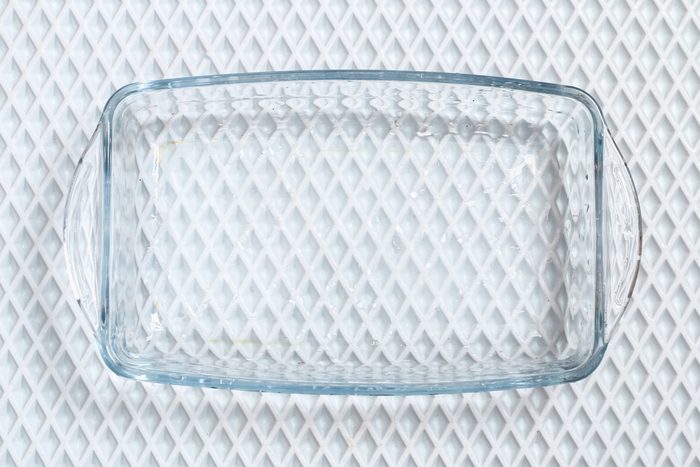
How to Clean Pyrex
Some of the most flavorful, and messiest, dishes are made in a 13×9 Pyrex dish. Sometimes that means stains. To keep your Pyrex looking like new, sprinkle baking soda over the stains, followed by dish soap. Then, add hot water and let it soak for 15 minutes. Follow up with a sponge and a little elbow grease to erase the stains.
Find out more ways to clean baked-on stains from a Pyrex dish. Don’t get rid of your dish because of stains, but you should replace your Pyrex when it cracks or chips. If you make sure not to put it through any sudden drastic changes in temperature, it should last for years!
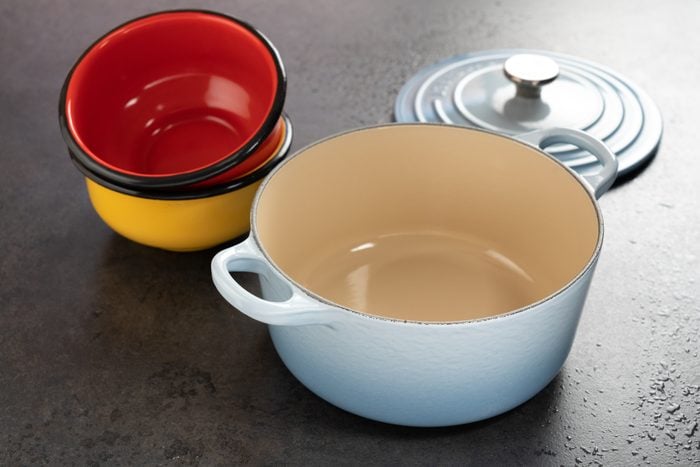
How to Clean a Dutch Oven
Similar to cast iron skillets, Dutch ovens are another kitchen item that have specific directions when it comes to cleaning and care (and seasoning). Depending if it’s coated or uncoated, a Dutch oven can’t go in the dishwasher, but you can reach for dish soap and warm water instead. If that doesn’t work, try a baking soda bath. Here are more tips and instructions on how to clean a Dutch oven, plus how to clean an enamel Dutch oven.
When the enamel is chipping inside the Dutch oven, it’s time to get a new one! These are some of our favorite Dutch ovens for you to choose from, or simply pick from one of the best Dutch oven brands like Le Creuset.

How to Clean a Nonstick Pan
Although some nonstick pans can go in the dishwasher, you should typically avoid this in order to keep them in their best shape for as long as possible (a nonstick pan should last about 5 years before you need to replace it). Wash your nonstick pans with warm, soapy water, and if that doesn’t work to get rid of stains and sticky food, try filling the pan with baking soda and water and bringing it to a simmer on the stovetop. From there, you should be able to get the stuck-on food off easily. Learn more about how to clean a nonstick pan as well as other tips and tricks for taking care of them.
It’s time to replace your nonstick pan when it always stays sticky after you clean it or when the nonstick coating is flaking off—you don’t want that getting in your food.
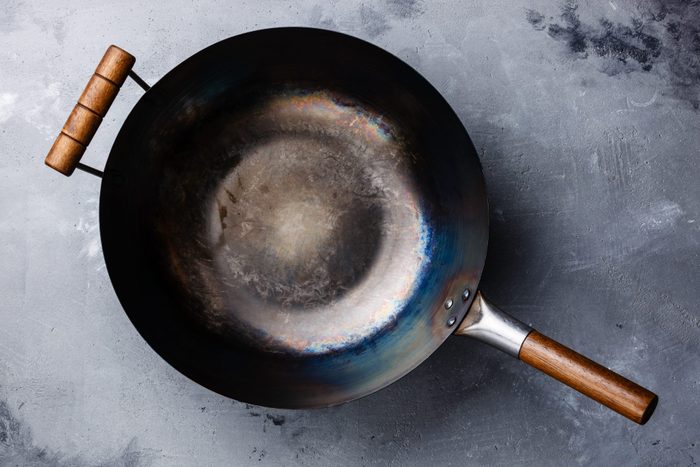
How to Clean a Wok
A wok requires special care, similar to a cast-iron pan or a Dutch oven. Skip the dish soap: It will remove the patina, plus you’ll need to re-season. Instead of using soap, scrub with a gentle brush with warm water and make sure the wok is dry before you store it to avoid rust. If necessary, soak it for a short while in warm water to loosen stubborn scraps.
If there’s rust or hardened food that you’re having trouble removing, check out how to clean a wok.
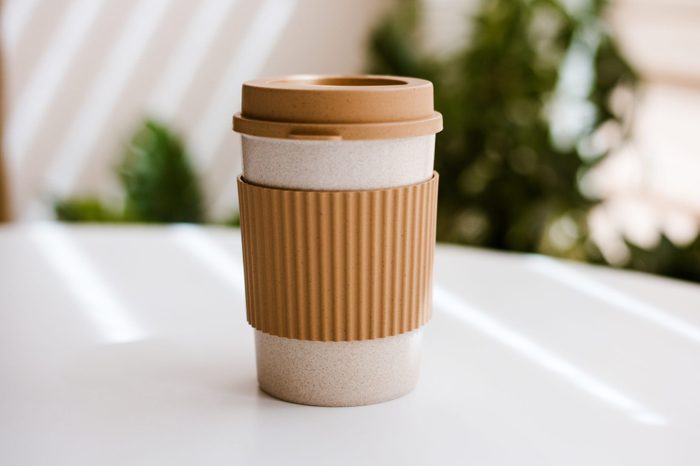
How to Clean a Travel Mug
If you’ve washed your trusty travel mug or to-go coffee cup and it still smells, this one is for you.
Learn how to clean a travel mug properly to prevent mold, which is what’s causing that odor: Instead of putting it in the dishwasher, wash it by hand with soap and water to avoid water seeping in between the layers of insulation. Another fool-proof method? These Bottle Bright tablets.
If your mug stays smelly, replace it to avoid ingesting the mold. Don’t worry–you’re still being environmentally friendly by opting for a reusable mug instead of daily disposable coffee cups.
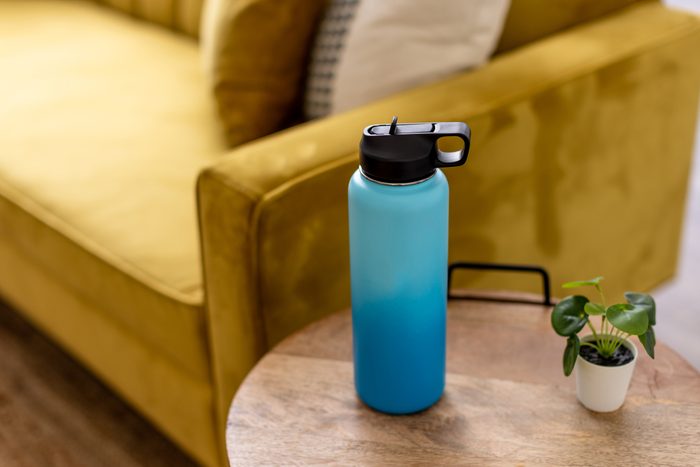
How to Clean a Water Bottle
If you’re the type to bring your reusable water bottle with you wherever you go, you know that musty smell it can accumulate over time even if you wash it regularly.
To clean a water bottle you’ve been using a lot, fill the bottle with a water and white vinegar mixture and let it sit overnight. Then, wash it with hot soapy water in the morning and you should have a bottle that feels (and smells) good as new.
However, you’ll need to replace your reusable water bottle every so often depending on what material it’s made of. If you can’t get rid of the musty smell, now is the time. Otherwise, you should replace your plastic water bottle about once a year.
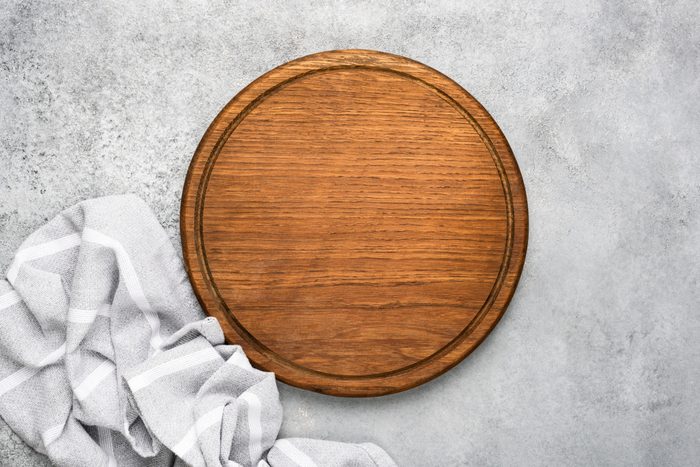
How to Clean a Cutting Board
Deciding the right way to clean a cutting board depends on what kind of board you have. There are different methods to use for wood or bamboo boards versus nonporous ones.
While you can toss your nonporous boards in the dishwasher, don’t even think about it when it comes to wood. The water will cause wood or bamboo to warp and crack. Instead, make a solution for your bamboo and wooden boards with bleach, kosher salt and lemon to clean and disinfect at the same time. Condition them every month for extra credit!
When they’re splintered, warped, cracked or too grooved, it’s time to pick up some new boards.
Test Kitchen Tip: Make it easy on yourself by getting a plastic board specifically for your raw meat and a different one for everything else.
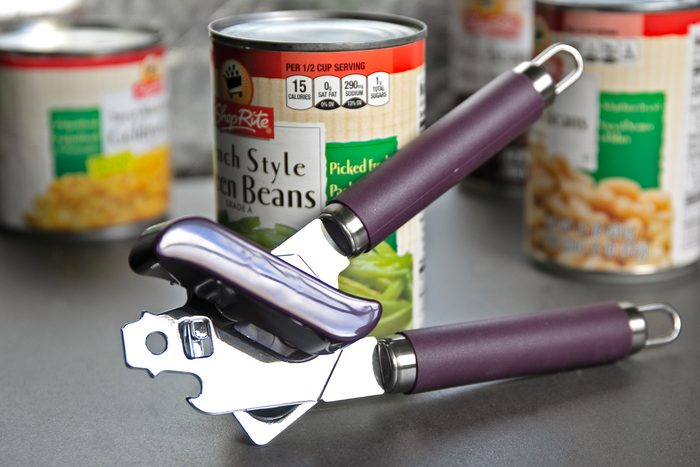
How to Clean a Can Opener
Did you know that your can opener sometimes needs some lubrication, and of course, some cleaning? You can help it along by folding up a sheet of waxed paper, clamping down the can opener onto it and turning the handle to loosen hardened food and grime while at the same time lubricating the parts. This waxed paper trick is just one of the cleaning hacks you’ll wish you knew sooner.
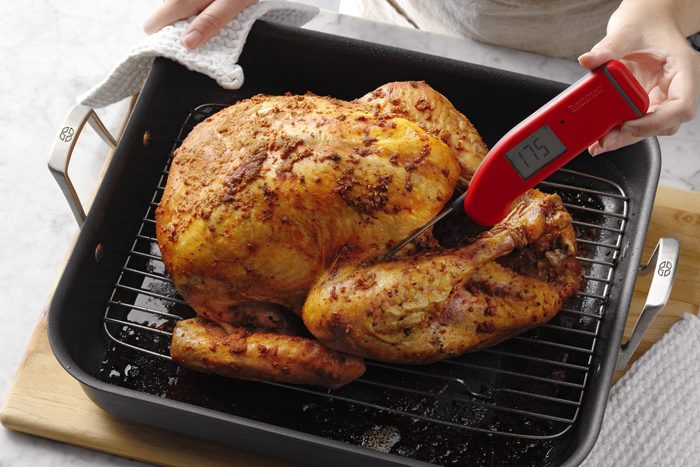
How to Clean a Meat Thermometer
You do have to clean your meat thermometer between uses. Simply wash it with hot, soapy water like you would any other dish—or wipe it with a clean alcohol wipe. Learn more about how to clean a meat thermometer—as well as exactly why you have to clean a meat thermometer if you’re curious.
Make sure you test your meat thermometer every six months or so, or whenever you think it might not be accurate. If it’s not working, it’s either time to replace the batteries or the whole thermometer.

How to Clean a Sponge
Sponges are dirty—like, really dirty. However, we use them every day to clean our dishes—which is why it’s all the more important you keep your sponge clean.
When it starts to smell or has a stain, clean your sponge with bleach or vinegar, or put it in the dishwasher. While you definitely need to know how to clean a sponge, it’s more important to know that you should probably replace your kitchen sponge once a week. Or, switch to a Swedish dish cloth.

How to Clean a Dish Towel
Ideally, your kitchen towels should be washed every few days, so it’s important to know exactly how to wash dish towels. Our Community Cooks recommend that you first soak your towels in an OxiClean and water solution. Then, wash them in the laundry with similar colors (you can add some vinegar to get rid of any smells). Make sure to dry them in the dryer right away.
When you can’t get rid of the smell in a dish towel, it’s time to get a new one.

