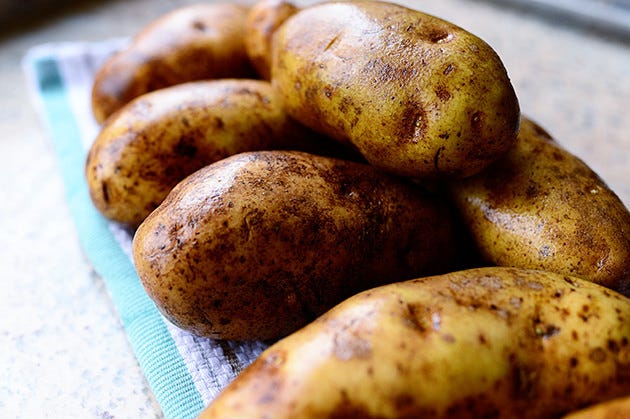
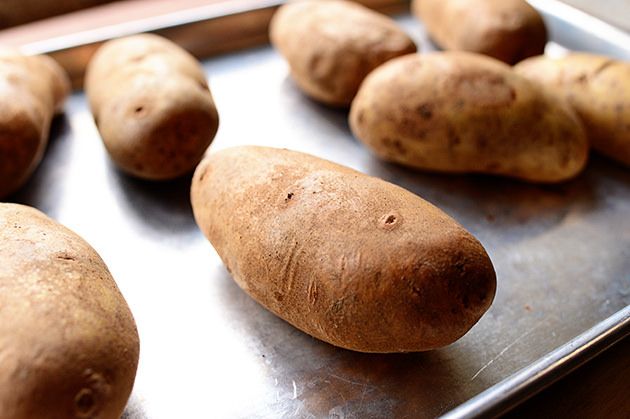
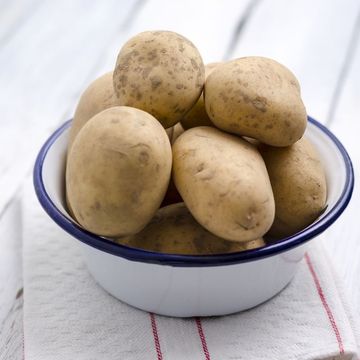
First, scrub a bunch of russet potatoes till they’re really clean.
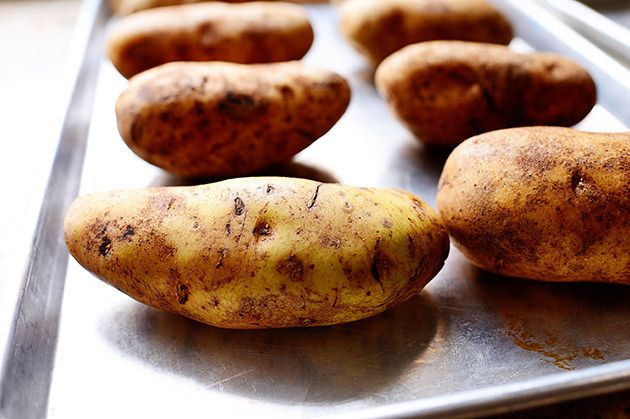
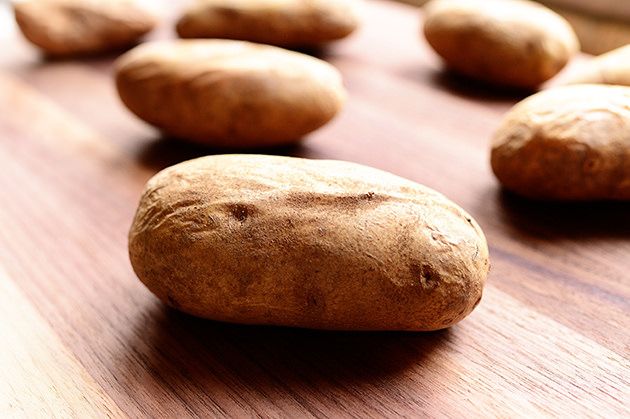
Dry them, set them on a baking sheet, and bake them at 375 for 30 minutes, or until they’re super tender.
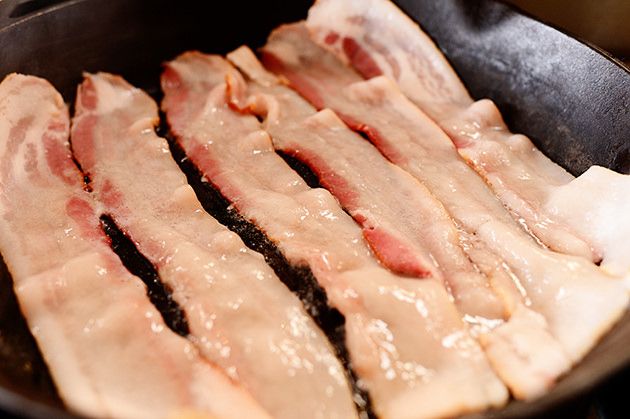
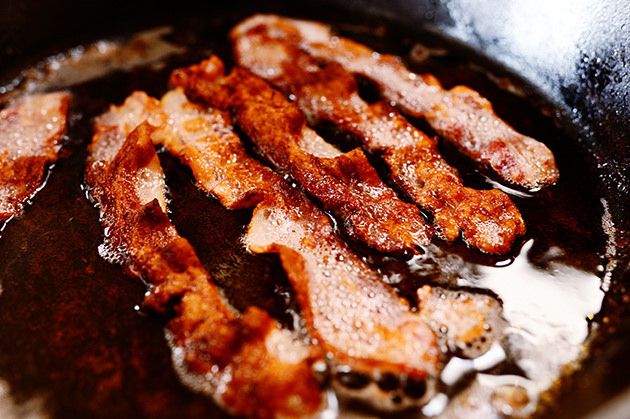
While the taters are a-bakin’, fry up some bacon…
Until it’s nice and crisp but not burned but not chewy but perfectly crisp.
You got all that?
Good. Will you please explain it to me?
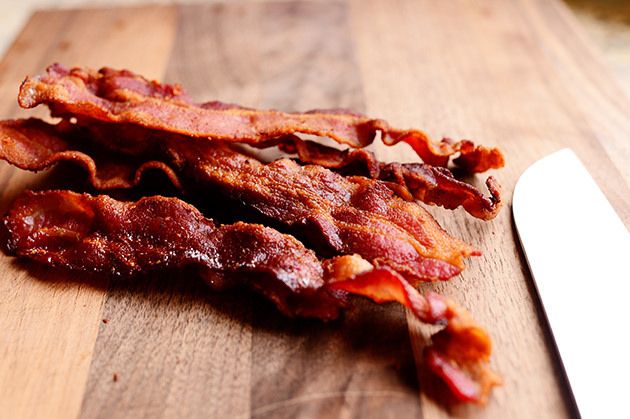
After the bacon is cooked, violently throw it onto a cutting board in a neat pile…
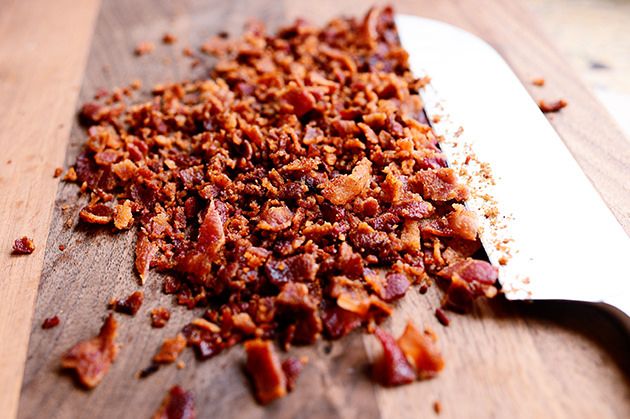
Then chop it up into small pieces. Then go hide it somewhere until you need it so you won’t accidentally eat it all with a spoon.
(That may or may not have happened in my kitchen once or dozens of times.)
The taters! They’re done!
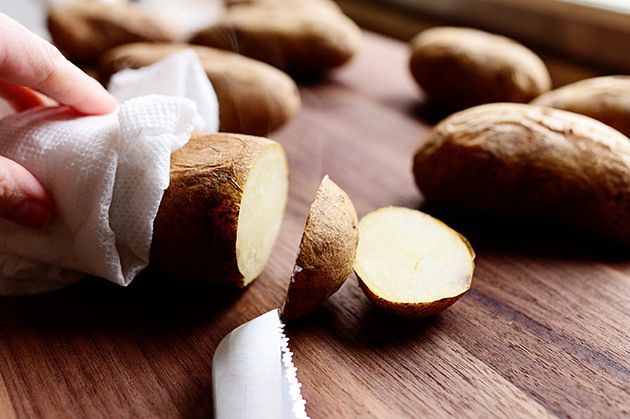
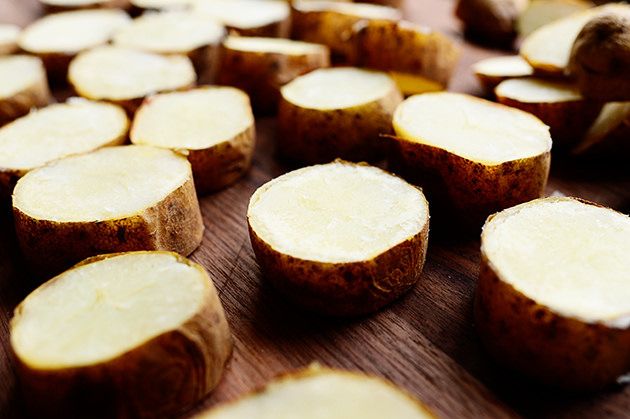
So now the fun begins. Transfer the taters to a cutting board.
Then lop off the ends…
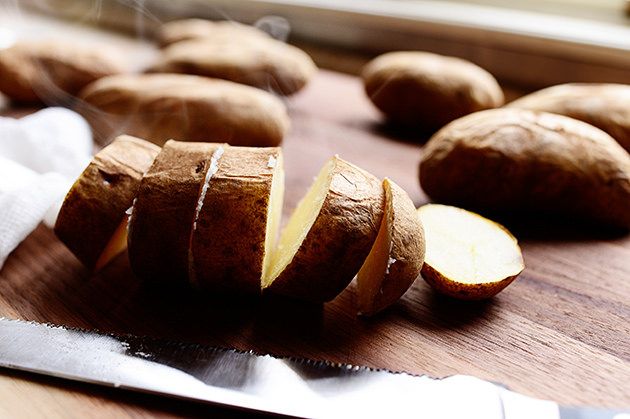
And slice them into nice, chunky slices. If I had any sense of measurement, I would at this time tell you to slice “half-inch” slices or “1-inch slices” or “three-fourths inch slices.”
But I’m not that kind of girl.
Keep going until they’re all sliced up. Throw the little annoying end pieces into a pile; you can decide later whether to work them into the mix or whether to kick them to the curb.
(I kicked them to the curb.)
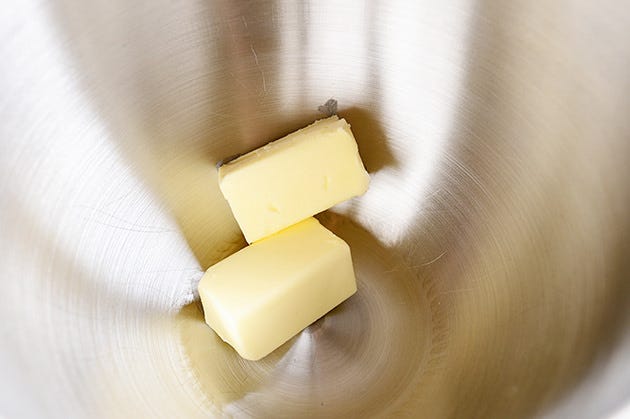
Throw softened butter into a mixing bowl.
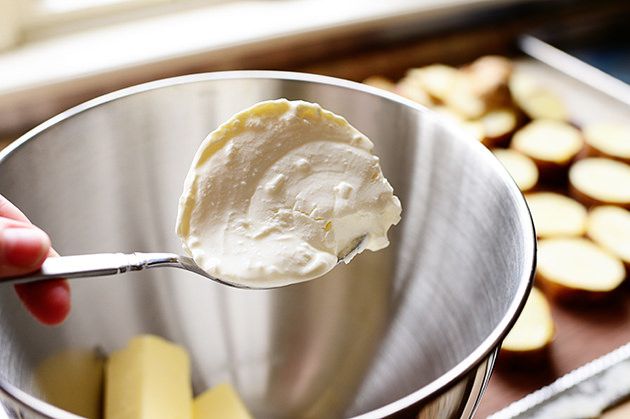
Then grab some sour cream (or Greek yogurt if you’re trying to be a good kid) and throw it into the bowl.
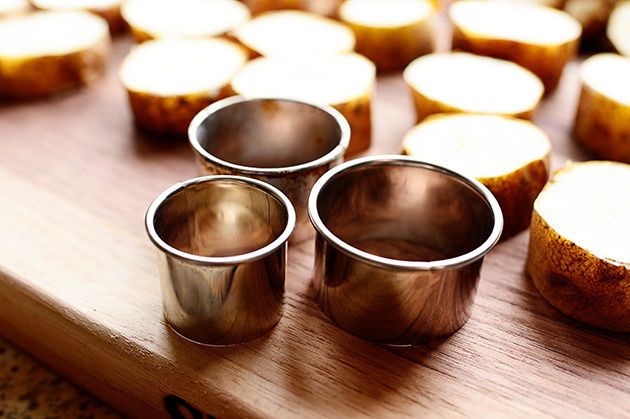
Now, this isn’t 100% required, but if you have them it makes the next step really easy: Grab some different biscuit cutters approximately the same size as the potato slices.
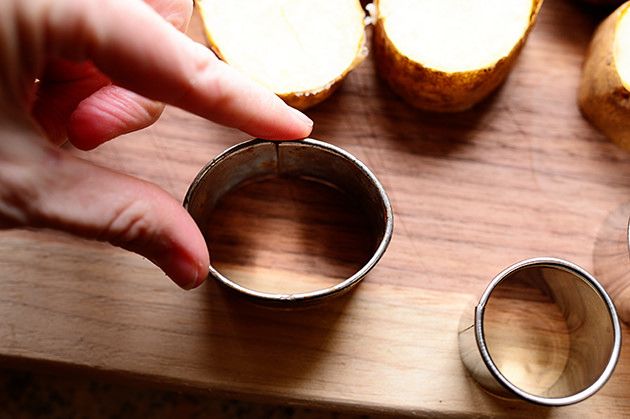
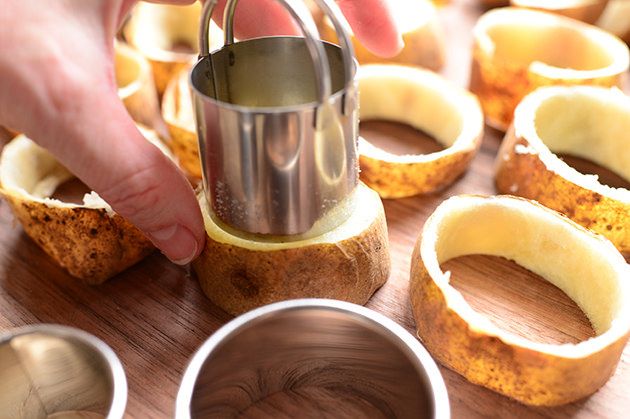
Now, since the potato slices are oblong in shape, you can slightly bend a round cutter to fit. (It’ll bend back, man!)
Then place it over one of the slices of potatoes, making sure the cutter fits inside the edge.
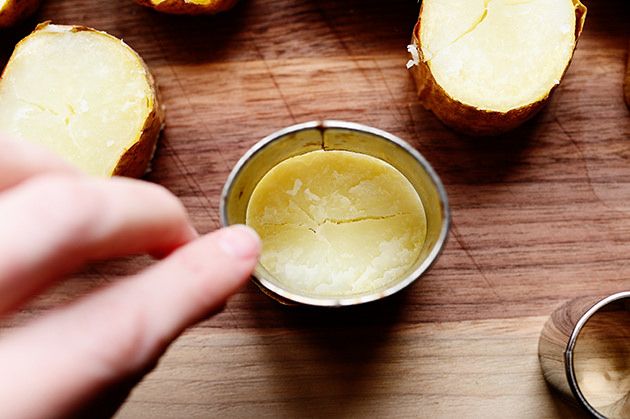
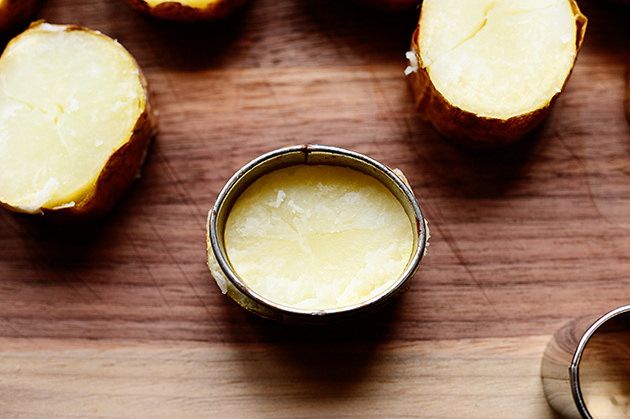
Then just press down…
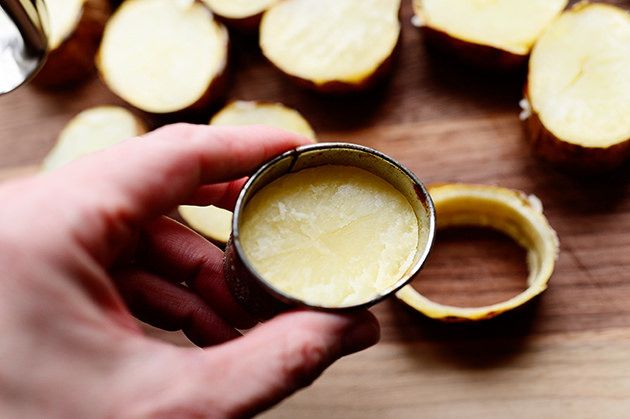
And lift it out!
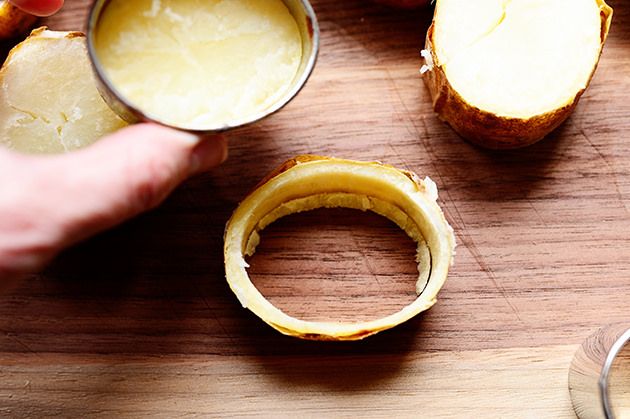
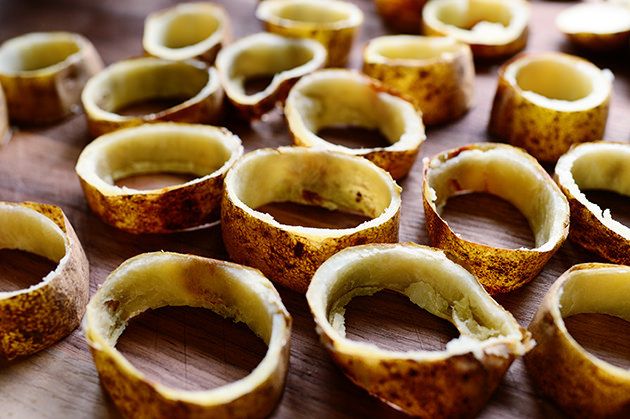
And that’s what you’ve got left! A nice little potato ring.
If you don’t want to bend your cutter, just squeeze the potato slice to conform!
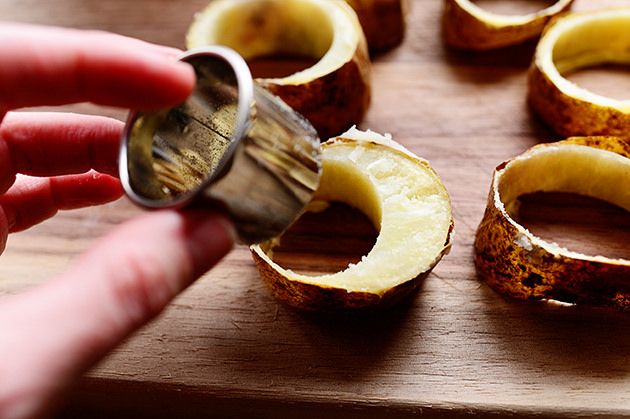
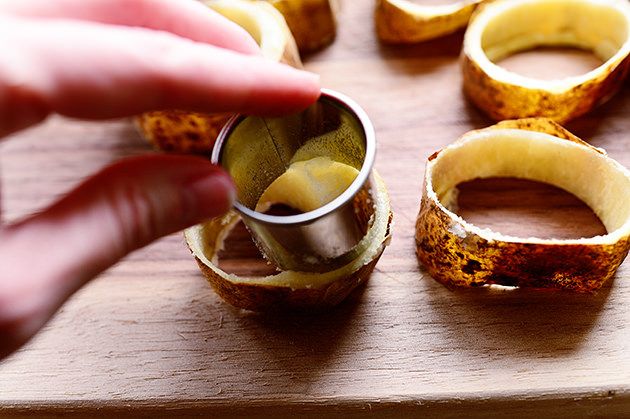
Or, if you don’t have one that perfectly fits, just make one cut over to one side…
And a second cut over on the other side.
Keep on going…
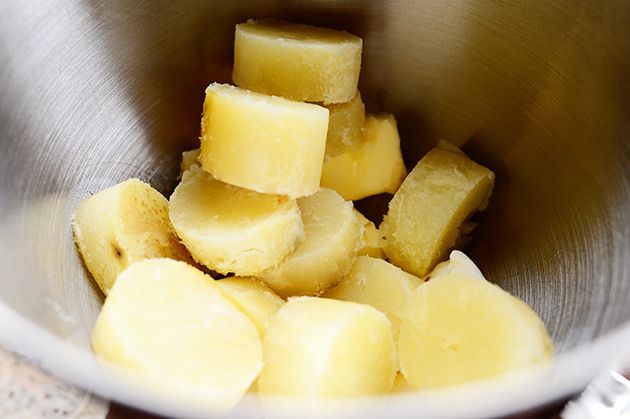
And drop the potato rounds into the mixing bowl as you go. They’ll be nice and warm, so they’ll start melting the butter and warming the sour cream.
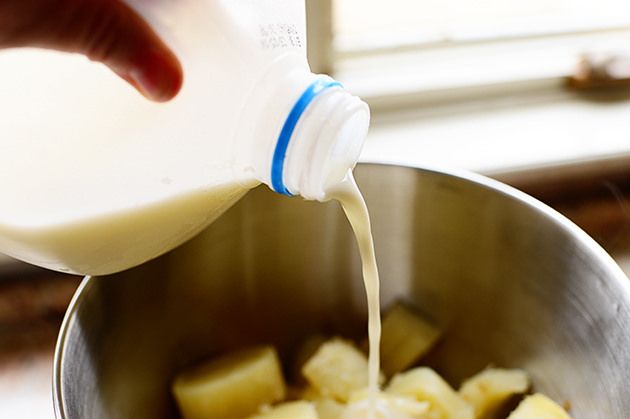
When you’ve finished cutting holes in all the potato slices, you’ll have a bunch of potato innards in the bowl. So add some milk…
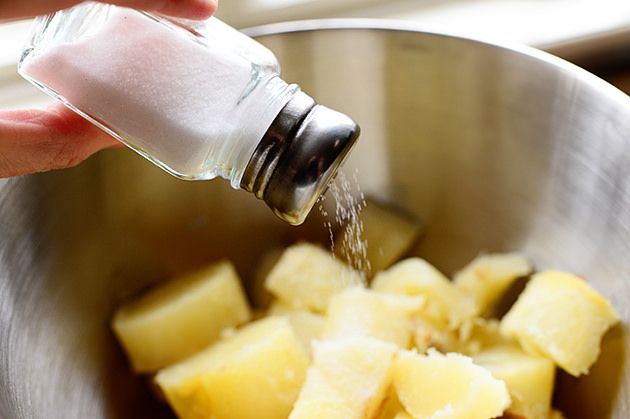
Some salt…
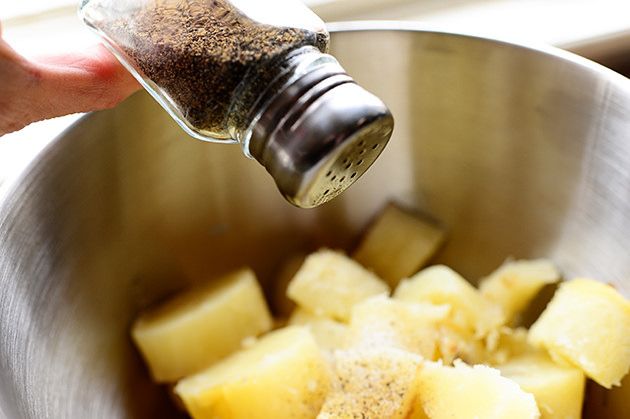
Some pepper…
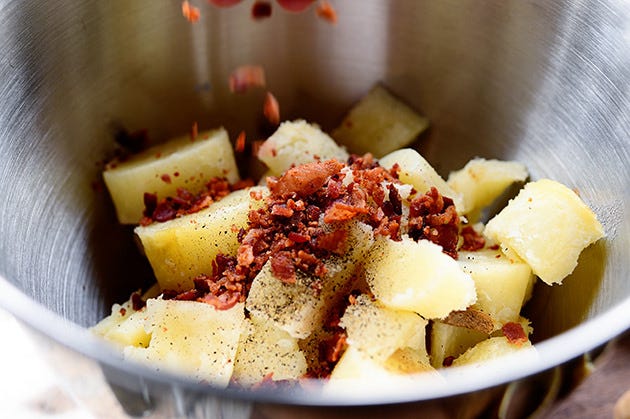
And the bacon…
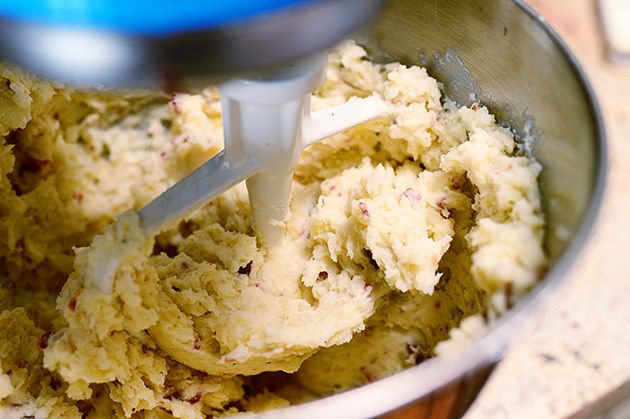
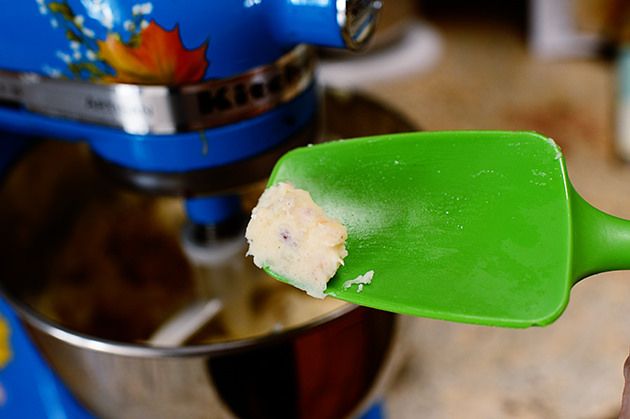
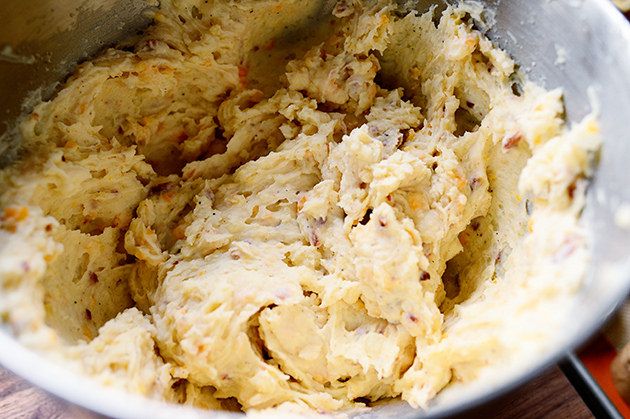
Mix it on low using the paddle attachment until it’s all combined.
*Note: I’m using the mixer so the potato mixture will be really smooth, but you can just use a potato masher if that’s easier! Either one will work fine.
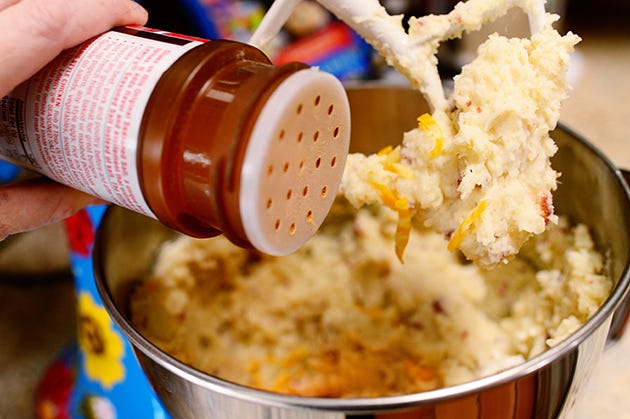
Then I added some grated cheese and, for a little more flavor because I tasted it and thought it was lacking in zip, a little seasoned salt.
Be sure to taste it when you’re finished mixing to make sure it’s absolutely perfect.
And…it’s perfect!
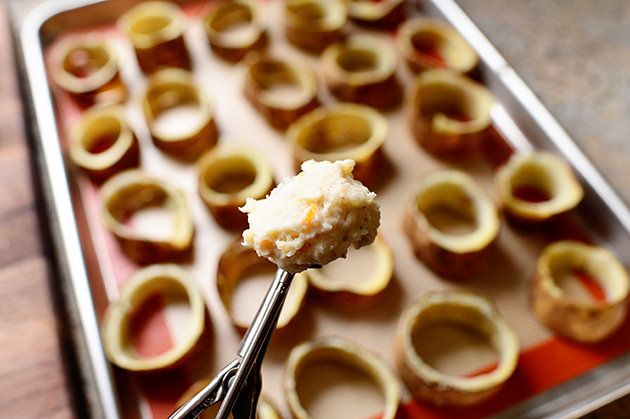
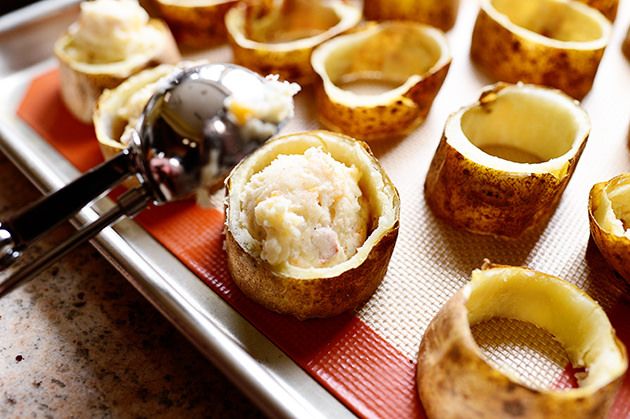
Now it’s time to fill the potato slices. Originally, I was going to use a piping bag, but decided a scoop would be easier.
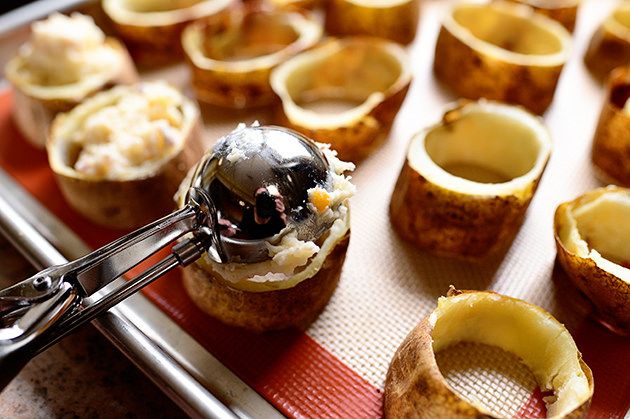
As with the cutters, just find a scoop (or spoon!) that’s approximately the same size…
(You can see me there. Hi! *Waving*)
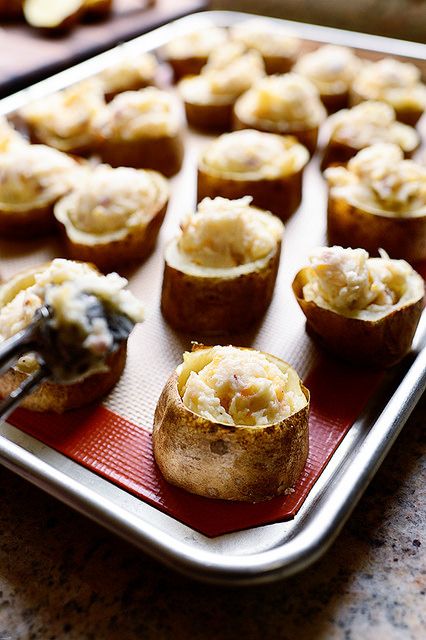
And fill the hole with potato filling.
And keep going until you’ve got them all filled. (You should have a little filling left over, which you can now eat as an appetizer.)
(You’re welcome.)
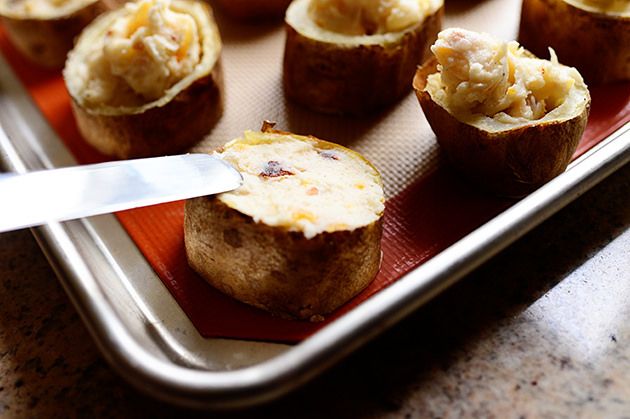
Next, use a spatula or knife to smooth out the surface.
*Note: I smoothed these out to be flush/even with the top of the peel, but I found out after baking them that it would actually have been better to overfill them a little. (They slightly sink after baking.) So mounding the filling is fine.
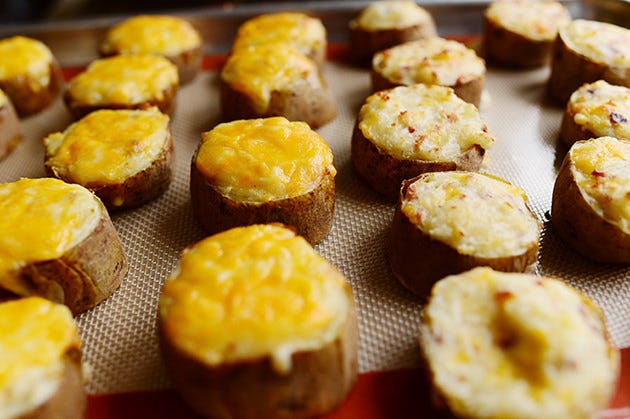
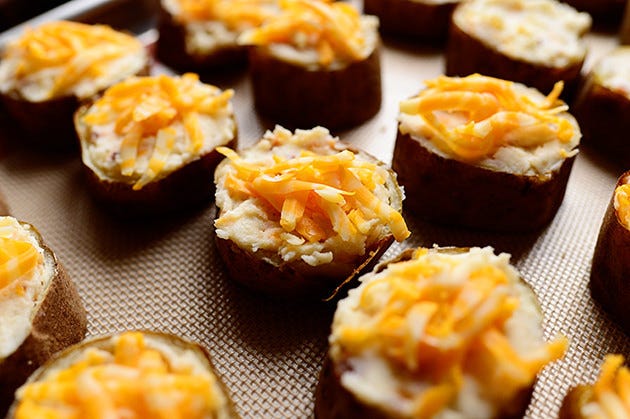
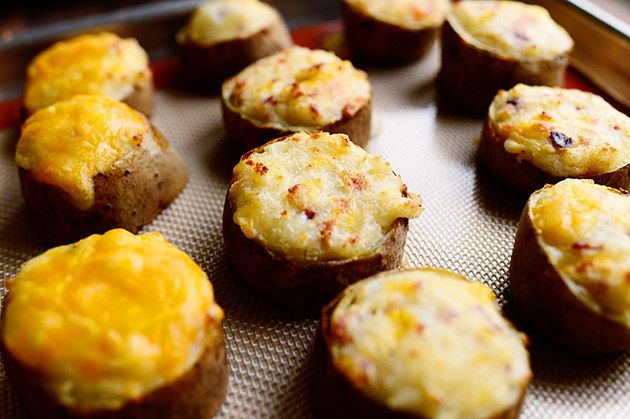
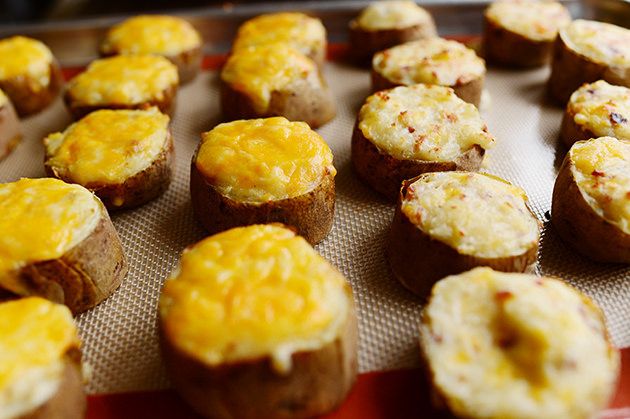
I wasn’t sure whether I’d prefer them plain or cheesy, so I did half with and half without.
Then I just baked them at 375 for about 8 minutes, then broiled them for about 4.
I stood watch while the broiler was on, because I didn’t want the cheese to burn—I just wanted it to go a little past that soft melted cheese stage and into the firmer melted cheese stage without going into the burned melted cheese stage.
GOSH DANG, I’M PICKY SOMETIMES!
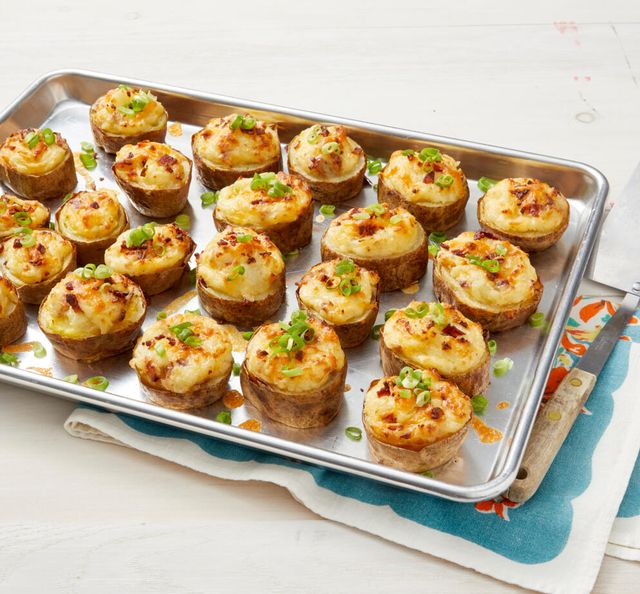
Aren’t these fun? What I love about them is that they’re as perfect for a weeknight dinner as they would be for an elegant dinner party! And you can make them well in advance, keep them in the fridge, then just bake them off right before. Or even freeze them, unbaked!
The only tricky part is that if you try to remove them from the pan right away, the soft potato filling tends to stick/stay behind a little. So the remedy is to let them sit on the pan for a good 10 minutes before serving them. This actually is best anyway, because it gives the potatoes a chance to calm down and cool slightly.
A sprinkling of sliced green onions at the end is just what it needs to finish the job.
Hope you enjoy these, guys! They’re lots of fun…
And they have butter, sour cream, and cheese in them.
And that’s pretty much all that needs to be said.
