How Do Pro Photographers Light Their Photographs?
How does renowned portrait photographer Albert Watson light his photos? With a foolproof three-light setup that makes his photos look amazing, of course! Except… he doesn’t. In fact, setups are very far from what professional photographers do when they light their work. Here is what mindset photographers have when they light.
Many photographers can create these light setups, but very few are professionals. So, how do pros light their photos? What setups do they use? How do they decide?
Setups Are a Myth
The first thing I want to emphasize is that setups don’t exist on a professional set. Never has anyone asked me to do a three-light setup, nor has anyone asked me to create great results with only one light.
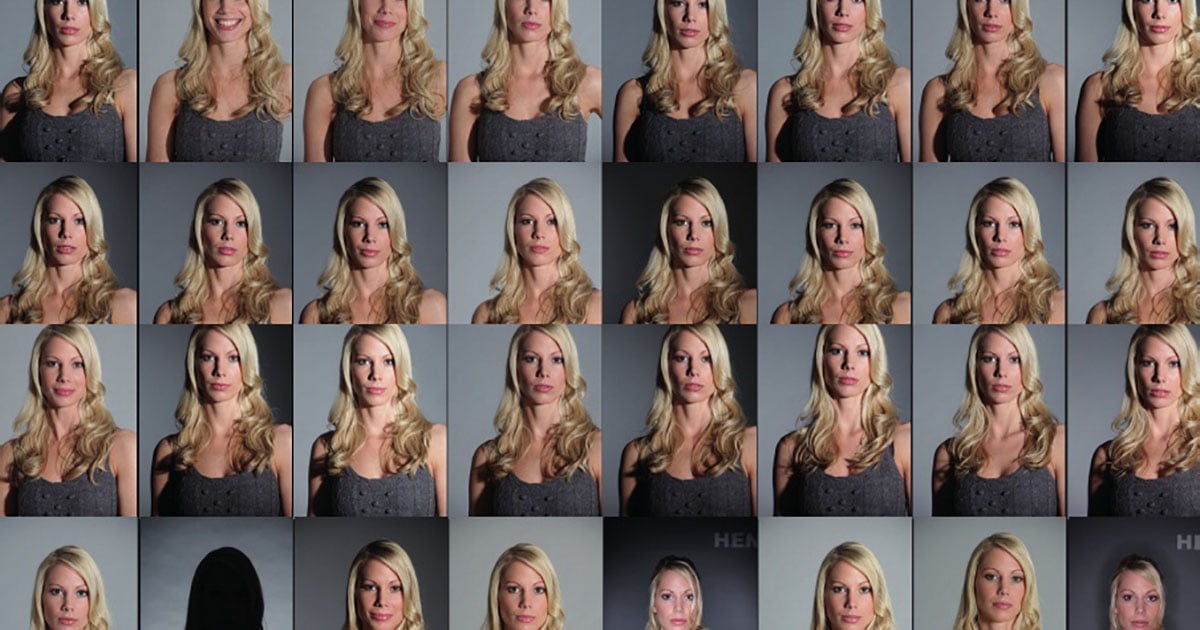
Being able to do a classic portrait setup and have top clients is a thing of the past. Back in the 80s, you could impress someone with a clean white background, but now it’s not about that at all.
Competition is fierce, and many photographers end up learning as many setups as possible so that they have a vast mental toolbox. This results in companies selling kits for “perfect portrait light” “perfect beauty light” “perfect fashion light”. What this creates is a set mentality that there is one right way to light fashion, a different one for beauty, and the third one for portraits.
The best analogy I can give is if you were told there is only one way to eat bread: plain with butter. You can’t make toast, add jam, or even make a sandwich.
I think it’s pretty clear that thinking in terms of setups is limiting. It’s not wrong, but it puts a label on something that is undefinable: perfect light.
So How Do Professionals Light Their Photos?
Before I go into how to learn the art of lighting, let me take you through a sort of step-by-step process that I’ve applied to light so far.
1. Black Frame
It all starts with a single frame. If I’m in the studio, I take a black frame to make sure there is no ambient light. On-location, I take a perfectly exposed frame. Although now I have an intuition about exposure, I still do it as a good habit. If anything, it lets me know I tethered in properly and that everything is working.
2. Ambient Control
With the test frame complete, I introduce light. If studio ambient light is desirable, I may increase ISO or perhaps lower the shutter speed. Generally, I don’t touch aperture too much as I like to have a wide plane of focus around f/11. On-location, I will play with the settings to get a good amount of ambient light.
3. Introducing Artificial Light
Again, this all starts with a single light. If you want to be a purist, you can start with a light directly in front of the subject. Setting the power, and then seeing what that light makes is the next step. Some questions to ask yourself at this moment are:
- Is the light too hard?
- Is the falloff too dramatic?
- Is the light coming from the right direction?
- What do I want to show/say with this picture?
- What aesthetic do I want?
- Anything else?
Answers to these questions will form a base for what you want to do next. This may include adding a modifier, moving the light further, or perhaps even adding additional lights.

A good way to think about this step is to take on the mindset of a painter. Each light is a brush that adds dimension to the image. You should be careful about what you add and don’t to each picture.
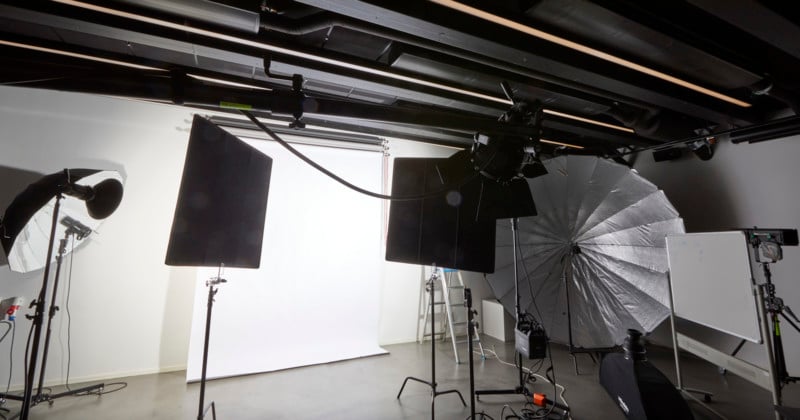
Remember that with every light comes a great deal of responsibility to control it — don’t forget about things like flags, scrims, or butterflies. Those will help you sculpt the end result and come up with a unique image that is yours. Truly yours.
The end of this process should yield a light that looks good to you. Determining what looks good and what doesn’t comes from being deeply caring and passionate about the subject. While I don’t want to sound like a loosey-goosey artistic type, good light just clicks with the subject like a puzzle that fits perfectly.
Deep care for the subject enables you to understand what light fits correctly. If you photograph 1950s cars, you may want to show the chrome on the bodywork. If photographing popsicles wets your whistle, you will inevitably find a way to show them in a light that is right.
What separates great from the good is that obsession with the subject in front of the lens, no matter what it is.
How To Learn Light?
Knowledge of light comes from experimenting and appreciating what each surface does to light, how it reflects or bounces, diffuses or travels directly, etc. This understanding then enables you to appreciate each modifier.
For example, a 5-foot octabox will have the same light spread as a 2-foot, but the softness will be different. A 1×6 softbox turned sideways will produce a hard vertical but soft horizontal shadow. Diffusion paper on a small source won’t make the light soft.
There are virtually thousands of examples like these that come from understanding what each little tool does to light.
I’ve written a separate piece on learning light earlier this year. If you want a more detailed explanation, give that article a read!
Closing Thoughts
Professionals light their images in order to achieve an aesthetic rather than execute a bog-standard setup, just like how painters paint in order to convey a mood rather than do a technique exercise. Of course, good technique is important and helpful, but knowing four one-light setups is not a good technique — making your own light setups with 1, 2, 4, 10, and more lights to fit the aesthetic is a good technique.
I promise you, knowing how to light will not only bring progress to your photography but it also enables you to solve some of the most complex problems that arise on set.
About the author: Illya Ovchar is a commercial and editorial fashion photographer based in Budapest. The opinions expressed in this article are solely those of the author. You can find more of Ovchar’s work on his website and Instagram.