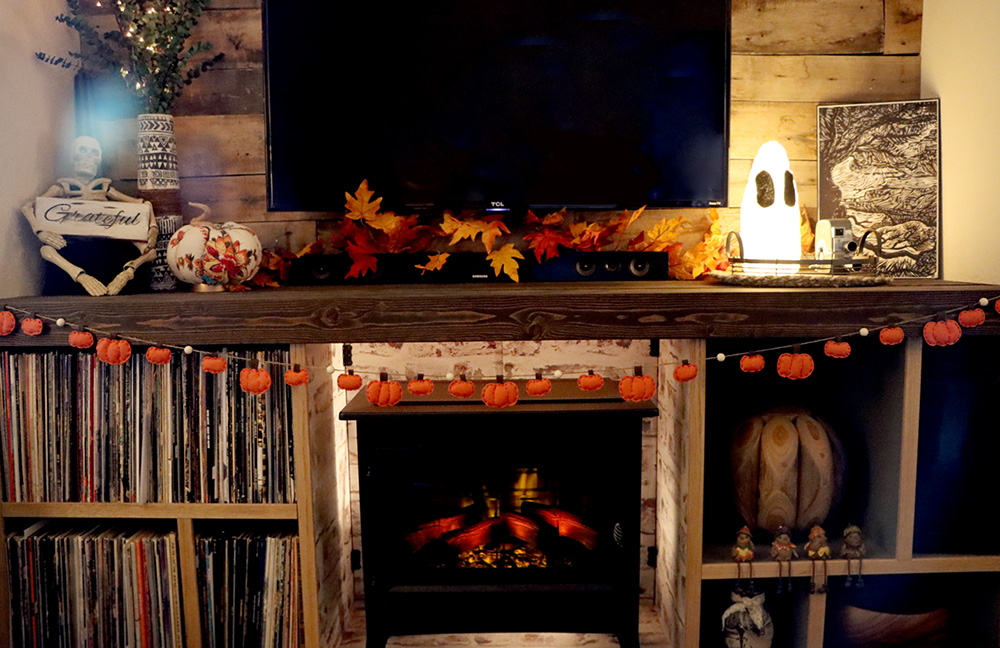


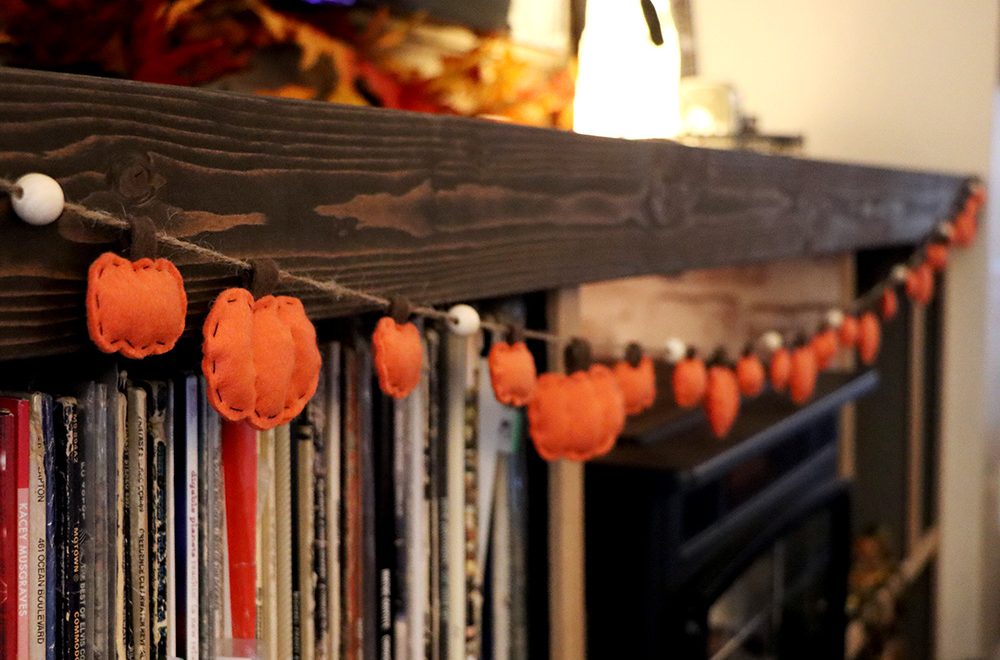
The cool early mornings and changing leaves can only mean one thing: Fall is here! What better way (other than the obvious pumpkin spice latte) to welcome the season than with a fall craft? Whether you hope to add some autumnal charm to your dorm, office or home, this felt pumpkin garland is guaranteed to spruce up any space. Here’s everything you need to know:
Why I love this craft:
- It’s not only easy and cheap to make, but ridiculously adorable. (I mean… what is cuter than plump little hand-stitched pumpkins?!)
- Imperfections make it look all the more charming. (Don’t stress if your stitches aren’t the same size or don’t come out straight—they’ll look great in the end!)
- It’s mindless. (You can enjoy your favorite fall-inspired movie while keeping your hands busy. Plus, by the time “You’ve Got Mail” is over, you’ll have an adorable garland to show for it!)
Supplies:
- Printed pumpkin pattern template
- 2-3 9×12 sheets of orange felt (More sheets=more pumpkins.)
- 1 9×12 sheet of brown felt
- Poly-fil stuffing (TIP: Instead of buying a bag of poly-fil from the craft store, I ripped open one of the many old pillows I have lying around my house. If you don’t have a pillow you’re willing to sacrifice to the craft gods, grab a cheap one from your local thrift store!)
- Thread (I used black to get a more Halloween-y vibe, but any fall-inspired color (yellow, light orange, brown, etc.) will work)
- Needle
- Marker or pen
- Scissors
- Small spool of jute twine
- Wooden beads (optional)
Working with what I already had around the house, I spent less than $8 on supplies for this craft—and without the wooden beads, total cost should be closer to $5. Plus, if you craft with a friend or two, you can share supplies (and cost). Can’t beat that!
Instructions:
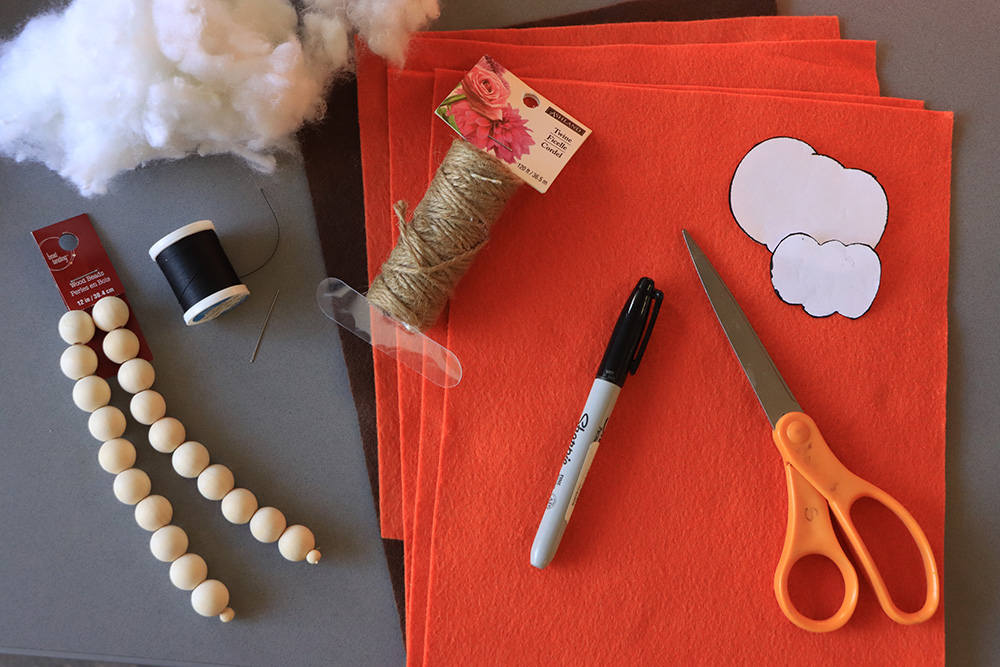
- Gather supplies.
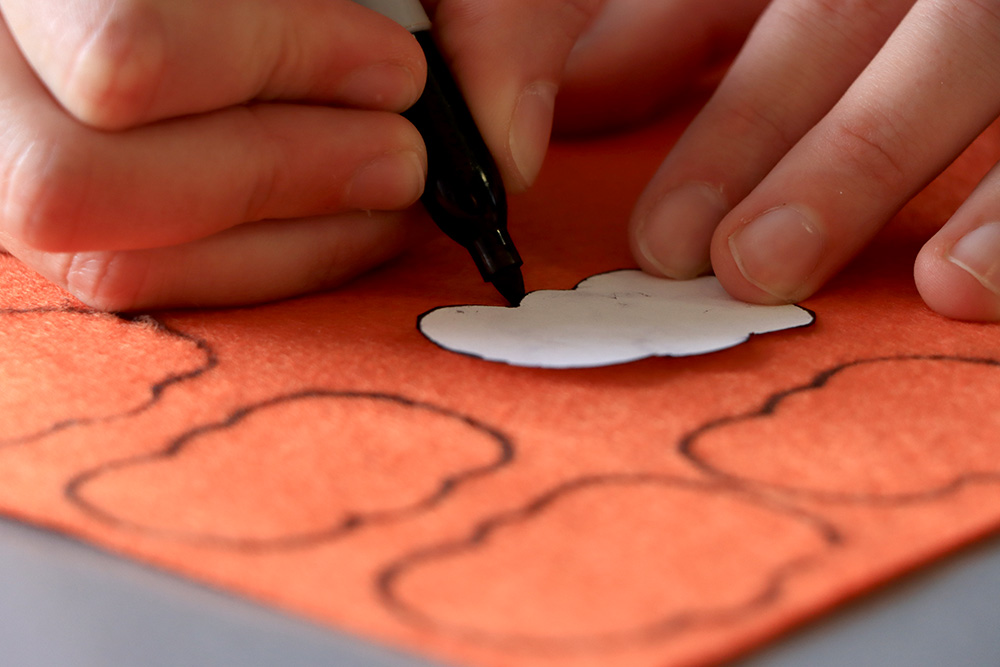
- Cut out pumpkins from printed pattern template.
 Using a marker or pen, trace desired pumpkin pattern onto orange felt. (Make sure it doesn’t bleed through.) Repeat until entire sheet is filled with pumpkins. Two pumpkin patterns=one pumpkin.
- Trace coordinating pumpkin stem onto brown felt. Repeat until you have one stem for each set of pumpkins.
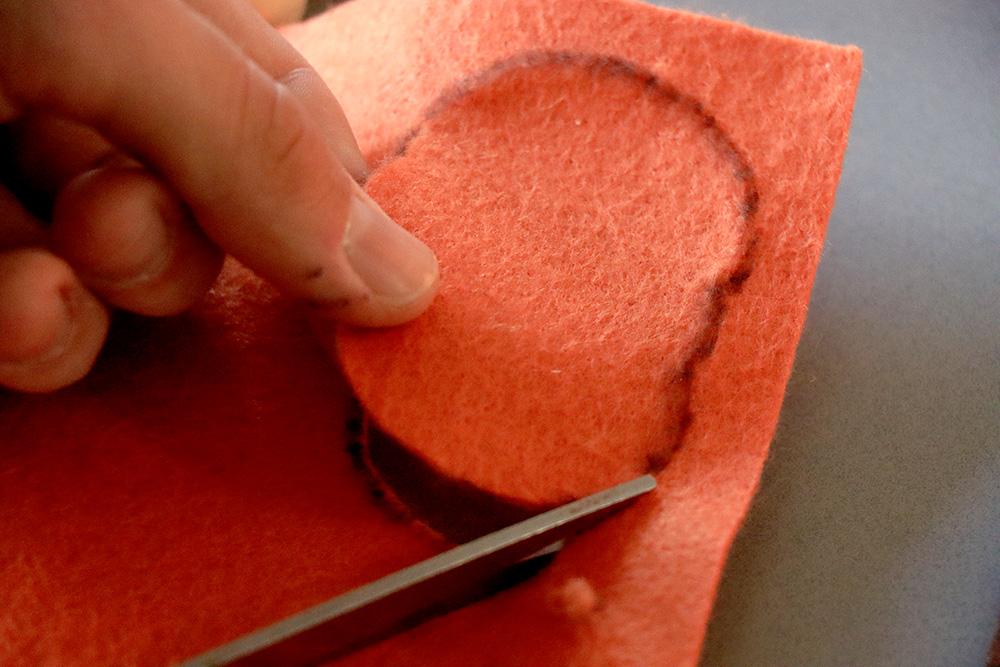
- Cut out pumpkins and stems.
- Cut about 5 feet of thread. Thread needle. Place needle in middle of thread. Double back thread on itself and tie two (or three) knots at the end. You should end up with about 2.5 feet of thread to work with.
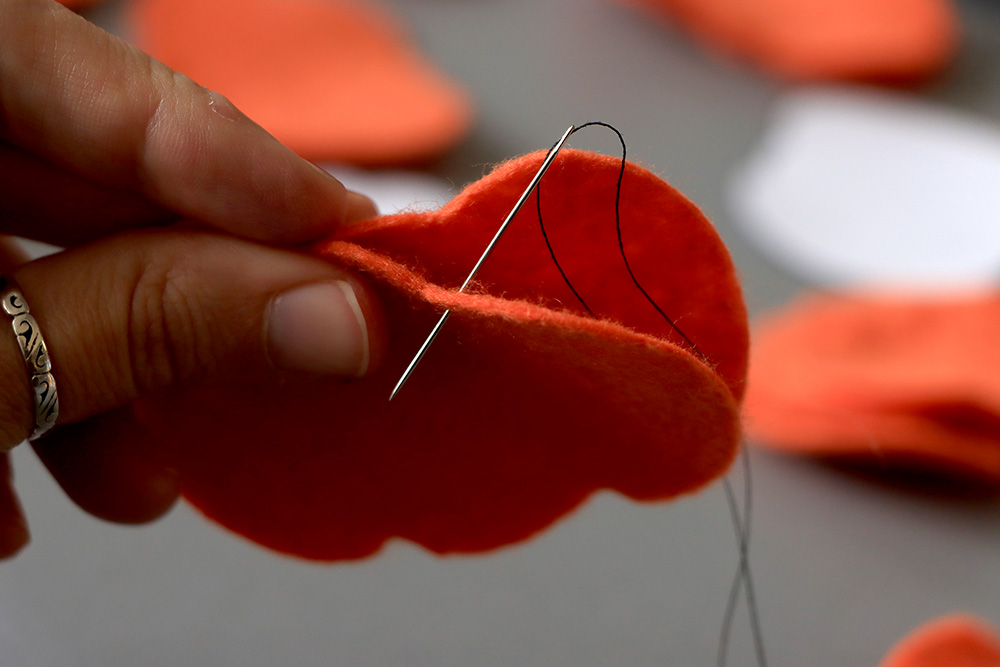
- With the marker side in, place two pumpkins back-to-back.
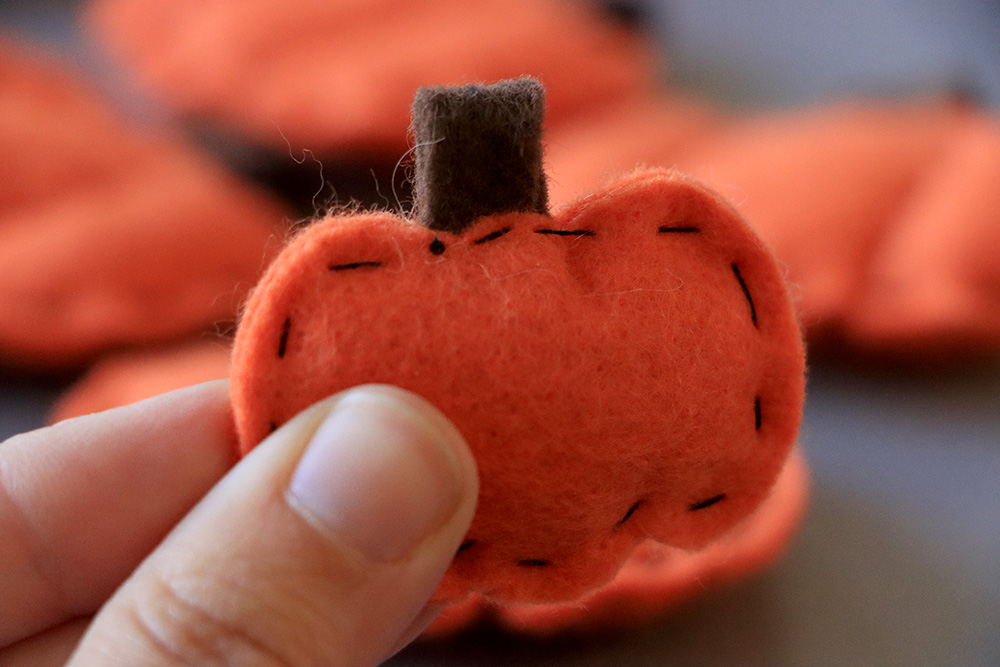
- Start sewing just after the second hump at the top of the pumpkin, near the edge of the felt. To hide the knot, start between the layers by pushing the threaded needle up through one layer of felt. Pull thread through until the knot catches at the end.
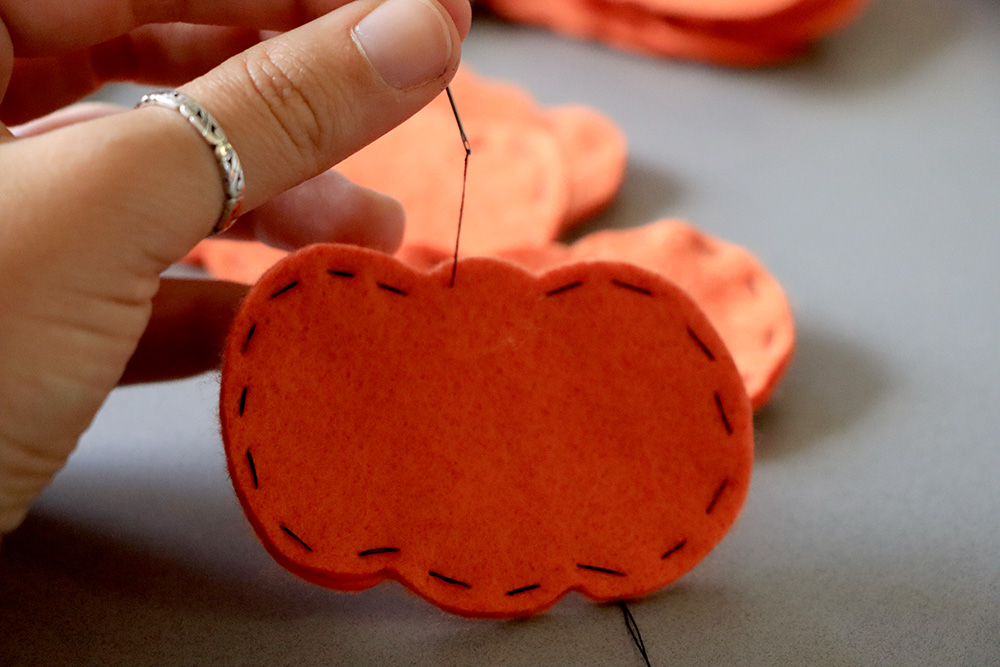
- With the thread pulled taut and working clockwise, move half-a-fingers width from the needle hole and push needle down, creating a stitch. Move half-a-fingers width down on the back, then push the needle up. Down. Up. Down. Up. Repeat until you approach the top of the pumpkin.
- With about an inch unstitched, tear off a small section of stuffing and push inside to fill the pumpkin. Be careful not to overstuff—it should be full enough to give it some depth, but not so full that you aren’t able to close it. (TIP: Using a pen to stuff poly-fil inside makes it easier to fill, especially if you’re working with a small hole.)
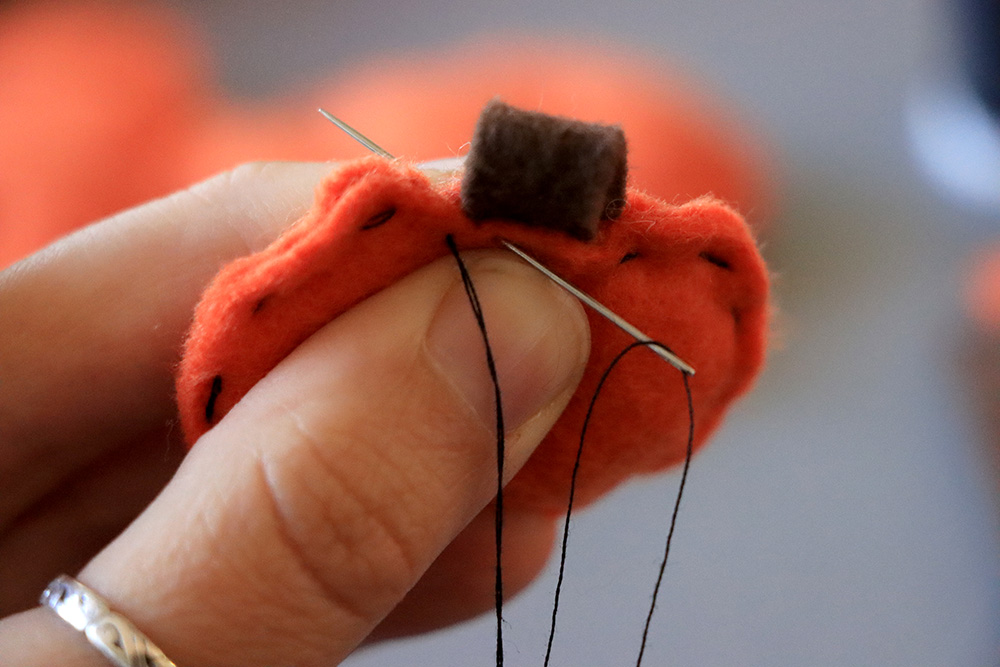
- Once pumpkin is stuffed, grab a pumpkin stem and fold it in half; push into the pumpkin so the loop is visible out the top. Hold stem in place in the middle of the pumpkin. (TIP: The smaller the stem loop, the better—when the pumpkins are threaded on twine, they’ll hold their place better.)
- Continue stitching around the pumpkin to close the gap, making sure to add several stitches through the stem.
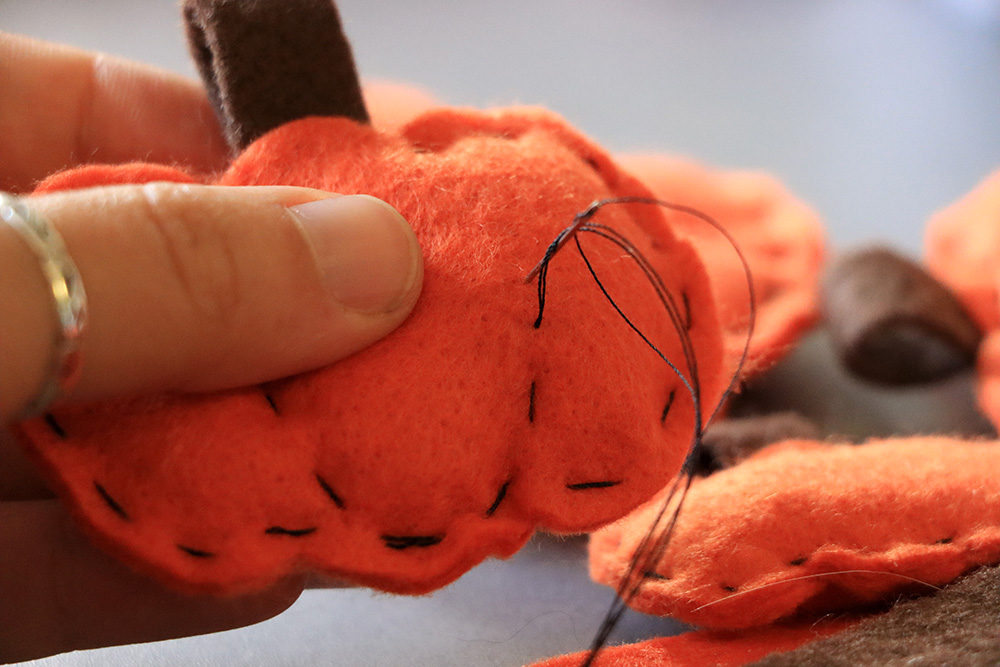
- When your first stitches meet your last stitches, push needle through to the back, pull taut and add two knots on top of each other as close to the felt as possible. Cut remaining thread just after the knot.
- With the remaining thread double knotted at the end, repeat steps 7-13.
- When you run out of thread, repeat steps 6-13.
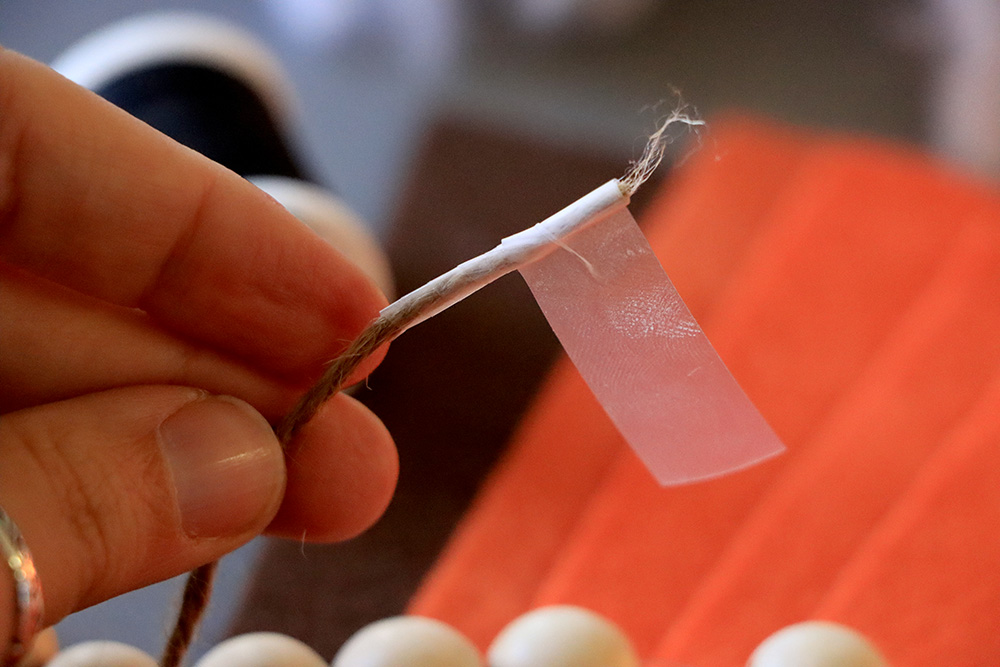
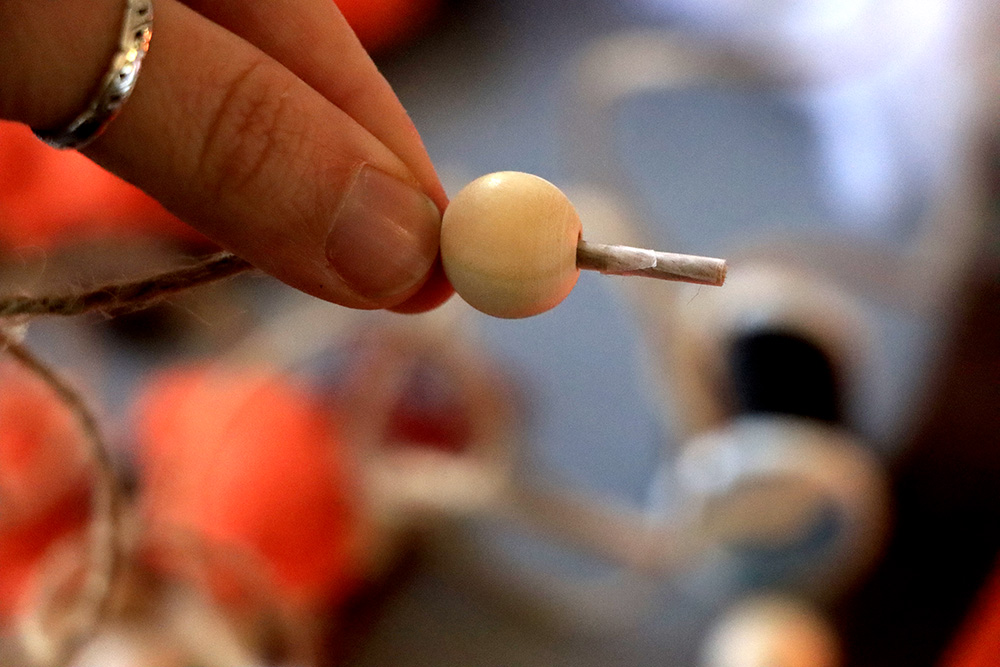
ADVANCED: If you feel comfortable with the general stitch, feel free to go back through and add curved vertical lines to give your pumpkins more character. Do it to all of them, or just a few. (I added lines to the medium pumpkins I made and left the small ones without.)Because the pumpkins will already be stuffed, it’ll require you to pull the thread hard to get a voluptuous pumpkin effect. Start at either the top or bottom of the pumpkin and work your way up and down, doubling over your original stitches on either the top or bottom. Tie off the tread on the back when you complete both vertical lines. - Once you’re happy with the number of pumpkins you have, pull out the twine and thread the pumpkins on. If you are incorporating wooden beads and/or made different size pumpkins, get creative with a fun pattern! For mine, I did small pumpkin – medium pumpkin – small pumpkin – wooden bead – repeat. (TIP: Wrap the end of your twine with Scotch tape. This will make it easier to thread beads and stems on.)
NOTE: The beads and pumpkins may slide around a bit, but once the garland is hung, you can space them out as desired and the texture of the string should keep them in place. If not, add a dollop of Elmer’s glue to ensure they don’t move. - After the pumpkins (and beads) are threaded on, cut twine to desired length.
- Hang (with tacks, nails or tape) in your favorite space, sit back and admire your work of art. You did it!
 Down. Up. Repeat until you approach the top of the pumpkin.
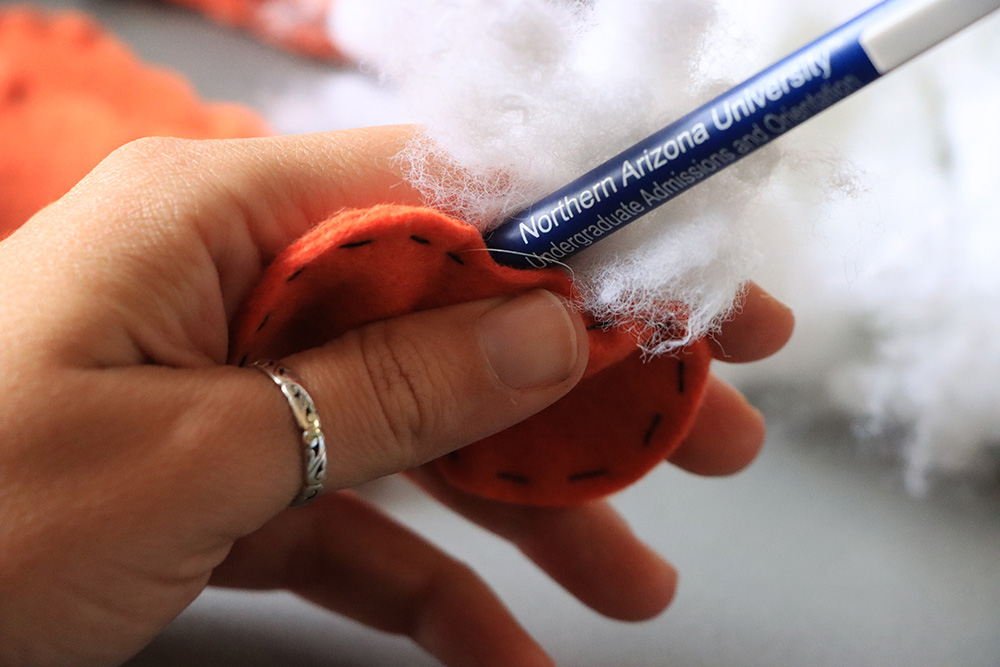
Share your completed craft with us! Tag NAU on social and send pictures to inside@nau.edu.
 Carly Banks | NAU Communications
(928) 523-5582 | carly.banks@nau.edu