How to Create the ‘Ring of Fire’ Effect for a Couples Portrait
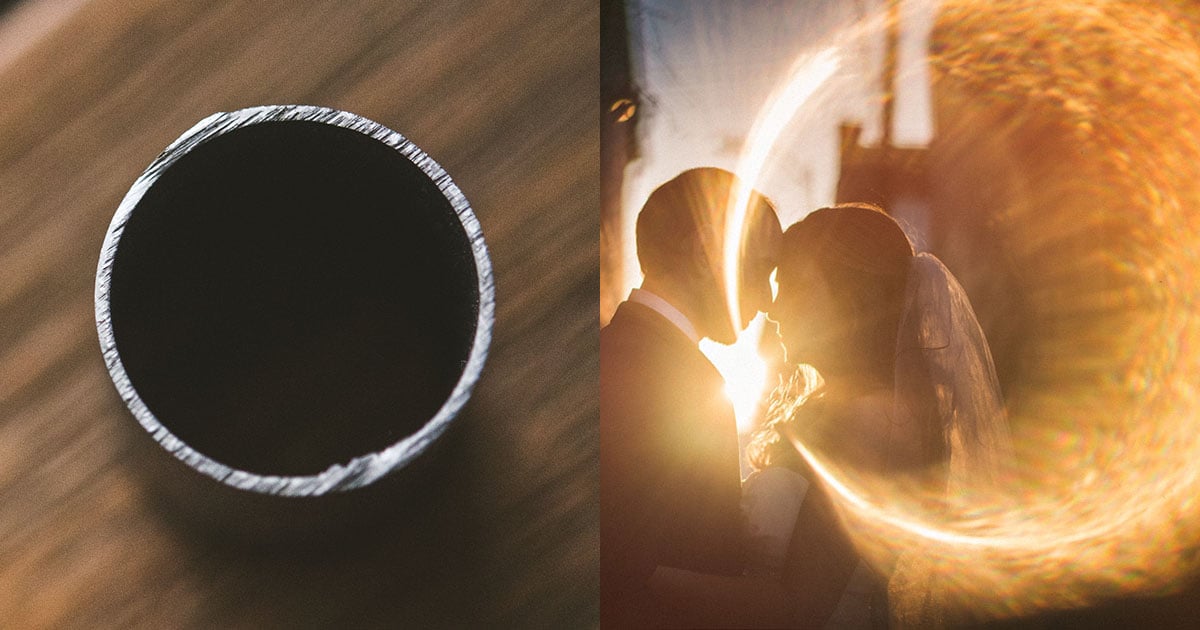
You’ve likely already heard of the “Ring of Fire” photography technique. This is a visual trick popularized by famous wedding and portrait photographer, Sam Hurd. The Ring of Fire is created by using a piece of copper tubing to reflect light coming into the camera.
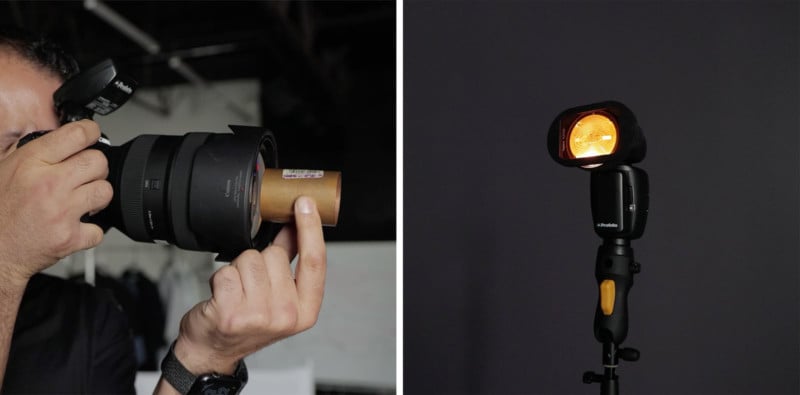
1. Bronze tube. You can get one at a local hardware store. I prefer 2″ long and 1-1.5″ in diameter.
2. Flashes (2 recommended)
3. A wide angle prime-like lens (24-35mm)
For this tutorial, I’ll be using the Canon EOS R5 with the RF 28-70mm f/2.
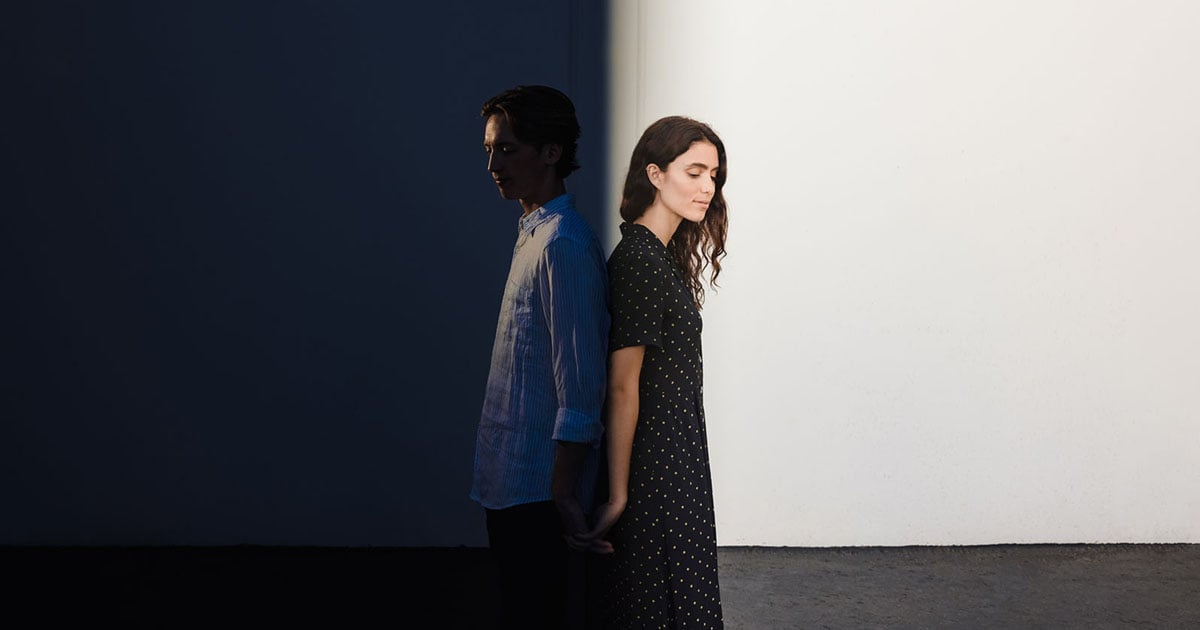
Step #1: Place Your Subjects
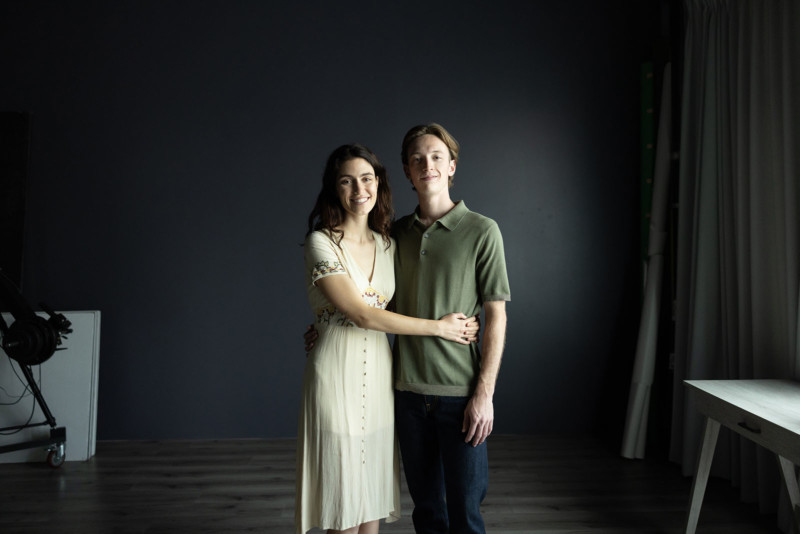
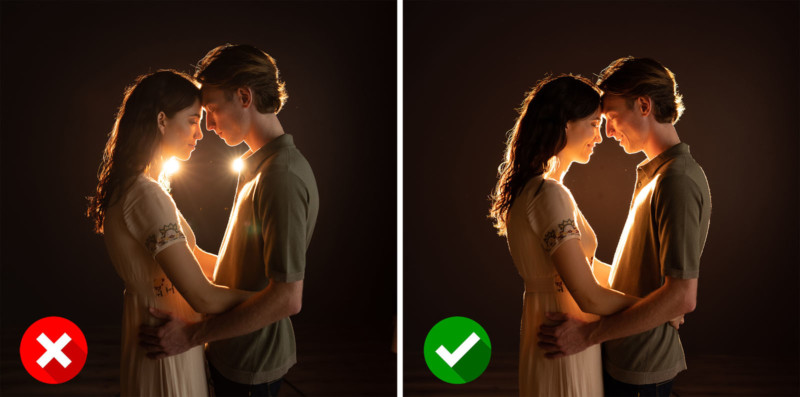
Following the C.A.M.P. framework, I started by composing my subjects in front of a dark wall. They’re lit by a large window just off of camera-right.
Step #2: Dial In Your Exposure
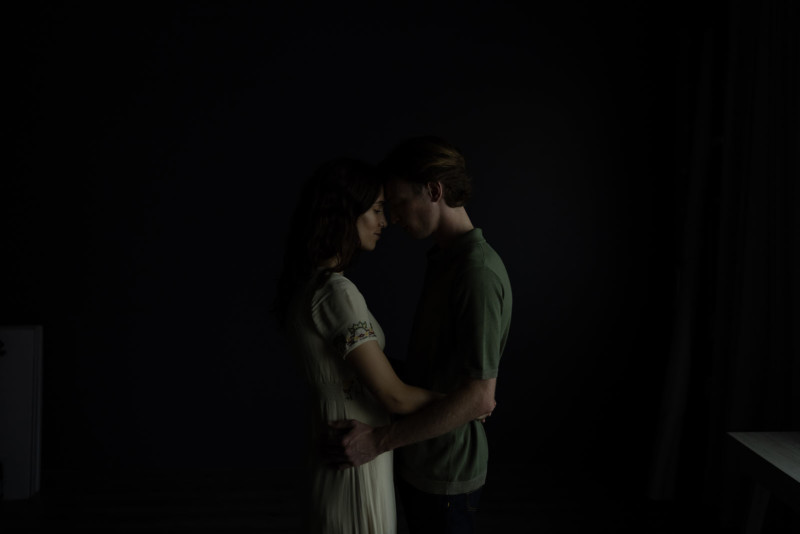
Then, I set the ambient exposure. I lowered the exposure to where I wanted my shadows to be.
Step #3: Add In Your Flashes
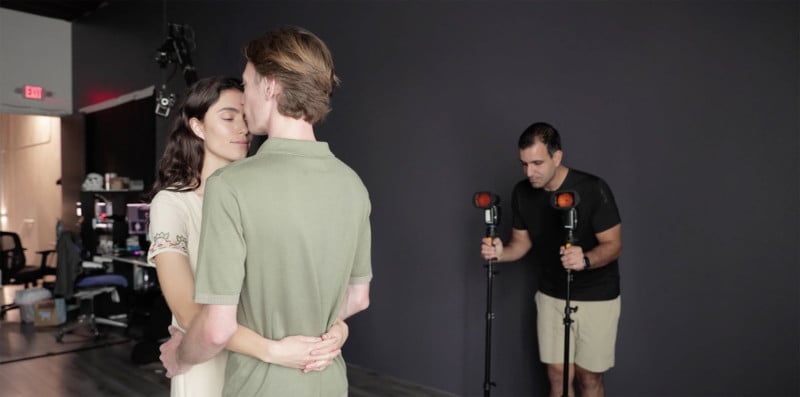
I used two Profoto A10 flashes and MagMod CTO Gels to add warmth to the lights. Keeping the height of the lights below shoulder-level, I placed each light behind each person. Then, I aimed each light inward to cross to the opposite person.
Step #4: Set Your Flash Power
A tip is to start with low power and work your way up to your desired setting.
Step #5: The Bronze Tube
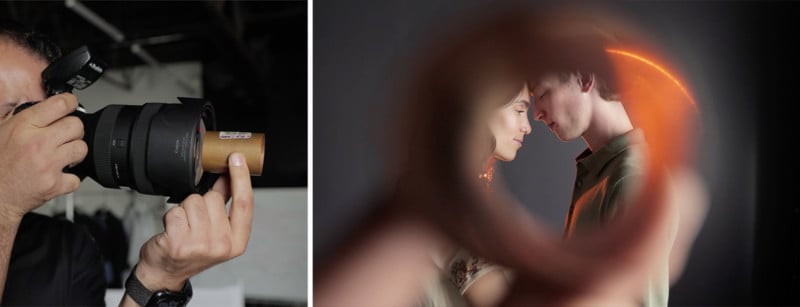
Hold the bronze tube right in front of your lens. Then, using your flash’s modeling light as a guide, move the tube around to get the right angle. What creates this effect is the light from the flash reflecting off of the inside of the tube. With an extremely shallow depth of field to blur out the tube and your hand, this creates the iconic flare effect.
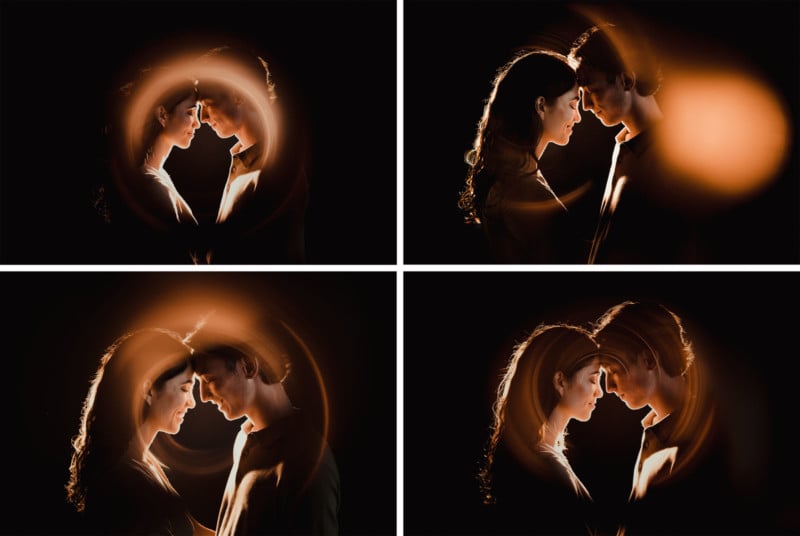
After that, start taking photos! Here are some of our final images, edited with Visual Flow’s Mood preset pack.
Conclusion
I hope you enjoyed this article/video. This technique is a fantastic way to completely transform your portraits. Don’t forget to check out Sam Hurd, the photographer who popularized this incredible effect!
P.S. This tutorial was a sneak peek into the upcoming Special Effects Photography Course over at SLR Lounge Premium where we’ll be diving into how we create our signature portrait looks in complete A-Z tutorials. Be sure to check us out and stay tuned for more!
About the author: Pye Jirsa is a wedding photographer based in Southern California and the co-founder of SLR Lounge. The opinions expressed in this article are solely those of the author. You can find more of Jirsa’s work on Instagram.