A big part of video conferencing etiquette is making sure your equipment works before your meeting starts. And that includes your webcam. There’s no reason to run into unexpected and disruptive video glitches in the middle of an important meeting when you can just test your webcam and fix those issues beforehand.
In this guide, we’ll show you how to test your webcam using a variety of desktop and online testing options. In most cases, you shouldn’t need to download anything special to use these options as you probably already have them installed on your machine. And our preferred web options are easily accessible via a browser and a decent internet connection.
Test your webcam with the Windows 10 Camera app
If your computer runs on Windows 10, then you should have access to the operating system’s native Camera app. Here’s how to use it to test your webcam:
Step 1: In the search box to the right of the Start menu button, type the phrase Camera. Then select the app that appears in the search results.
Step 2: Turn on your webcam. Your video should automatically appear in the middle of the app.
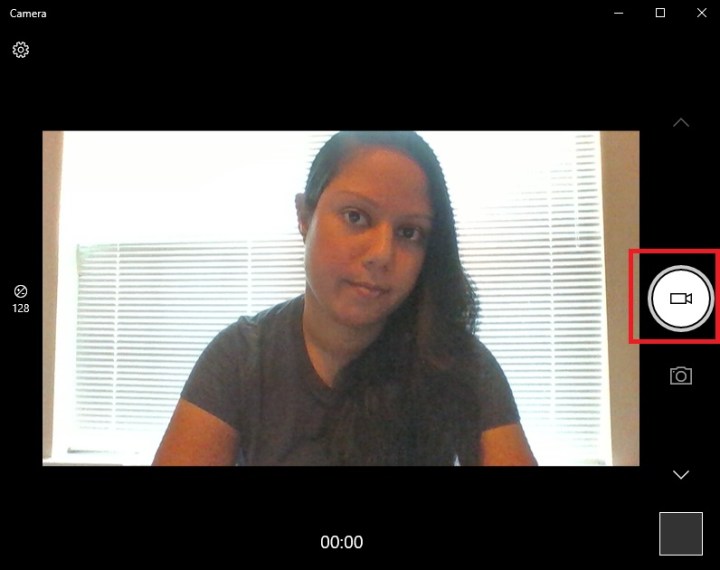
Step 3: You can test your video and microphone quality by using the Camera app to record a short video and playing it back. To do so: Select the video camera icon on the right side of the screen.
Step 4: Then select the Take Video icon (it looks like a large white circle with a video camera icon in the middle of it). Record your test video clip.
Step 5: Click the red stop recording icon to finish recording. Then click on your recorded video’s thumbnail, in the bottom right corner of the screen. Click the Play button to play your recorded video clip.
Test your webcam with Microsoft Teams

If you and your team plan on using Microsoft Teams for your video call, you can actually use that same app to test your webcam before that meeting. Here’s how:
Step 1: Open the Microsoft Teams desktop app.
Step 2: On the top right side of your screen, click on the Settings and More icon, which looks like three dots. Then select Settings from the drop-down menu that appears.
Step 3: In the Settings menu, select Devices. Then turn on your webcam.
Step 4: From the Devices section, click on the Make a Test Call button.
Step 5: The Teams Echo chatbot will guide you through recording a short message so that you can test your microphone and speakers. You’ll initially see your webcam feed show up in the center of your screen but as you record your voice message, your feed will move to the bottom right corner of your screen. You can monitor your webcam video there.
Test your webcam with Zoom
Zoom also offers its own way to test your webcam before your meetings. Here’s how to test your webcam using the Zoom desktop app:
Step 1: Open the Zoom desktop app.
Step 2: On the main screen, click on the Settings gear icon in the top right corner.
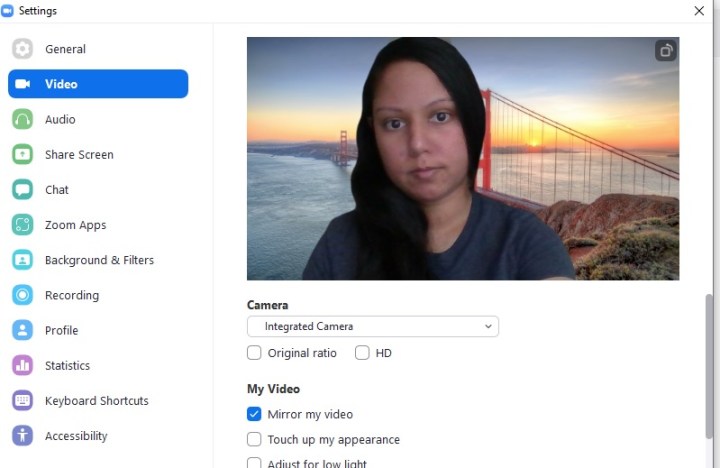
Step 3: Click on Video.
Step 4: Turn on your webcam. A preview of your webcam video should automatically appear at the top of the screen.
Test your webcam with Skype
Skype is another app that is native to Windows 10. It’s a video calling and messaging app, so you can use it for meetings or calls as well. Skype also has a webcam testing feature. Here’s how to use it:
Step 1: Open the Skype desktop app.
Step 2: At the top left side of your screen and to the right of your name, click on the More icon. (It will look like three dots.) Then select Settings from the menu that appears.
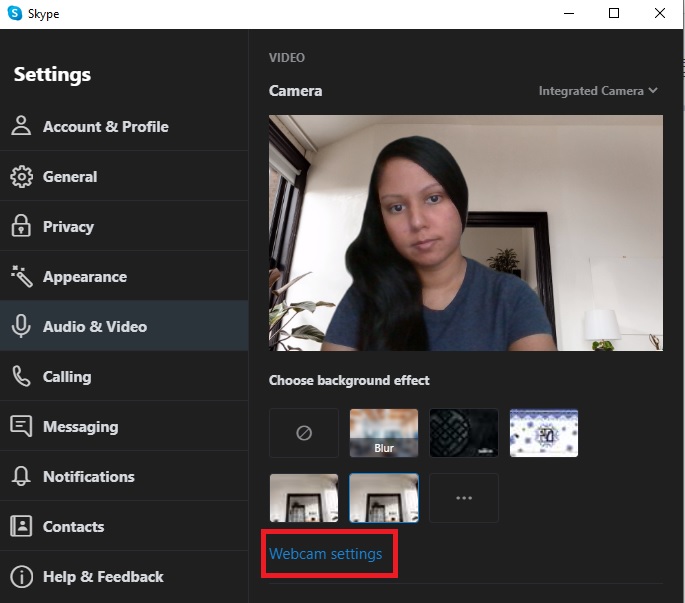
Step 3: Turn on your webcam. Then from the Settings menu select Audio & Video.
Step 4: In the Video section, under Camera, a preview of your video should already appear.
Step 5: If you want to adjust your video quality or other video settings, select Webcam Settings.
Test your Mac webcam with Photo Booth
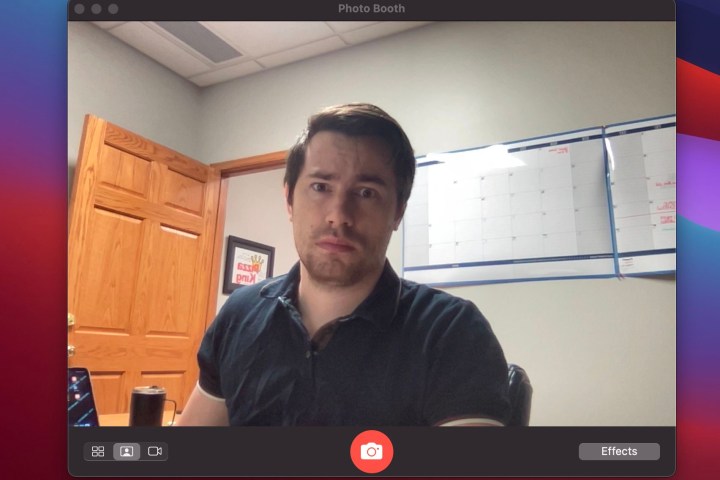
If you have a Mac, the easiest way to test your webcam is to use Photo Booth. With this app, you can snap pictures and record videos using the webcam. To test your webcam this way, just follow these instructions:
Step 1: Open the Launchpad and select Photo Booth. Alternatively, search for it by hitting Command + Space and typing in the name.
Step 2: In the menu bar, select Camera and make sure the webcam you want is selected. If you are using the internal webcam, it should be selected automatically.
Step 3: In the bottom right corner of the app, select the video icon and then hit the red record button.
Step 4: Create a short video, making sure to move around and make some noises to test that the audio is working properly.
Test your webcam with Google Meet
Google Meet’s webcam testing feature only pops up when you’re about to join a meeting, but it doesn’t have to be a real meeting for it to work for you. You can create a meeting just to use the testing feature. Here’s how to use Meet’s webcam testing feature whether you’re joining a real meeting or creating one just to use the tool:
Step 1: Log in to your Google account if you’re not already logged in. Then go to meet.google.com. If you have a meeting you need to join after testing, skip to Step 4.
Step 2: Click on New Meeting and select Create a Meeting for Later.
Step 3: Copy the auto-generated link to your meeting and then open a new tab. Paste this link in the address bar at the top of your browser. Once you’ve opened your meeting link, you’ll be taken to a Ready to Join? screen.
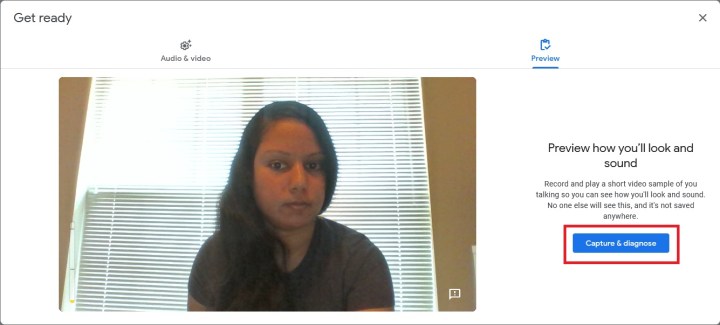
Step 4: On the Ready to Join? screen, you’ll see a preview of your webcam video, if your webcam is turned on. You can also test your webcam and audio by clicking on the Check Your Audio and Video button.
Step 5: On the next screen, select Capture and Diagnose, to record and playback a test video clip of you using your webcam.
Step 6: Record your clip. It will automatically stop recording and take you to the playback and test results screen afterward. Click the Play button on your video clip to see your video and audio quality. On the right side of the screen, you’ll see Google Meet’s own test results that will indicate whether or not your equipment or internet connection is working well enough to support a video call.
Test your webcam with Webcam Test
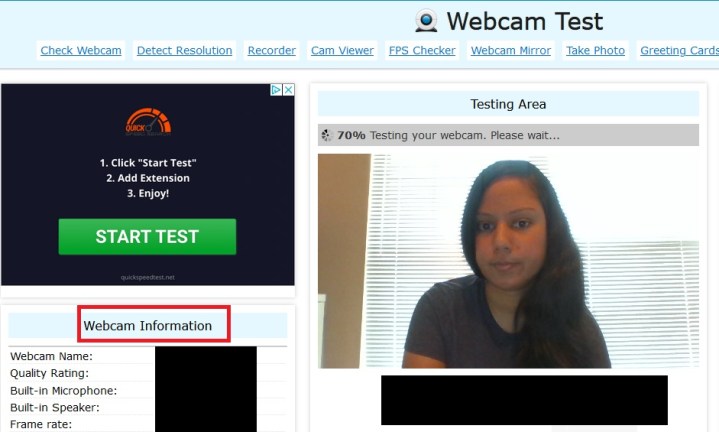
Webcam Test is just a quick online test you can use to test your webcam. Here’s how to use it:
Step 1: Open up your desired web browser. (Webcam Test has a long list of supported browsers that doesn’t include Internet Explorer.)
Step 2: Go to the Webcam Test website.
Step 3: Once the website has detected your webcam, click on the Test My Cam button.
Step 4: A browser notification will appear to ask if you grant permission for the site to access your webcam. Click Allow.
Step 5: Your webcam video should appear immediately on the website so you can see what your video will look like. It will take a few minutes for the Webcam Test website to finish testing your webcam to gather performance details about your webcam. Once the site is done testing, you can see all the performance details it gathered on the right side of your screen under Webcam Information. There, you can see information like your camera’s frame rate, brightness, and resolution.
Step 6: If you want to see a full-screen version of your webcam video, click on the Fullscreen button underneath your webcam video preview.
Step 7: If you’re done testing your webcam, click on the Stop Webcam button underneath your video.
Editors' Recommendations
- The most common Zoom problems and how to fix them
- How to use (almost) any camera as a webcam for Zoom and more
- The best lighting for webcam streaming 2022
- Anker’s all-in-one webcam/mic/light is the gizmo we all still need
- Dell’s wireless, magnetic webcam fixes the eye contact problem in video calls