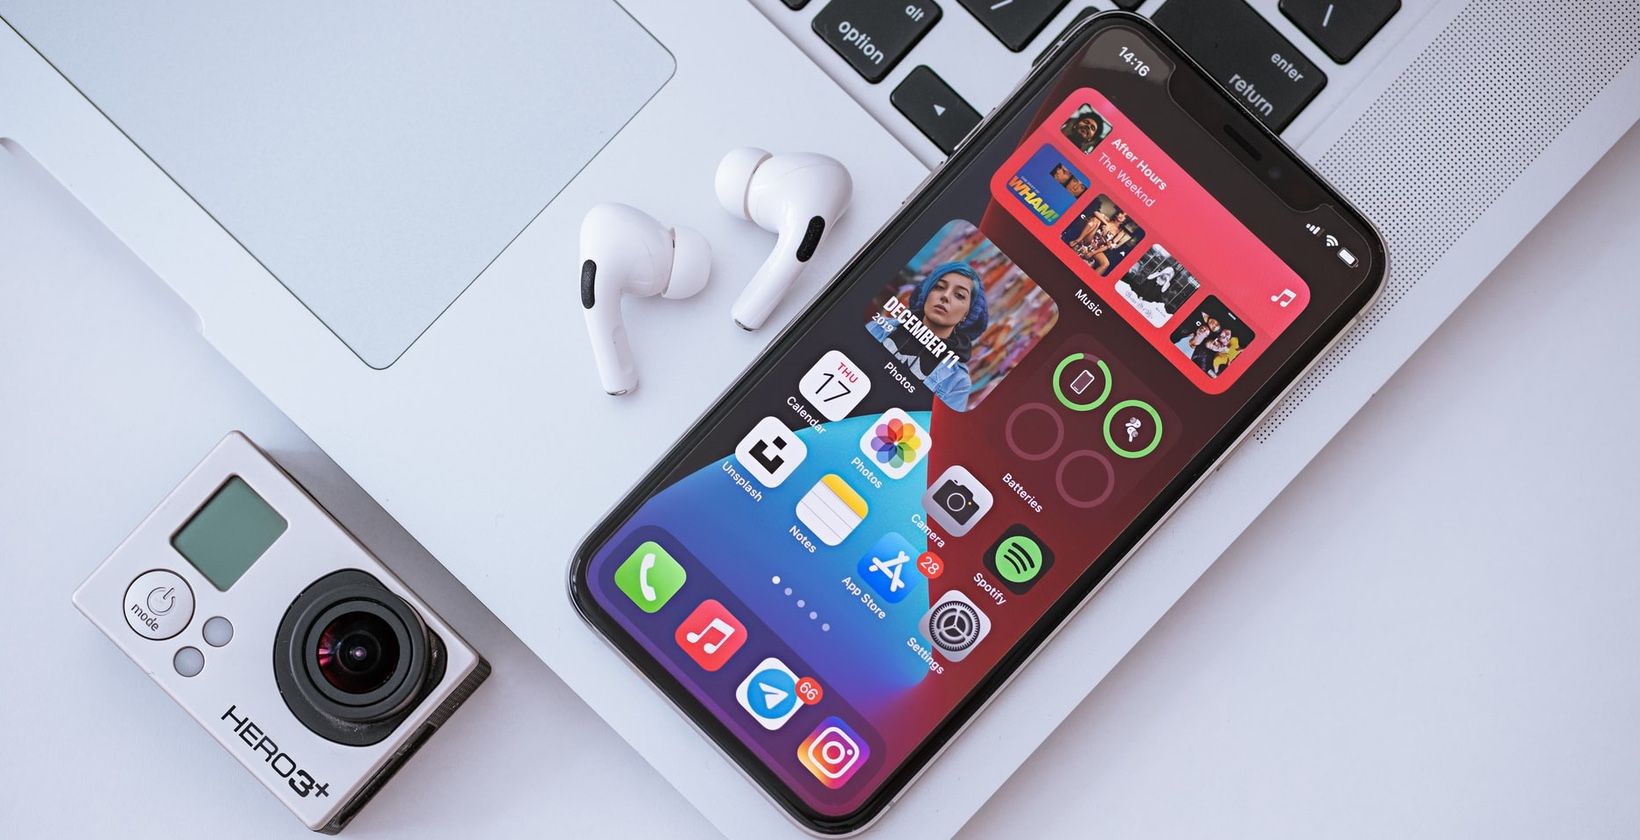
Since the release of iOS and iPadOS 14, Apple has let you customize your iPhone and iPad Home Screen to suit your preferences. While the full customization options in iOS don’t come anything close to Android, you can now make a couple of different changes to make your Home Screen stand out, like adding widgets.
Widgetsmith is among the most popular iOS apps that allow you to create custom iPhone widgets. This article will show you how to use Widgetsmith to create your own widgets on iPhone or iPad.
Getting Started With Widgetsmith
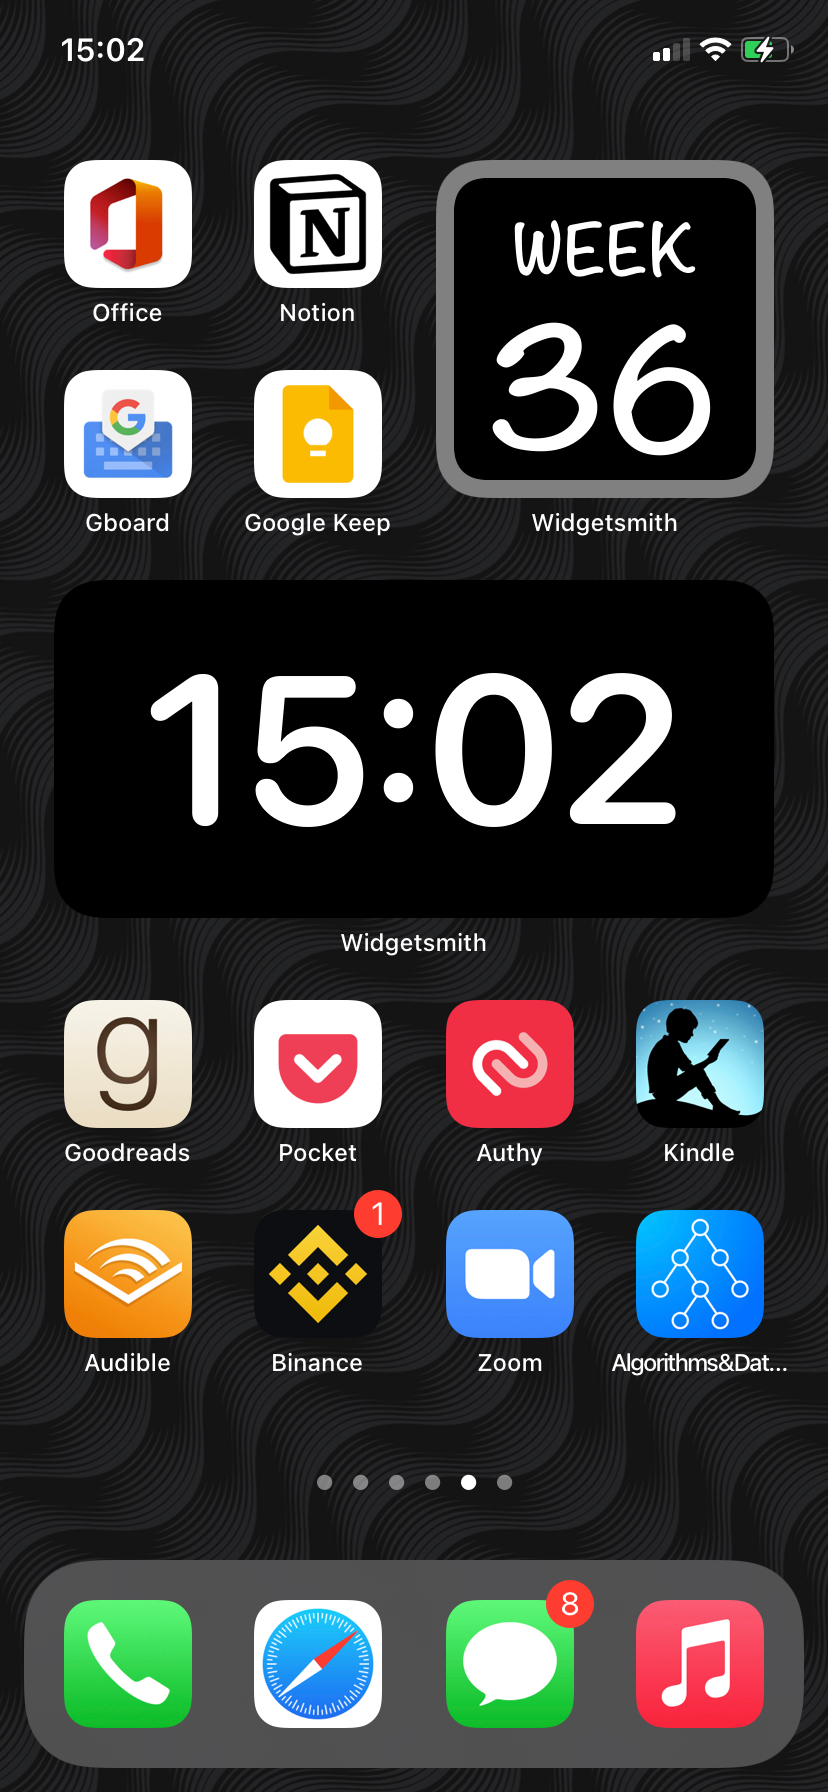
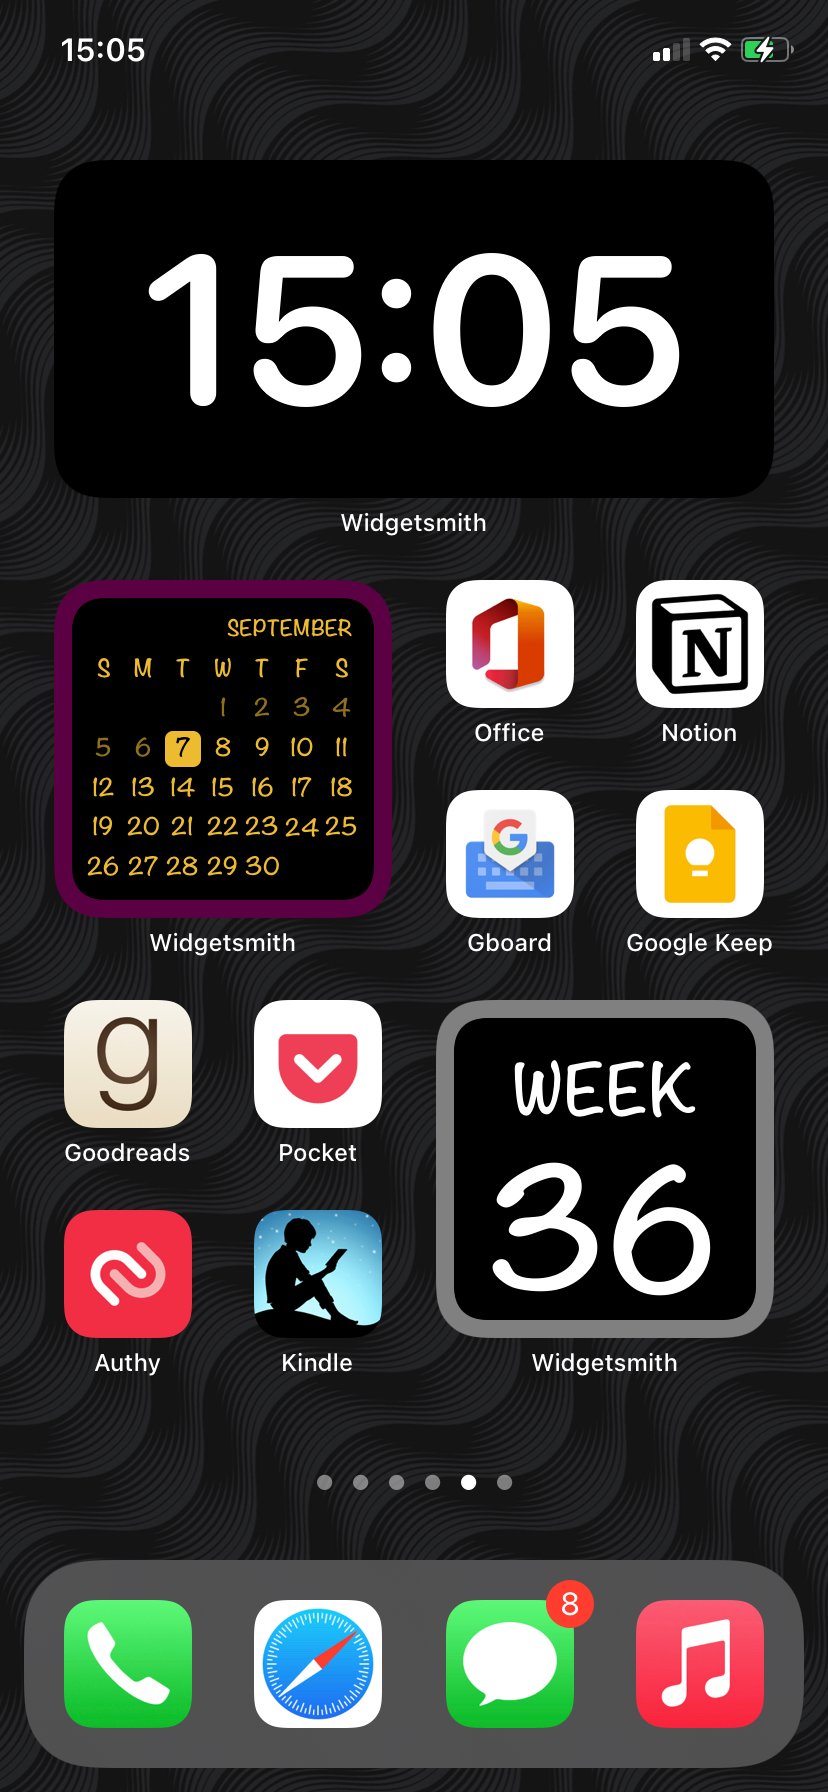
One thing that makes Widgetsmith stand out is its ease of use. The app keeps it simple by providing you with ready-made, customizable templates. No wonder it’s one of the best apps for creating custom iPhone widgets.
That makes it easy for virtually anyone, even those who aren’t tech savvy, to tinker with full-blown customization apps like Scriptable.
You can create a variety of widgets using Widgetsmith. Available categories include photos, time, date, step-counting, health and activity, battery, calendar, reminders, astronomy, weather, air quality, and tides widgets. Unfortunately, Widgetsmith’s most amazing custom widgets for your iPhone, like weather, air quality, pollen, and tides, are locked behind a $1.99/month subscription (or $19.99/year). The subscription also unlocks additional widget themes and removes in-app ads.
To use Widgetsmith you may need to grant the app several permissions, including access to your location, calendar, reminders, health, and photos. Open the app, tap Settings > App Privacy Permissions, and tap Authorize on individual permissions to give them.
These permissions are essential to ensure the app functions normally. Remember, you don’t have to grant Widgetsmith particular permission if you don’t plan to use a feature that relies on such data. For instance, if you won’t use the calendar widget, there’s no need to authorize Widgetsmith to access your calendar.
Download: Widgetsmith (Free, subscription available)
How to Make a Widget Using Widgetsmith
Creating custom widgets using Widgetsmith is a cinch thanks to the app’s easy-to-use UI. Here’s how to make a custom widget using Widgetsmith:
- Download Widgetsmith from the App Store for free and open it.
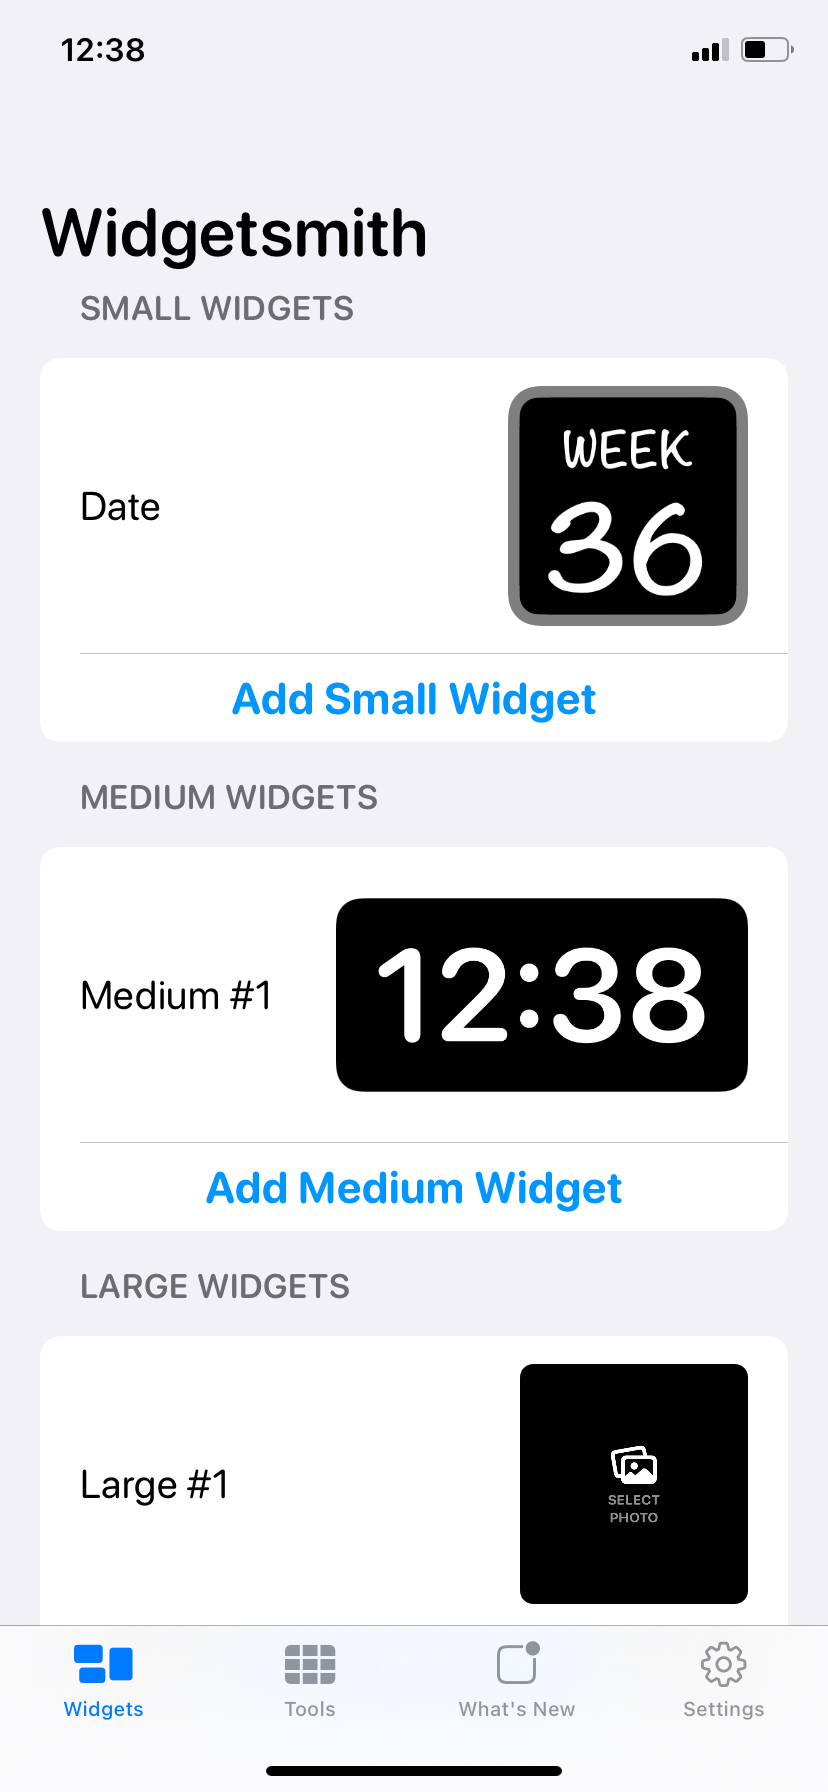
- Tap Small #1, Medium #1, or Large #1 to select the size of the widget you want to create. Small widgets are square and occupy the space of four apps. The medium widget appears as a rectangle, while large is also a square.
- Tap [Image size] #1 to rename your widget appropriately. This will help you to differentiate between your custom widgets easily. We’ll name our widget Date since we will be using the date widget as an example in this tutorial. The steps are similar for other widget sizes, so feel free to name your widget accordingly.
- Next, tap Default Widget. Widgetsmith will take you to the widget selection page. On this page, you can choose the type of widget to create and select any of the available styles.
- Tap to choose a widget and style of your choice. At the top of the page is the Photos widget section; scroll down for more categories.
- Tap Aesthetic / Theme at the bottom to customize your widget.
- Select a premade aesthetic and tap the Customize Theme button to personalize your widget further. You can change the widget font, tint color, background color, border color, and artwork.
- Tap Saveto finish.
- Widgetsmith will ask if you want to Apply Changes to Theme or Widget? Select your option of choice.
- Tap Save and select Back. Finally, tap Save in the widget renaming page to finish.
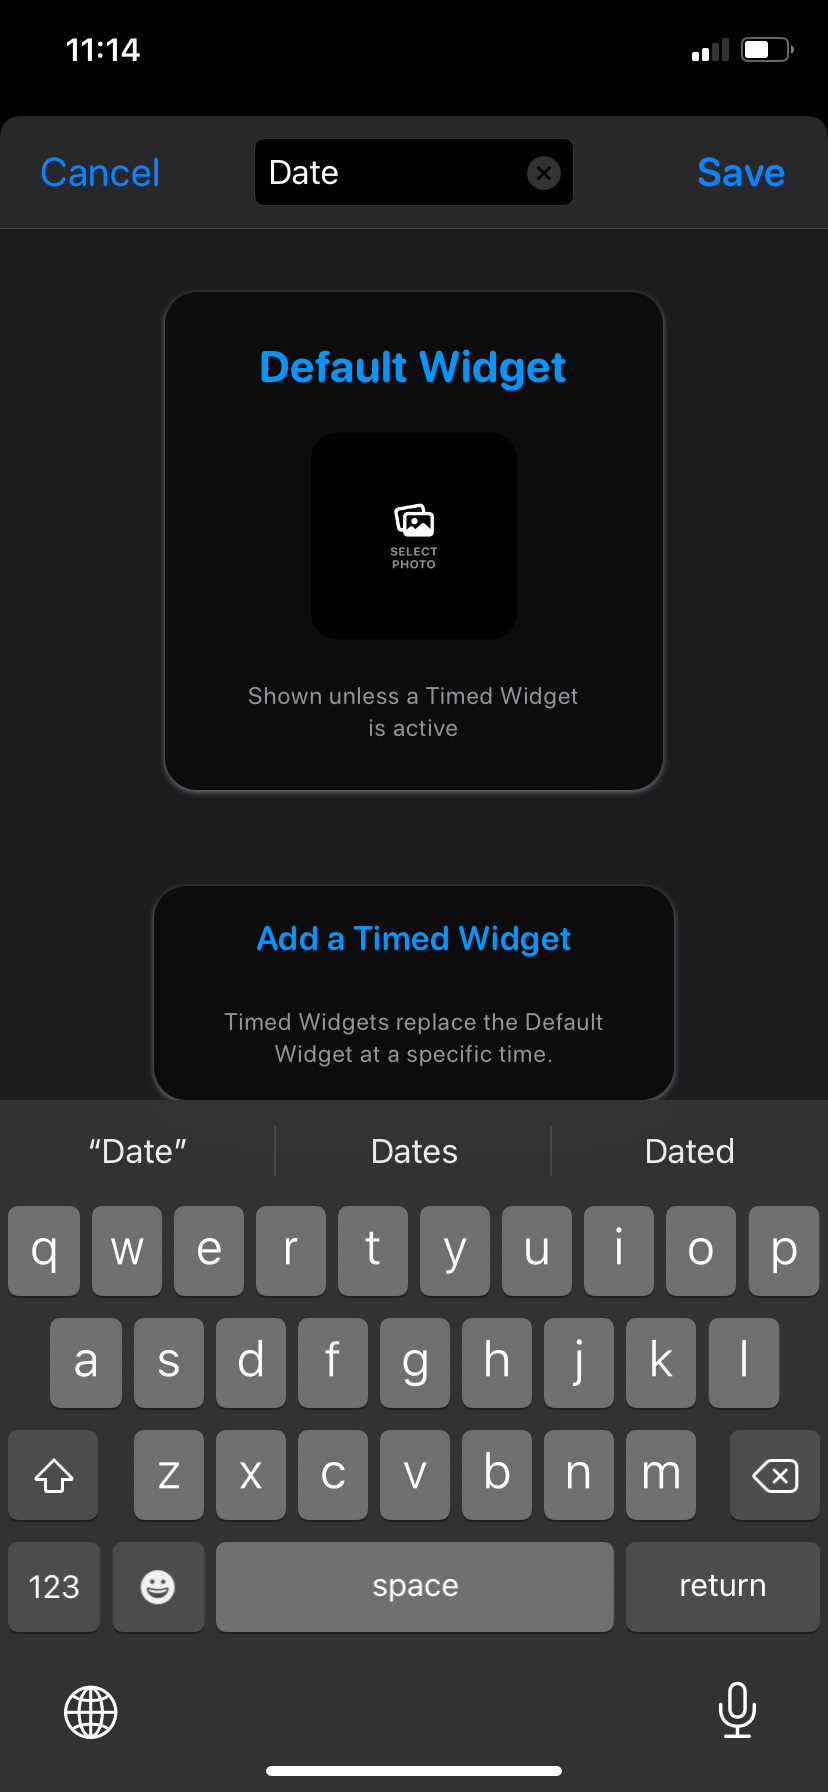
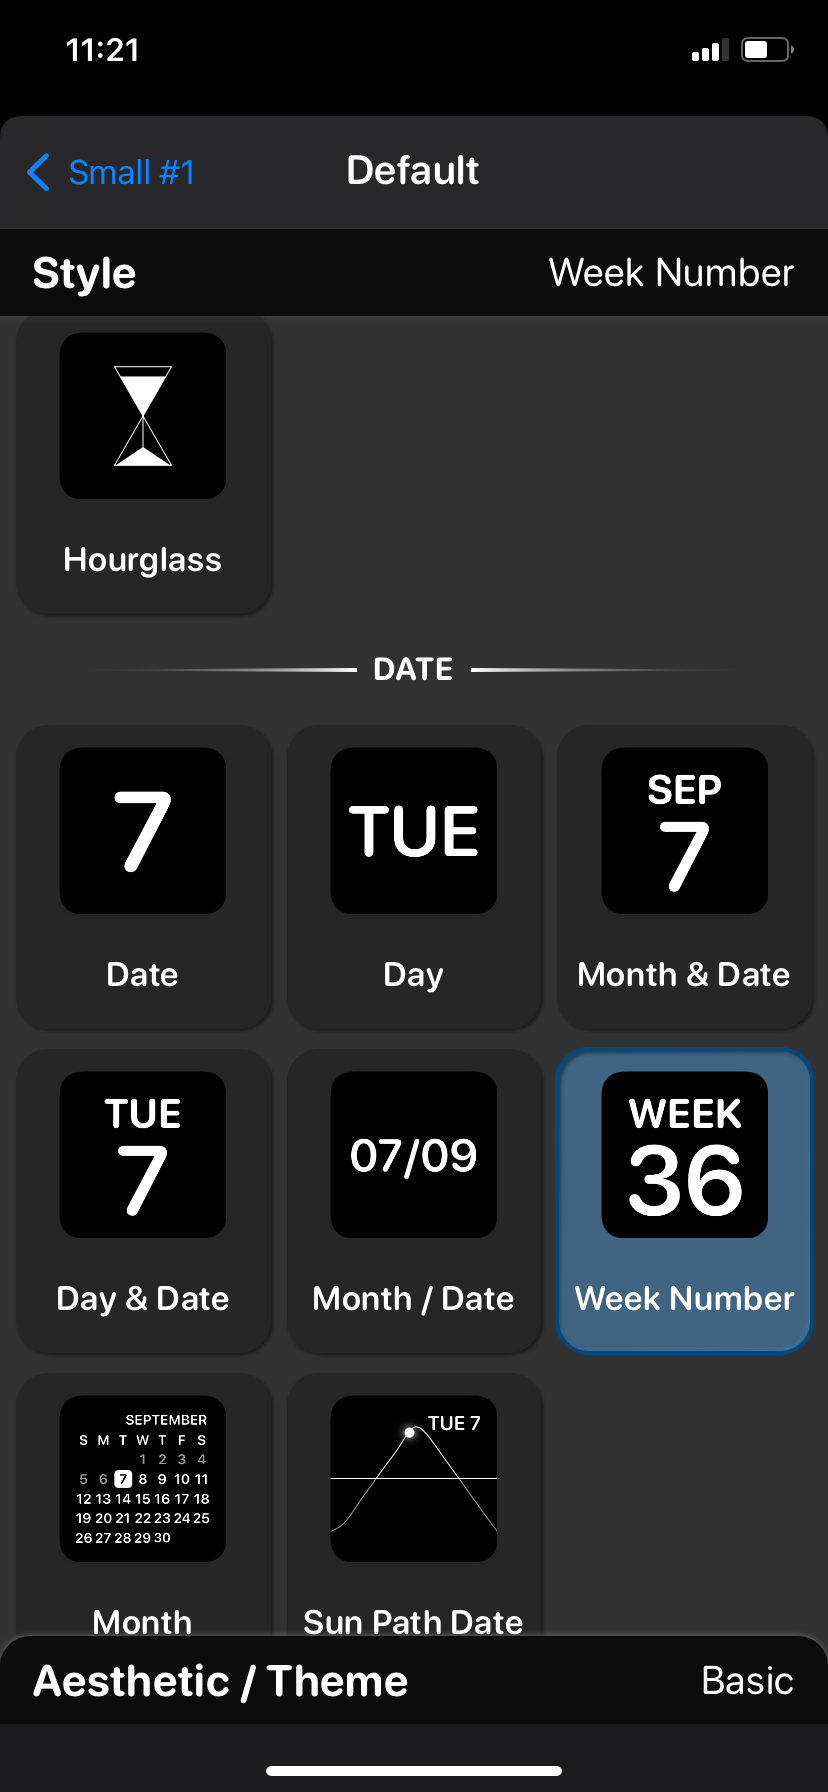
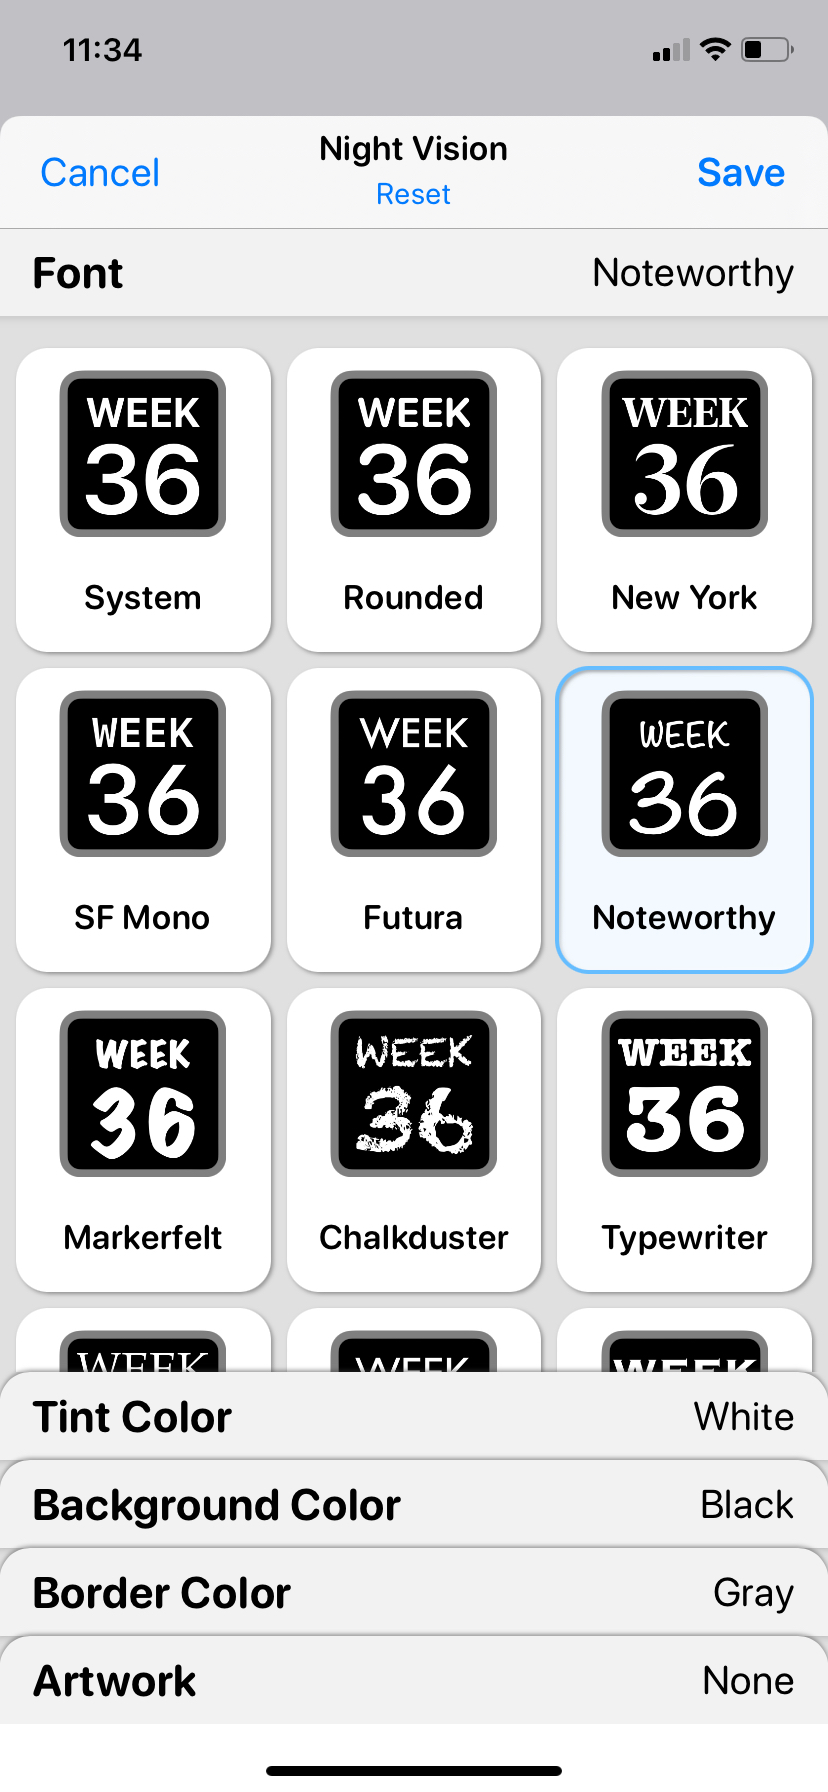
That’s how you make a custom widget with Widgetsmith. The process is similar across the app for medium and large widgets.
Don’t edit your custom widget if you want to create a new widget of a similar size. If you do so, you will be directly editing your existing widget. Instead, go to Widgetsmith, and tap Add [Widget Size] Widget to create a new one from scratch. With that out of the way, let us look at how you can utilize your custom iPhone widgets.
How to Add a Widget to Your iPhone Home Screen
Once you have your custom widget ready, the next step is to add it to your Home Screen. Thanks to widget support in iOS, the process is a cinch. Follow these steps to add widgets to your iOS or iPadOS Home Screen:
- Go to your iPhone Home Screen and long-press on your wallpaper to launch Jiggle mode—alternatively, long-press on any app icon and select Edit Home Screen.
- Tap the plus (+) button at the top.
- Scroll down to the app list and select Widgetsmith. Alternatively, use the widget search bar to find it.
- Select the size of your custom widget. If you only have one widget under the selected size, Widgetsmith will automatically add the widget once you select the size. Otherwise, continue with the steps below.
- After selecting the size, tap and hold the blank widget grid and drag it to your Home Screen. Widgetsmith will add a blank widget grid on your Home Screen in Jiggle mode and fill it with any custom widget. However, you can choose what should be displayed after.
- While still in Jiggle mode, tap the custom Widgetsmith widget.
- Tap the widget name adjacent to Widget on the popup. Widgetsmith will now display all your custom widgets that can fit in the grid.
- Select your preferred custom widget from the list and go back to your Home Screen. You’ll find your selected custom widget now occupying the widget grid. Use Jiggle mode to move your custom widgets wherever you want on your Home Screen.
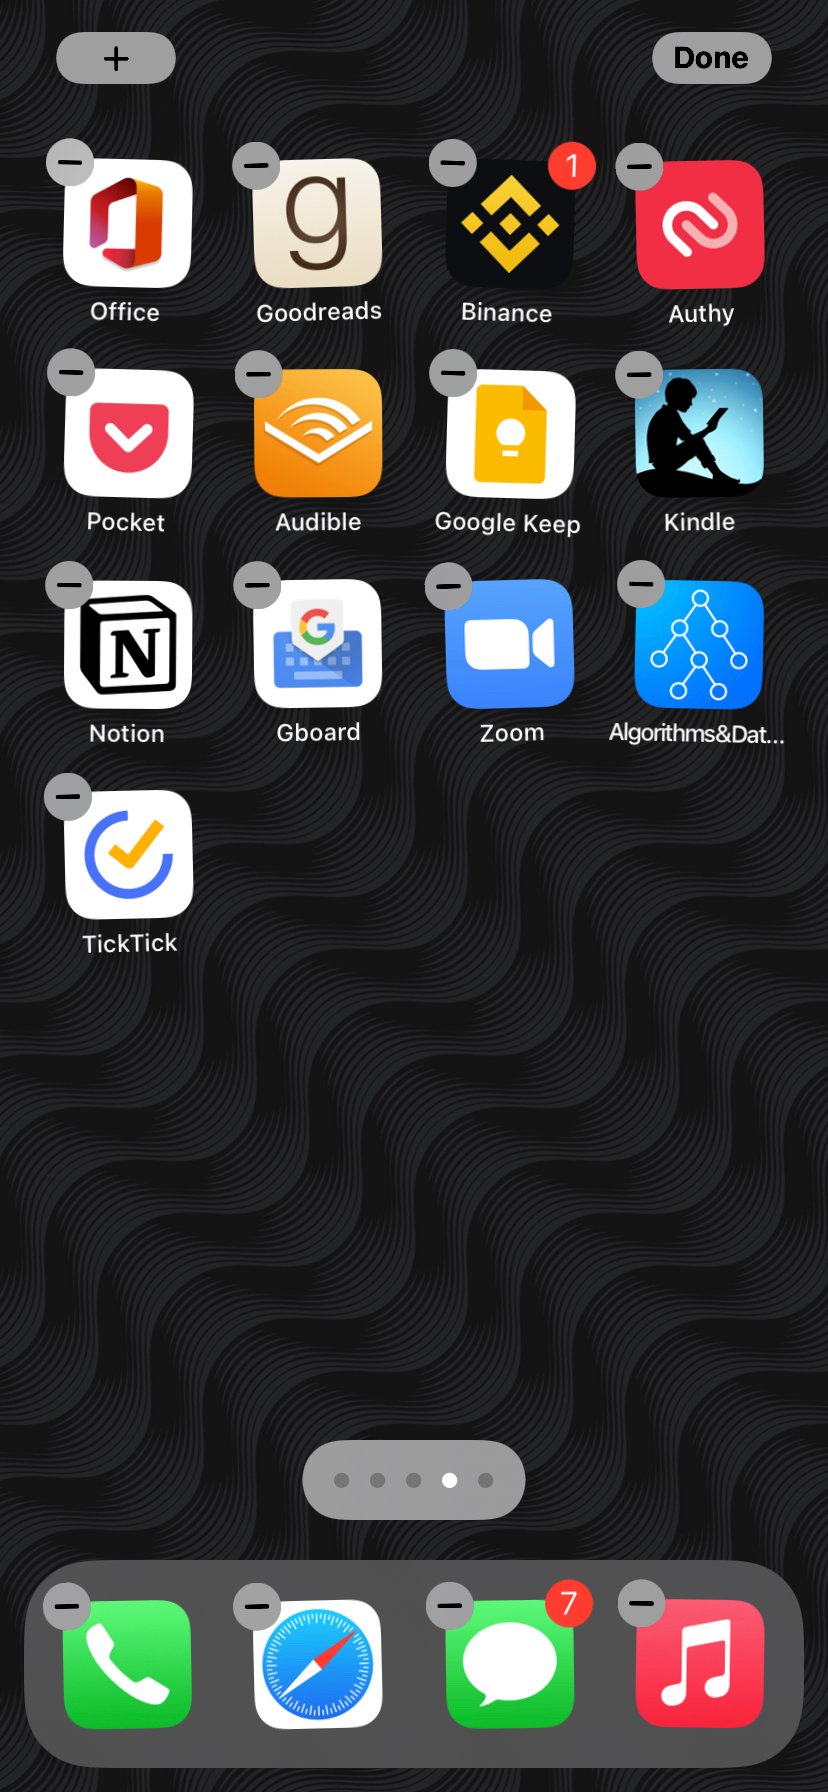
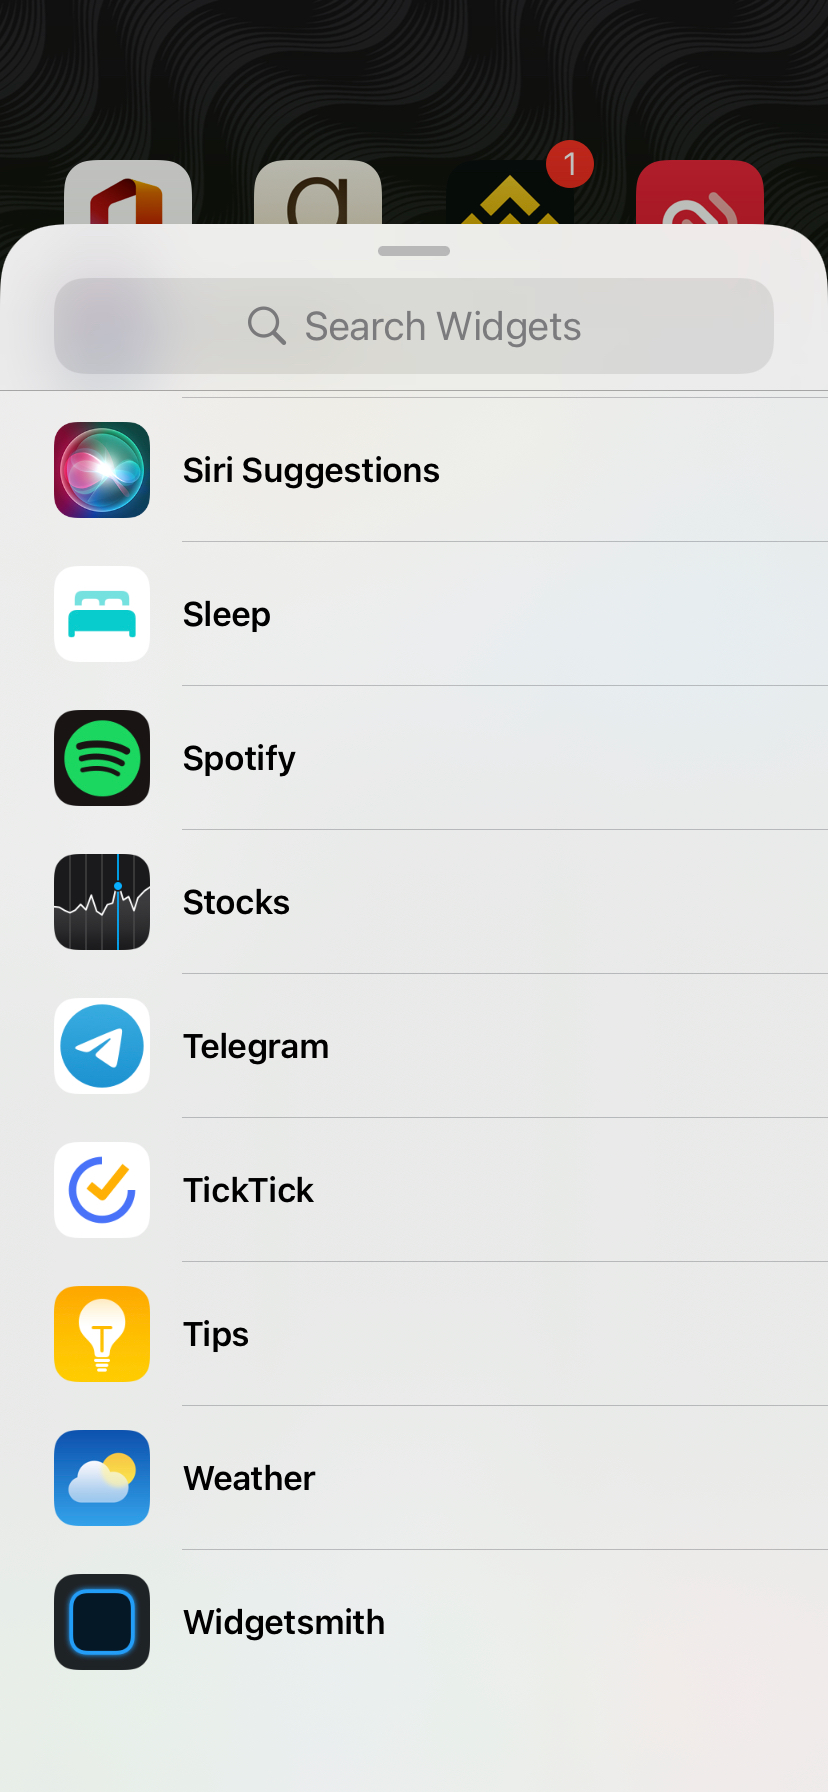
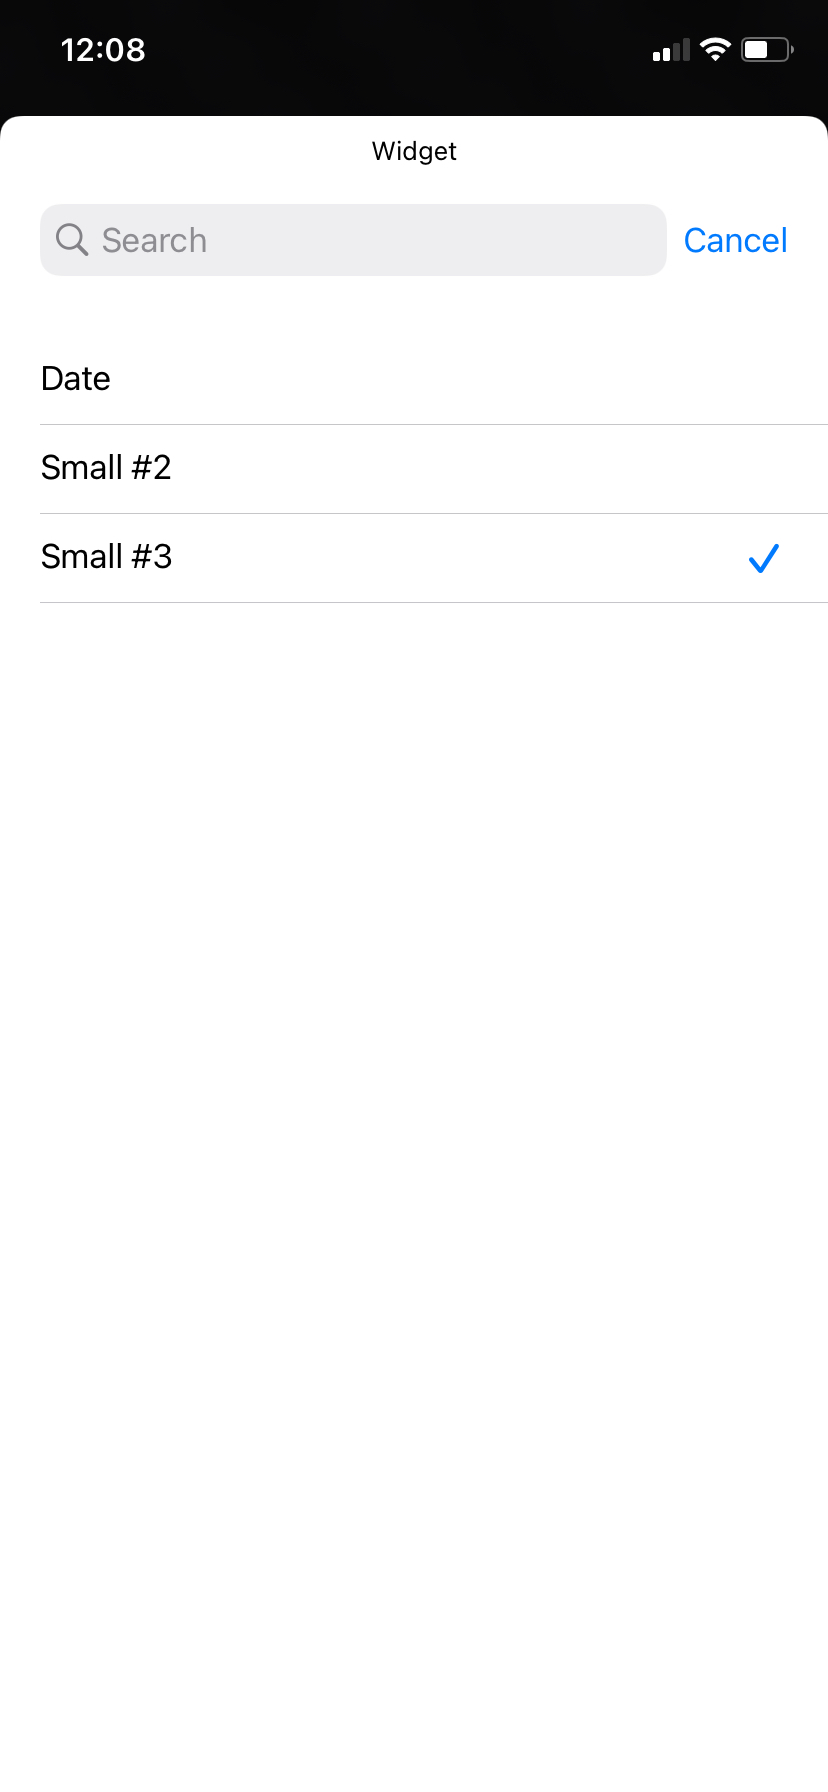
Repeat these steps to add more widgets to your Home Screen to further personalize your iPhone. If customization is your fancy, you can also use some of Apple’s built-in widgets to customize your iPhone Home Screen. The only caveat is that you can’t create custom widgets in iOS without relying on third-party apps.
How to Use Timed Widgets in Widgetsmith
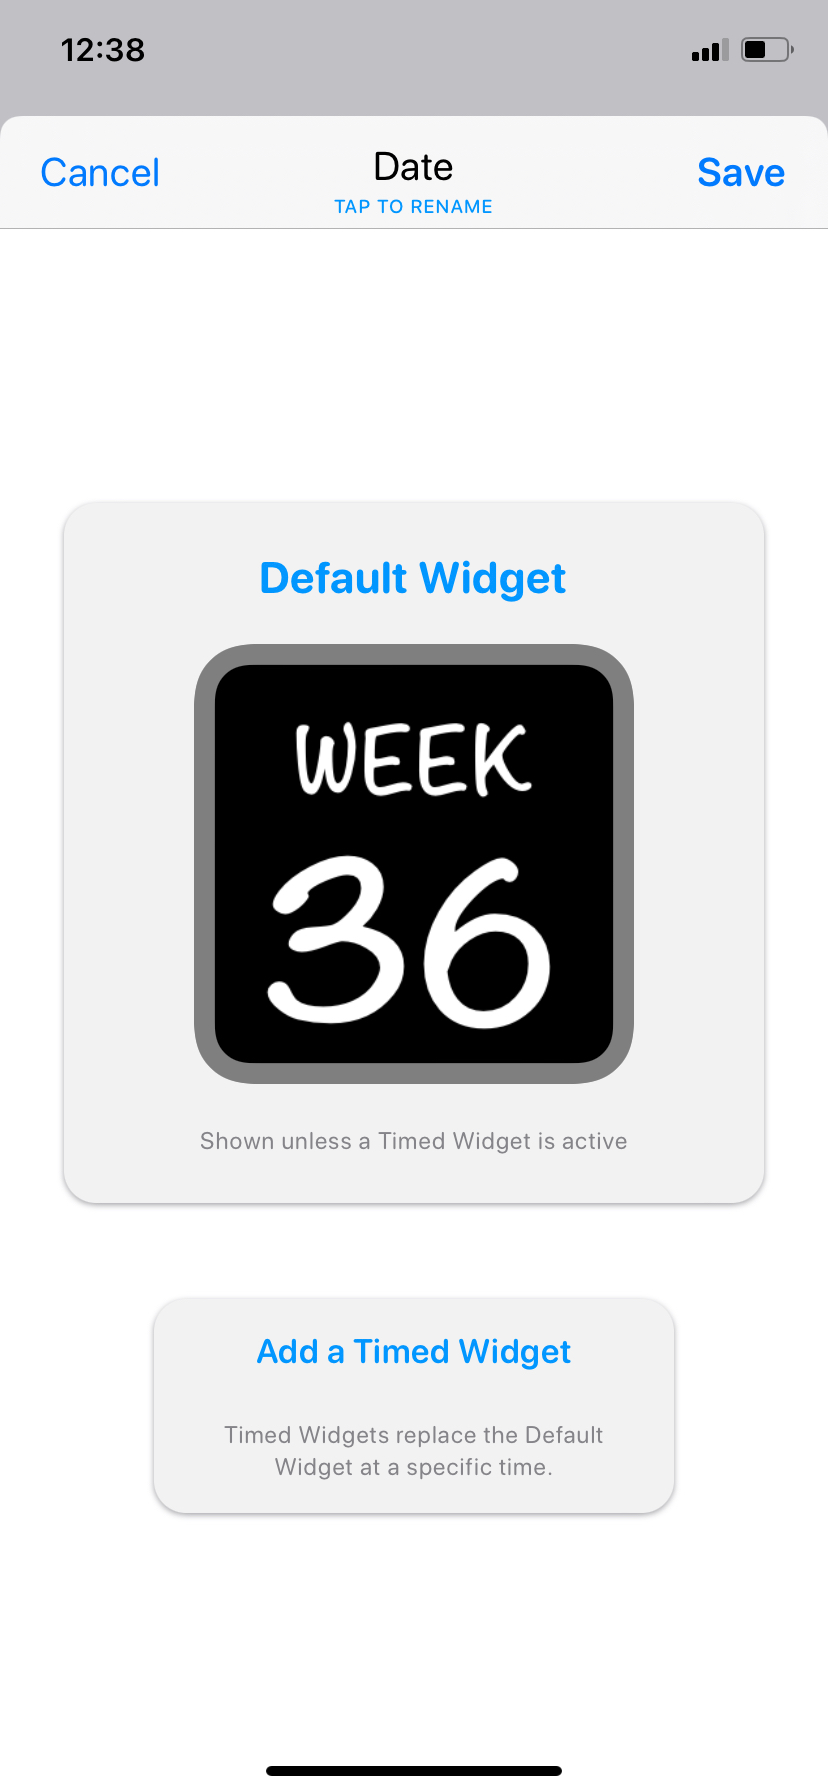
Timed Widgets is another cool feature in Widgetsmith. A Timed Widget is an ephemeral widget that will show up on your iPhone Home Screen for only a particular period. It could be an hour, two hours, three hours, and so on. Outside those hours, your iPhone or iPad Home Screen will instead display the default widget.
To create a Timed Widget, follow these steps:
- Launch Widgetsmith.
- Select one of your custom widgets.
- Tap Add a Timed Widget on the next page.
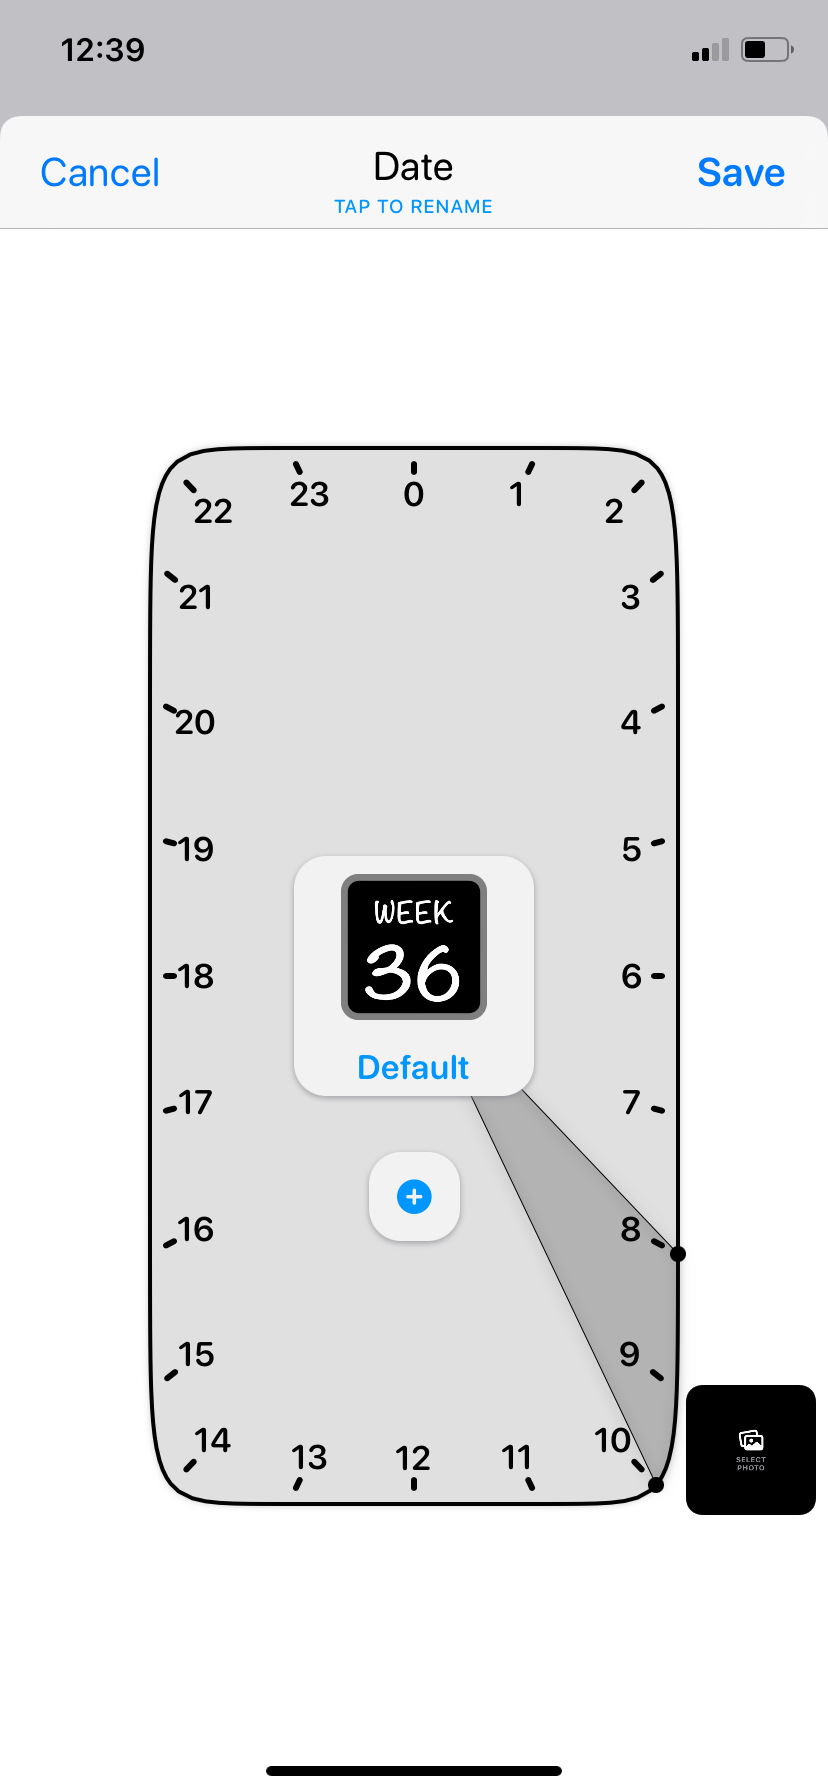
- Select the time you want your Timed Widget to show up by holding and moving the time selector.
- Tap on the blank widget grid.
- Next, select a widget from the premade options, then customize it by tapping Aesthetic / Theme.
- Go back once done, and tap Save.
Personalize Your iPhone Home Screen
If you want to create custom widgets as fast as possible, one of the best apps for the job is Widgetsmith. Sure, you can create a variety of widgets on your own without any technical know-how. But if you’re a technical person who loves to have more control, Scriptable should be one of your top choices for making custom widgets. It lets you run scripts, meaning you’re able to create more fun widgets.

